


Laundry Sink Oversized Pegboard With a Twist
This final result may seem a little strange but there are lots of tips, tricks, twists, and ideas you can incorporate into many a project!
So I'm hard at work redoing our laundry room (be sure to swing by flippingtheflip.com and search "laundry room") when a cool company called Supernice reached out and invited me to create something with their vinyl wrap product.
I opted for an oversized pegboard to go over our newly revamped laundry tub utility sink. Be sure to check that out on the blog too!
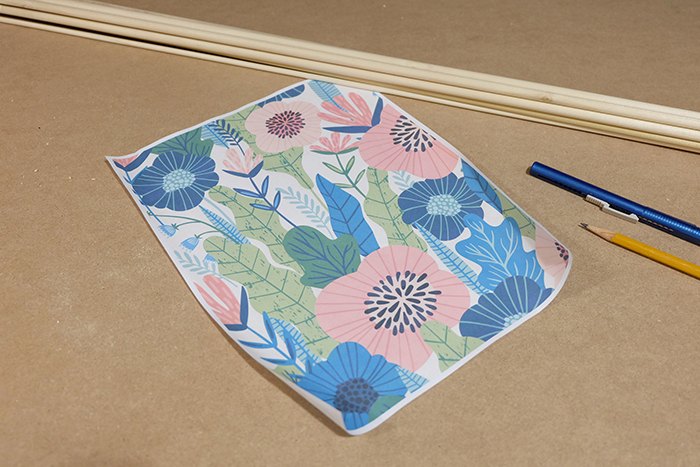
You can print a sample of the Supernice vinyl products to scale so you can see right away if the size of the pattern works for you -- terrific, right?!
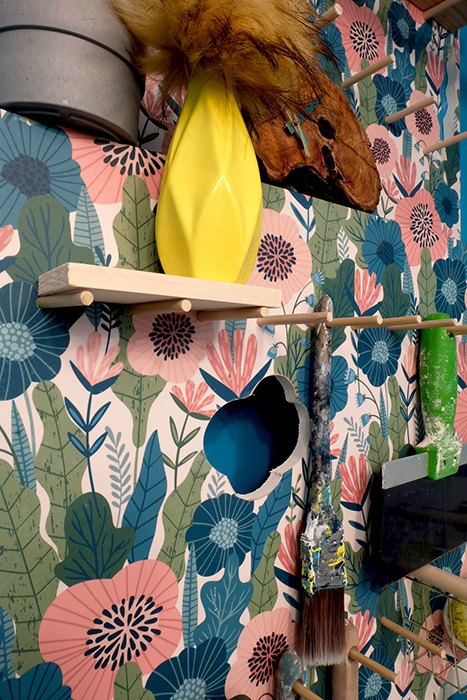
I wanted to test out the vinyl, give its limits a go, see what it'll handle so I got a little weird with my pegboard design.
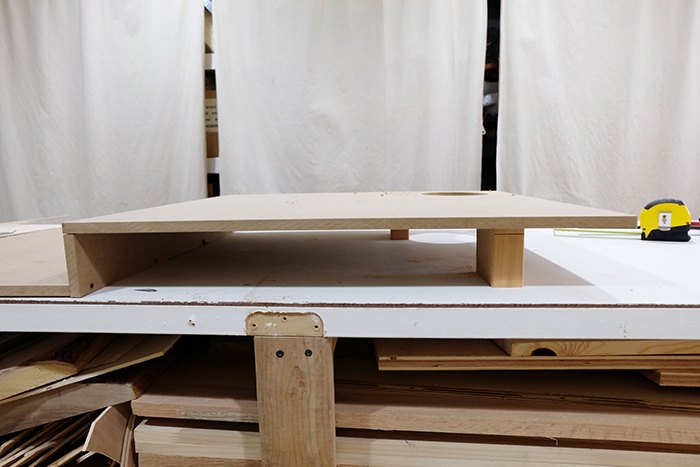
First I picked up a piece of 1/2" MDF type pressed panel, a 2'x4' piece, cut it in 3 pieces and made a shelf. I propped up the lower portion with some scrap 2x4.
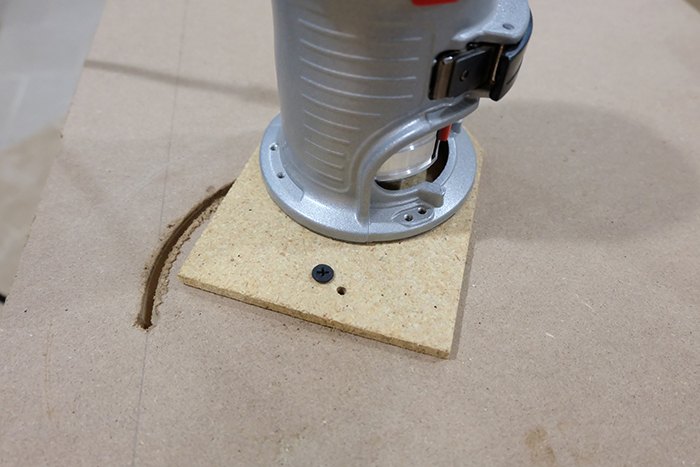
Using a palm router, I cut out a 5" diameter hole near the bottom. I haven't outlined this process on my blog yet, I'm sort of way jumping ahead and around on several things here, heh, but I'll backtrack so be sure to swing on by Flipping the Flip to check things out and subscribe for updates.
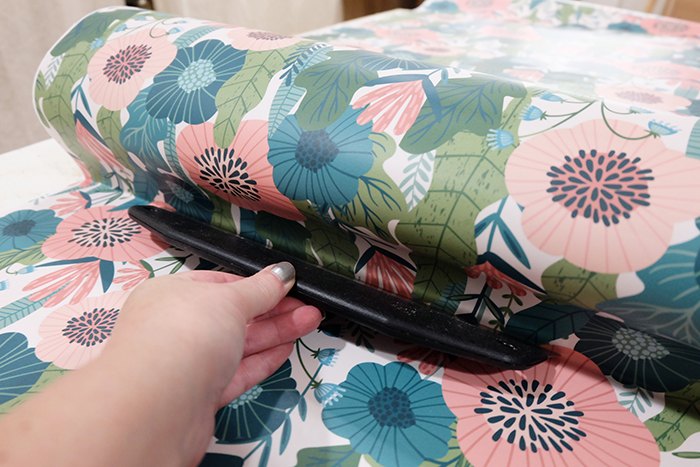
Next was attaching the vinyl. This was very easy, much like applying a peel and stick wallpaper (but way better) or a giant heavy duty sticker, which is pretty much what this product is. Peel the backing, align, then with a smoother, push out the bubbles and adhere.
This stuff sticks fantastically but it's not hard to peel it up in case you're misaligned. Key is having a very smooth surface to apply to.
I used a craft knife to poke a hole in that large 5" diameter cutout circle, then trimmed along the panel's edge to finish that area up.
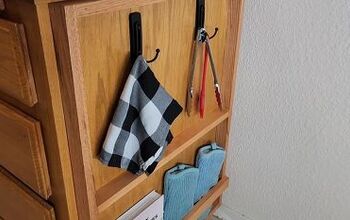
Next up, the pegs. Here I did several things to make this functional.
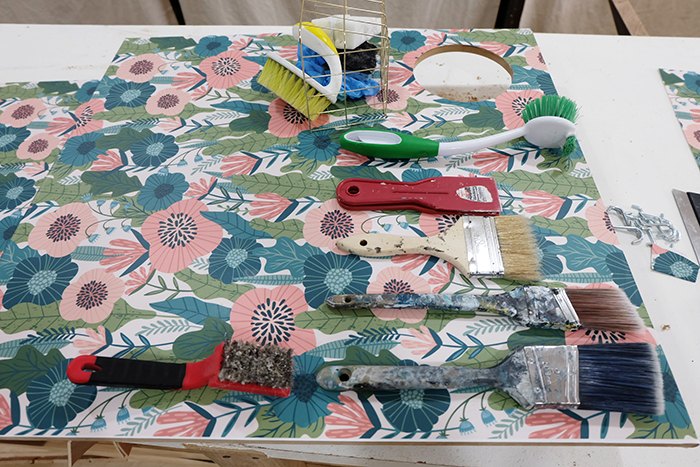
While my peg layout was kinda willy nilly, it was partially based on what usually hangs above the sink, so I laid those items out.
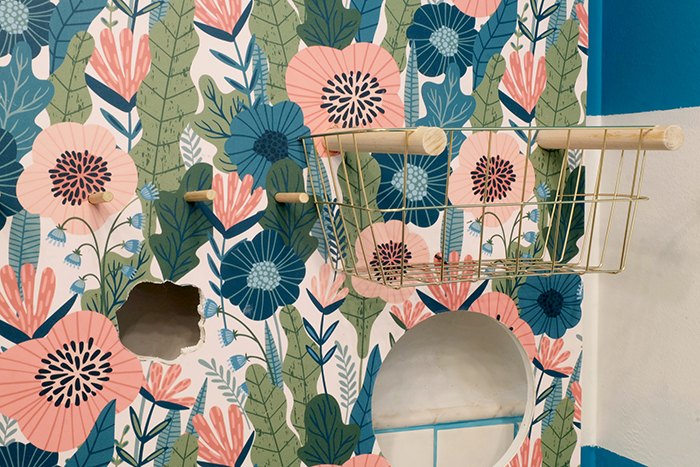
I also picked up a metal basket from the dollar store, trimmed off one long side with wire snips, and cut some dowels to hold it up. On my bandsaw, I trimmed little channels in the ends of the dowels to hold the wire edge, then tacked the bottom of the basket to the panel with a U shaped nail.
Don't forget to account for the thickness of the panel when cutting your dowels!
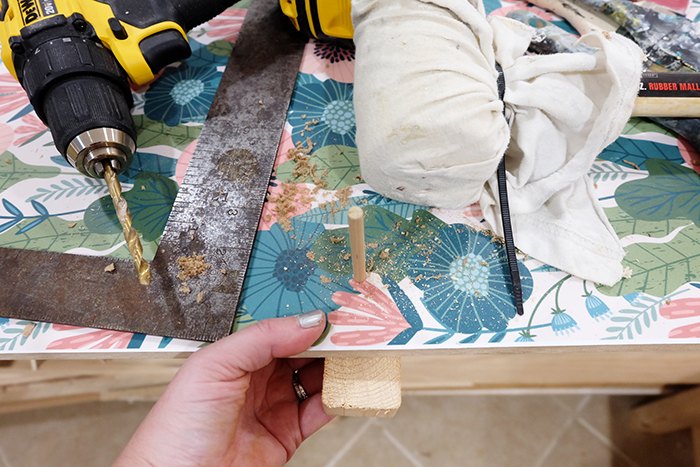
While many of my dowels were different thicknesses, they all stick out from the panel the same distance, about 2 1/2" or so. Pound them in with a rubber mallet and be sure to have a backing behind to stop them.

Oh, right! I also used a craft knife and cut out portions of the vinyl pattern, then trimmed those areas out with a jigsaw.
Drill a hole, drop the jigsaw blade into the hole, power up the saw, and follow the edges.
I painted all the edges with white acrylic paint.
Why? Why not, just for fun because I'm weird.
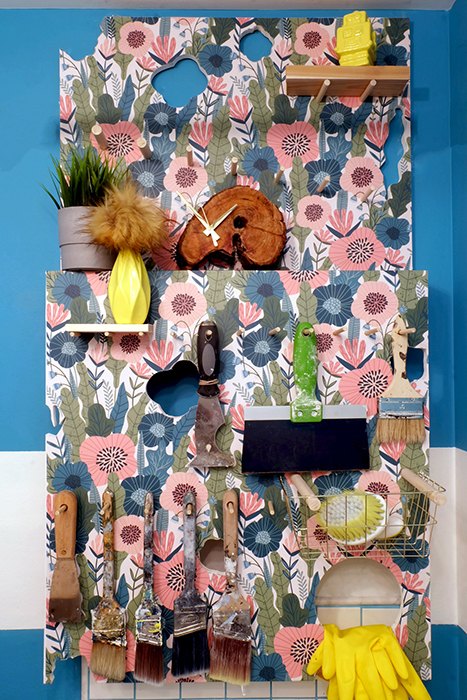
And here it is! A few keyhole brackets in the back and some screws in the wall studs to hang this off of, and it's up!
Like I said, the design of the pegboard is a little weird but the vinyl is high quality and the whole thing functions the way it should.
I know, it's weird but it's funky and the pattern is super fun. So go have some fun with whatever you create in your home!
Be sure to swing on by the post by clicking here for all the extra details, tips, tricks, and how to's on this project!
Resources for this project:
See all materials


Comments
Join the conversation
-
So much pattern you can't tell what's hanging there. Would be cute with a thin stripe or plain color.
-
I like it!


Frequently asked questions
Have a question about this project?
I like this project, but I am wondering what those curved cut out holes are for.
One of them has gloves, but the others look like a pattern of some sort.
Anyway. Fun project. I also liked the paper pattern. TFS