


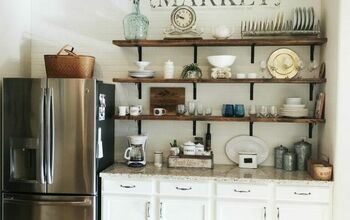
Open Shelving

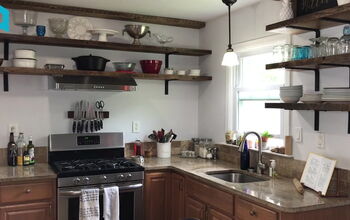
Our kitchen had plenty of cabinet space, including a large pantry, but it was lacking the character I was longing for. After months of trying to convince my husband to do open shelving, he finally caved. This project remains a favorite of mine. It is not only functional, useable space, but also a great spot to display some of my favorite things.
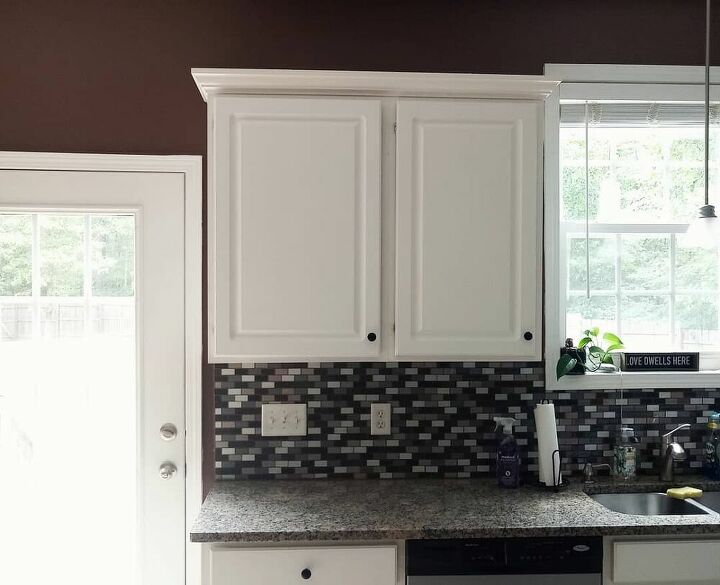
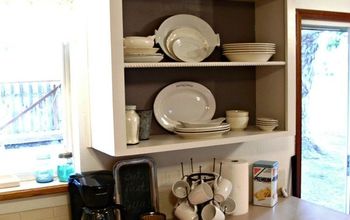
This set of free standing cabinets were the perfect spot for our new shelves. Removing them was much easier than we expected, just a few screws and they came right down. Our painter did the patch work for us since he was painting the kitchen already.
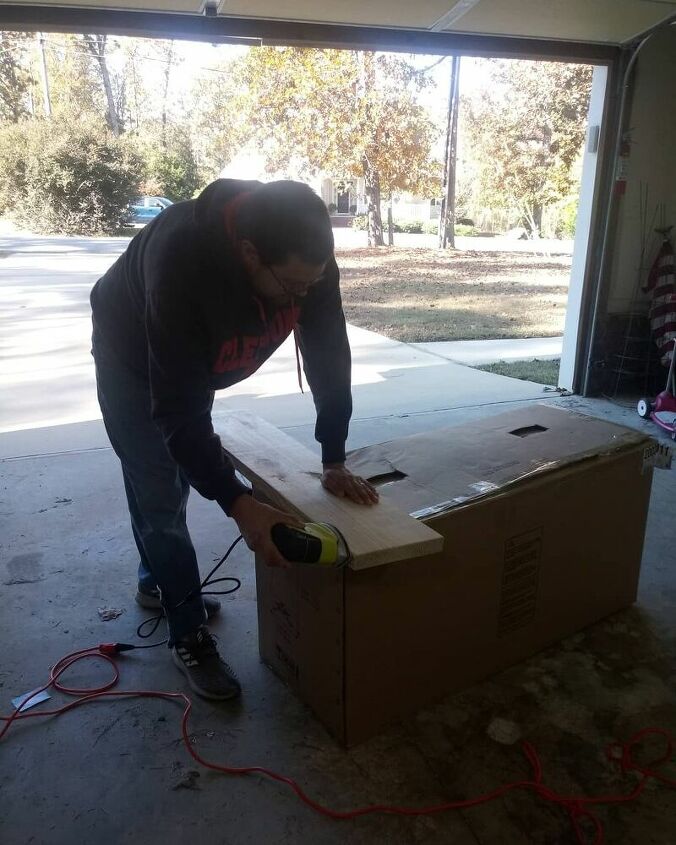
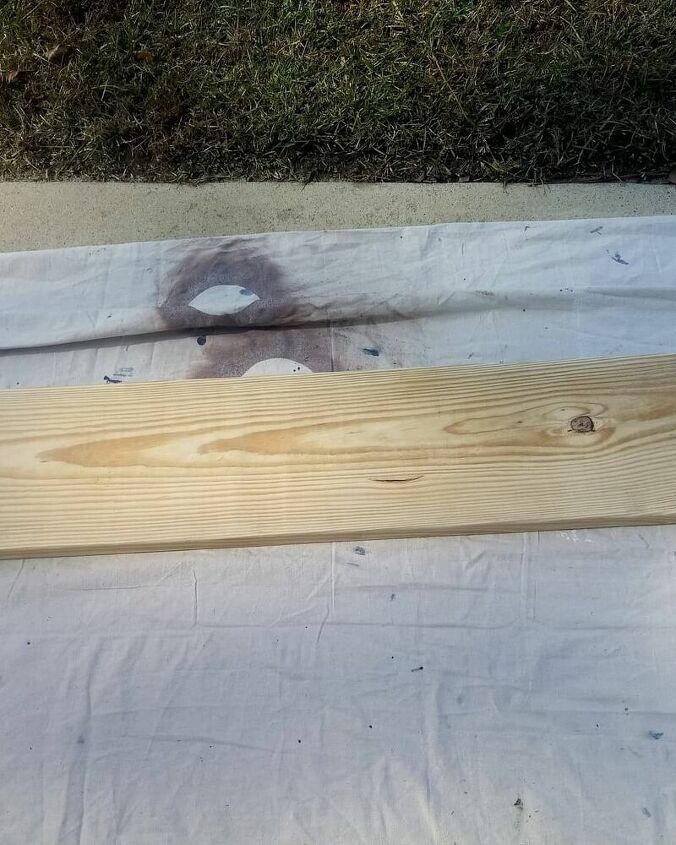
We wanted this project to be budget friendly so we chose to use Pine 2x10's for the shelves. We purchased two boards for around $5 each. At the time we did not have a saw so we had Home Depot cut them down to 45". My husband was in charge of sanding.
When the shelves were prepped it was time for me to get my hands dirty.
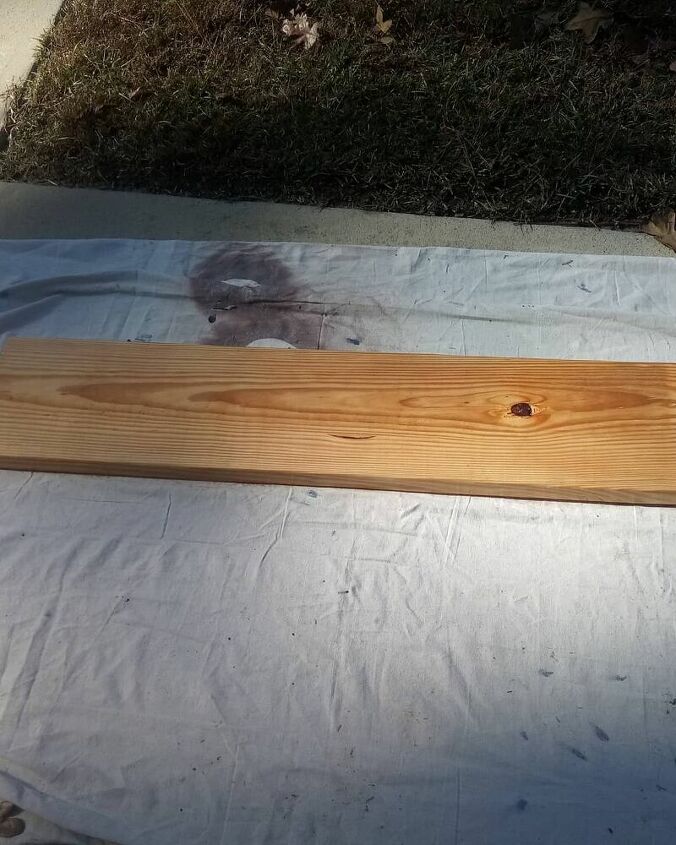
I used Varathane Poly+Stain in Classic Oak to stain the boards. We went with a lighter color to match the bamboo flooring throughout our home.
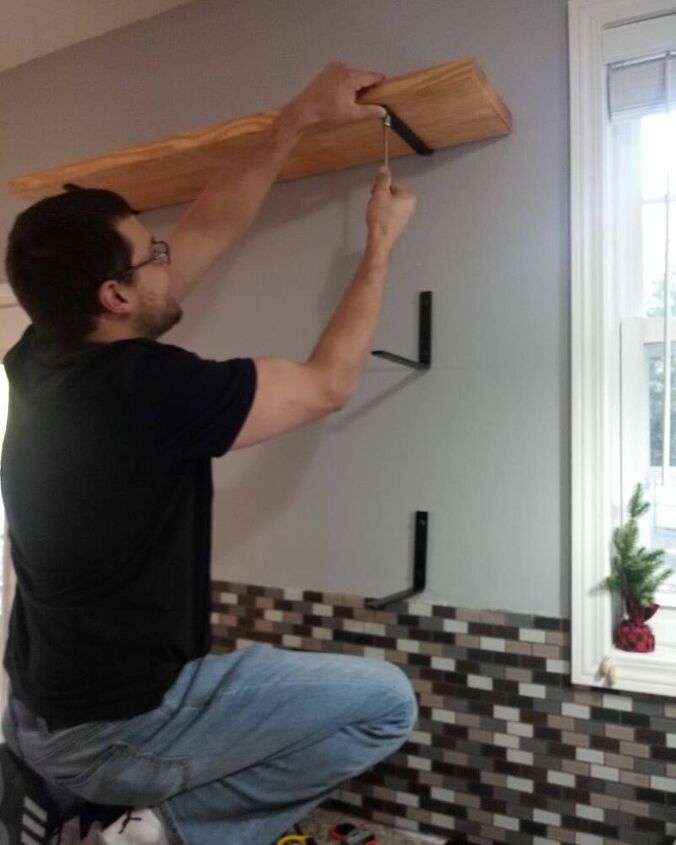
While the boards dried we moved on to the bracket installation. We purchased our brackets through Cascade Iron Co. and they came with step by step instructions for install. We used our stud finder and painters tape to mark our studs and bracket placement. When our placement was mapped out we used a level to make sure every thing lined up evenly. These two steps are very important to prevent unnecessary damage to your walls.
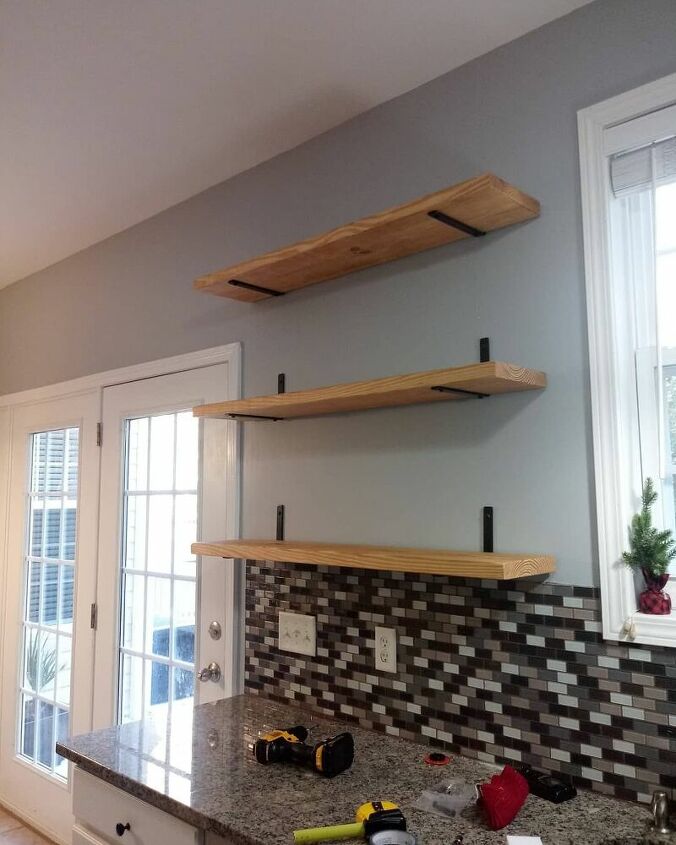
After the brackets were installed and the shelves were dry we secured them using the bolts provided by Cascade Iron Co.
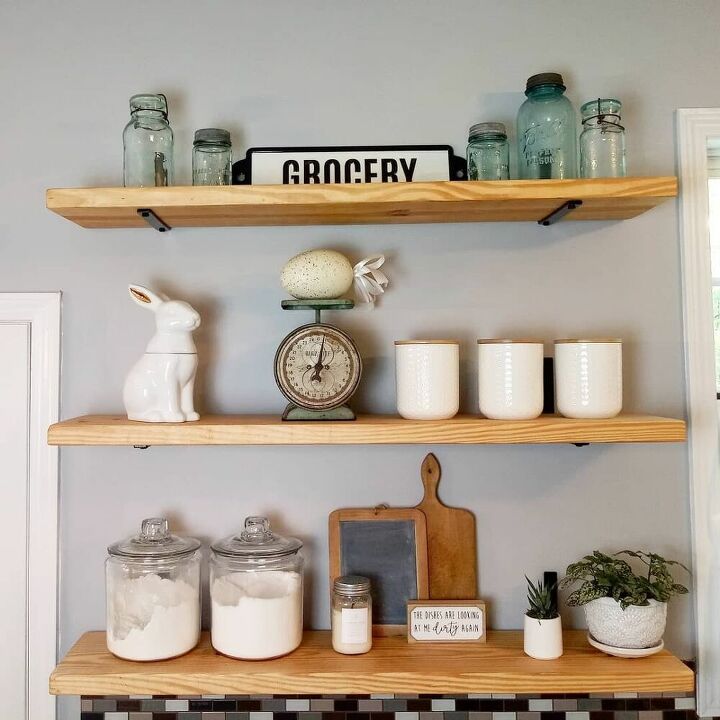
I'm not one of those people who have a knack for styling shelves, so it definitely took a lot trial and error before I got them looking how I wanted. I love switching up the decor for the different seasons and holidays! This was our first big DIY project and it inspired us to keep learning and growing. Remember to take it slow and measure a million times!


Comments
Join the conversation
-
No question - just a compliment! This looks really nice! Y’all did a great job & your decor is perfect! Functionality vs creativity!
-
So pretty!


Frequently asked questions
Have a question about this project?
Good job! It looks like your studs were perfectly aligned for where you put the shelves. Did you have a plan for it they had been way off-center from that? Thanks, Jennifer
How do you keep grease off the items on the shelf?