


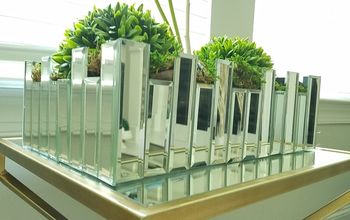
DIY Decor Terranium

I have had this DIY on my mind for a few months now! I love the look of terrariums; they're so cute, but I didn't want the hassle of a real one (I know, that might be silly to some of you, but after 27 years, I know my limits - I've vowed to only purchased fake plants from here on out 😂). So, follow along as I show the steps I took to put together my fake/decor terranium! Keep in mind, that this is totally customisable - I am actually looking forward to changing up the decor pieces in it to fit the season / my mood!
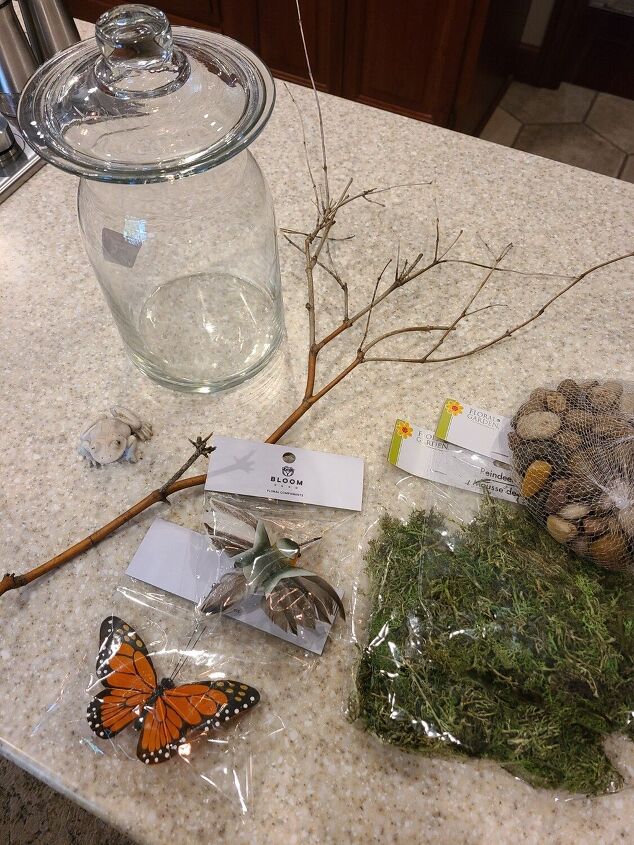
First, grab your supplies. I ended up using rocks, moss, sticks, a butterfly I found at Joann Fabrics, and a glass jar. The gladden jar was not the original shape or size that I had envisioned, but I went to Goodwill and found this large cookie jar-esque glass piece and fell in love with it. So, grab whatever you like and whatever catches your eye! Have fun with the size and shape, you can make anything work. My biggest suggestion (other than the piece that you pick must be see-through glass) is to find something that closes or has a lid.
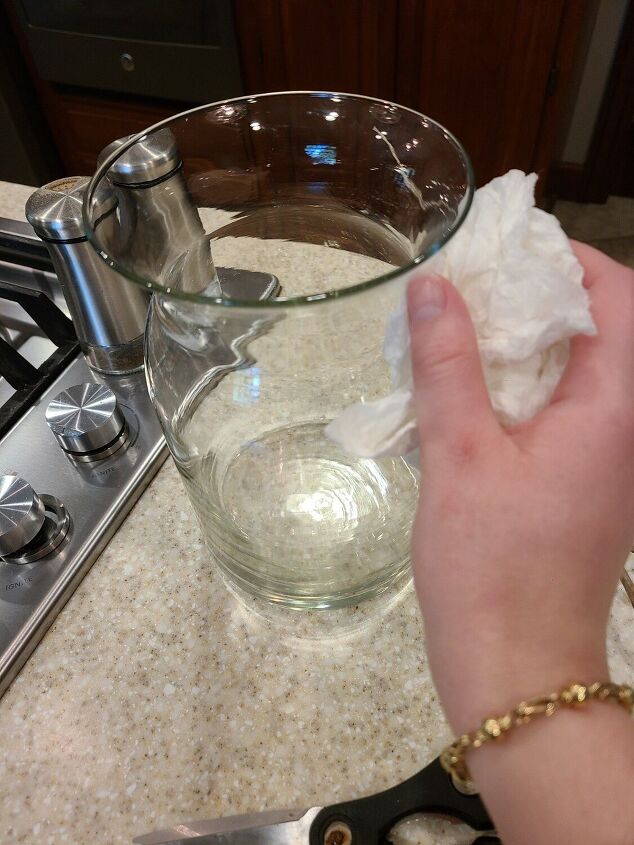
I started out by washing my new glass piece like I would any other glass jar!
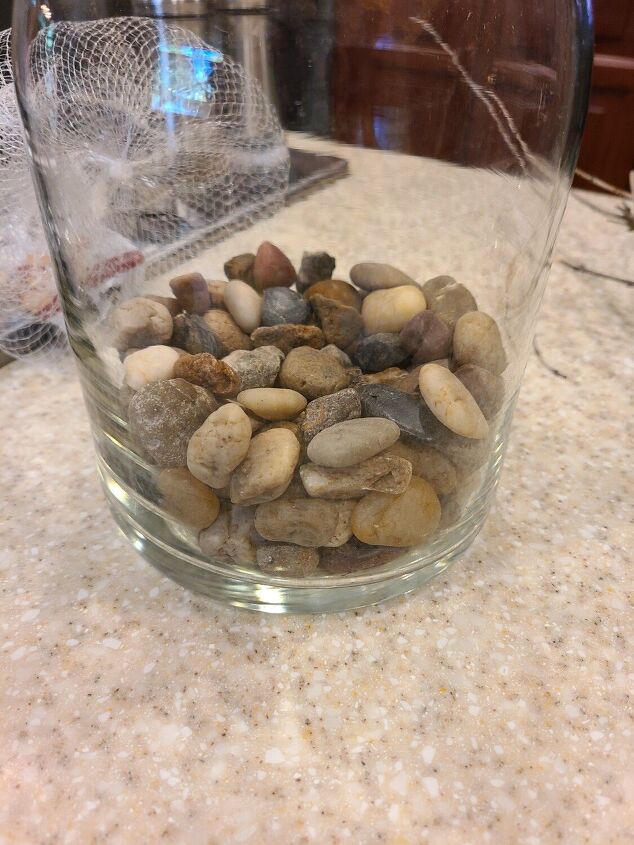
In the bottom, I added river rocks which I got from the dollar store. I ended up putting in more initially and then taking some out to create a thinner bottom layer. Feel free to eye ball this and add as many or as little rocks as you'd like!
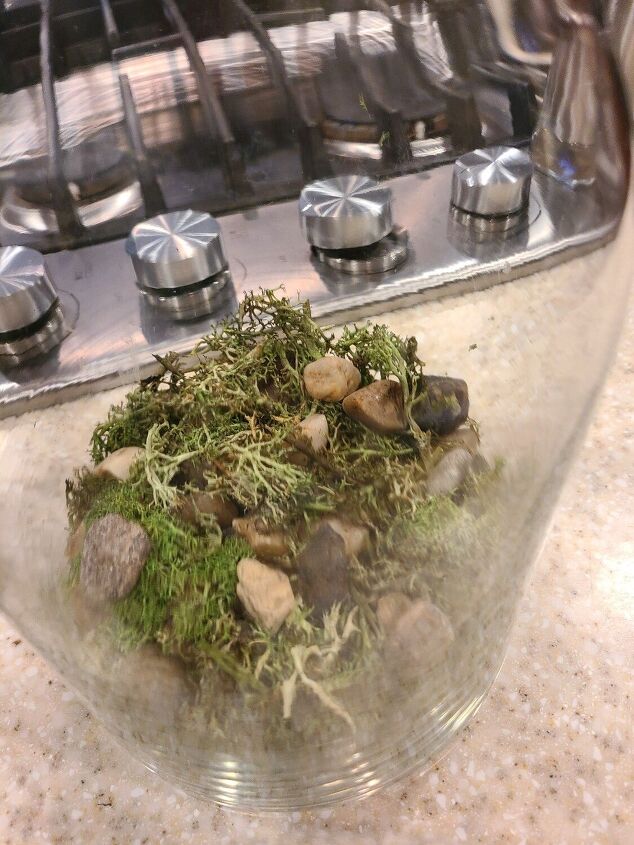
I added moss next. Originally, I was going to fully cover the rocks to create a distinct "layered" effect, but I ended up not loving that. I put less moss in to try to create a natural effect.
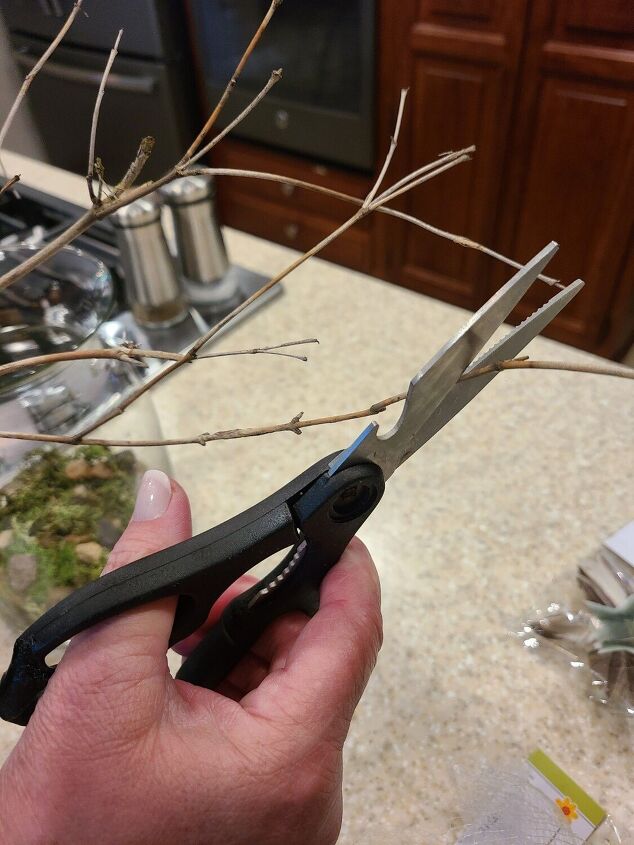
Next, I cut my branches down to size. I kept putting the cut pieces into the jar to measure and cutting little bits at a time.
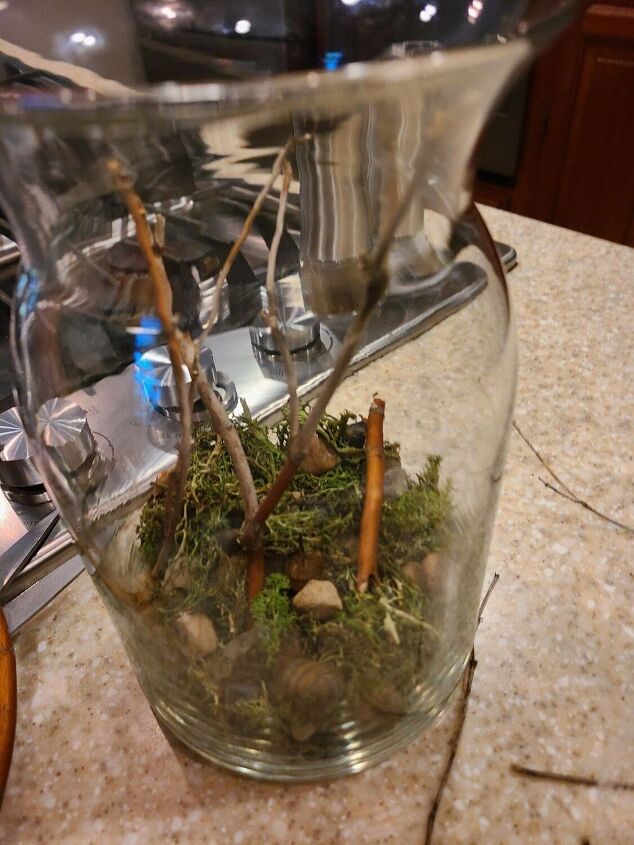
After cutting down my sticks to size and shape, I added a few laying on the bottom of the jar for a natural look. I then placed a few sticks standing up to help support my butterfly.
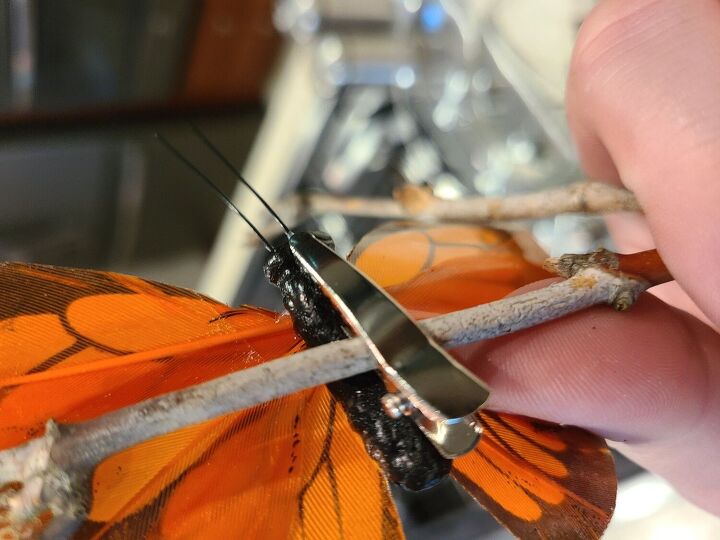
Once I got my sticks in place, I attached my butterfly. Luckily, my favorite one at the store had this handy clip on the back that allowed me to simply stick it on.
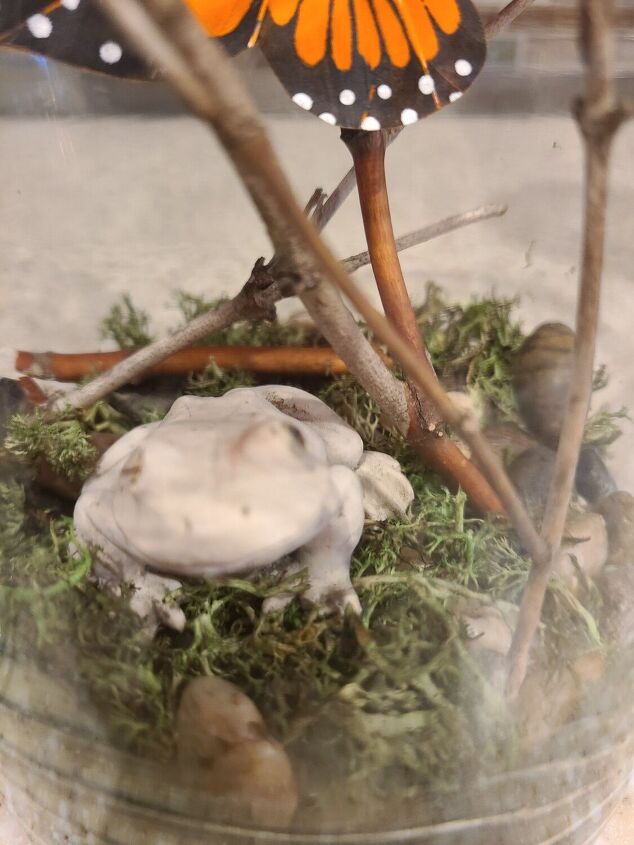
Then, I felt the jar was missing something. So I added a cute little frog. The butterfly, frog, and standing sticks are all optional - after building your base, you can add any decorative elements! I'm going to look into adding some fairy garden trinkets to this vase, and maybe some fun Harey Potter elements! Heck, I might just make a few more of these! I'm unsure, but the possibilities are endless which makes me love this project all the more!
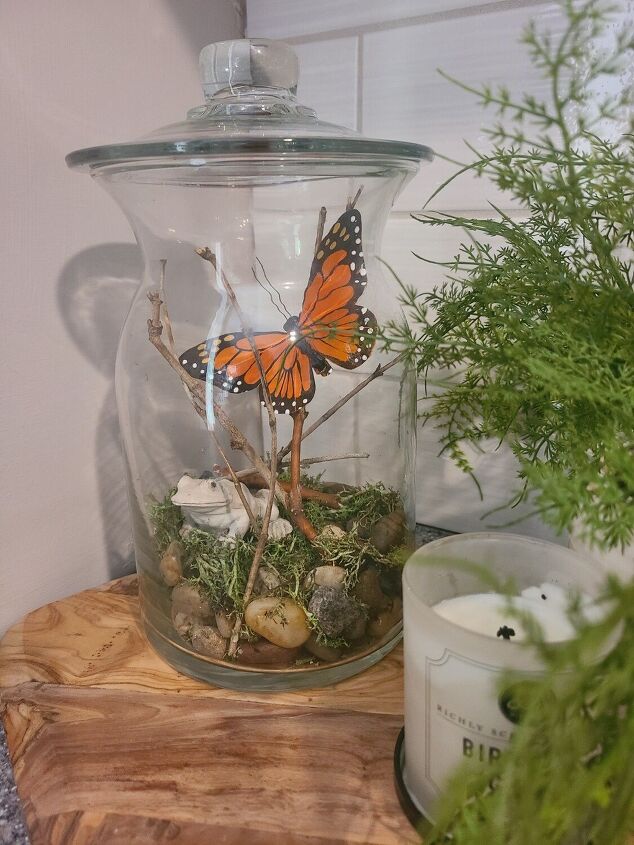
Lastly, enjoy! I am in love with my little "Summer in a Jar" Terranium, ans I hope you ended up loving yours as well!
Resources for this project:
See all materials


Comments
Join the conversation
-
So cute we get those cute white frogs on our front porch in Florida.
-
Oh I love this. So simple and yet so cool and creative and "Earthy". Love it.


Frequently asked questions
Have a question about this project?
Did you glue any of it down to secure ? Thanks from Scotland xxx
What do you think about painting the frog? Green for a realistic look or brown for a Harry Potter element? (snicker)