


Thanksgiving Dining Room: How to Create a Stunning Display

Looking for last-minute inspiration to spruce up your Thanksgiving dining room display with stunning holiday table decor?
Read on to discover how to craft a personalized tablecloth and master three adorable napkin folding tricks that will leave your guests saying, "WOW!"
Tools and Materials:
- Plain tablecloth
- Scissors
- Pencil
- Paintbrushes
- Plastic drop cloth
- Fabric paint
- Copy paper
- Cricut machine (optional) or
- Thanksgiving-themed Words
- Fabric napkins
- Ribbon
- Elastic bands
- Foil
DIY Thanksgiving Tablecloth
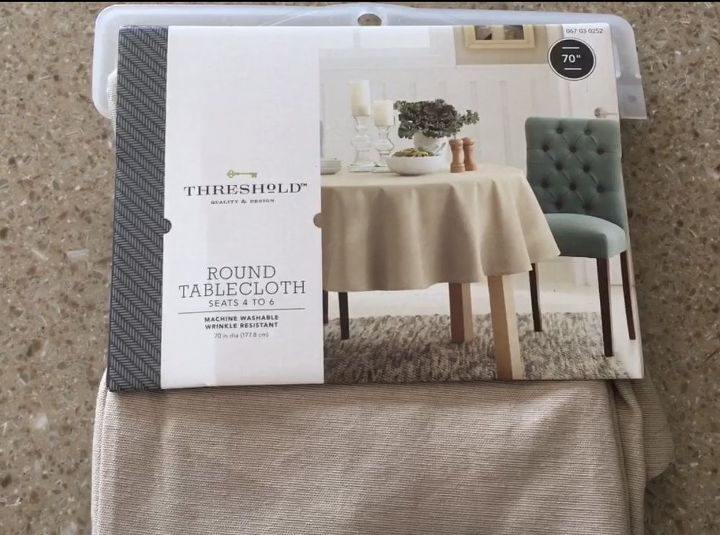
1. Purchase a Plain Tablecloth
To get started with your DIY Thanksgiving tablecloth, begin by purchasing a plain tablecloth. You can find suitable options at stores like Target.
2. Launder Your Tablecloth
Before decorating, make sure to launder your tablecloth using soap only; avoid using fabric softener as it may affect the paint adhesion.
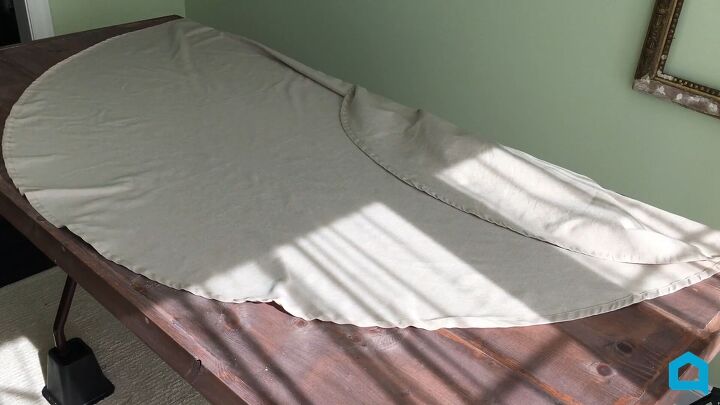
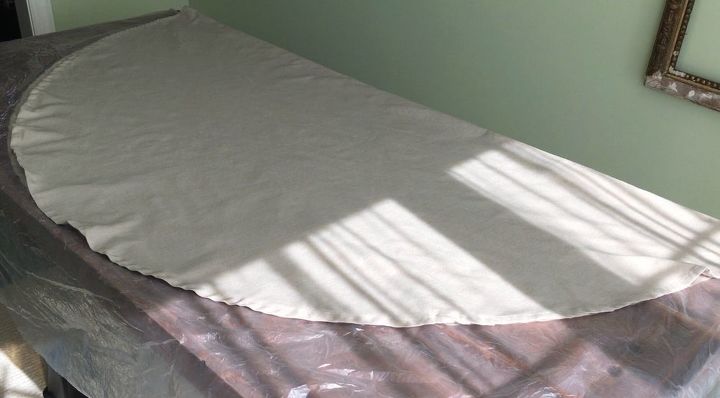
3. Prepare Your Work Surface
Lay your clean and dry tablecloth on your designated work surface. It's important to have a flat and clean area to work on.
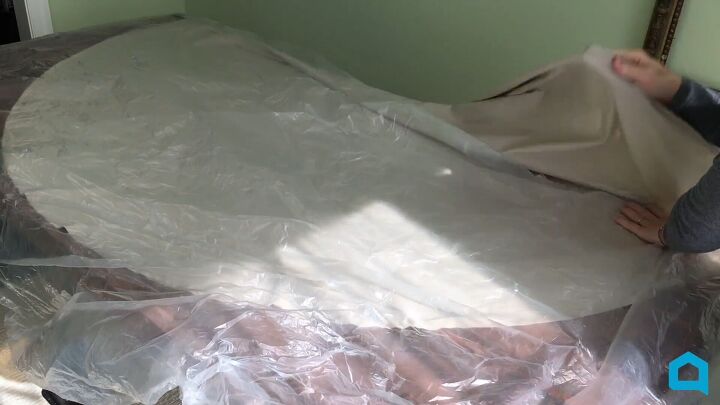
4. Use a Plastic Drop Cloth
If you need to fold your tablecloth over because you don't have a large enough work surface, then place a plastic drop cloth between the layers to prevent any paint from seeping through.

5. Cut Out Your Design
You can cut out your chosen words or design elements using a Cricut machine. Alternatively, you can print them onto copy paper and cut them out by hand.
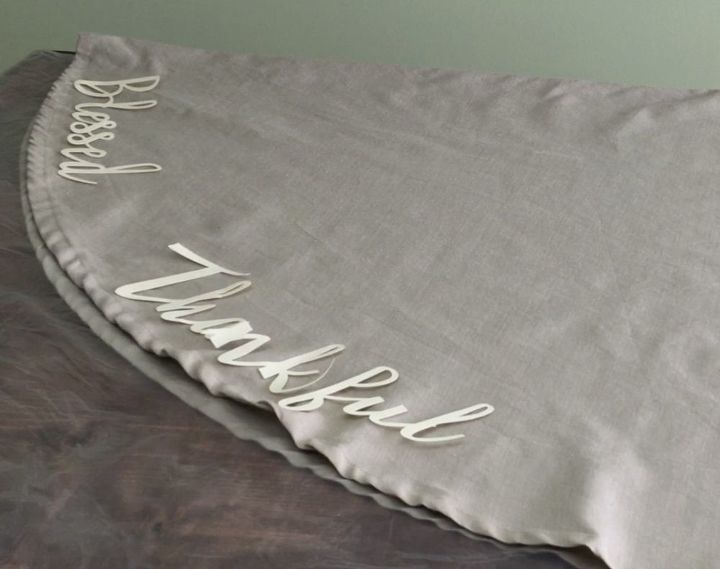
6. Arrange Your Design
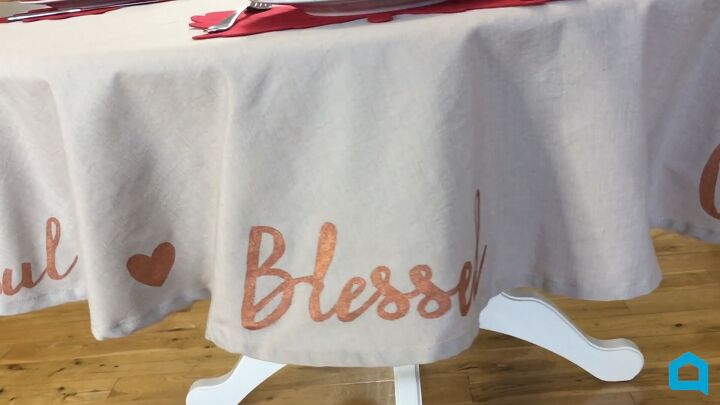
Decide how you'd like to design your Thanksgiving tablecloth. You can incorporate words like "thankful," "grateful," "blessed," and "family" for a meaningful touch.
Lay out your design elements around the edge of the tablecloth, positioning them where you want them to appear in the final design.
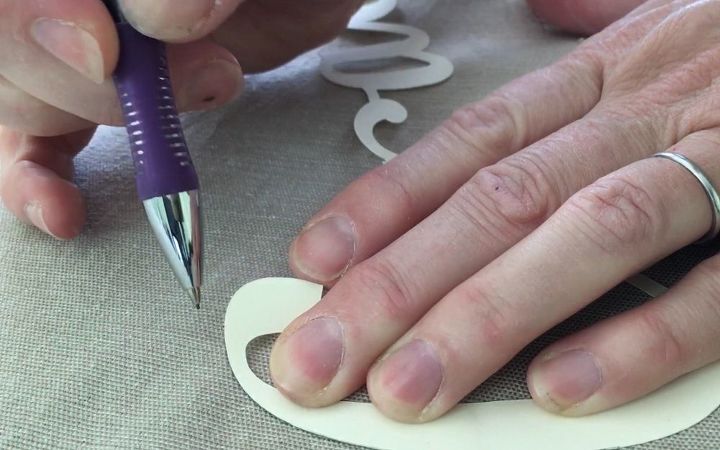
7. Trace the Design
Using a pencil, carefully trace around the edges of your design elements onto the tablecloth. This will serve as a guide for your painting.
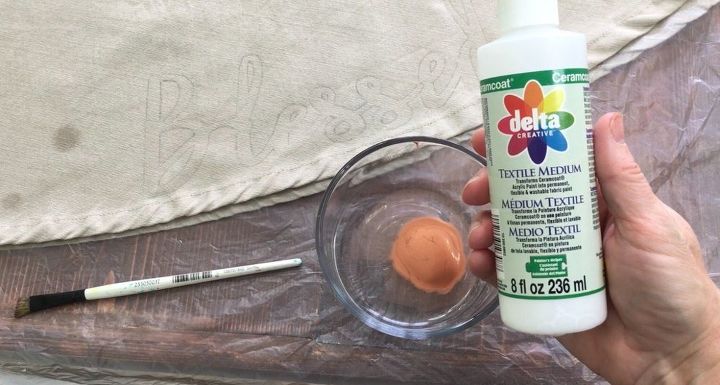
8. Mix Your Paint (Optional)
I wanted to paint my words using a bronze color and couldn’t find that color in fabric paint. I decided to create a custom color by mixing acrylic paint with textile medium. Use a 2:1 ratio of paint to textile medium, and mix thoroughly.
If you are using fabric paint, you can skip this step.
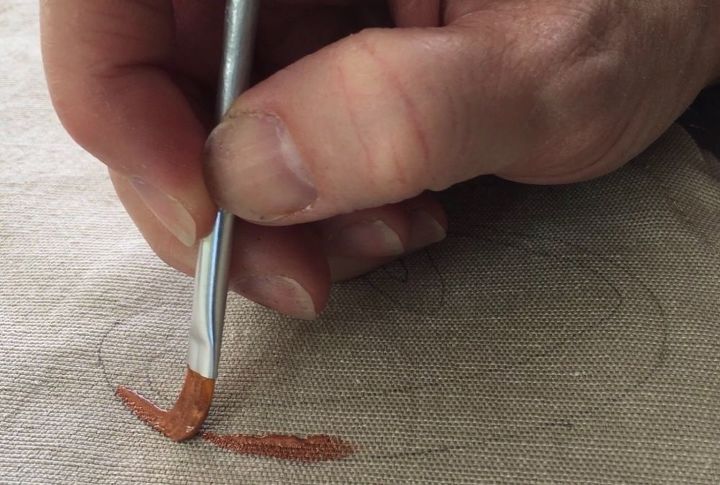
9. Apply the Paint
Carefully paint your chosen words or design elements onto the tablecloth. Take your time to ensure clean lines and even coverage. Allow the paint to dry completely before flipping your tablecloth over to paint the opposite side.
Thanksgiving Napkin Folding Ideas
Next, I am going to show you some gorgeous Thanksgiving napkin folding ideas to really impress your guests.
1. How to Fold a Turkey Napkin
Let's start this turkey napkin by creating the body.
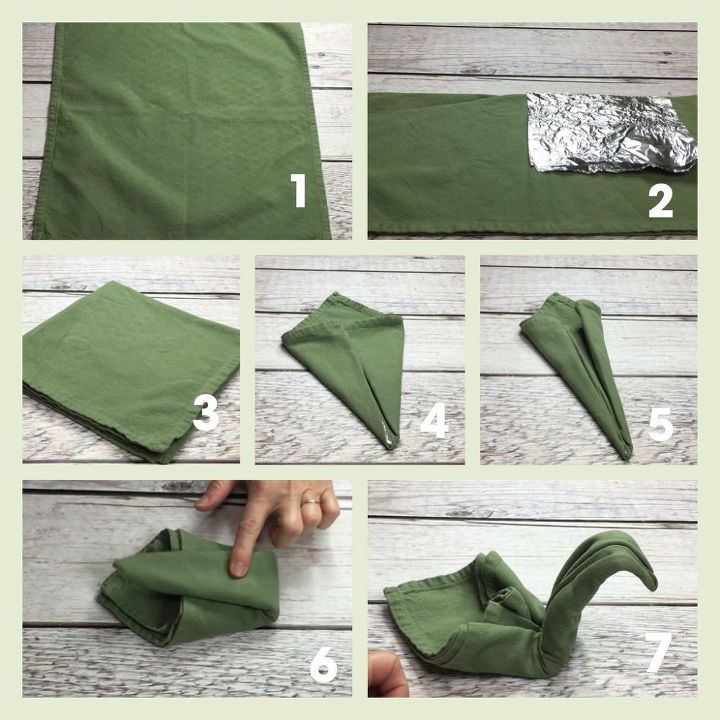
1. Start with a Square Napkin
Begin by selecting a square napkin as your base for crafting the turkey napkin fold.
2. Fold in Half and Add Tin Foil
Fold the square napkin in half, and then lay a piece of tin foil on top of one side of the folded napkin.
3. Fold to Create a Diamond Shape
Fold the napkin in half again, ensuring that the tin foil is covered by the folds. Turn the napkin so that it forms a diamond shape.
4. Form the Turkey's Body
Fold the right corner of the diamond shape into the middle of the napkin, and then fold in the left corner to create the body of the turkey.
5. Create the Turkey's Tail Feathers
Fold the right side of the napkin towards the middle, and then fold the left side in the same manner to form the turkey's tail feathers.
6. Shape the Turkey's Head
Fold the pointed end of the napkin that is facing you over to meet the point at the back, creating the turkey's head.
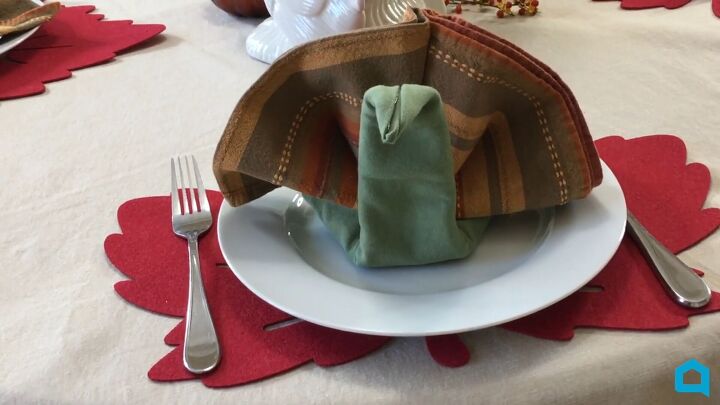
7. Shape the Turkey's Head and Neck
Stand the folded point up and shape it to form the turkey's head and neck. Place the completed napkin turkey to the side, ready to adorn your Thanksgiving table.
Next, we need to give the turkey some feathers, here's how:
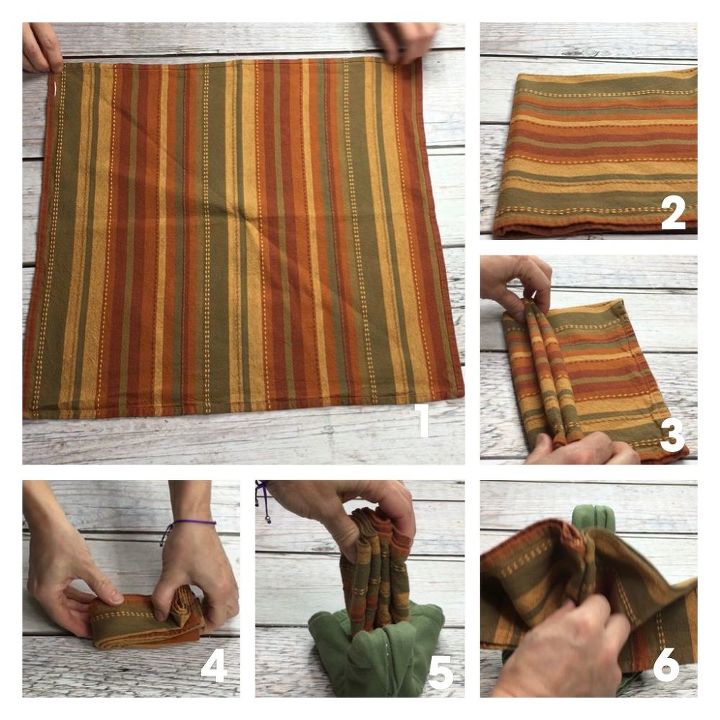
1. Start with a Square Napkin
Begin with a square napkin as the foundation for your turkey feather napkin fold.
2. Fold to Form a Square
Fold the square napkin in half once, and then fold it in half again to create a smaller square.
3. Accordion Pleat
Starting at the folded end of the napkin, carefully accordion pleat the entire length of the napkin.
4. Fold in Half and Pinch the Top
Fold the pleated napkin in half, and then pinch the top where the folds meet.
5 Add Feathers to the Turkey
Grab your turkey napkin's body and position the feathers on its back.
6. Secure the Napkin
Release your hold on the pinched top, allowing the napkin to naturally fall. Pin the napkin feather at the top mid point where the two sides meet.
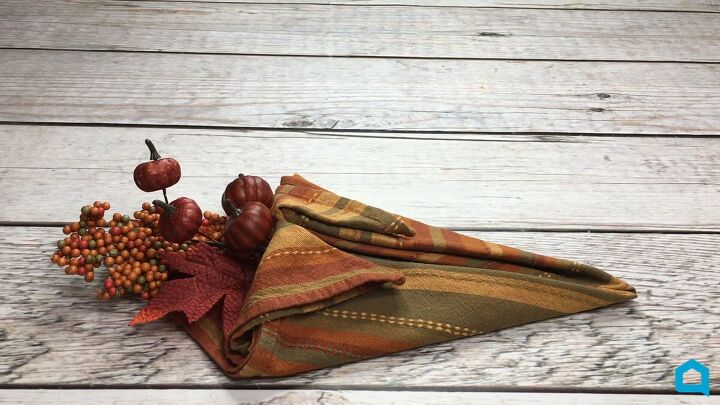
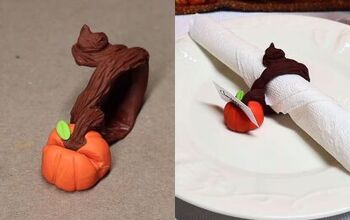
2. Cornucopia Napkin Fold
The second idea is a cornucopia napkin fold - perfect for Thanksgiving!
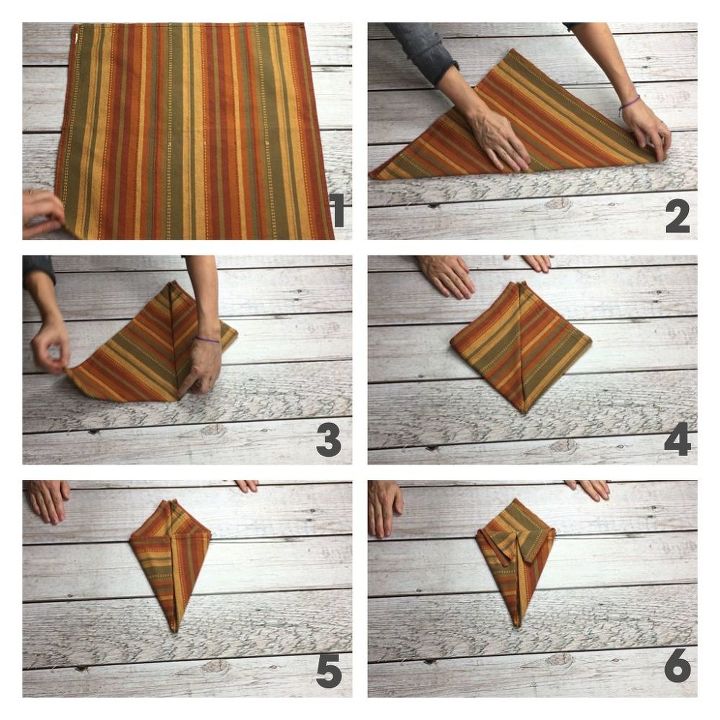
1. Start with a Square Napkin
Begin by selecting a square napkin as the base for creating your cornucopia napkin fold.
2. Fold into a Triangle
Fold the square napkin diagonally, transforming it into a triangle shape.
3. Fold the Right Side
Take the right side of the triangle and fold it inward, bringing it towards the middle.
4. Fold the Left Side
Repeat the process with the left side of the triangle, folding it inward and meeting it in the middle.
5. Fold Down the Flaps
Fold down the flaps on each side of the triangle to create the cornucopia's opening, forming the characteristic shape.
6. Finished!
Your cornucopia napkin fold is complete, and ready to grace your Thanksgiving table with a touch of festive elegance.
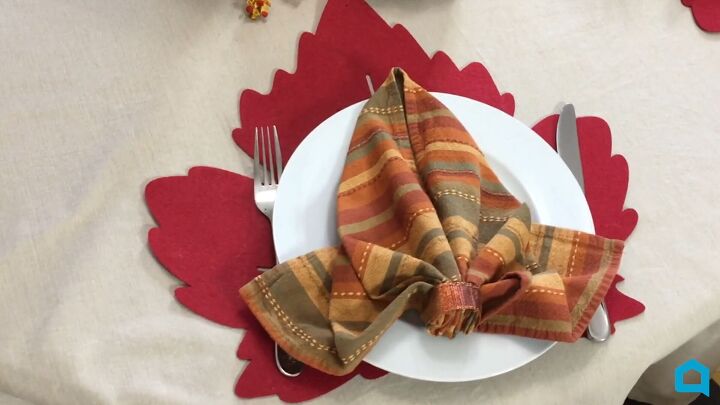
Don't forget to watch the video at the beginning of the post for bonus Fall Leaf Napkin Folding instructions.
More Thanksgiving Table Designs
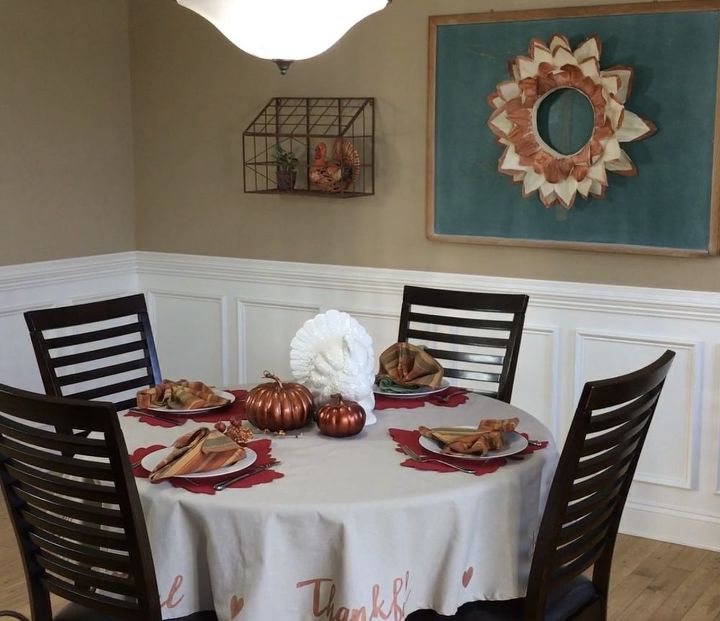
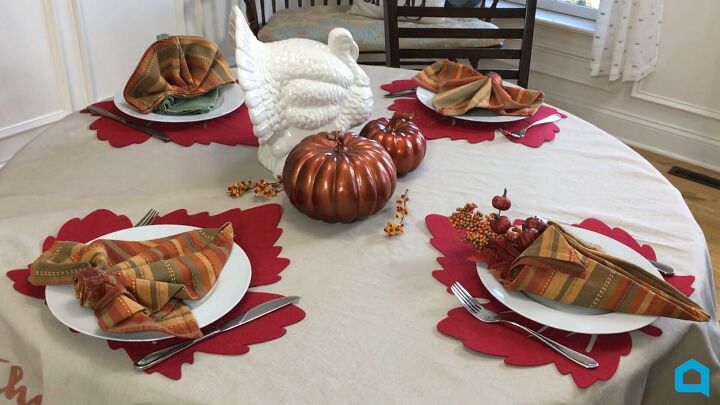
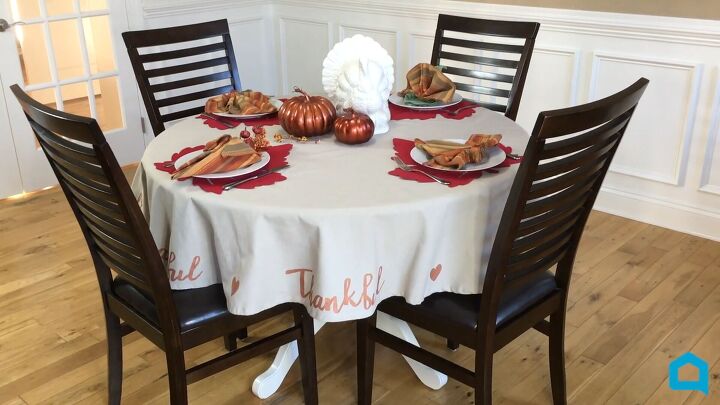
There you have it, gorgeous Thanksgiving Dining Room decorations.
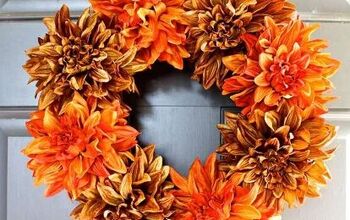
I added pumpkins and a turkey to the table as a Thanksgiving centerpiece and decorated the wall with a DIY Corn Husk Wreath.
Have a blessed Thanksgiving from my family to yours!
Comments
Join the conversation
-
outstanding job! I love this project. Thank you for sharing
-
Beautiful, now I know I will be able to decorate our small dining room table as lovely since downsizing .


Frequently asked questions
Have a question about this project?
I love what you have done. Did you make the wreath? If so, how.
Noticed you didn’t remove plastic from wreath form. I’ve had some problems with hot glue and plastic wrap. Did you use low temp glue? Like this wreath, unexpected and very fall like. Thanks for sharing