


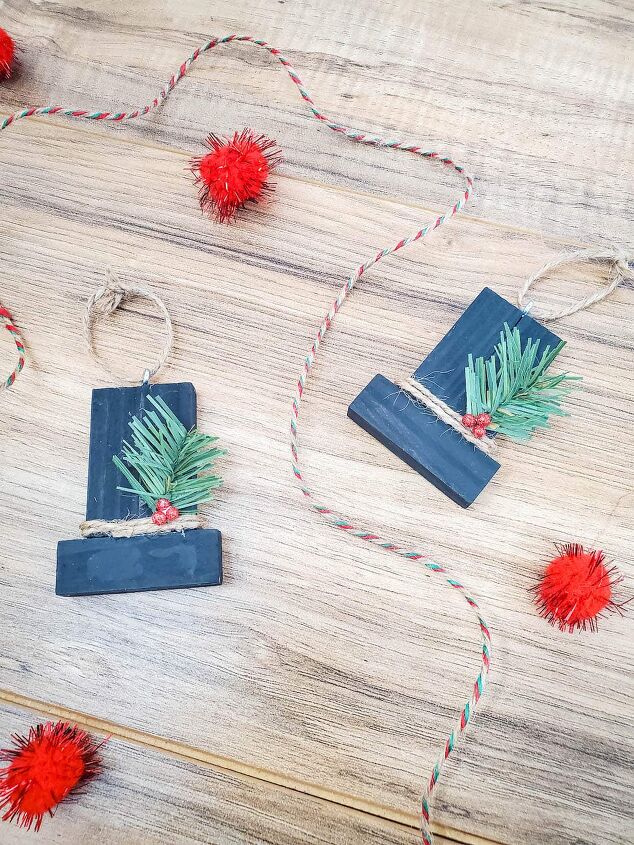
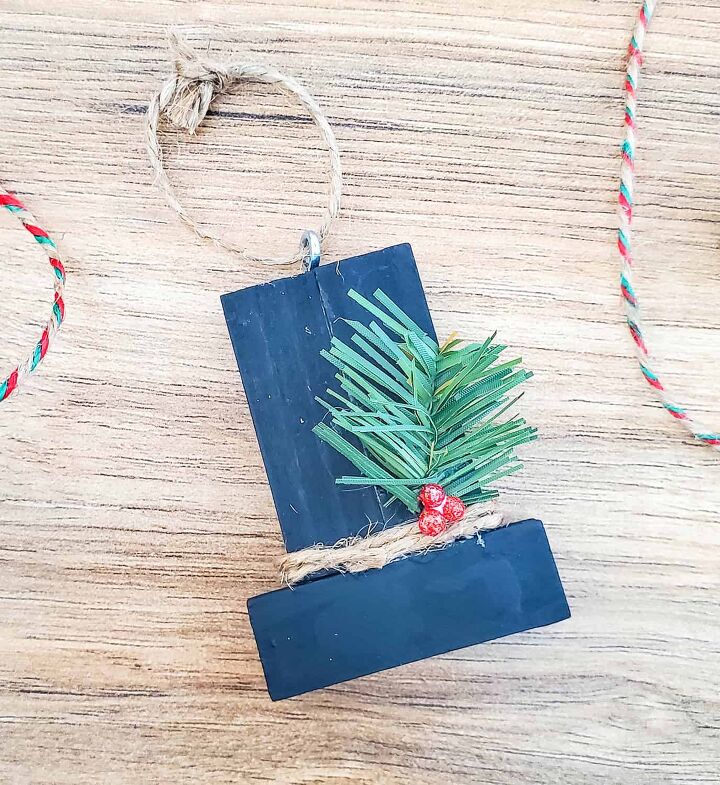
Snowman Hat Ornaments (Using Dollar Tree Tumbling Tower Blocks)
I am thrilled with these easy DIY Snowman Hat Ornaments. All you need to do is glue together Dollar Tree game pieces for an adorable tree decoration that would also make great gift toppers!
The cost of these ornaments is incredibly low! You can make two dozen ornaments for around $5. Which makes these perfect to give to family or to make to sell.
You could also use some of the wood blocks to make my Christmas present ornaments, too.
These directions make one handmade snowman hat ornament. You would be able to make 24 ornaments from one Tumbling Tower game.
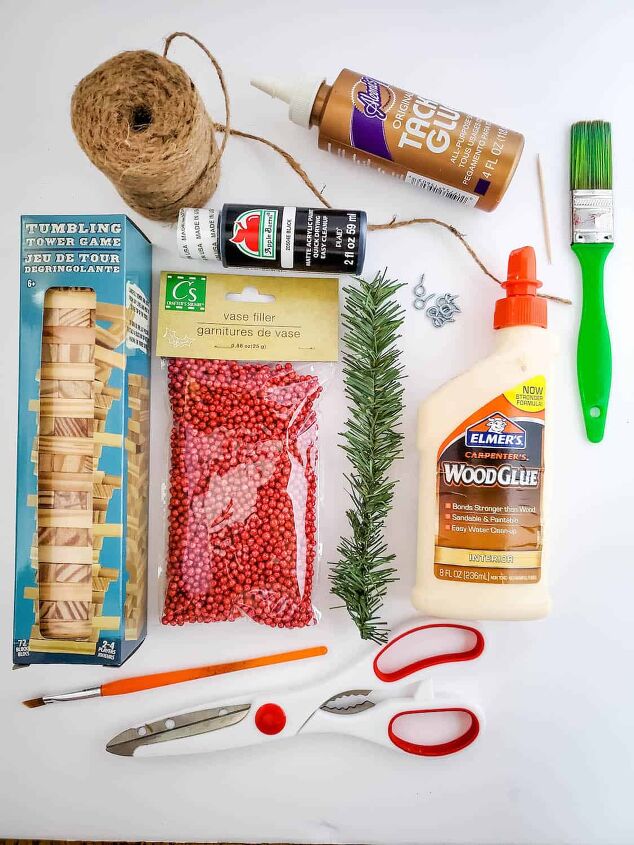
Supplies
- 3 Dollar Tree Tumbling Tower Game blocks (or Jenga blocks)
- Twine – (2) 7-inch pieces
- Fake pine Christmas garland – 1 inch piece
- Red vase filler – 3 pieces
- 1/2 inch Eye hooks
- Wood glue
- Black craft paint
- Tacky glue
- Scissors
- Paint brush
- Toothpick
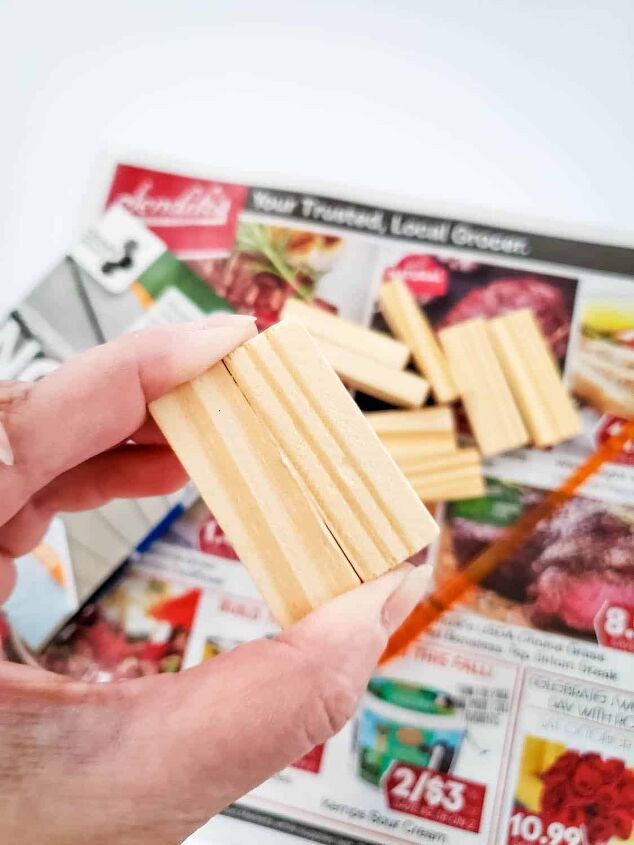
Step 1
Apply a thin layer of wood glue to the long side of a wood block. Put another wood block side against it and hold together for about 30 seconds, until they stick together.
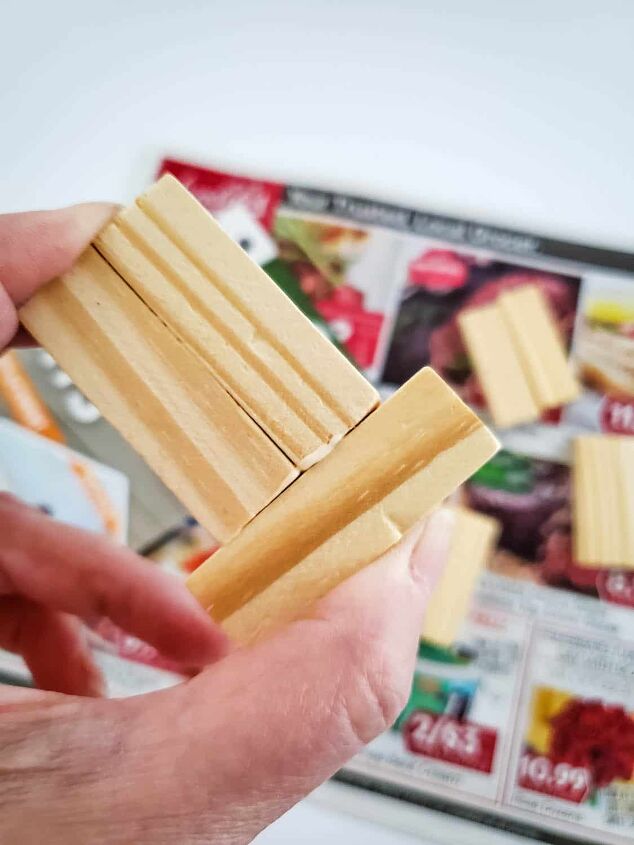
Step 2
Add a thin layer of glue to the long side of another block, but just apply in the middle and not to the outer edges.
Place the block against the bottom of the two blocks that are already glued together. This block will be perpendicular to the other two blocks. Hold together for about 30 seconds, until secure.
Allow the glued blocks to now dry completely before doing the next step.
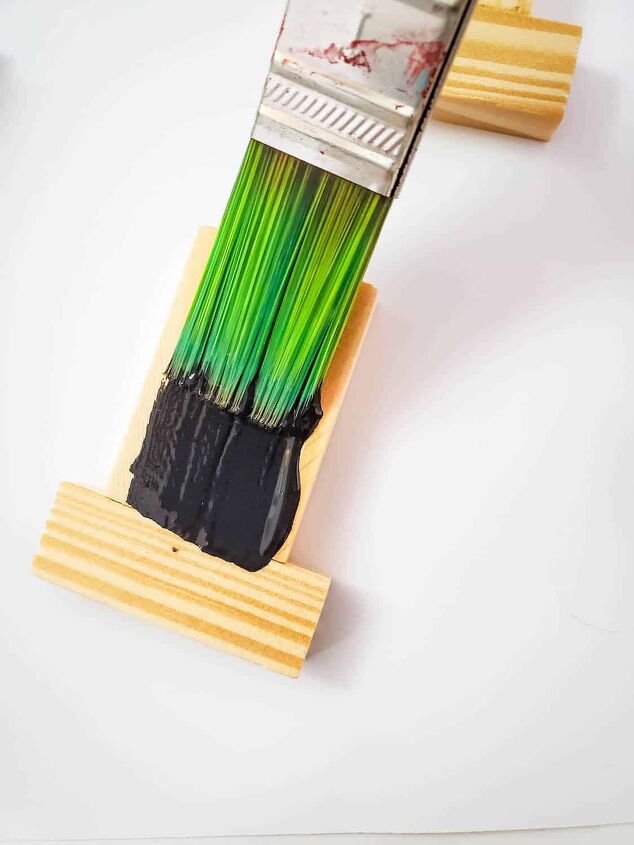
Step 3
Paint the wood block hat with black paint. Be sure to get the front, back and all of the sides. Allow to dry.
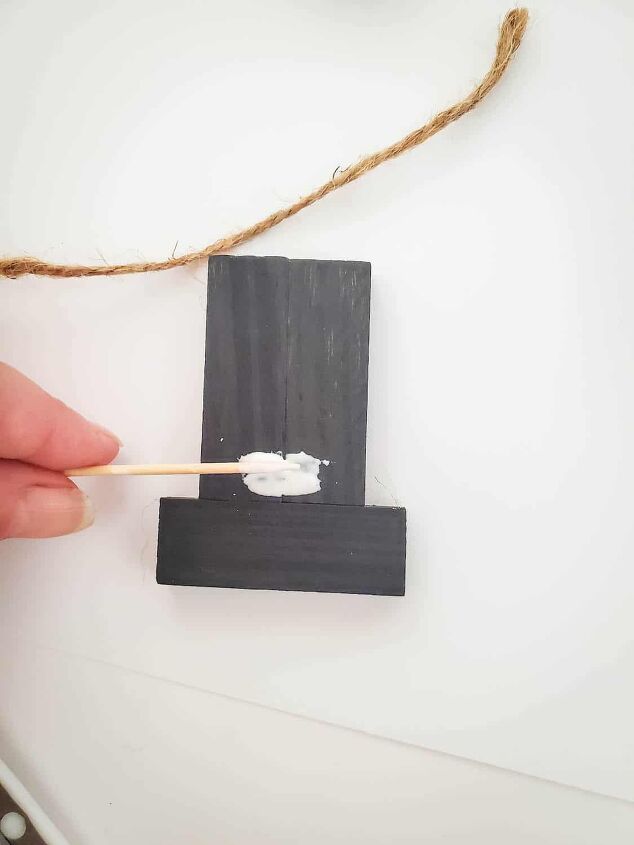
Step 4
Add a small line of tacky glue to one side of the hat using a toothpick, where the 3 blocks meet together at the brim.
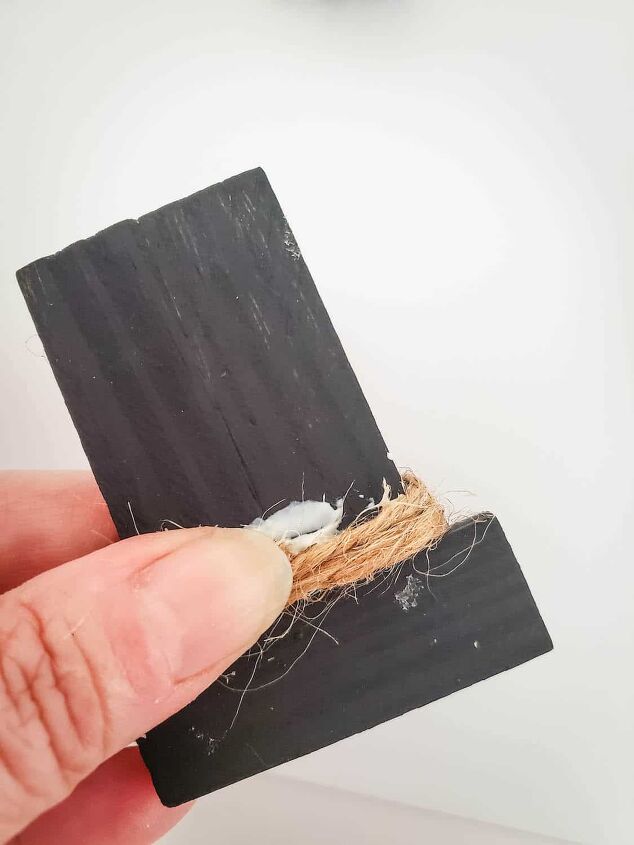
Step 5
Place the end of one piece of twine on top of the glue. Wrap the twine around twice, securing the end in the same place where you started the piece of twine. This will now be the back of the hat. Hold the twine into the glue until it is secure.

Step 6
Apply a bit of tacky craft glue (or the wood glue) with a toothpick near the twine wrapped brim. Place a small piece of pine branch into the glue and hold in place for about 30 seconds.

Add a dab of glue with your toothpick to the top of the garland, by the twine. Press one red ball into the glue on top, and two on the bottom to form a holly berry. Allow to completely dry.
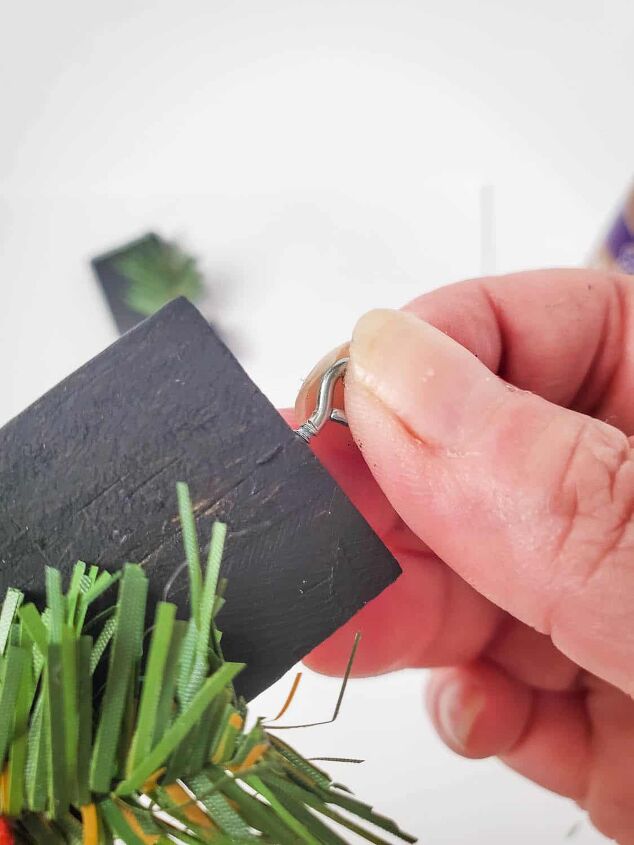
Step 7
Screw an eye hook into the center of the top of the hat. Just press firmly into the center of the wood pieces and twist until it is secure in the ornament.
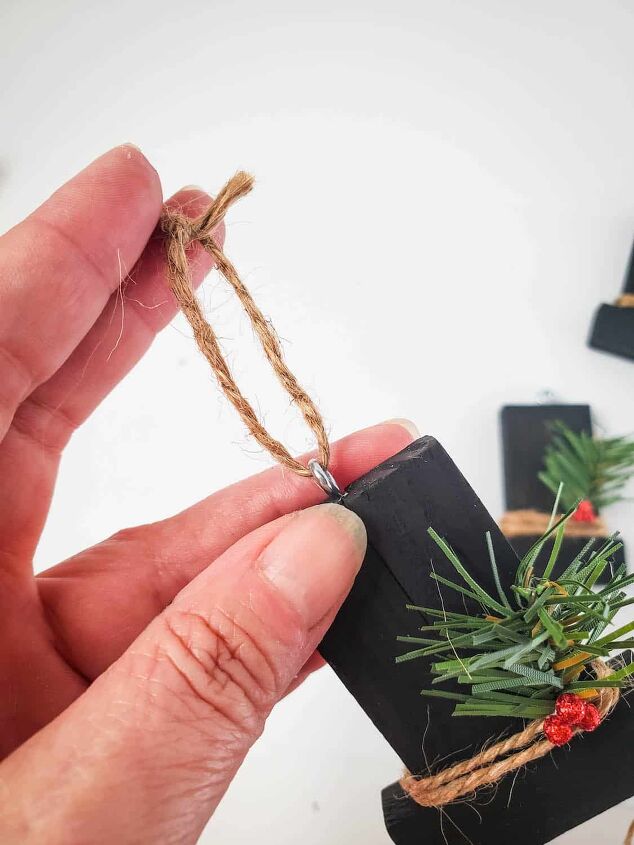
Step 8
Tie the second piece of twine through the eye hook and knot the ends together to form the ornament hanger.
Check out my big list of more than 70 No-Sew Christmas ornaments that you can make right now!

Comments
Join the conversation
-
Earrings too
-
Really cute! Thanks for the idea!


Frequently asked questions
Have a question about this project?