


DIY Wedding Arch

I built my daughter a custom wedding arch for her outdoor wedding. Being on a budget shouldn't stop you from building a custom arch that is affordable.

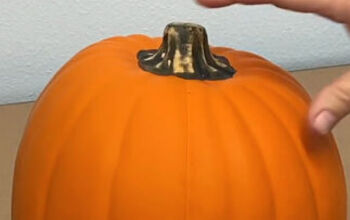
This arch used three (3) round posts that were 3 inch wide by 8 feet long. I used concrete in buckets for the base in case high winds came up. Below I will detail how it was built hoping to give you some ideas of what you can make for your loved ones future wedding.
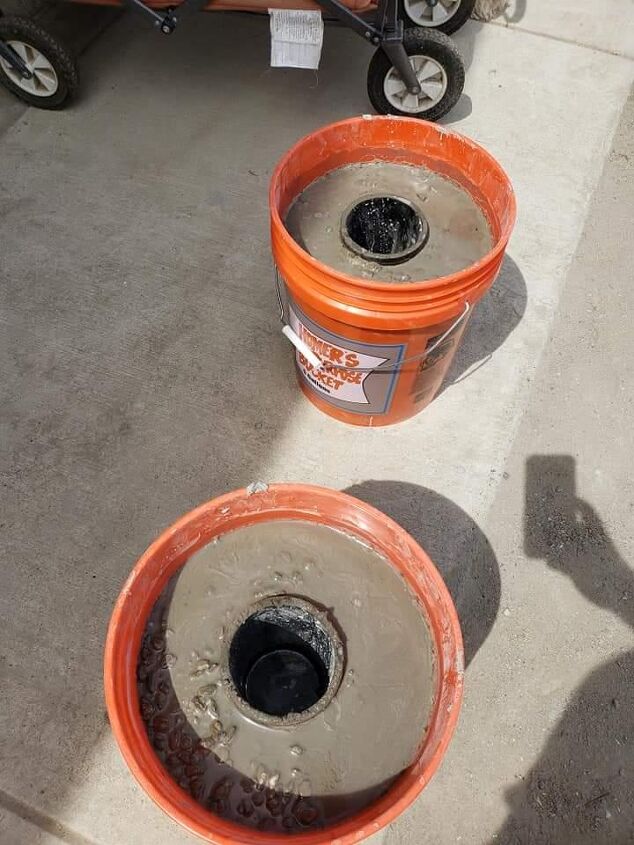
For the base, I took two 5 gallon buckets and placed the 4 inch ABS plumbing pipe in the middle. I mixed up the concrete and poured it around the pipe. When you pour the pipe will stay right in the middle with little effort. It only needs to dry overnight to be ready to use.
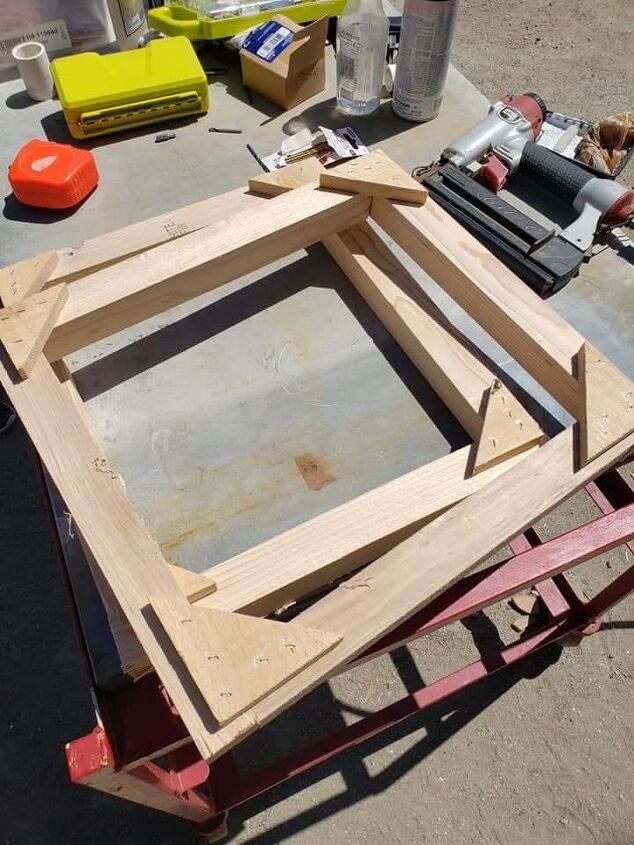
While the concrete was drying I started building the frame to hide the buckets. Using 2x2 wood, I made a few square supports to go around the top and bottom of each bucket. I cut small plywood triangles to hold the pieces together so that any screws wouldn't split the wood. I built four of these squares and made sure they would slip down around the buckets.
Here I started cutting the cedar wood fence wood to go around the squares. I used small staples to hold the wood together to avoid the ugly appearance of screw heads. Cutting the cedar was real easy and I was able to use my electric miter saw to cut them all at once.
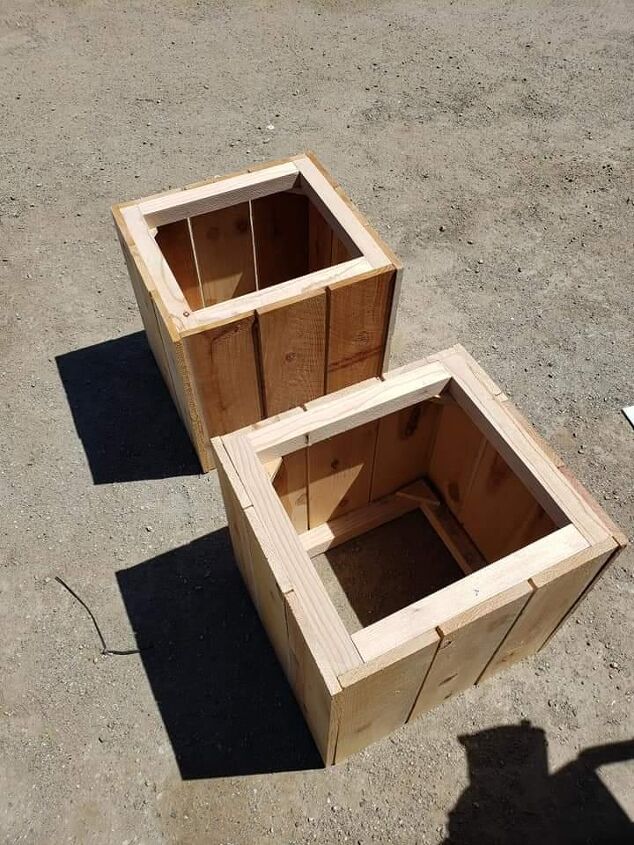
Here you'll see the completed boxes without the tops on them. Now, you'll only need to do the sides and the top, not cover the bottom. You'll want the boxes to slide over the buckets when setting up the arch. I got lucky that the cedar wood didn't need to be cut length wise, they were a perfect size.
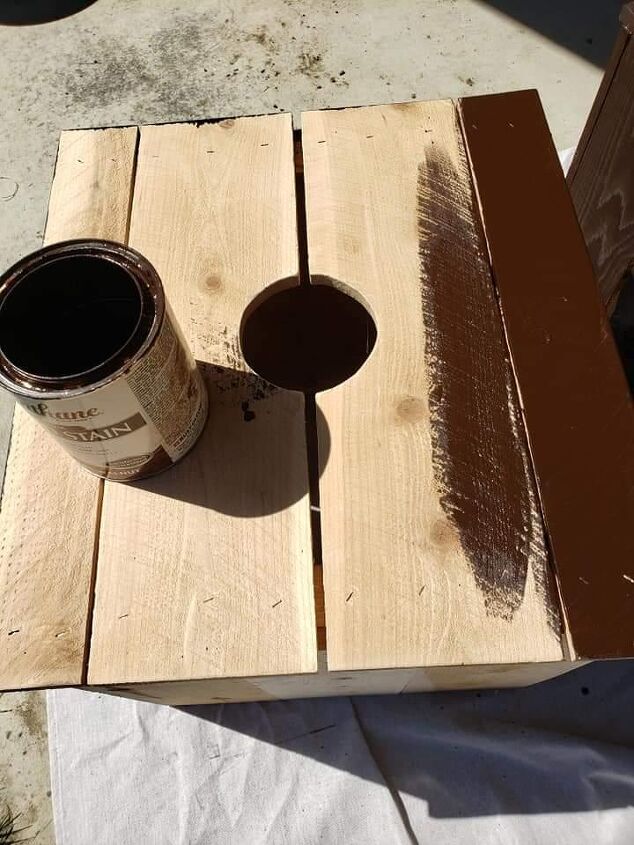
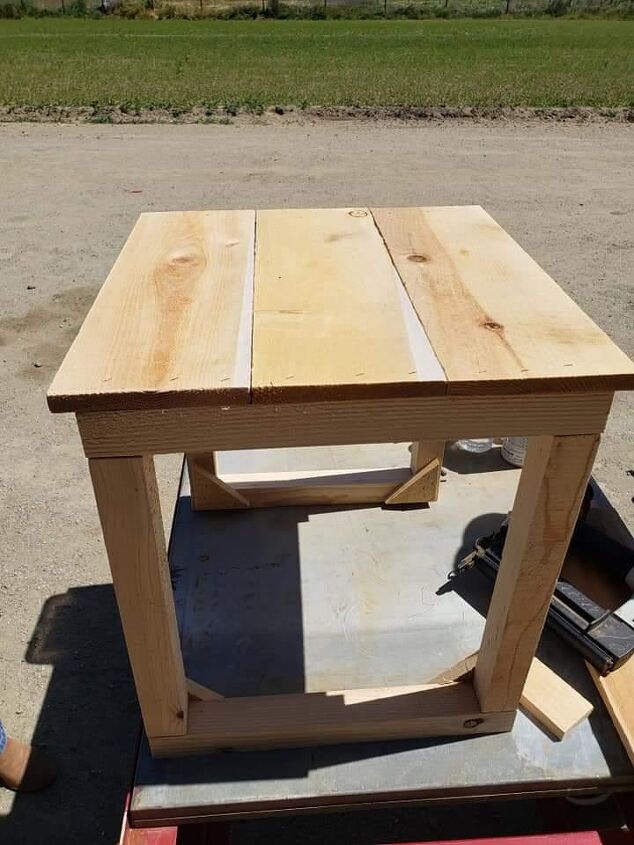
In this picture I cut the top cedar boards and fastened them to the top. I then found the center of the box on top, used a small scrap piece of the post, and outlined the circle to cut. You'll want to use a jig saw and carefully cut just a bit larger of a circle then the post. After that was all done I wiped on some stain with a towel. Stain color is important here. The bride wanted a dark stain but this will be left to your desire. Some might even like a plain wood with no stain.
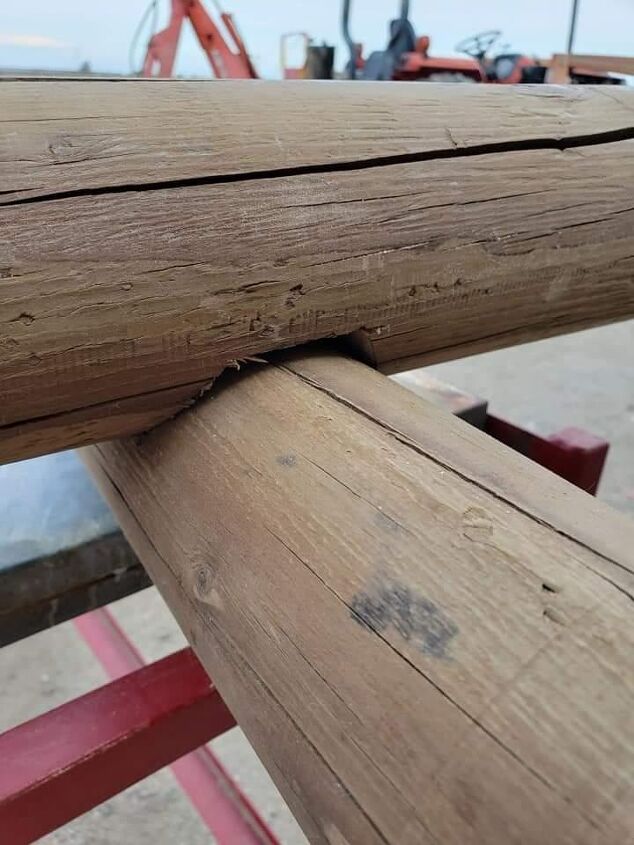
As for the posts, where they join, I had to make a special cut so that the pieces fit together. I only cut one of the posts so that it would stick out a bit. It looks like a Lincoln Log type of fitting. I had to use an oscillator for this cut. If you don't have one, they can be fairly inexpensive to buy. This is also the time to predrill the holes for your carriage bolt. I wish I had a better picture of this step but I don't. They are inexpensive and you only need one for each joint.
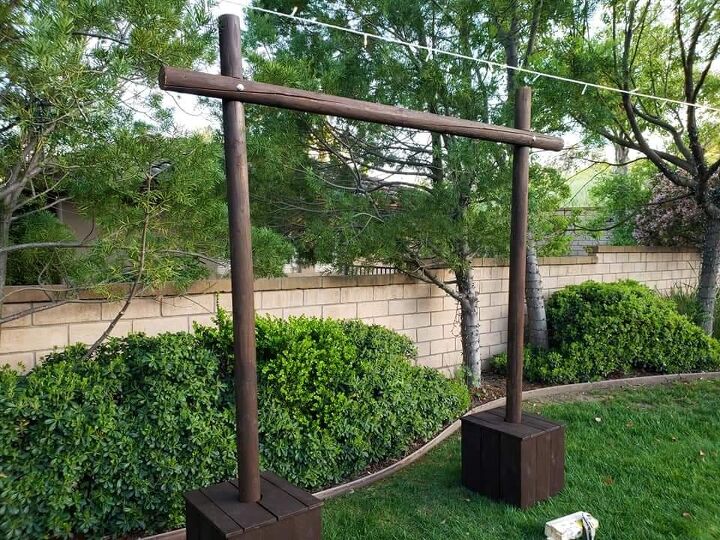
On the day before the wedding we started the set up. Placing the concrete buckets in place we slide over the wood base and assembled the posts. All it took was a small chair to reach up and a wrench to tighten the two bolts.
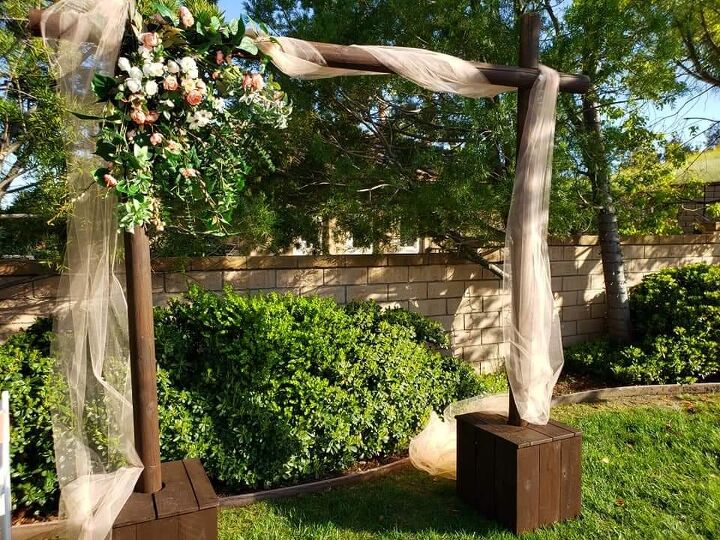
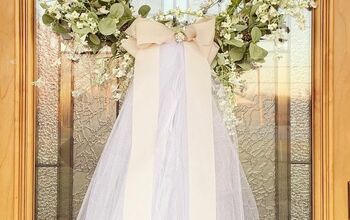
When it came to the final decorations I, obviously, had to take a step back. I can build almost anything but the ladies in my life decided that I don't have a a clue how to assemble flowers or tulle  . That was ok because I was starting to get emotional. Now, I want to share some pictures of the wedding day.
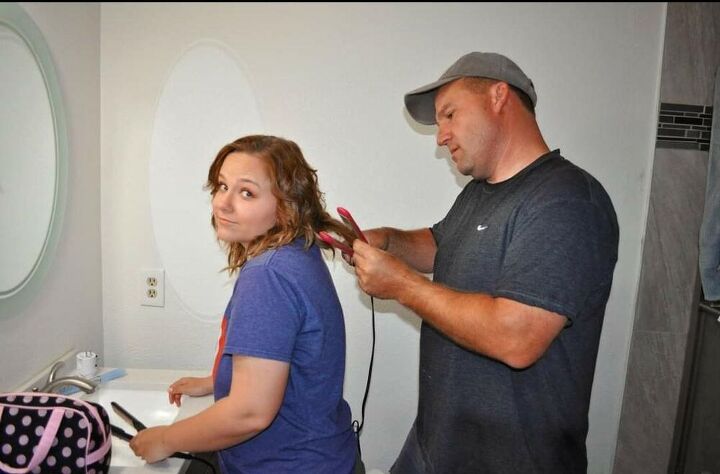
Here I am styling my daughter's hair for the big day. Don't pay any attention to her face, I know what I am doing. 
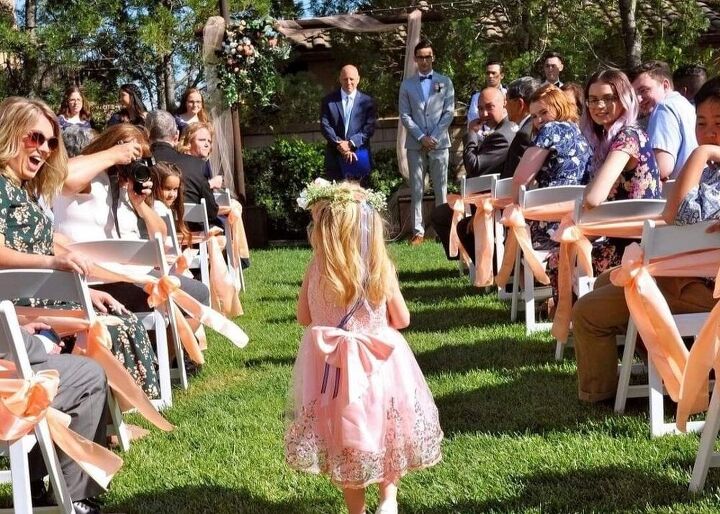
Ok, I had to do it. My cute little niece was the flower girl. She's adorable as she walks down the aisle to the arch.
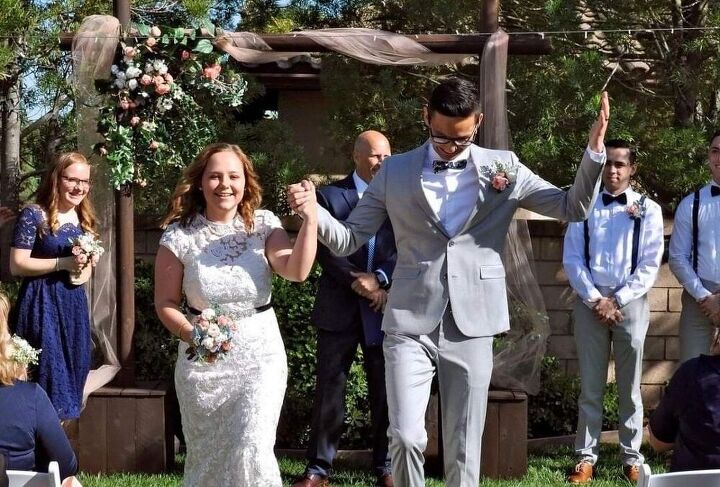
And drum roll......the happy couple!!! This dad was happy and I gained a son that day. Life is good my friends.
Resources for this project:
See all materials


Comments
Join the conversation
-
Thanks for a happy story!
-
Using round posts and concrete in buckets for stability was a clever idea, especially considering the potential for high winds.I'm actually knee-deep in planning my own wedding, and your arch design has me inspired! I'm all about DIY projects, not just for the savings but also for the satisfaction of creating something unique. Plus, with the wedding expenses piling up, any opportunity to save some cash is a win.Speaking of celebrations, I'm also in the midst of planning my Barbie bachelorette party. It's going to be a blast, and I'm sure DIY elements like your wedding arch will make it even more special.


Frequently asked questions
Have a question about this project?