


How to Make a Flower Crown in 7 Simple Steps

By Stacey Kelleher
Flower crowns are bright and beautiful accessories for weddings, showers, festivals, dances, or just about any occasion in between! They are also widely used for photography props and costumes. Making a crown out of flowers is not only fun and easy, but the result is a fresh and fragrant piece of art.
Use this handy guide to make a flower halo yourself and learn how to preserve it to save the memory for years to come.
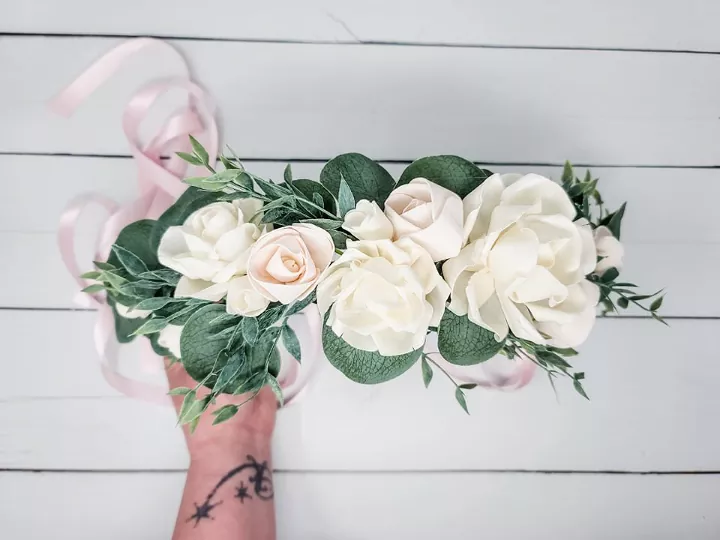
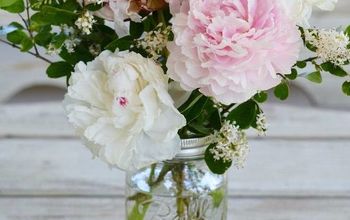
Photo via Stefanie -Oh You're Lovely
Are Real or Fake Flowers Better for a Flower Crown?
We recommend using fresh flowers for your DIY flower crown if you are wearing it for a special event. Real flowers tend to be more visually striking, and certain varieties smell as beautiful as they look.
However, if you are making a flower crown to be used more than once, like for a child to play “dress-up” or as a prop for photography, forge ahead with fake flowers. The process to make it would be the same.
As lovely as preserved and dried flowers are, they're not recommended for this project because they are too brittle to withstand the bending that’s required to achieve the halo shape.
Plant Ideas for Flower Crowns
When it comes to choosing flowers and greens to make a flower halo, the options are endless. Really, you are only limited to what’s available in your own garden or at your local nursery.
Large, vibrant flowers are great for making a bold statement. Smaller, muted blooms are more subtle and delicate. When it comes to the design, experiment with different types of filler and greenery. There are no rules when it comes to floral design!
Here are some of our favorite flowers and greens to give you some inspiration for your own DIY flower crown. Not only are these plants striking, but their nature and structure hold up well to being arranged:
Flowers
- Anemones
- Chrysanthemums
- Dahlias
- Daisies
- Orchids
- Peonies
- Roses
Greens
- Eucalyptus
- Ivy
- Lemon leaf
- Olive branches
- Rosemary
- Sword ferns
Filler
- Baby’s breath
- Dusty miller
- Feverfew
- Lavender
- Lily of the valley
- Snapdragons
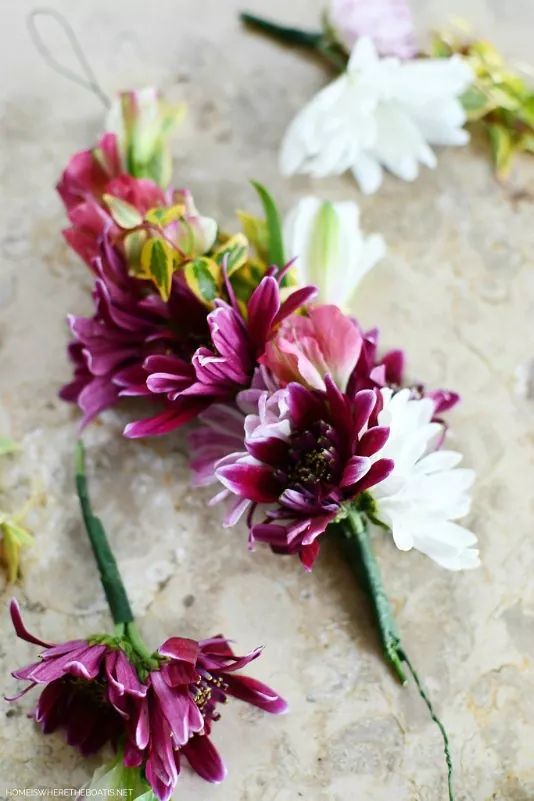
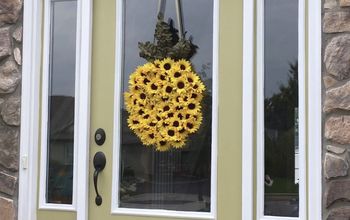
Photo via Mary @ Home is Where the Boat Is
How to Make a Flower Crown
It's easier to make a flower crown with real flowers than you might imagine, and the project only requires a few supplies from your local craft store. Here’s how to do it—grab your blooms and let's get after it!
Tools and Materials Needed:
- Floral wire
- Wire cutters
- Floral scissors
- Fresh flowers and greenery
- Floral tape
- Scissors
Step 1: Measure Your Head
Take the floral wire and wrap it around the head it's for. Add approximately two inches and cut the wire with sharp wire cutters. (Be sure to account for how you, or the person wearing the crown, will be wearing their hair. Certain hairstyles may add some bulk, so you may need to add some length to the wire to account for that.)
Step 2: Bend the Wire Into a Circle
Bend the wire into the shape of a halo, overlapping the ends by an inch. If the crown seems too flimsy, you can twist two or three pieces of wire together to make it more sturdy.
Step 3: Secure the Ends
Wrap floral tape around the ends of the wire to keep them in place. Continue wrapping floral tape around the entire piece of wire to ensure that the crown is the same thickness all around.
Step 4: Attach the Greenery
If you are using greenery, trim each piece to around five inches in length. Use floral tape to attach the greenery to the perimeter of the wire. You can skip this step if your crown is focused on flowers only.
Step 5: Prep the Flowers
Gather your flowers and use floral shears to trim each stem one to two inches below the bloom. All of the stems should be roughly the same length.
Step 6: Arrange the Flowers
Now it’s time to design your flower halo. Before you secure the flowers, decide how you want to arrange them by mocking up your design on a flat surface.
You can place the flowers around the entire length of the crown, or just on the front, back, or side. You can create a uniform pattern, or create a more organic look with a few larger blooms in front, surrounded by smaller flowers to the side and around the back.
Include filler flowers in your initial design, but again, if you are focusing your crown on having only large blooms, you can skip this step. Flowers can be placed closely together or spaced out depending on the look you are going for.
Step 7: Attach the Flowers
Position the first flower so the stem is lying horizontally against the wire. Wrap floral tape around the stem and the wire, beginning just under the bloom and moving down until you have reached ½ inch below the stem. Snip off the tape and press it down to seal it.
Repeat the process with the next flower until you have achieved your design. If you are using filler flowers, you can secure them to large flowers with floral tape and attach the bundle to the crown.
Try on the finished crown as you're working on it and make adjustments as needed, like adding filler flowers to bare spots or separating buds if any parts look too bulky.
How to Make a Flower Crown Headband
If you love the idea of floral headwear but prefer the look of a headband, you can make your own DIY floral headband using the steps above. The only difference is instead of using floral wire as a base, you would attach the flowers to a sturdy headband.
For a flower headband, trim flowers right under the bloom and use a hot glue gun to attach them directly to the headband, creating the desired design. If you use floral tape to attach flowers, the headband may become too bulky to wear comfortably.
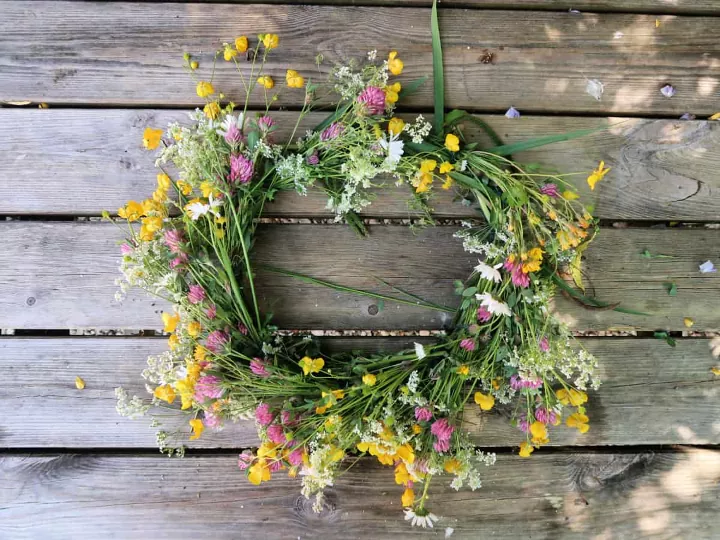
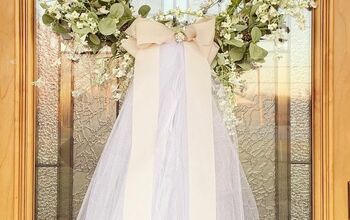
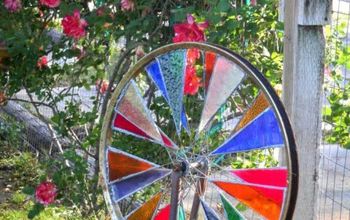
Photo via Craft Invaders
Tips to Keep Your Flower Crown Looking Its Best
Any time you are working with fresh flowers and greenery, it is helpful to take steps to ensure your DIY crown stays vibrant and keeps its shape throughout your event. Choose sturdy flowers that won’t wilt as soon as they are plucked, like those we’ve suggested above.
We suggest making your crown as close to your event as possible, and once it's made, keep it away from direct sunlight. Store it in a cool, dark, dry place until it's time to wear it. Spritz your crown with floral spray or fresh water occasionally to keep it fresh and intact for longer.
How to Preserve a Flower Crown
If your DIY flower crown or headband was made for a special occasion like a wedding, baby shower, or child’s birthday, you may want to preserve it to keep the memory.
The simplest way to preserve fresh flower crowns is to place them on a hanger and place the hanger in a cool, dark space, where the flowers will take two to three weeks to dry out.
However, if you’re looking to retain the beautiful hues of your flower crown, silica gel crystals will get you there: Simply place the crown in an airtight container (one big enough to fit the crown comfortably) and gently pour the silica crystals over the flowers until the entire piece is covered by an inch of silica. Put the lid on the container and let it sit for three to five days. Remove your crown from the container very carefully and use a soft brush to remove any remaining silica dust.
Display the preserved flower crown in a shadowbox or glass jar to protect it from dust and dirt.
What are your favorite flowers to craft with? Share your ideas below!


Frequently asked questions
Have a question about this project?