


Decoupage Wooden Pumpkin Decor
Make these beautiful DIY wooden pumpkin decor signs from scrap wood and free printables using the decoupage method. In this post you’ll find answer to the questions: What is decoupodge? How to decoupage on wood? Mod podge alternatives for decoupage.

I love using Mod Podge, wood and pretty scrapbook paper! One of my most favorite upcycles using this method was the Upcycled Magazine Holder I created. I mean, talk about giving something old and worn out a whole new outlook on life!
While waiting for my hubby to finish up something for work, I kept myself entertained by scrolling Pinterest. I came across these beautiful FREE pumpkin printables from The Turquoise Home and knew I had too make something with them immediately!
I quickly changed the ink in my printer (ha!), found a pile of scrap wood that my kiddos had brought back from our house to the apartment, grabbed my paints and got busy!
This post contains affiliate links. See my disclosure here.
Decoupage is an art form that consists of cutting out paper designs, from magazines, books, printouts, napkins, etc. and adhering them to an object using glue.
Select your type of wood, this may be a scrap piece of wood to a wooden crate. Optional: paint your wood and let dry. Cut out your paper design and apply Mod Podge to the wrong side of the paper using a chip paint brush (I have found that foam paint brushes tend to create air bubbles that are hard to remove later). Apply the paper (that is now like a sticker) to the wood and firmly press down to ensure it is adhered in all areas. Using Mod Podge and the paint brush, gently coat the entire wood piece now, over top the printed image. Let dry.
Mod Podge is likely the most popular glue product when decoupaging. However, I’ve found many alternatives over the years that have yielded quality results.
- Homemade Mod Podge using Elmers School glue and water. In a bowl combine 1 cup Elmers glue and 1/3 cup water. Mix using a wooden popsicle stick
- W averly Chalk Paint Wax this wax is watery and easy to apply, very similar to Mod Podge!
- 3M adhesive spray glue. This is not necessarily true decoupage, however, I can say that it works. Prepare your piece as explained above, rather than using a paint brush and glue product, use 3M adhesive spray glue in it’s place. To achieve a thicker, more durable top coat, several “spray layers” are required.
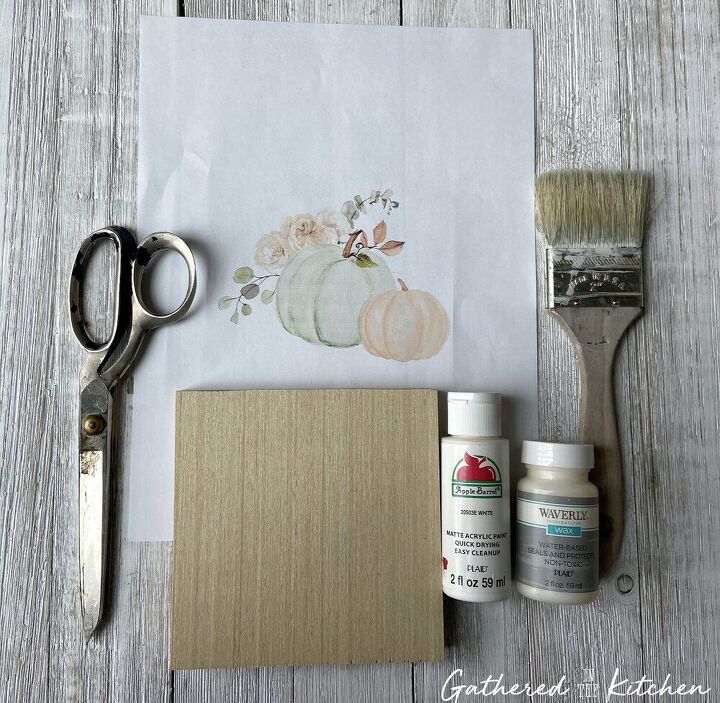
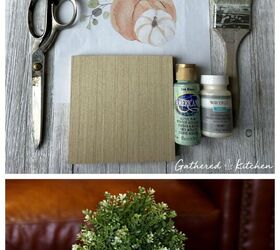
- Scrap pieces of wood or flooring 4×4 wooden blocks
- Acrylic Paint in color: “Sea Glass”
- Acrylic Paint in color “White”
- Waverly Chalk Paint Wax
- Paint brush, I prefer the “chippy brush”
- Scissors
- Printable from The Turquoise Home
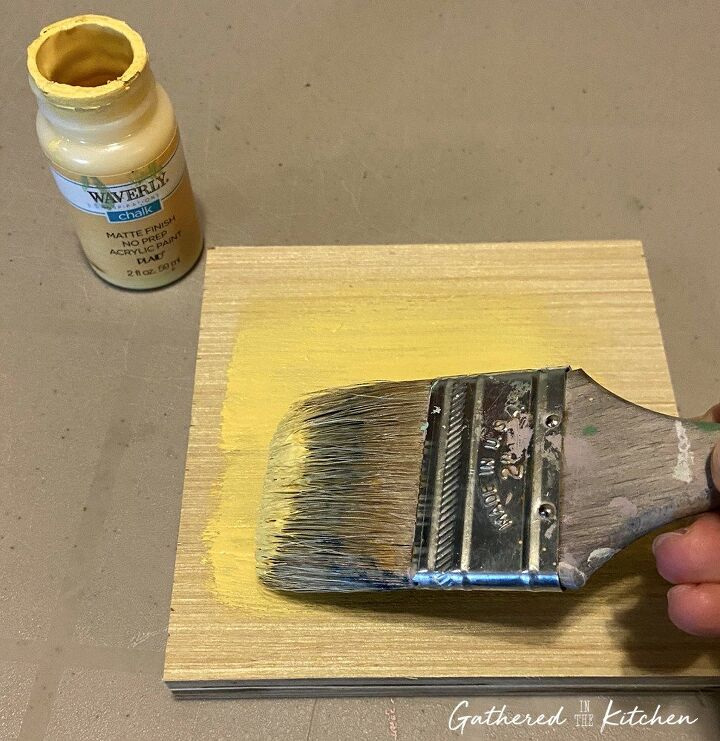
Step 1: Paint the wood block, including sides. (yep, I started with yellow and then changed my mind!)
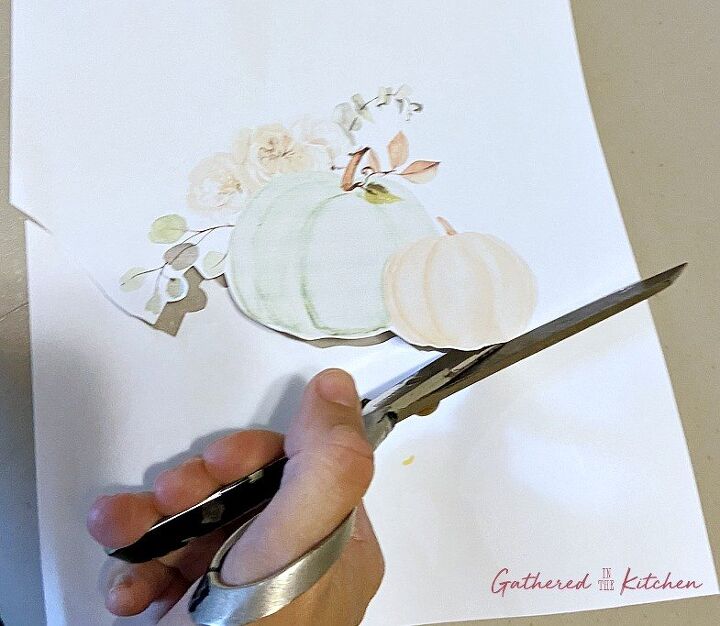
Step 2: Cut out printed design. I prefer to have the least amount of white “edging” showing, so I cut as close to the design as possible.
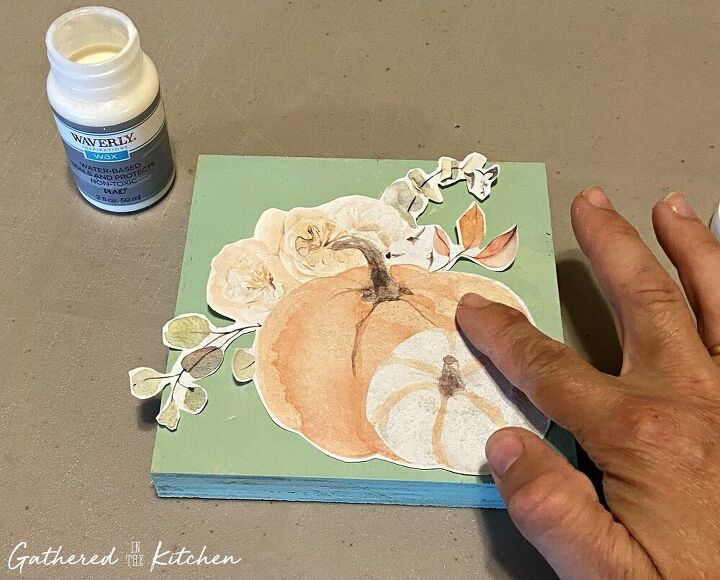
Step 3: Gently apply wax or Mod Podge to the back side of the design.
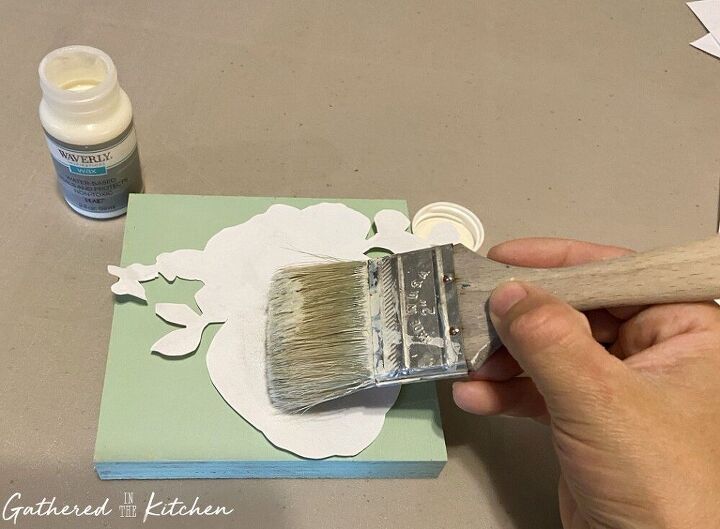
Step 4: Firmly but carefully press down on the design to ensure it is adhered to the wood.
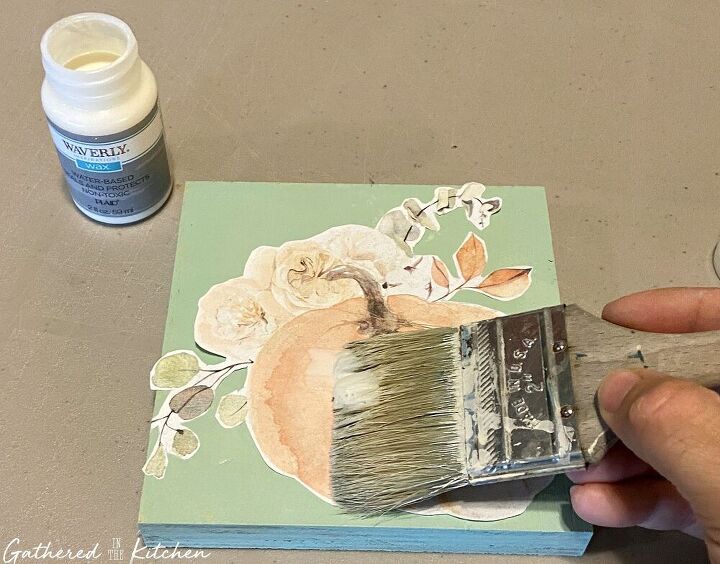
Step 5: Apply a coat of wax or Mod Podge over the entire design. Repeat until design is fully secured in all areas, may take 2-3 coats.
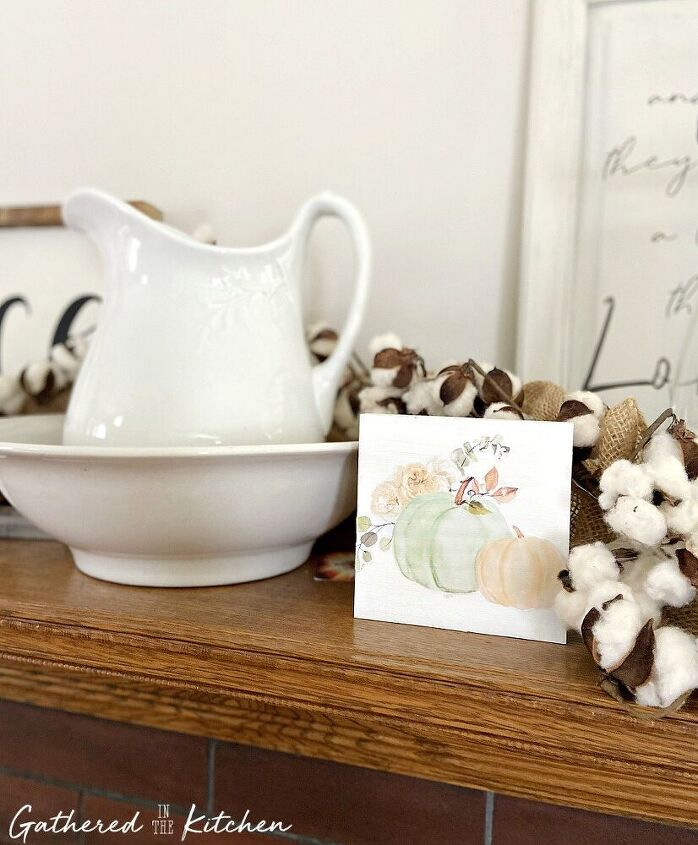
In 30 minutes, I was able to make three of these little cuties and even had enough time to snap a few photos of them before heading out with my hubby! Quick and easy projects like these are the best!
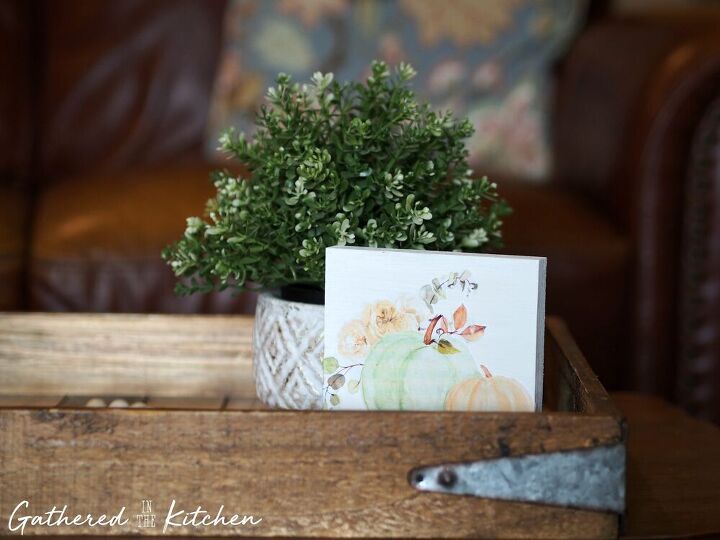

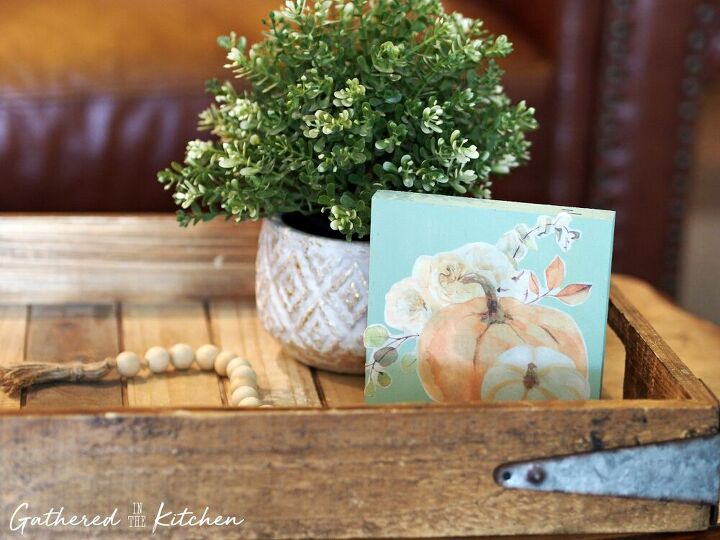
I later took them over to our house and set them on the mantle…that I’ve been cluttering. up with various decor items I’ve been finding in boxes (I can’t help myself, I just want to move back home!!! after almost months).
DIY Fabric Pumpkins | Farmhouse Style
Dollar Tree Witch Hat Wreath
Easy Outdoor Fall Porch Decor
DIY Wooden Fall Front Porch Sign
Fall Front Porch Decor
Thanks for following along! If you’ve found this tutorial helpful, please share!

· In: Crafts/Projects, Decor, Featured Article, Halloween, Holidays, Our Homes, Painting & Staining, Thanksgiving


Frequently asked questions
Have a question about this project?
I want to try this - like RIGHT NOW!!! I even have some wood flooring samples which I had not yet gotten around to throwing out from a recent home reno project. It never occurred to me that I could use them in this way (and you can bet that I won't be throwing them away now!). Can you please tell me what type of paper you used? Was it just regular printer paper or something heavier like card stock?