


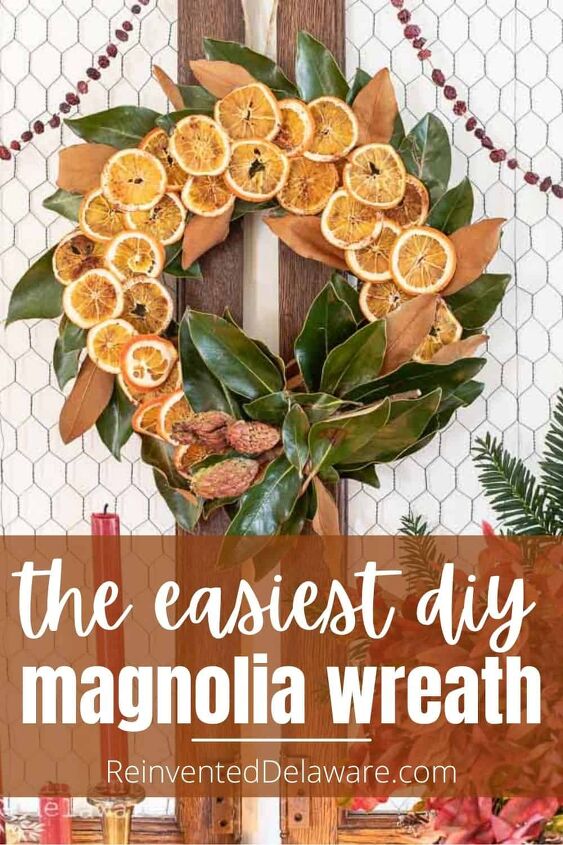
DIY Magnolia Leaf Wreath

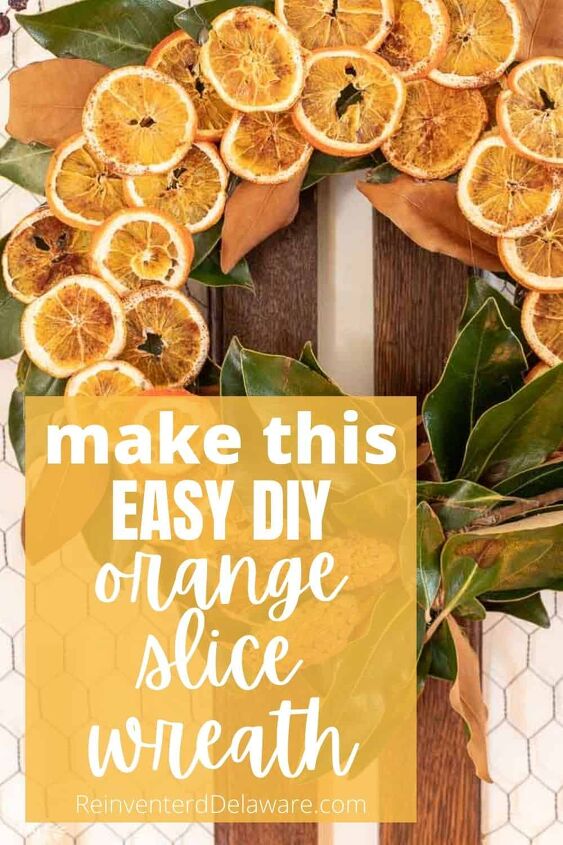
Learn how to make this easy DIY magnolia leaf wreath with orange slices for just a few dollars! Let’s get started!
As an Amazon Affiliate (and other companies including Dixie Belle Paint Company), we earn a small commission on products sold through affiliate links. Your purchases through those links help to support this blog at no additional cost to you. In purchasing the supplies we use and recommend via our links, you help to support the free tutorials we offer you and our other readers. Thank you so much! Read my full disclosure here.
DIY magnolia door wreath
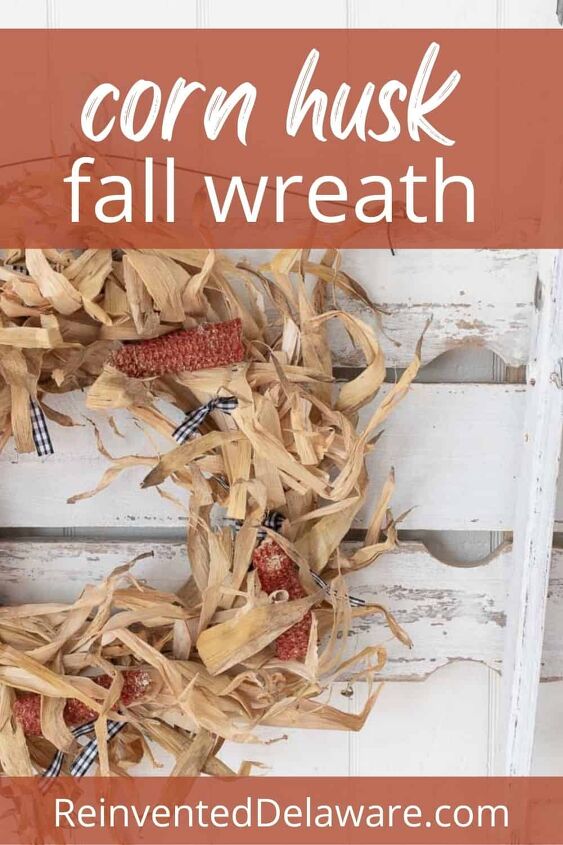
Do you remember the wreath I made a couple of months ago with corn husks I found while out on my morning walk?
That wreath was never intended to save and use again. So I took it apart and salvaged the wire wreath frame. Even if I had to buy a new wreath frame, they cost practically next to nothing!

Let’s go over the supplies you will need for this gorgeous, almost free, magnolia wreath with dried orange slices.
list of supplies:
- 12″ wire wreath frame
- burlap ribbon (I had some leftover from other projects
- magnolia leaves
- magnolia cones
- dried orange slices
- mandoline slicer
- heavy jute twine
- hot glue gun and glue sticks
- scissiors
- Dixie Belle Gemstone Mouse in Garnet
Use the links below to purchase some of the supplies for this project! You are helping to support this blog and all the free tutorials we offer here! Thanks so much!😊
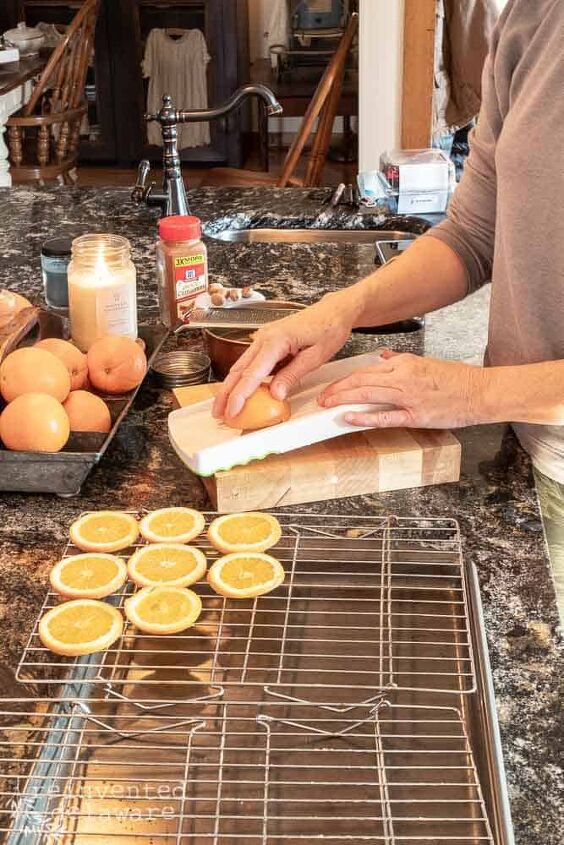
step one: dry the orange slices
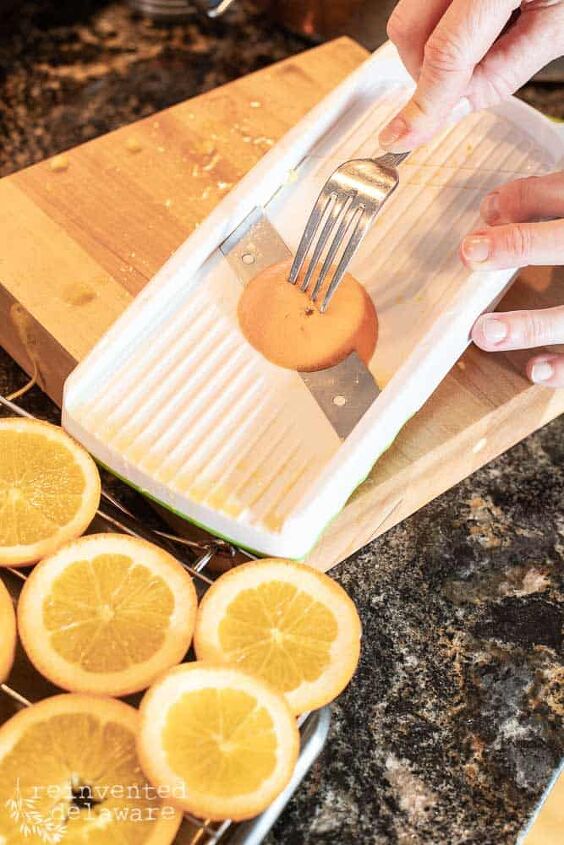
The first thing to do is slice and dry the orange slices. I’ve done this before so I won’t go into too much detail. But I will say that this time I used a mandoline slicer to slice the oranges. They came out much thinner so they dried quicker in the oven.
If you use a mandoline to slice the oranges, keep in mind that the blade is very sharp. As you get toward the end of the orange, use a fork and gently push the orange through the slicer.

You can see how I dried orange slices in the post below. Just click the button!
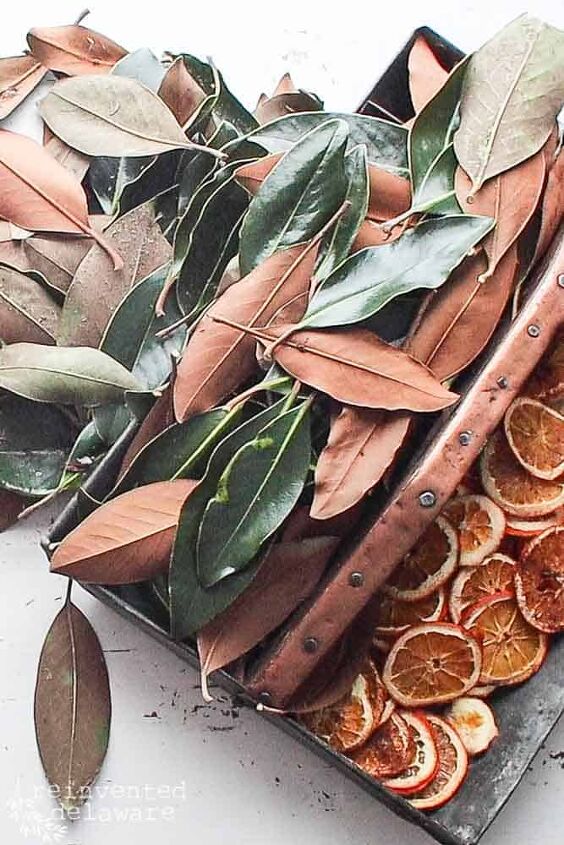
step two: gather the magnolia leaves
The next step is to gather your magnolia leaves. We have a magnolia tree on our property so I headed out with my pruning shears.
The branches were full of leaves so I only needed a couple of branches. I also snipped a couple of branches that had the cones or the seedpods. I am not sure what they are called. If you know, let me know in the comments!
The leaves came off of the branches very easily. In minutes, I had magnolia leaves all over the place!
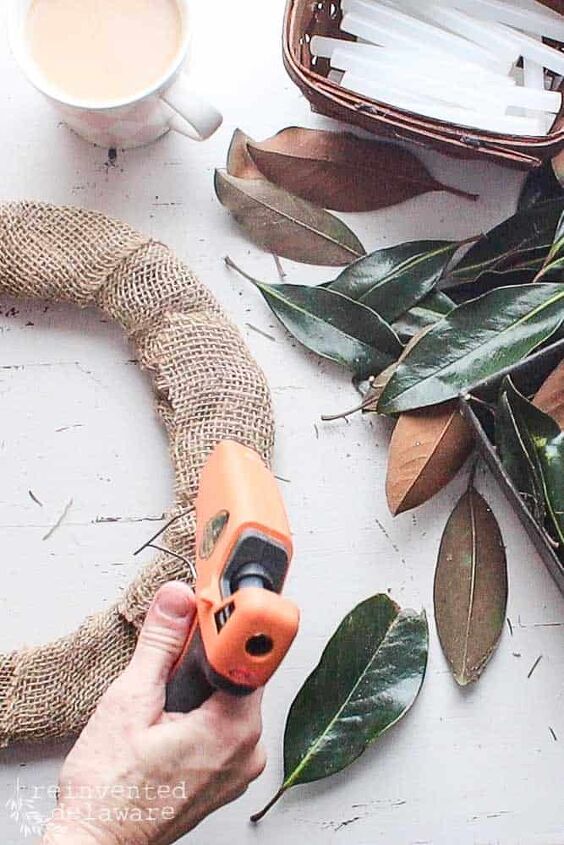
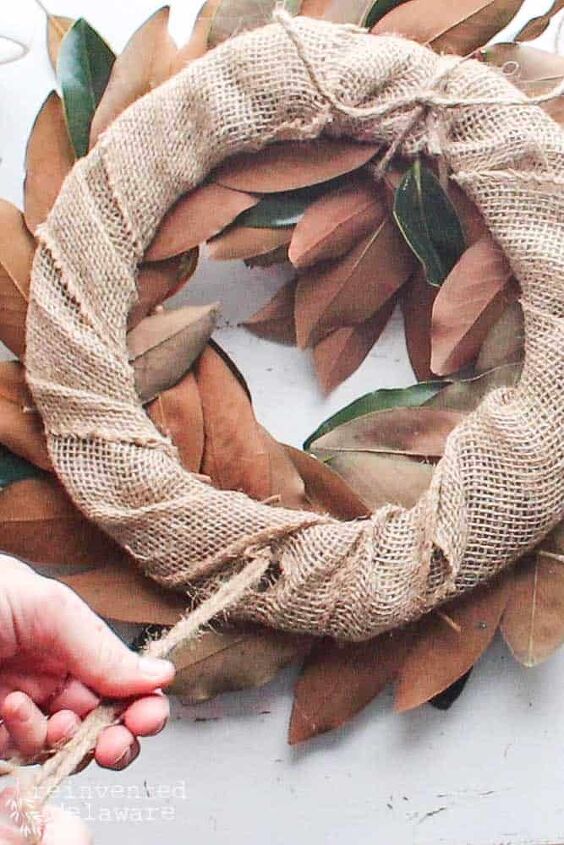
step three: prep the wire frame
Wrapping the burlap around the wire wreath frame gives the perfect surface to glue the magnolia leaves to. If you don’t have burlap ribbon, you can use scraps of fabric. Anything you have on hand that would create a surface that the glue can adhere to will be perfect.
step four: attach the magnolia leaves
Next, I started gluing the leaves around the wreath frame. You will see in the video below that I worked backward, layering the leaves as I moved around the wreath.

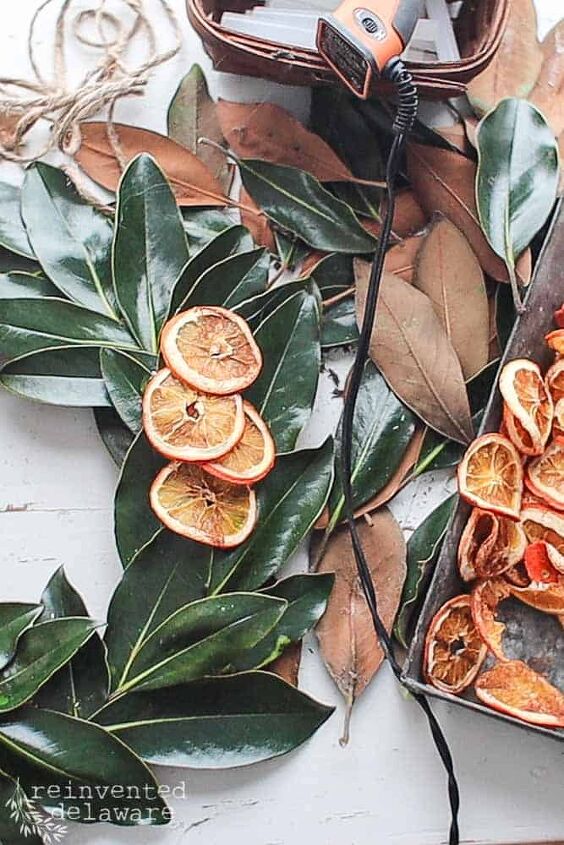
step five: attach the orange slices
Once all of the burlap was covered, I started to add the dried orange slices. I tested each orange slice first to see what areas of the slice would touch the leaves. I applied the glue to the areas that would make contact.
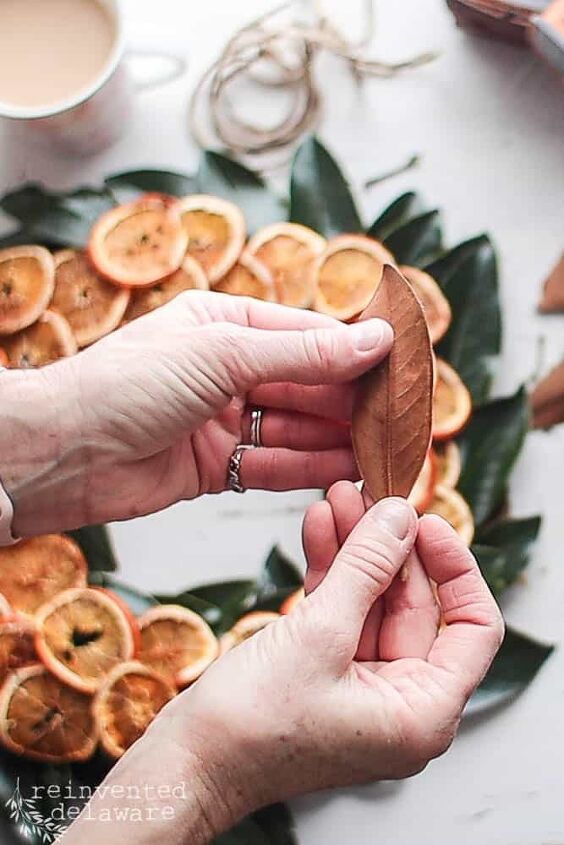
step six: more leaves!
The next step was to add another layer of texture and color by adding leaves that showed the underside of the leaf. On my magnolia tree, the underside of the leaves is a rich chocolate brown with a velvety touch. They kind of feel like suede!
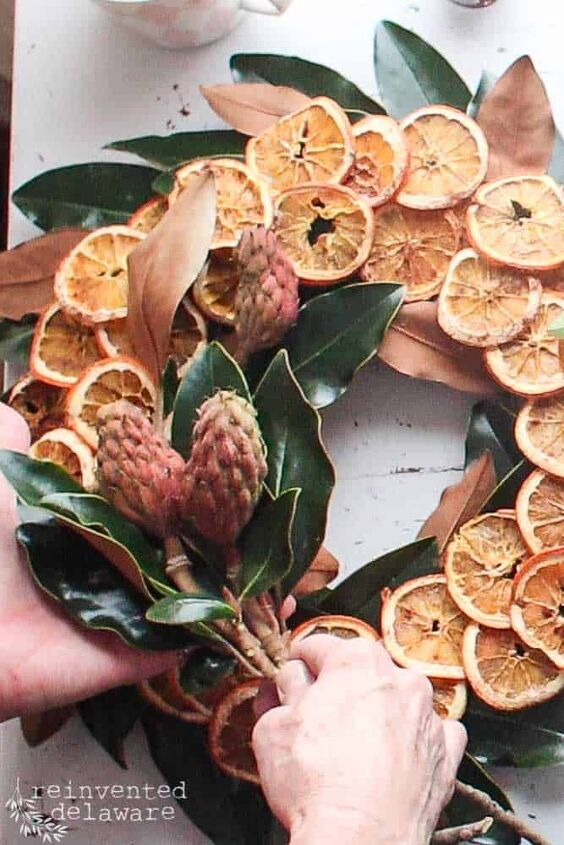
step seven: attach the cones
Of course, I couldn’t stop there. Remember I said I gathered a couple of the magnolia cones? I arranged three of them into a cluster and then attached them to the bottom of the wreath. Be sure to secure the cones well, they are heavy!
Then I added more leaves to cover the stems and the twine that I used to attach the clusters.
The cones had a beautiful color but I wanted to enhance the color just a bit. I used Dixie Belle Mouse in Garnet. It added a bit of shimmer. You’ll see that step in the video later in the post.
last step: add a hanger
The last step is to add a hanger. I looped some heavy twine around the wireframe and tied a knot! BTW, I had to cut through the burlap on the back to access the wireframe.
YouTube video
If you are like me, then you like to watch the process of projects. So here is a video I made for you! Be sure to give the video a thumbs up and subscribe to my channel while you are there!
The latest on Youtube:
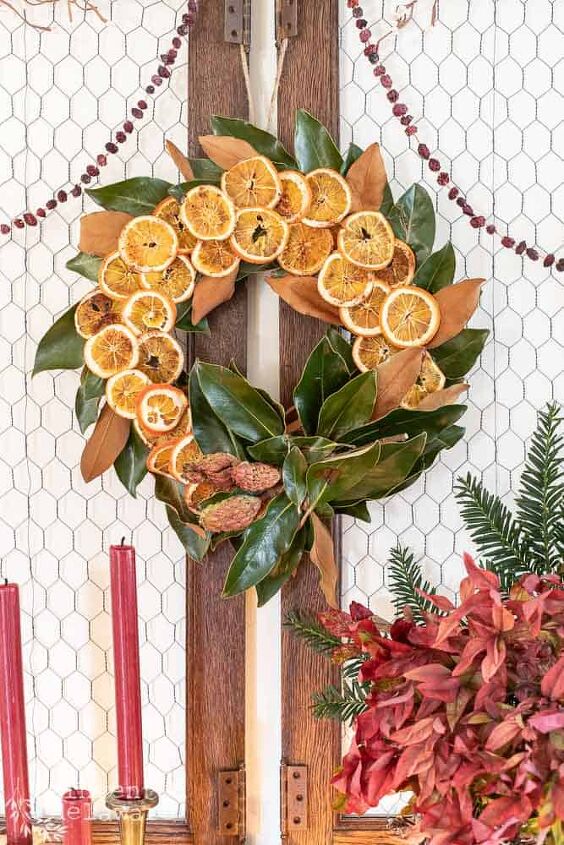
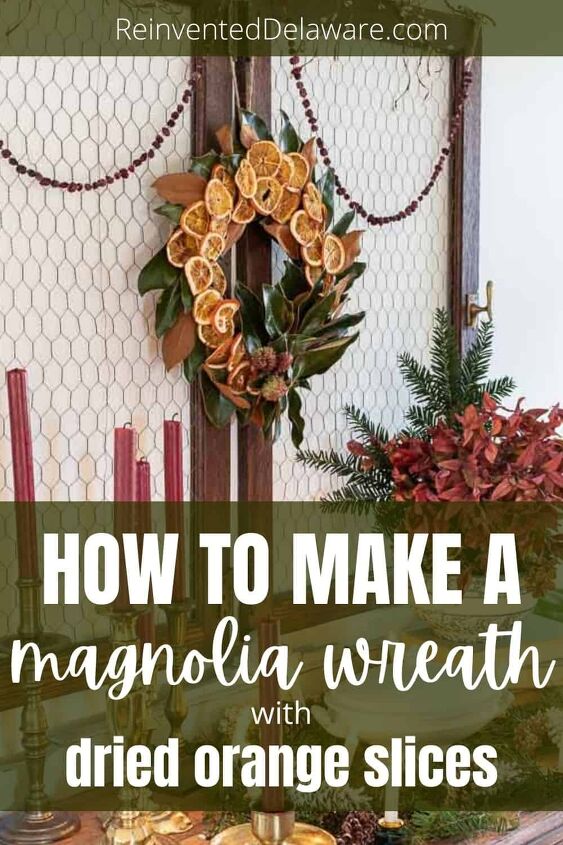
DIY magnolia leaf wreath
Isn’t this easy DIY magnolia leaf wreath gorgeous?? It was inexpensive, easy to make and the results knocked my socks off!!
You might notice that some of the oranges have a dusting of cinnamon on them. Before I baked them, I sprinkled cinnamon on some of them. The house smelled amazing while they were drying in the oven!

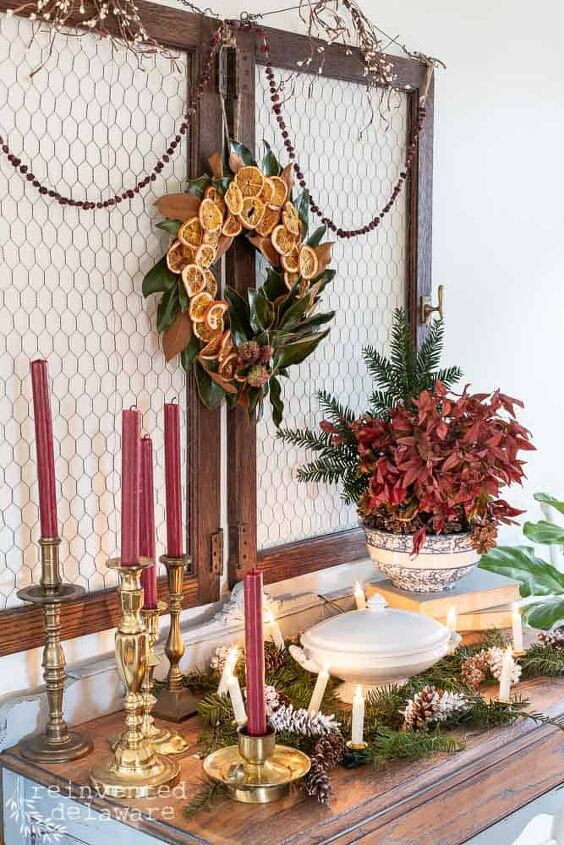
Currently, I have the magnolia wreath with orange slices hanging on the front door. It’s a lovely way to greet any friends and family that come over. Or at least the mail carrier and UPS driver!!
I brought it inside so that I could get some good images without the glass glare that our front door creates. It will be going right back to the front door as soon as I finish this post!
What do you think of this wreath? Would you hang it on your door or would you find the perfect spot inside your home?
more inspiring posts!
Wreaths are such an easy way to say ‘welcome’ to friends and family when they stop by! Here are a few more wreaths that are inexpensive and easy to make!
I’m hoping to create even more inexpensive wreaths for you in the coming year!


Pin either of the images below to your home decor and Christmas decor boards! Just click the pin button at the top left corner!
Thanks for joining our journey!
We want you to join our journey over on Instagram and Facebook! You can also find more inspiration on our Pinterest page! We’re always pinning fresh ideas!
We want you to join our journey over on Instagram and Facebook! You can also find more inspiration on our Pinterest page! We’re always pinning fresh ideas!
Visit my Amazon Storefront!
Click the button below and head over to our online shop on Amazon!

Resources for this project:
See all materials


Comments
Join the conversation
-
What a beautiful wreath for those times between holiday specific wreaths! Literally works for all seasons too. And best thing is I just bought clearance magnolia leaves.
-
Somehow I am missing how to dry the orange slices!


Frequently asked questions
Have a question about this project?