


How to Make a Wall or Arch Swag!
Large floral and greenery swag pieces are very much on trend for both weddings and featured wall decor (think over the mantel!). They can seem quite daunting because of their size and the sheer amount of greenery/florals in them but here are some tips and tricks to create your perfect piece to display!

Here is what I used for this project:
- Craft foam
- Chicken wire
- Wire clippers (to cut the chicken wire and greenery/floral stems)
- Twine
- Greenery/filler
- Wood flowers from Oh You're Lovely
This part can be a bit pokey so if you have some gardening gloves, that should help save your hands from the chicken wire points!
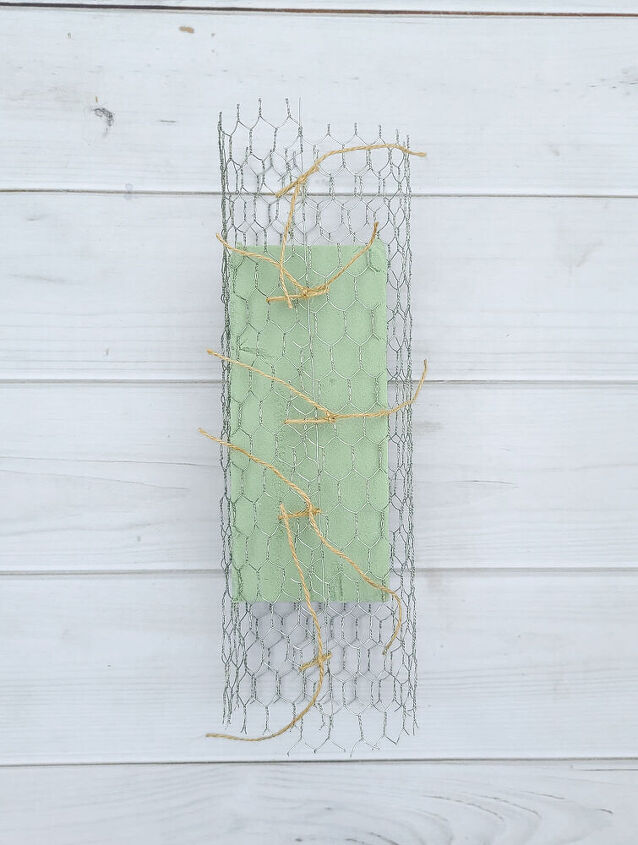
First, you'll want to wrap your chicken wire around your foam block so you know what size you will need. Don't worry about the parts that stick further out at the ends of the foam as this will be covered by greenery and flowers and helps to secure those pieces in place!
Once you know how much chicken wire you will need to cover the foam, cut the chicken wire to size and secure it together with twine.
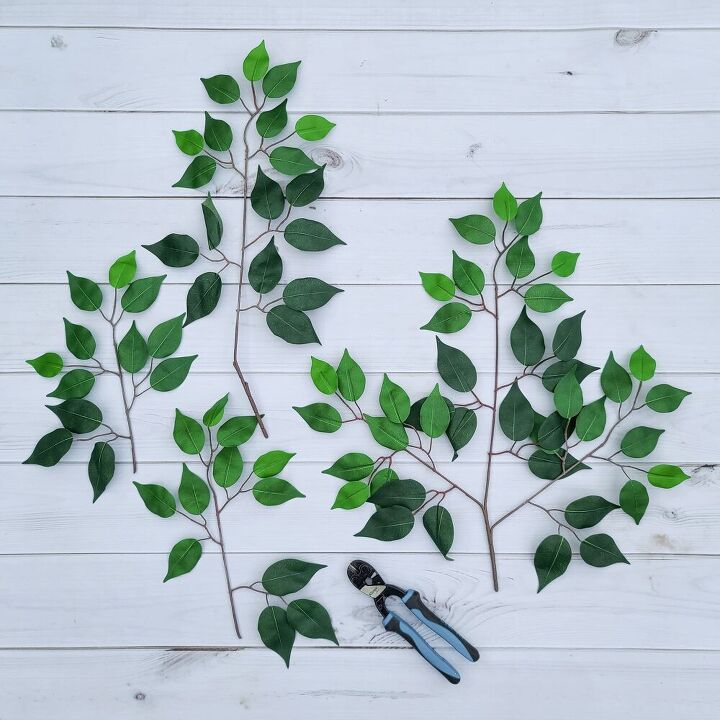
With your chicken wire/foam base all ready, it is time to prep your greenery! I usually like to use a big leafy green for the base layer and ficus is perfect for that. Since we have a large area to start with, the prep is pretty easy. Simply cut the ficus into 3 smaller pieces.
FYI - you are going to need around 6 of these ficus stems for a 24" long swag piece.
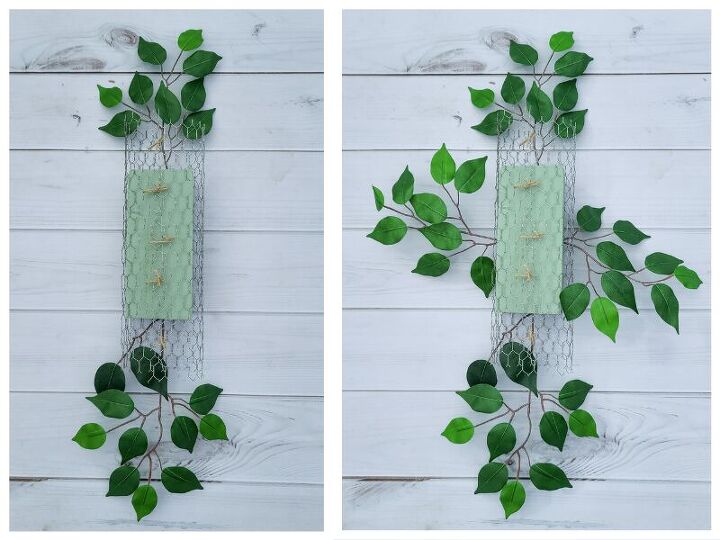
It is important to go into these types of arrangements with a shape in mind. I wanted this one to transform into something like a diamond so to begin, I created the top and bottom and side to side "boundaries." This helps guide me into the shape (when I inevitably get extra extra and just keep adding and adding things to the piece!).
I continued the creation of our shape by adding in ficus pieces along the sides of the foam block. When the loose diamond shape was clear, I started to add ficus to the foam block from the top, sides and all angles. Alternating the point of entry for the stems creates a grid pattern within the foam block that helps hold everything in place. Fun fact - you don't actually have to use glue to hold your greenery stems in place if you use this method!
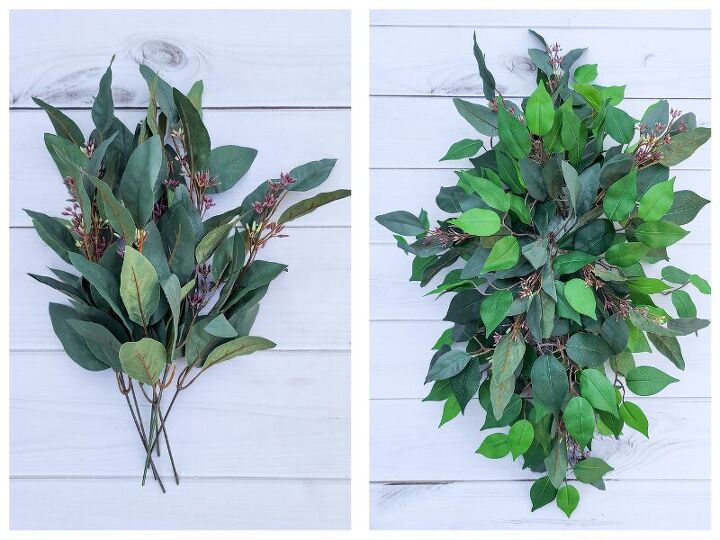
Now that we have a good greenery base going, it is time to add in some variation for interest. I grabbed seeded eucalyptus because of its darker leaves and pops of dark pink seeds to really amp up the swag!
Again, I simply cut the seeded eucalyptus bundle into smaller pieces and added them directly into the chicken wire foam block.
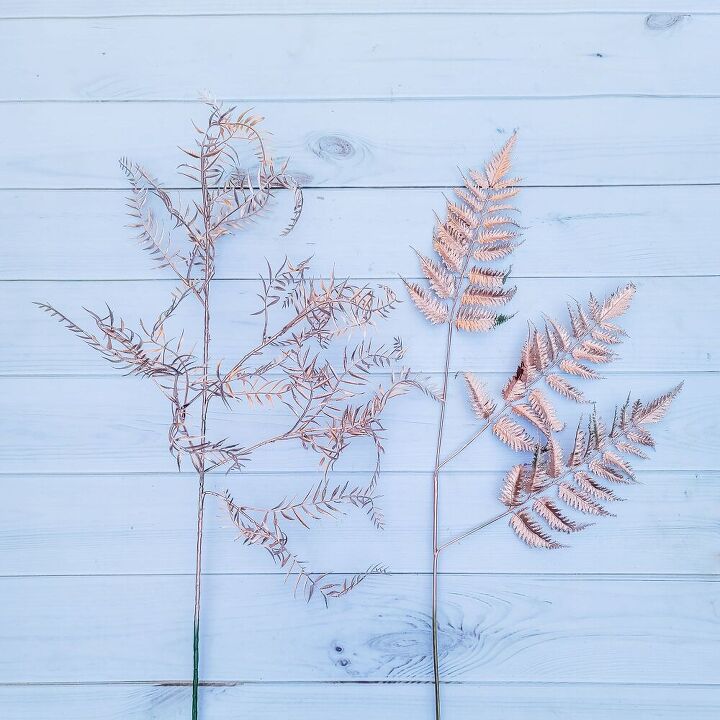
Metallics have been really popular and my favorite part about them? You can turn any faux filler into a beautiful accent!
I used Design Master rose gold spray paint to turn these into the perfect filler!
When the rose gold spray paint is dry (it really only takes about an hour to be fully dry if using Design Master), cut those stems down to size and add them into your swag piece.
Don't they bring in an amazing texture?!
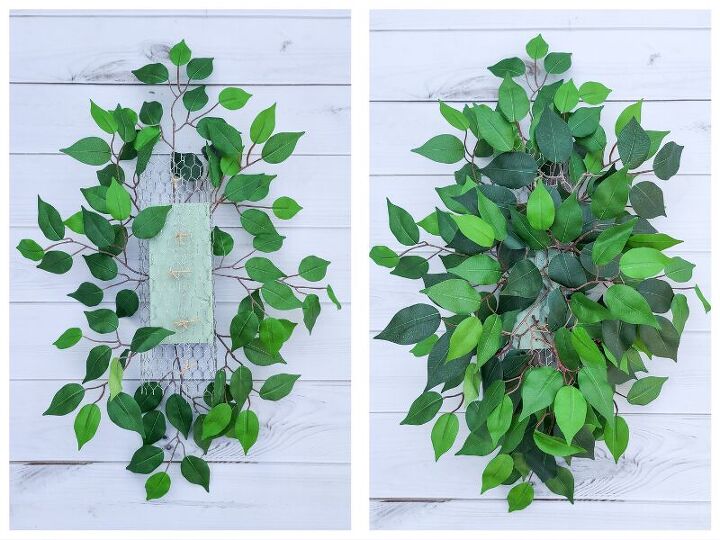
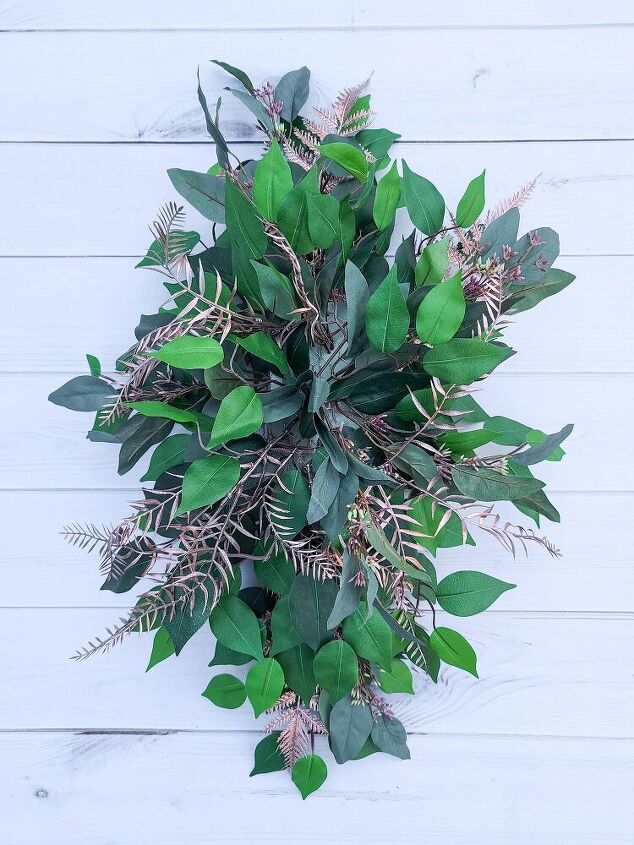
These wall or arch swag pieces take a LOT of greenery and filler. It is actually pretty impressive how much one foam block can hold!
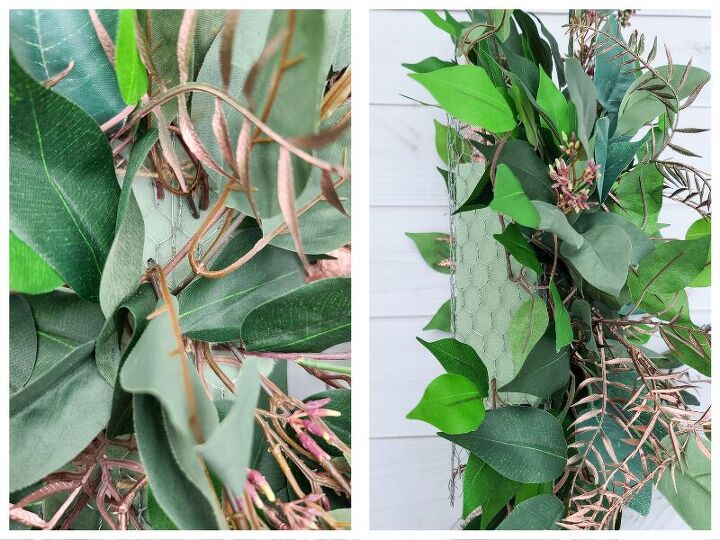
Our next step is to fully cover any of the foam that is still visible. If you didn't want to use a bunch more greenery or filler, you could cover it in moss. The one thing to note though is that we still have to add in our flowers so if you do decide to use moss to cover the exposed foam sections, you don't want to cover the foam completely in glue. Otherwise, you would have nowhere for your flower stems to be able to pierce into and hold to the foam.
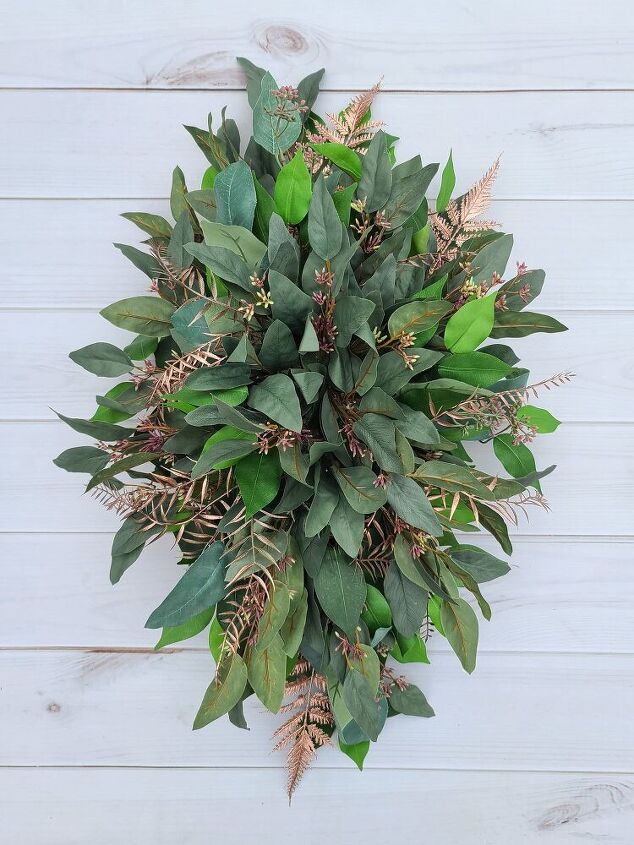
To cover the open areas, I cut down more of the ficus and seeded eucalyptus and kept adding it until it looked like everything had solid coverage.
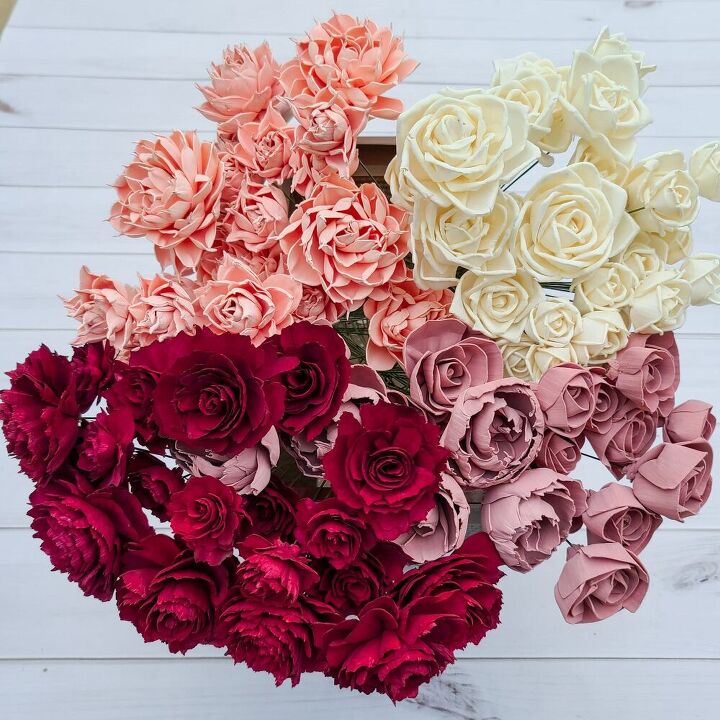
I used different types of wood flowers (top left - sugar and spice/garden rose, top right - thelma, bottom right - ruffled peony/lovely, bottom left - sophia) but kept those with a similar shapes in the same color. For this piece, I wanted to use ivory, burgundy and two shades of pink so I found the shades I wanted in craft acrylic paint, mixed them with water and a splash of vegetable glycerin and started dyeing them all!
To ensure that the piece looks natural and has a good flow, you do want to make sure you have a variety of sizes in each of the colors!
Once the wood flowers are dry, dab a little hot glue on the back and add in your 18 gauge floral wire stem.
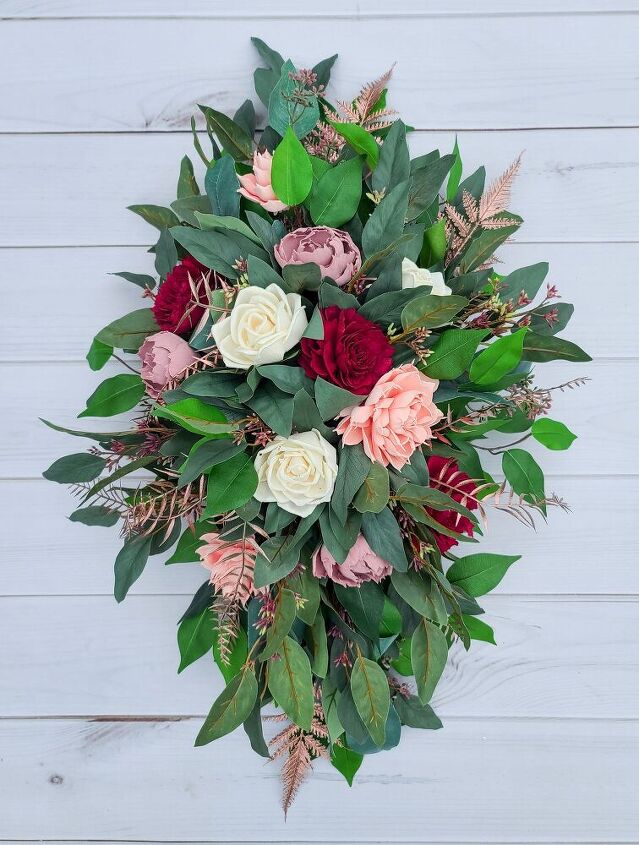
Time to add the flowers!
First, I added in three of the largest flowers (3") in each color. I kept them mostly to the middle area but also tried not to have them all concentrated in the bullseye center. We want the flow to look natural and not forced so keeping space for some smaller blooms to fill in helps keep that openness.
Next, I added in 3-5 medium flowers (2.5") in each of the colors! Again, I kept them mainly around the center section with the large flowers but sprinkled some in to the outer areas.
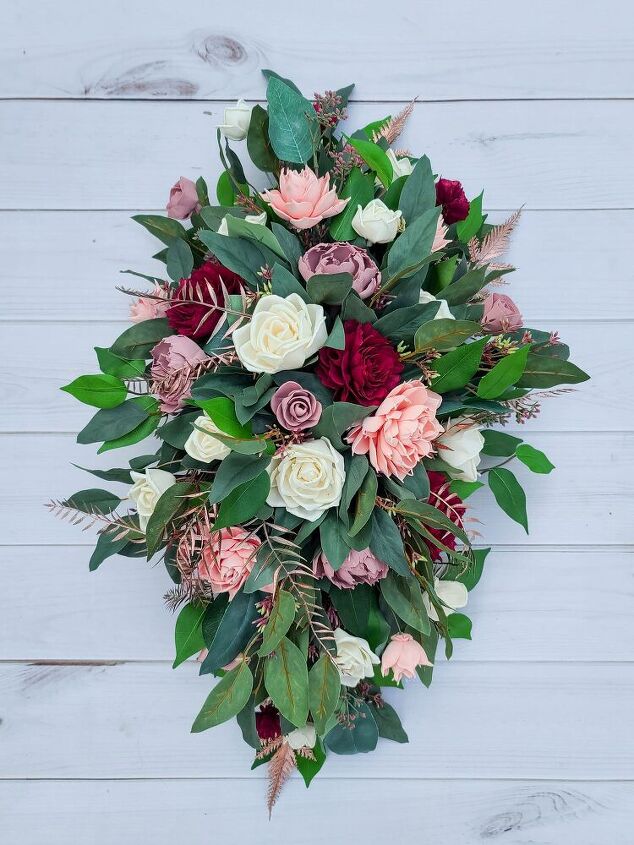
Last, it is time to add our 1"-1.5" flowers! As you can see, many of those went to the edges of our diamond shape but others were scattered in the center and throughout the entire swag.
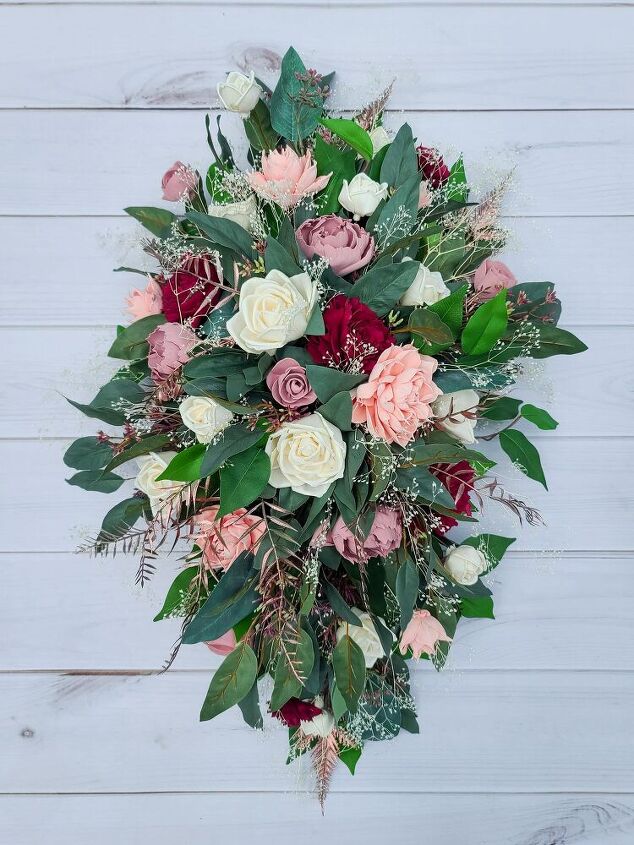
To finish the piece off, I added in sprigs of dried baby's breath. It helped bring in that final textured look as well as spread the ivory coloring through the piece.
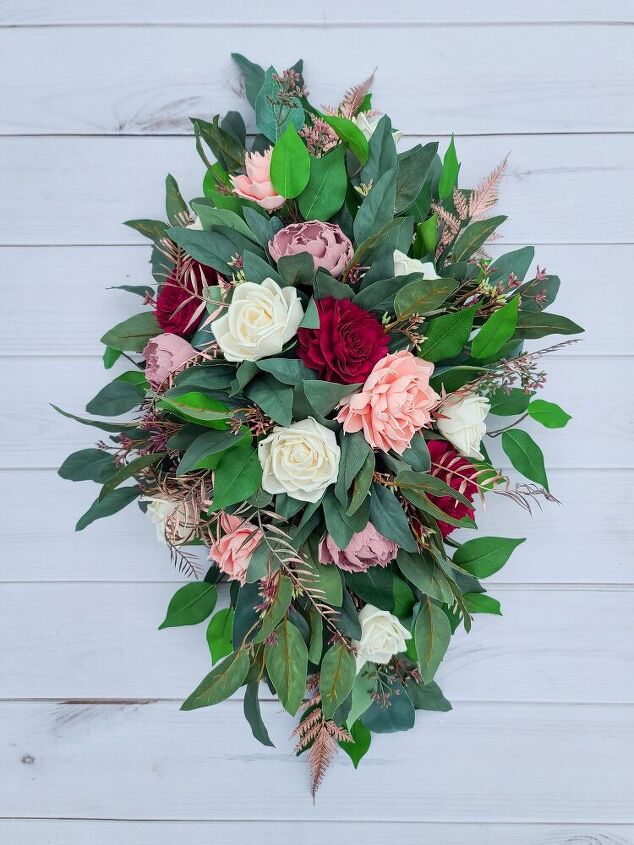
Our final step is to hang the piece and there are a couple of ways to do it. If you are planning to place it on a wall in your home, you can use command strip hooks and hold it up from the chicken wire in the back or you can put two nails into the wall and stick the foam directly onto those nails. If you are using this for a decorative arch at an event, you can use zip ties to secure it around the wood or metal post.
And there you have it! A beautiful swag piece that can be used for a special event or be up in your home year-round 
Resources for this project:
See all materials


Comments
Join the conversation
-
Absolutely Beautiful!!!!!
-
Really pretty!!


Frequently asked questions
Have a question about this project?