


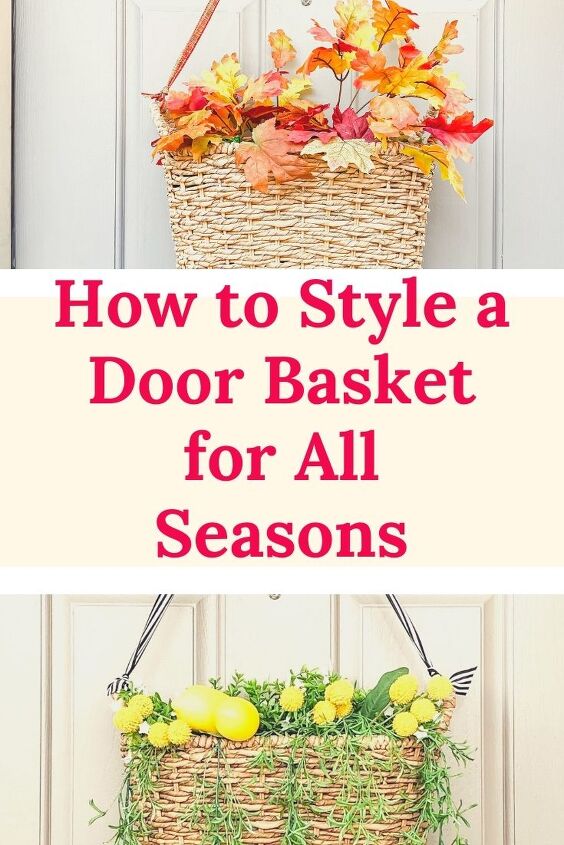
Make A Simple Door Basket For All Seasons

Do you ever wish you could simplify your seasonal decor? Here’s how to make a simple hanging door basket that would last for all seasons!
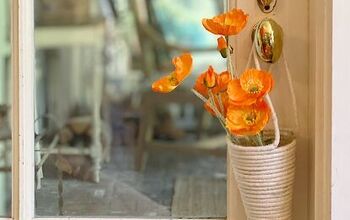
Do you ever wish you could simplify your seasonal decor? It can take so much time, and money, to style for each season. We put up, we take down. Season after season. And let’s not even talk about storing it all! I’ve really been trying to simplify my seasonal decor the past few years, and have been thinking of ways to take one piece of decor, and make it last throughout the year. I found this beautiful basket while thrifting, and I knew it would be perfect for my front door! I came up with a way to make this super cute front door basket last all year!
Make a Simple Hanging Door Basket For All Seasons
If you are looking for a door basket while out thrifting, you can pick any basket, just make sure that it has a flat back. A handle in the back of the basket is helpful, but not necessary. However, if there is not a handle on the back, there needs to be handles on each side that you can tie ribbon to so that it will hang.
If you are purchasing a basket new that is meant to be hung on the door, you are golden!
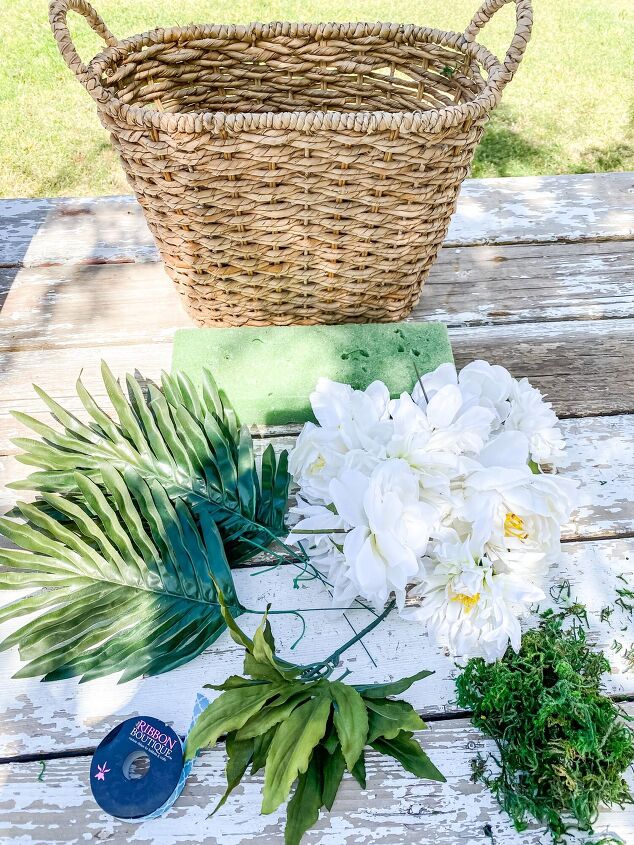
Materials Needed:
~Basket with a flat back
~Styrofoam to fit inside the basket (does not need to fill basket up, just rest inside
~Florals
~Greenery or leaves
~Moss
~Ribbon (if your basket doesn’t hang from the back). A stiffer crossgrain ribbon tends to work best.
~Wire cutters
Directions:

Step 1-Place the styrofoam just inside the basket.
Cut off any corners and shape as needed so that it nestles just inside the top of the basket. If the foam sinks down, you can fill the basket with newspaper, wrapping paper, or plastic bags to hold up the styrofoam.
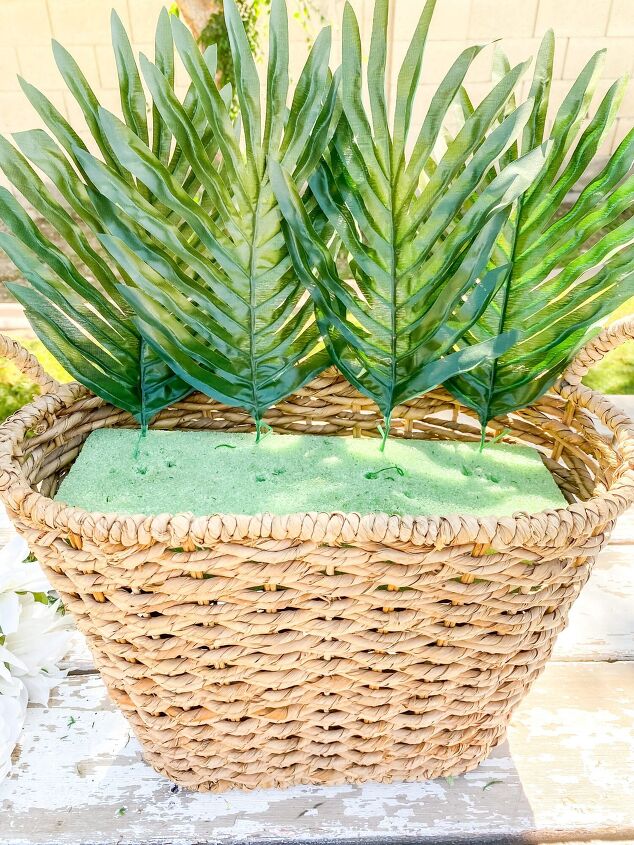
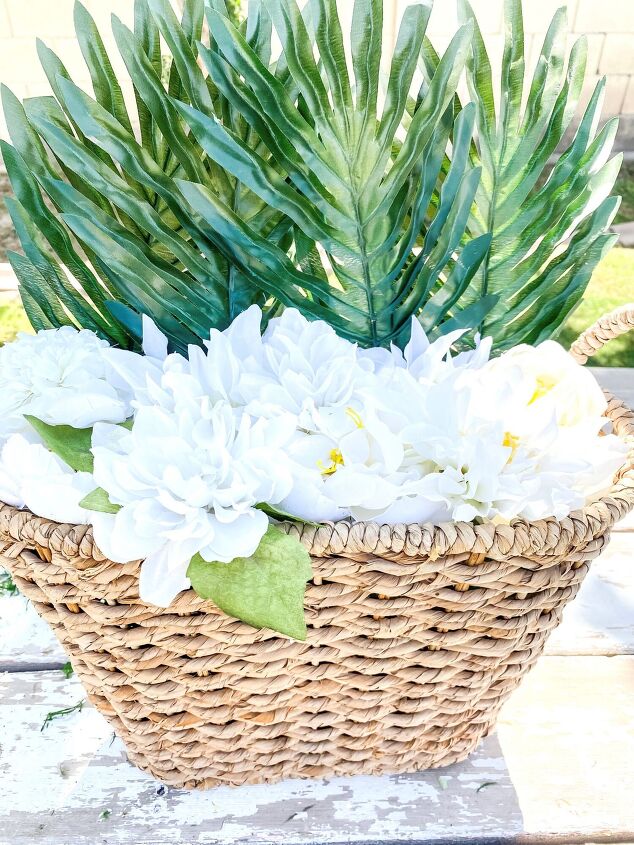
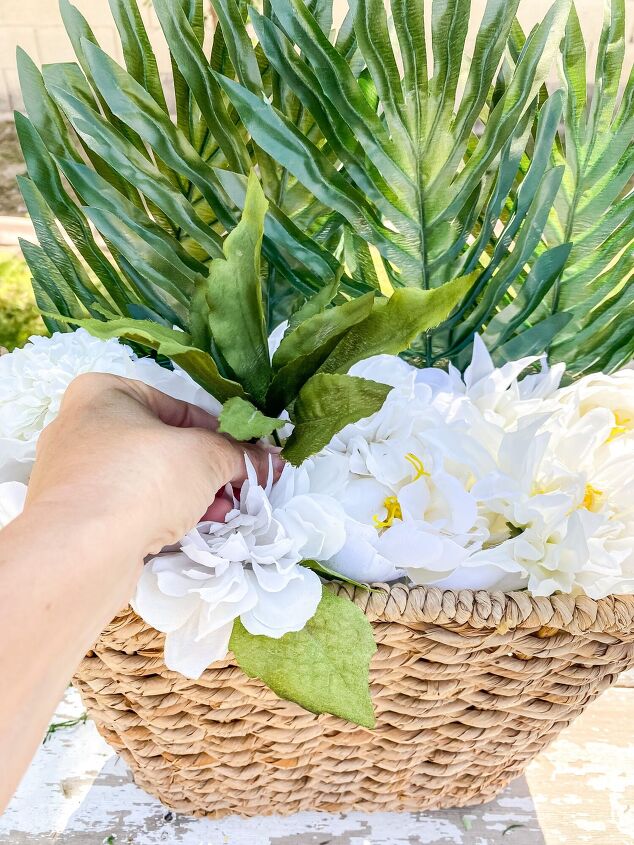
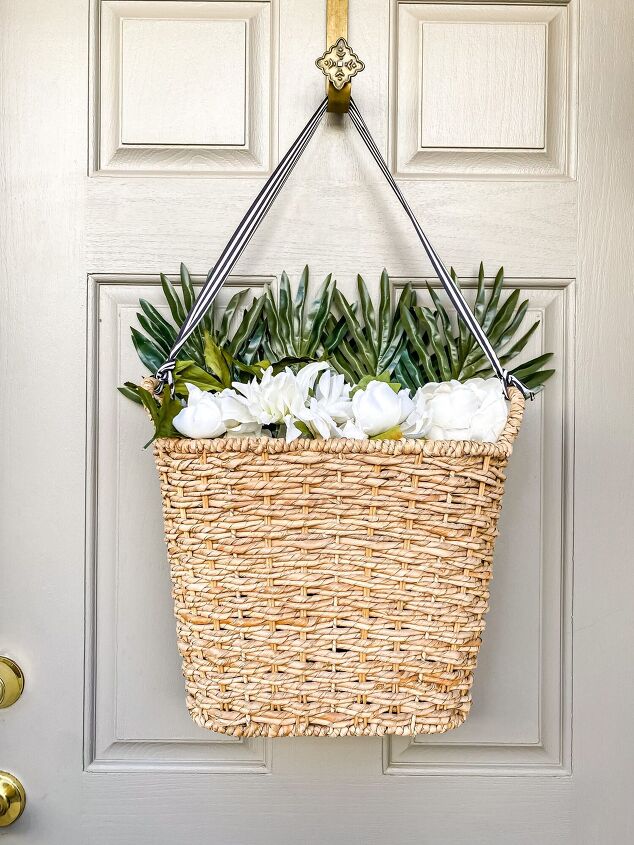
Step 2-Fill Door basket with florals and greenery
Cut the stems of the florals and greenery, if needed, with wire cutters. Poke them into the foam to fill the basket. Cover any foam that shows with moss.
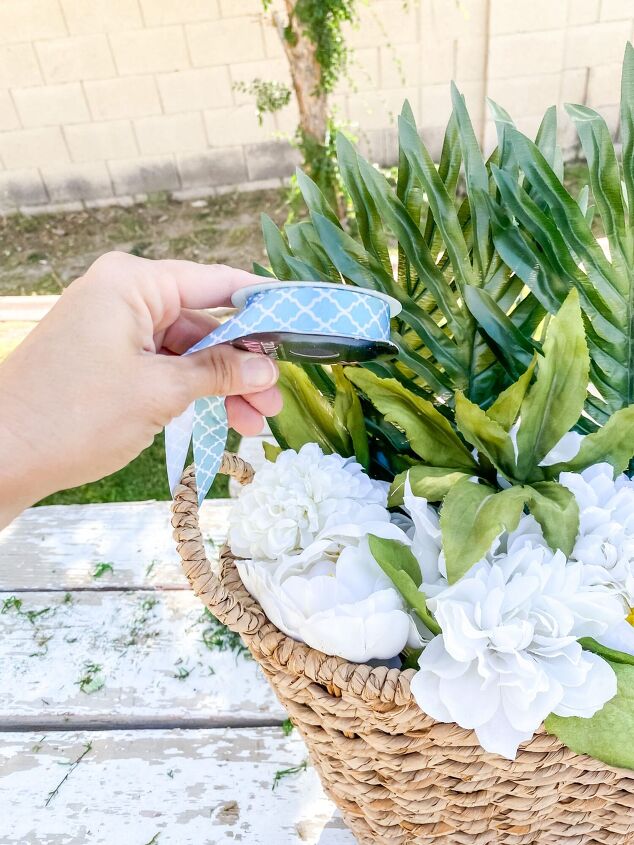
Step 3-Attach ribbon (if your basket has a handle in the back, skip this step)
Keep the ribbon attached to the spool for this step! Tie a knot or bow on one of the handles with the loose end of the ribbon.
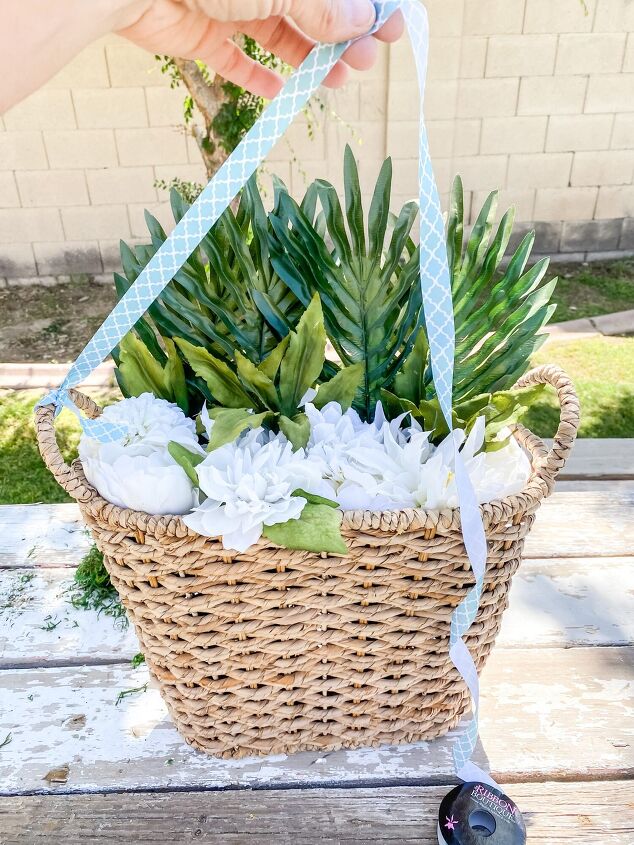
You will want to have your wreath hanger or Command Hook attached on your door for the next step. Hold the ribbon up to the height that it will be hung, and then allow enough ribbon to reach the other handle, with extra to tie the second knot or bow.
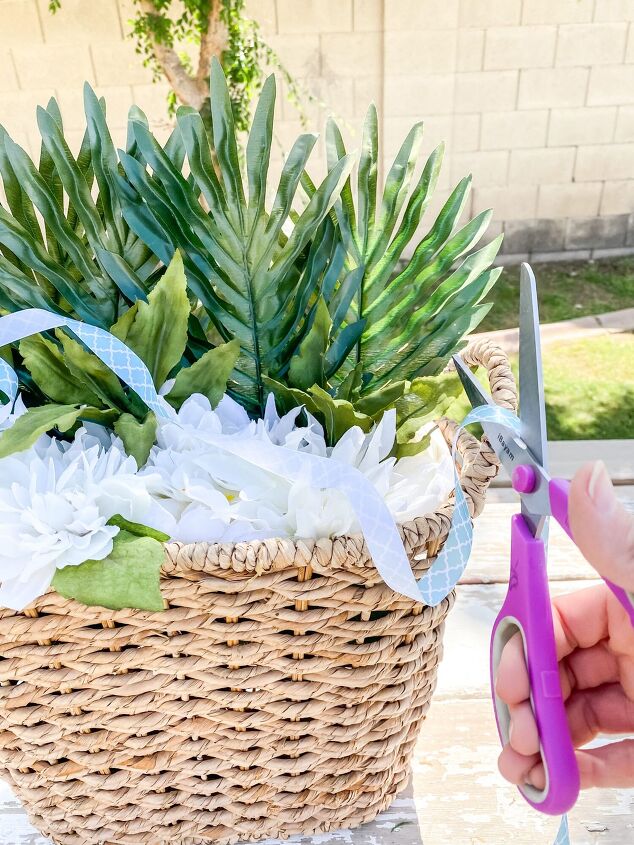
Doing this process will help guard you from cutting the ribbon too short. Once you are sure you have enough ribbon to attach it to the other handle with enough extra to tie it, then you can cut the ribbon. Tie it onto the remaining handle.
Watch me make this door basket in this full video instruction!Make a Simple Door Basket For All Seasons
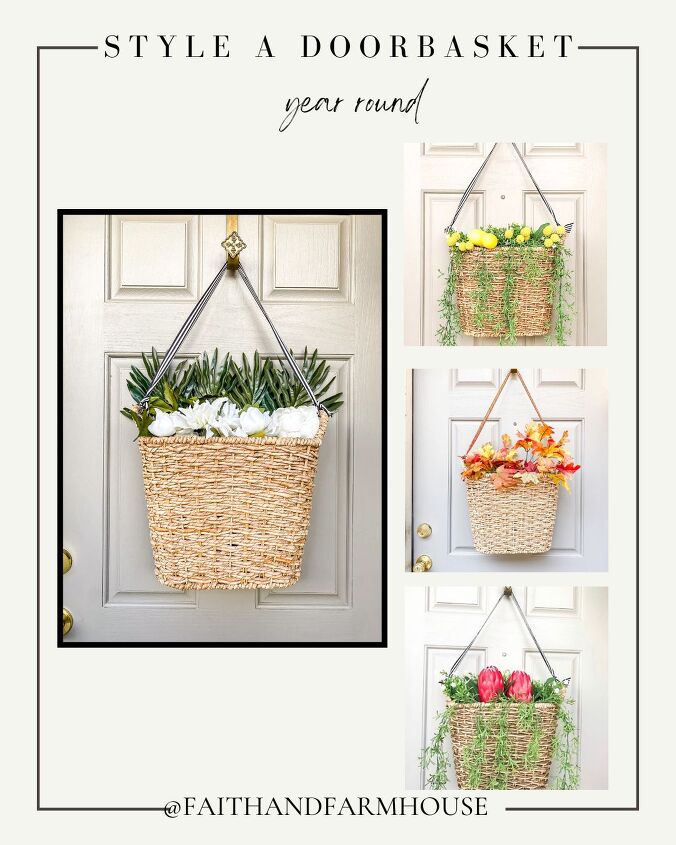
You can easily change up your door basket for each season just by replacing the ribbon, and maybe a few of the elements you added to the basket! If you replace the ribbon, be sure to keep the original piece of ribbon to use as a template for the length of your new ribbon!
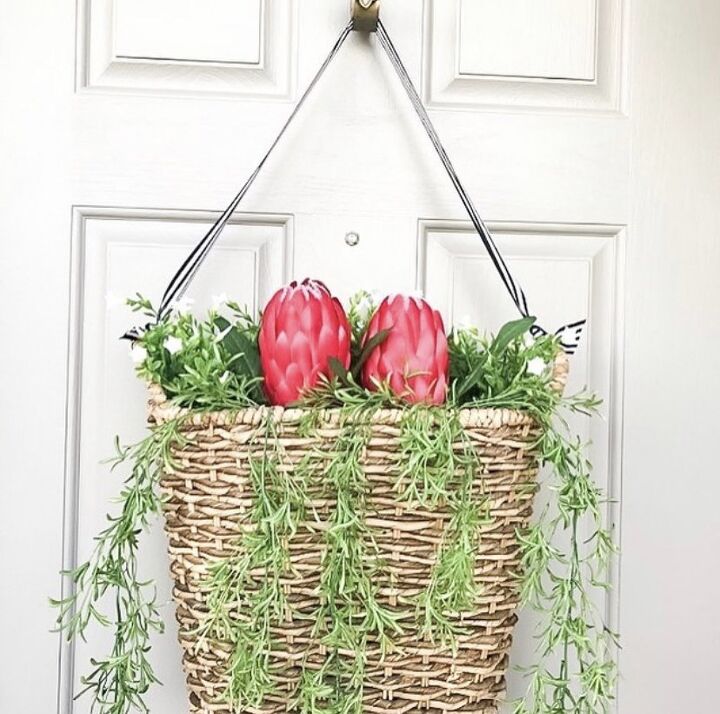
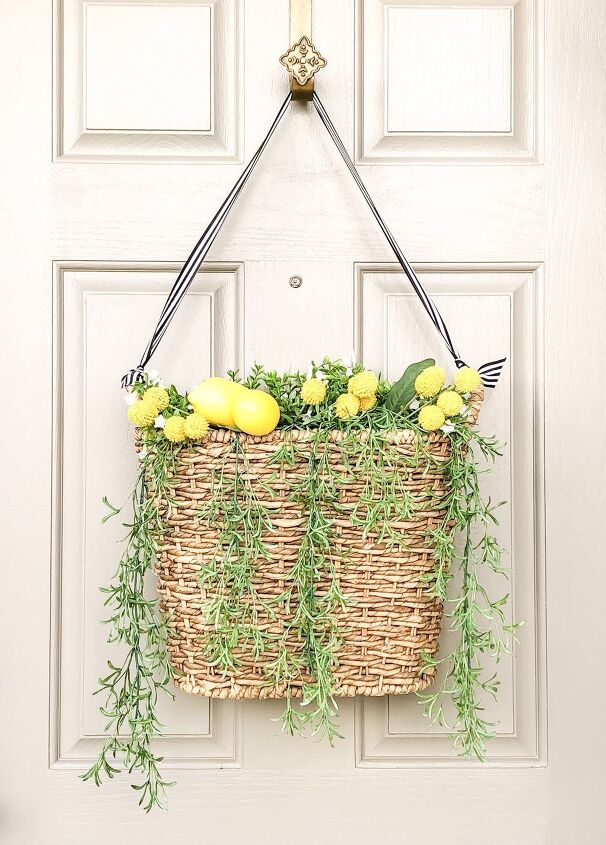
The only thing that I did to change this spring or early summer look of cactus blooms into a later summer look of lemons was take out the cactus blooms, and add the lemons and yellow florals!
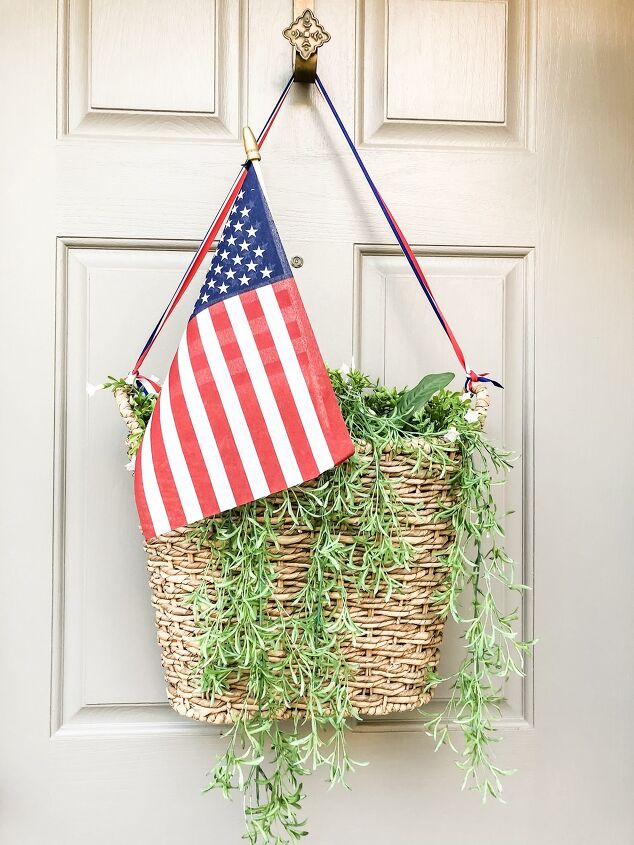
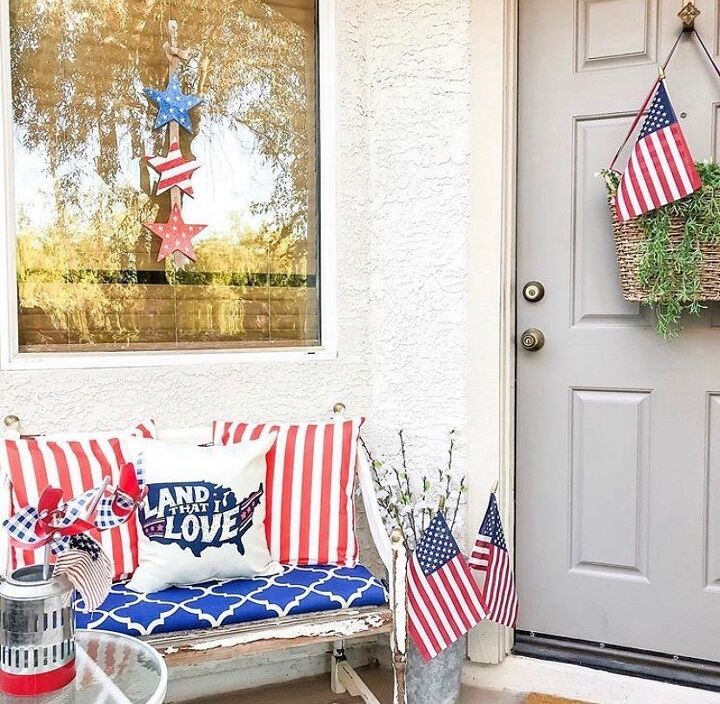
As 4th of July approached, I changed out the ribbon to one that was patriotic, and replaced the yellow with a flag.
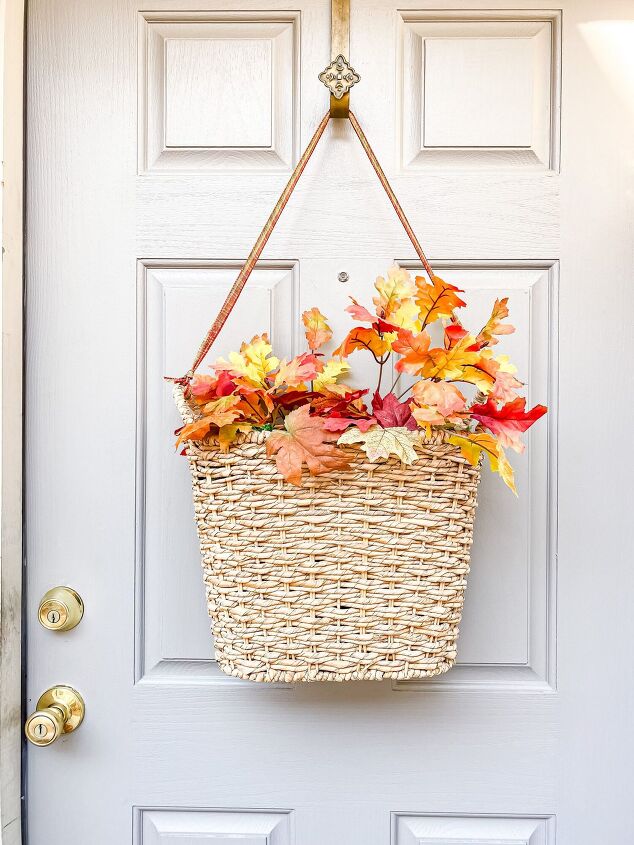
As fall came, you guessed it! I just changed out the ribbon again, and filled the basket with leaves from the dollar store. My decor for my door basket almost always comes from the dollar store. I never know what the elements will do to it, so I don’t want to spend a lot of money on something that could potentially get ruined!
For Christmas, I remove the door basket and add a wreath, but you could easily embellish it for Christmas as well!
That’s it! That’s all there is to make a simple door basket that will last all seasons! It only take a few dollars and a few minutes to change it up!
Here’s another great decor piece that you can make and change up all year!
I'd love for you to join me over on my blog!
See more beautiful spring decor ideas on my Pinterest board!


Frequently asked questions
Have a question about this project?