


Pretty Fall Wreath

by
Dorinda
10 Materials
$1
1 Hour
Easy
From what I see, most people that work with poly mesh on wreaths, well, they make a bunch of folds and attach it to a wreath frame, but not me. I wanted to do something different, so I came up with this.
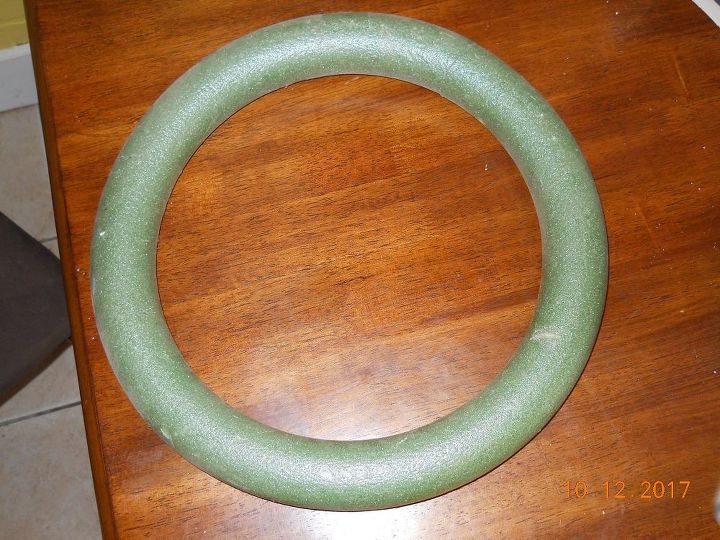
I started of with this green Styrofoam wreath. It's about 1 foot wide. I purchased it at a yard/tag/garage sale for 50 cents.
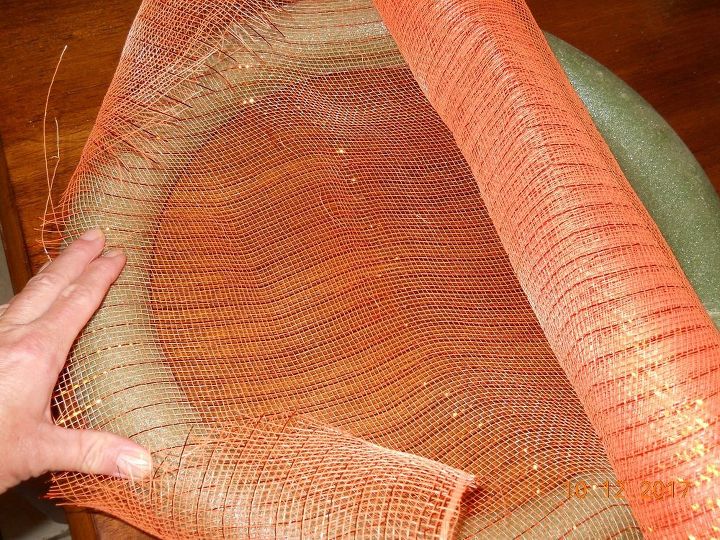
Then I took about 4 feet of orange poly mesh that a friend had given me. I cut it into 3 even pieces that were 4 feet long.
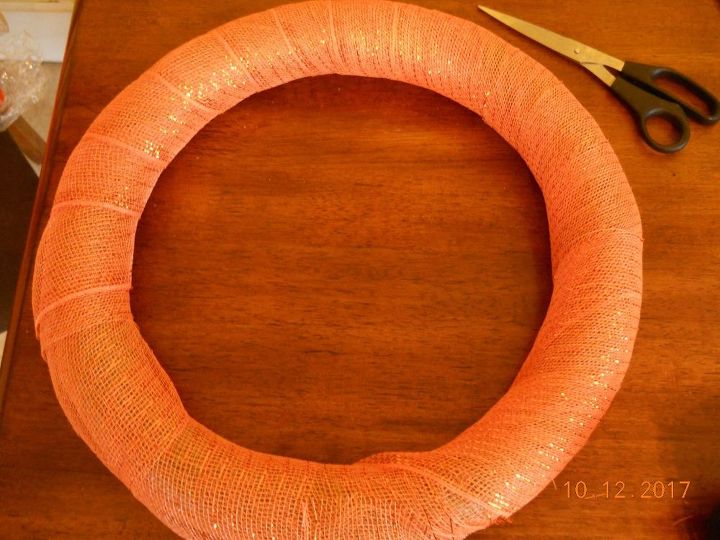
Next thing I did was to wrap the foam wreath with the poly mesh. I attached the end piece to the wreath with sewing pins. Make sure you stick the pin through some of the stitching on the poly mesh, or it will not hold.
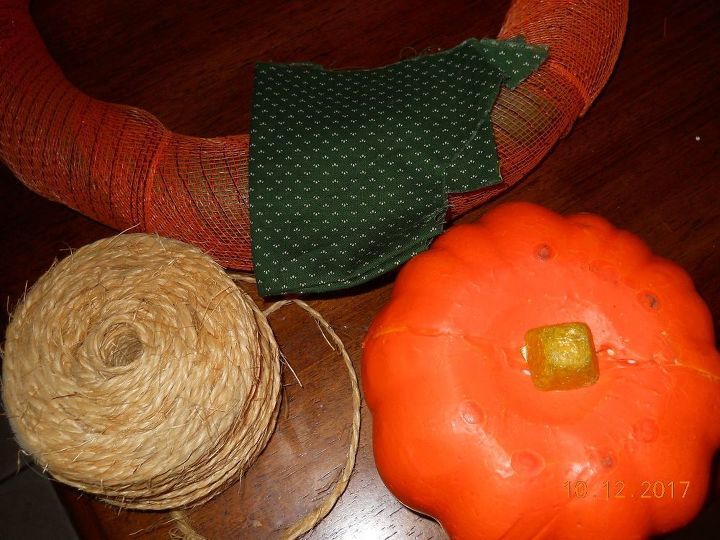
I had a remnant of material in green with little white designs, and some twine at home, and a fake pumpkin that I had purchased from a yard/tag/garage sale, so I gathered them up for the next steps.
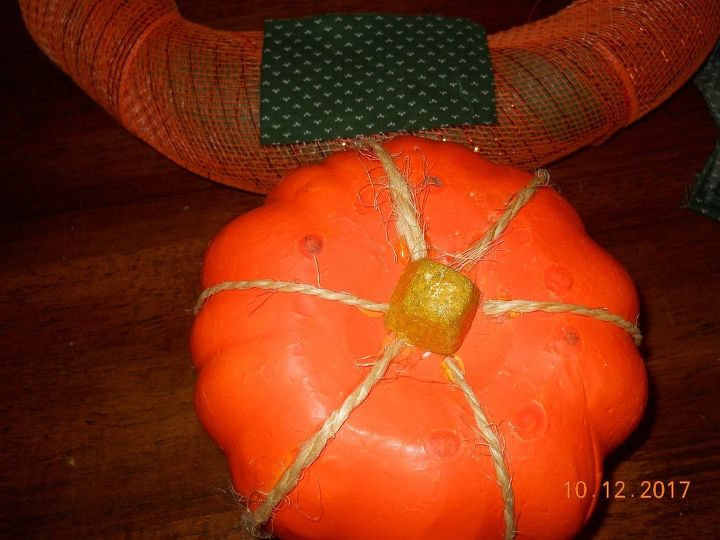
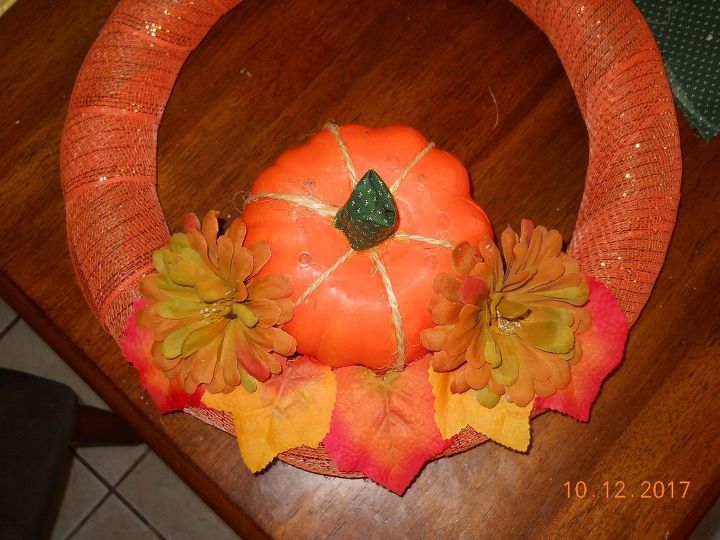
Cut 3 strands of twine long enough to go from one side of the stem to the other. I then hot glued them on, mainly to hide the seam on the pumpkin.
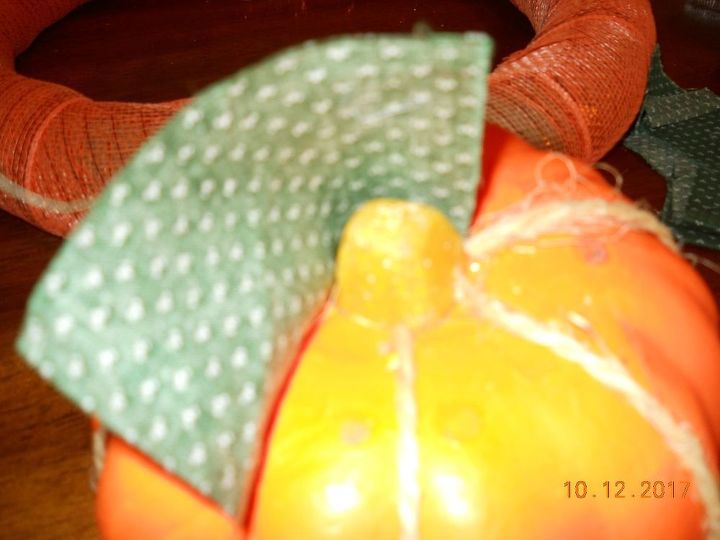
Cut about a 2 1/2 inch by 1 1/4 inch of the remnant, and hot glue the inside edge of the material to one side of the pumpkin stem.
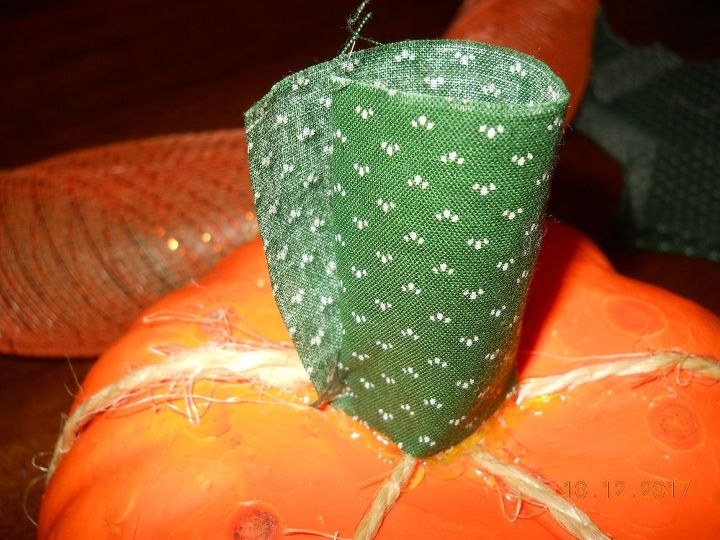
Continue hot gluing the material to the bottom edge of the stem, then hot glue the edge of the material so it makes a tube on the stem.
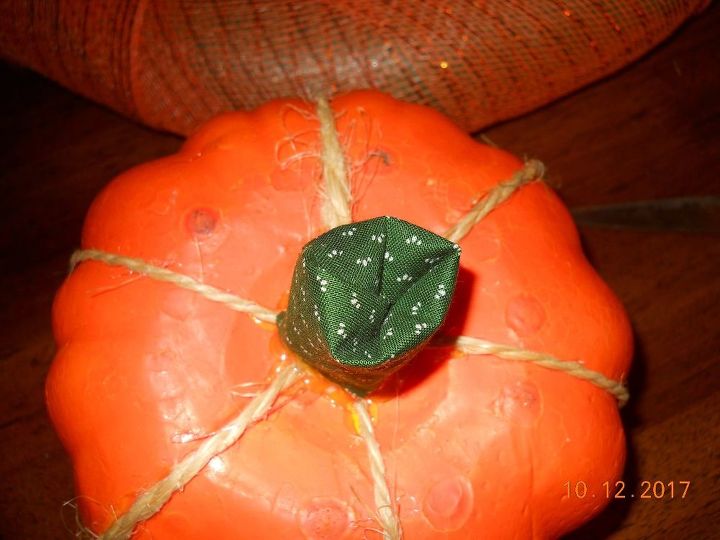
Next thing I did was to poke the edge of the material in the tube part, partly to cover the stem, plus to hide the raw edge of the material.

Sorting through some fall leaves that I had, I picked out 3 of the bigger leaves that were more orange in color, and two smaller yellow leaves.

Lay the wreath down on a table, making sure side that you pinned is up. Begin hot gluing the orange leaves to the wreath, making sure they cover the ends of the mesh that you pinned. Then lay the two yellow leaves in between the orange ones, hot gluing them all into place.
Lay the pumpkin on the table and kind of center it with the leaves that were glued on. I did this so the pumpkin would not stick out the back side of the wreath, making it easier to hang. Then when you see where you need to glue, put a thin layer of glue on the wreath, and push the pumpkin to it to glue it to the wreath. Then I found two tan colored flowers, and glued them to each side of the pumpkin, and on the wreath to help hold the pumpkin there. When the glue dries, flip the wreath over and glue the back side of the pumpkin to the wreath for extra strength.
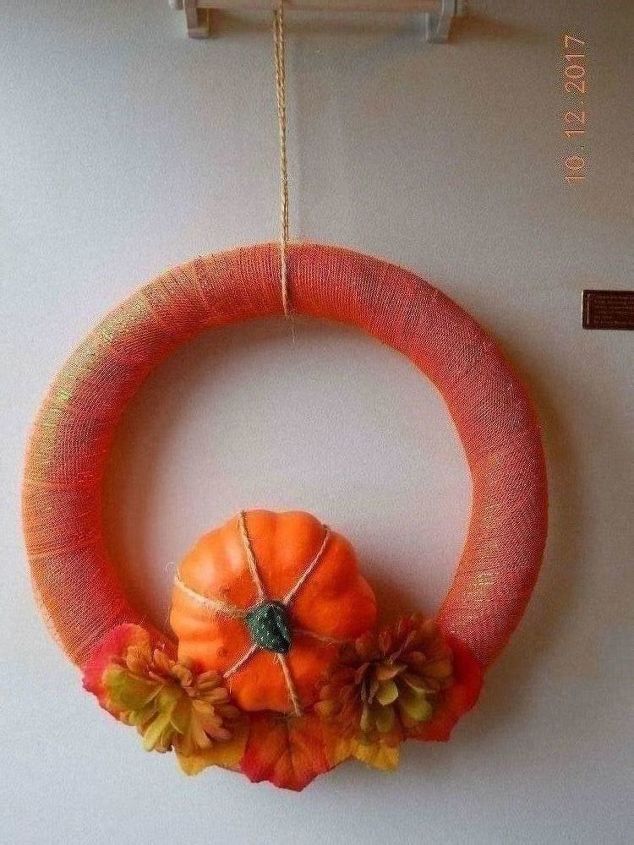
The last thing I did was to tie a knot in a piece of twine that I had wrapped around the wreath at the top for hanging. This picture doesn't do it justice, as it doesn't show the orange metallic stripe throughout the poly mesh.
Comments
Join the conversation
4 of 16 comments
-
I love the wreath you made and the fact that it is so simple in its look. So many wreaths I see are so overdone, I think. You have an eye for this. ☺️ I might try, tho, to place pumpkin, and all, either more to the left (southwest) position, or to the right (southeast) position, simply by just shifting the wreath in its twine sling. It might be more pleasing to the eye. Just a suggestion. See what YOU think. 👍
-
I think it is lovely, but needs a bow, on the left side , towards the top, . But about 3 inches down. Good work.


Frequently asked questions
Have a question about this project?
you said a friend gave you the mesh 4 feet long and you cut it into three pieces 4 feet long???