


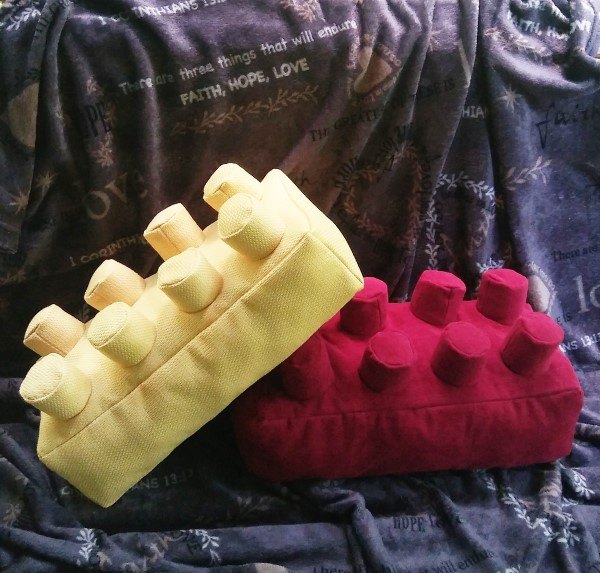
Lego® Brick Pillows (with Free Printable PDF Sewing Pattern!)

Who doesn't love Lego® bricks? Those iconic plastic blocks are must-haves for every creative kid, and even though I'm technically an adult now, they still occupy a very fun place in my heart. I decided to make a throw pillow to reflect my love for these toys, and I even digitized the pattern I made, so you can print it yourself and make your own Lego® brick throw pillows!
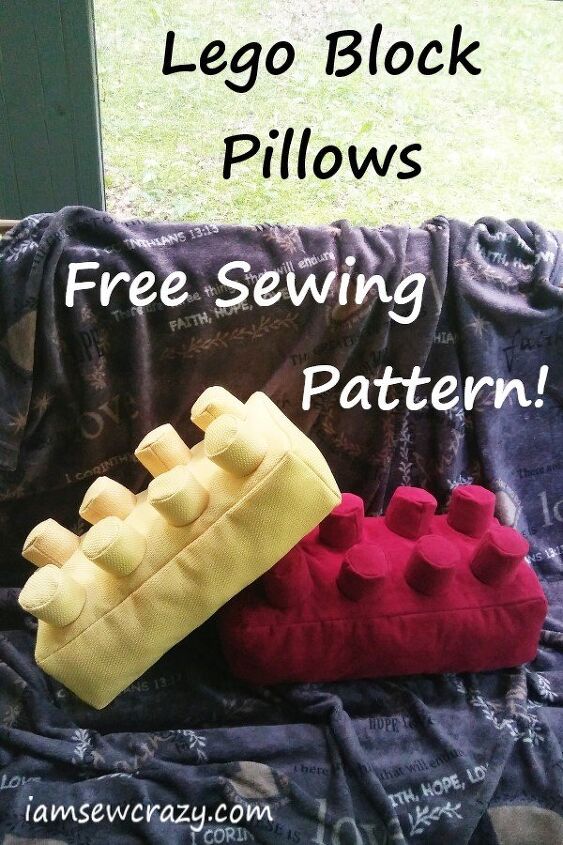
The pillows are very smushy and comfortable, and I think they're perfect for a game room, child's bedroom, family room couch, or den.
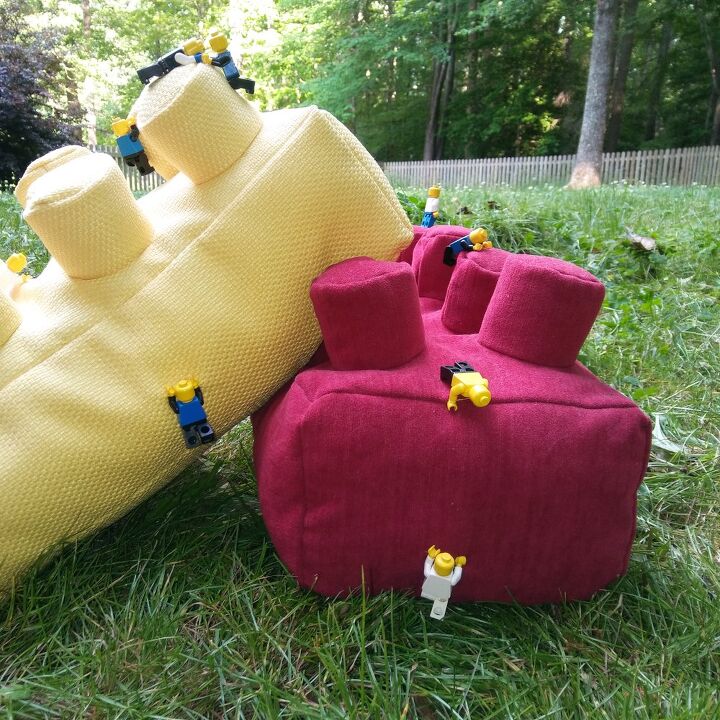
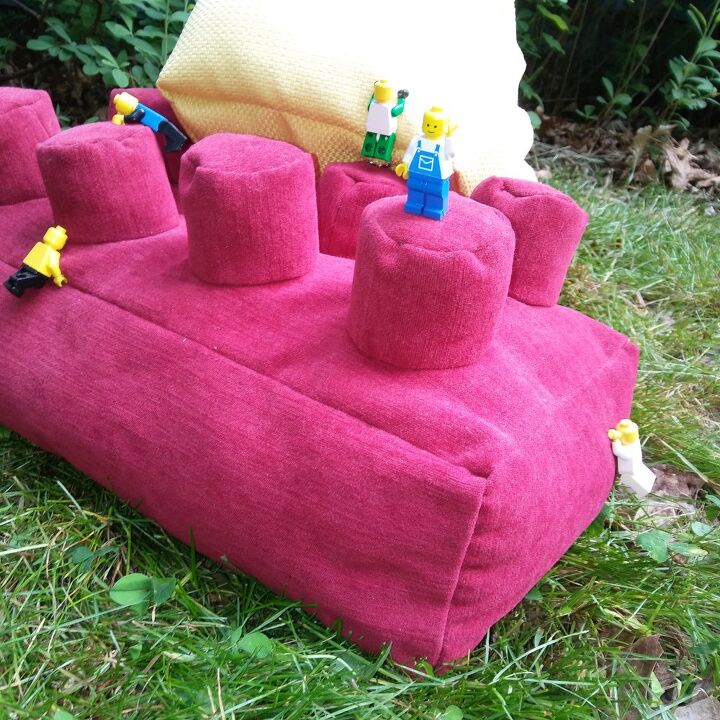
Just for fun, I attached little Lego® minifigures to a couple of the pillows, so that it looks like they're climbing on the oversized bricks. My sister says I should call the sculpture "Stepping on Legos". They certainly look like they're having a good time!
Lego® is a trademark of the Lego group of companies which does not sponsor, authorize, or endorse this project.
As an Amazon affiliate, I earn from qualifying purchases at no extra cost to you.
You need a few simple supplies to make these pillows:
- I recommend felt for this project, because it will not stretch or unravel, and is very easy to work with. You can get felt in so many happy, bright colors that are perfect for a pillow like this! One yard of this 72" wide felt is enough fabric to make two pillows.
- You will need stuffing for your pillow. I use (and love!) this polyester fiberfill. I put about 6 ounces in each pillow, so one bag will stuff two complete pillows.
- All-purpose sewing thread in a color that matches your felt
- Scissors
- A sewing machine or hand-sewing needle
- Access to a printer, so you can print out the pattern!
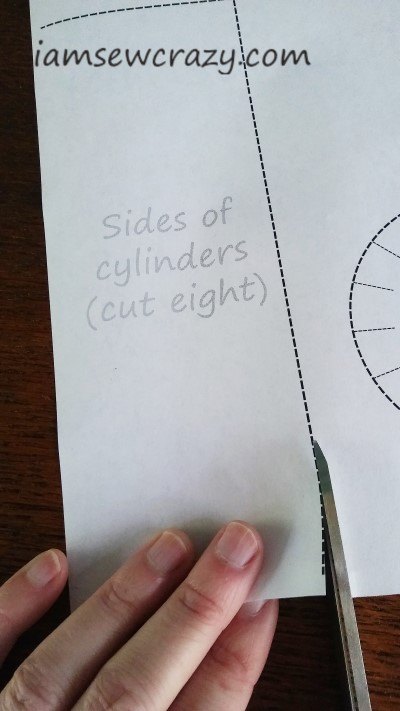
Head over to my blog to snag the PDF pattern (the link is at the end of this post). You will need to print out the pattern pages at 100% (no scaling), and cut on the dotted lines. The dotted line might stop just short of the edge of the paper, since your printer probably can’t print right up to the edge of the paper. But you're supposed to cut all the way to the edge of the paper, just like I’m doing in the picture.
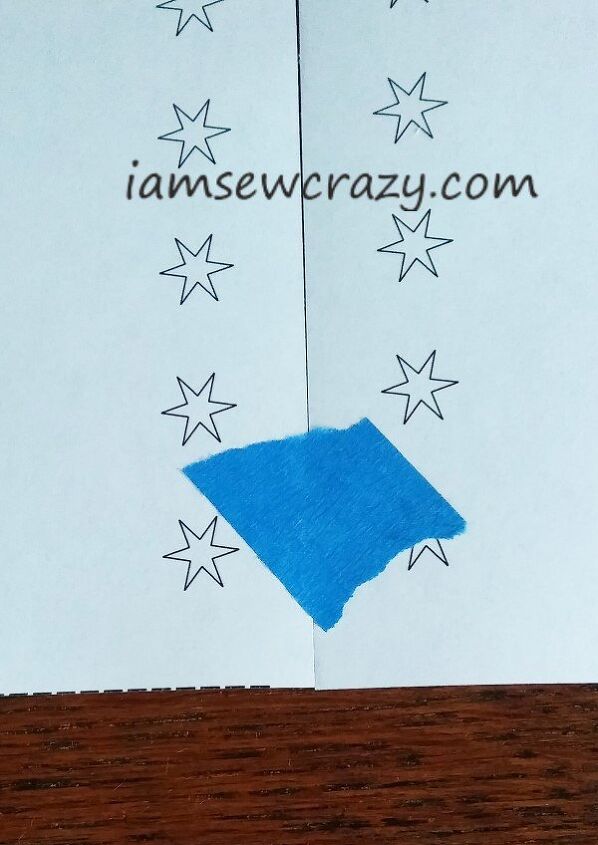
The three largest pattern pieces are printed on two pieces of paper, so you will need to place the matching edges together (stars to stars, spirals to spirals, and circles to circles) and tape them together.
Don’t overlap the pieces of paper, just butt them up next to each other and secure them with tape. I’m using painter’s tape because it’s the answer to half of the world’s problems. No seriously, it’s because it’s so easy to reposition if I need to. (And while we're at it, check out my list of 17 Painter's Tape Hacks to Make Your Sewing and Crafting Easier!)
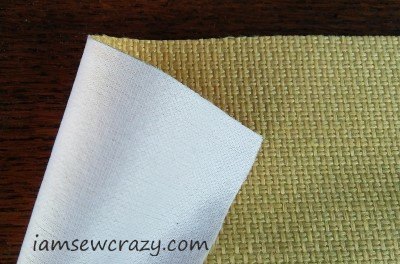
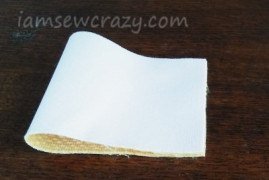
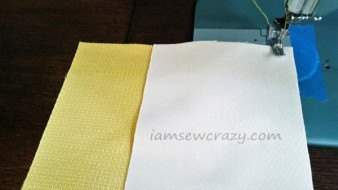
Note: I am not using felt for the demonstration; I'm using a yellow woven fabric that has a white stabilizer fused to one side. I thought having different colors on the two sides would make it easier to follow along with the pictures.
Felt doesn't have a right side and a wrong side to start with, but once you sew a seam, then the side with the seam allowances automatically becomes the wrong side.
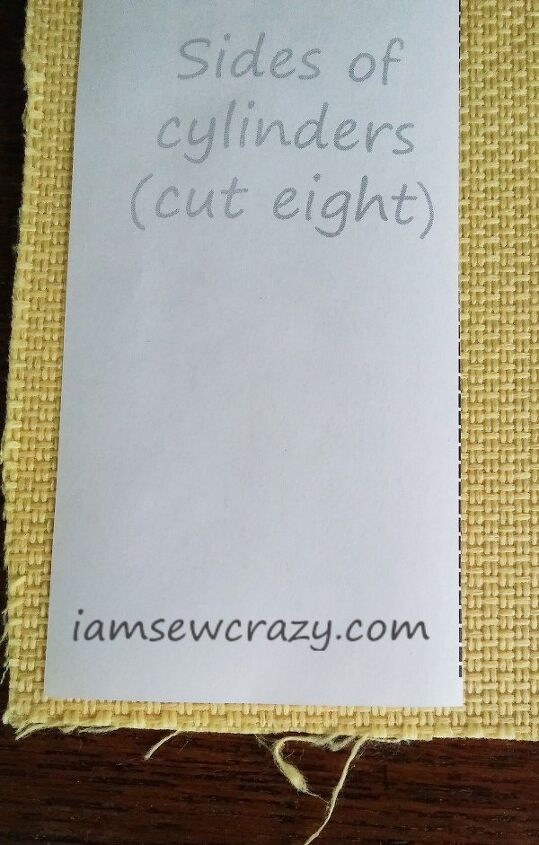
Lay the pattern pieces on top of your felt and cut out the pieces for your pillow. You will need to cut out one bottom panel, one top panel, two side panels, two end panels, eight cylinder sides, and eight cylinder tops.
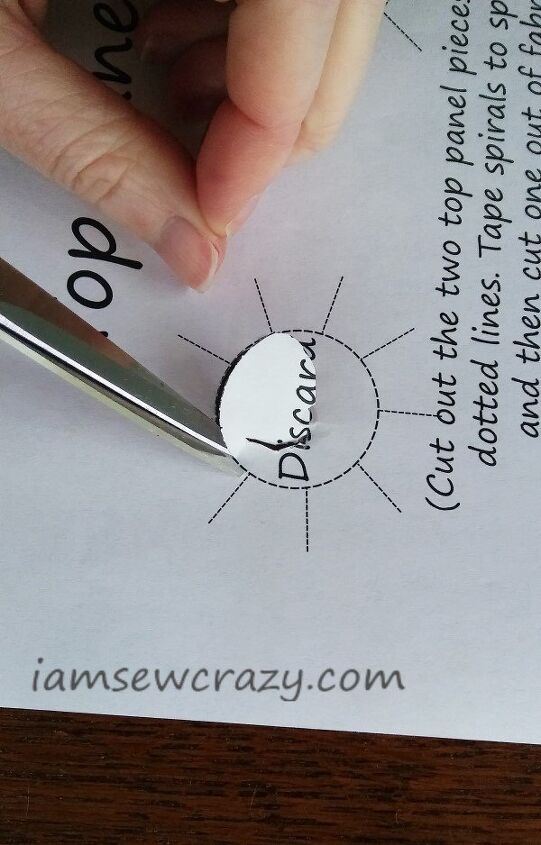
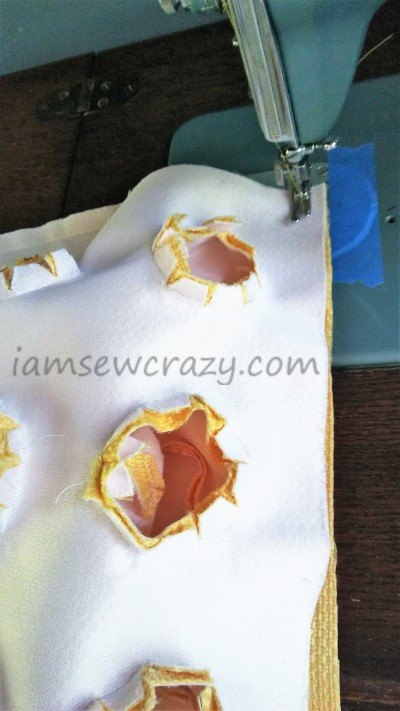
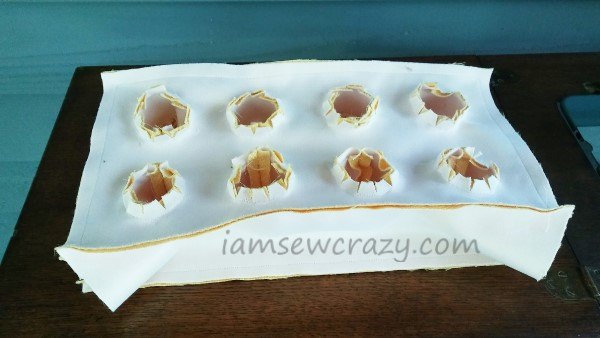
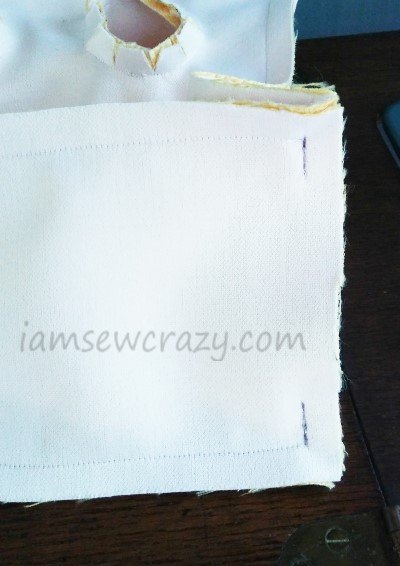
The top panel pattern has eight circles that you need to cut out and discard.
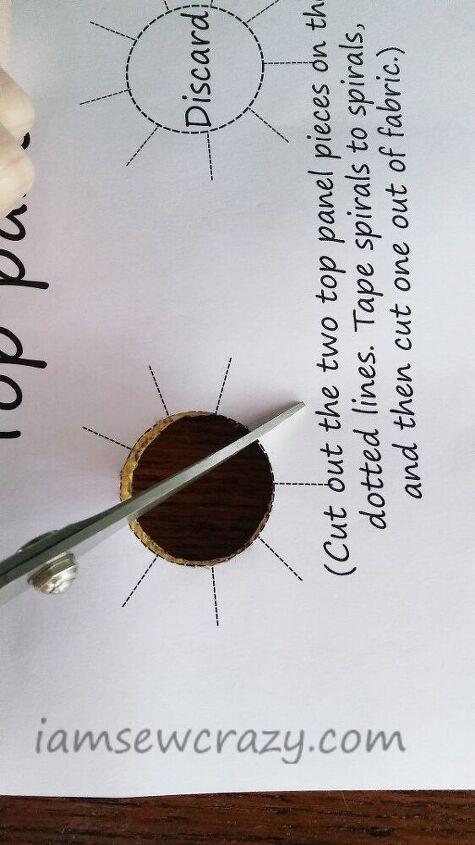
Follow the dotted cutting lines to make snips all the way around the edge of the holes.
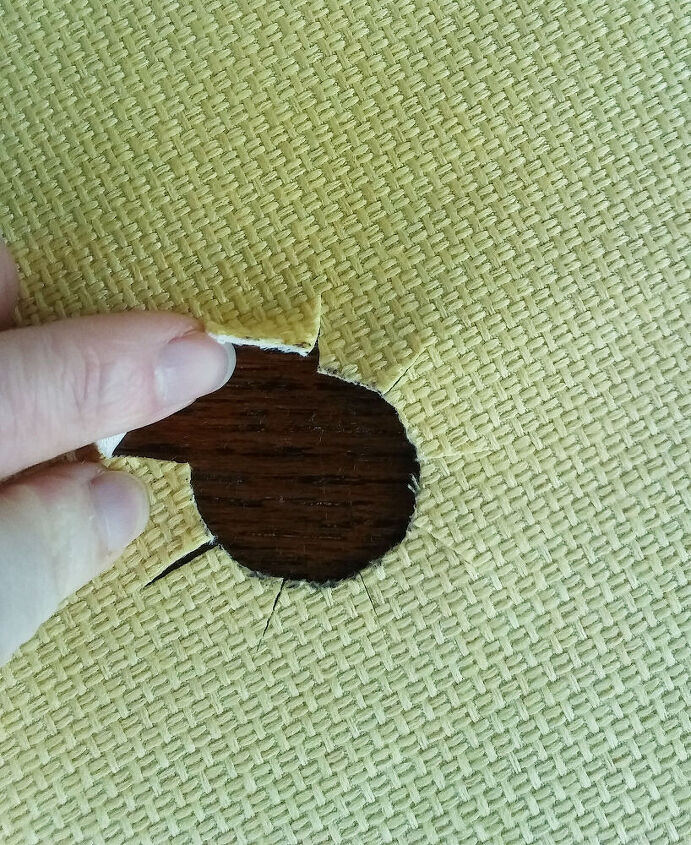
Your fabric should look like this when you're done.

You will also need to make cuts around the edges of the cylinder tops. Just follow the dotted lines on the pattern pieces, and make sure that you don’t cut the slits too deep, because then you won’t be able to close them up when you sew the seams.
I'm going to be using the treadle sewing machine on my screened-in porch to sew the pillow together, because it's nice weather outside, and because why not.
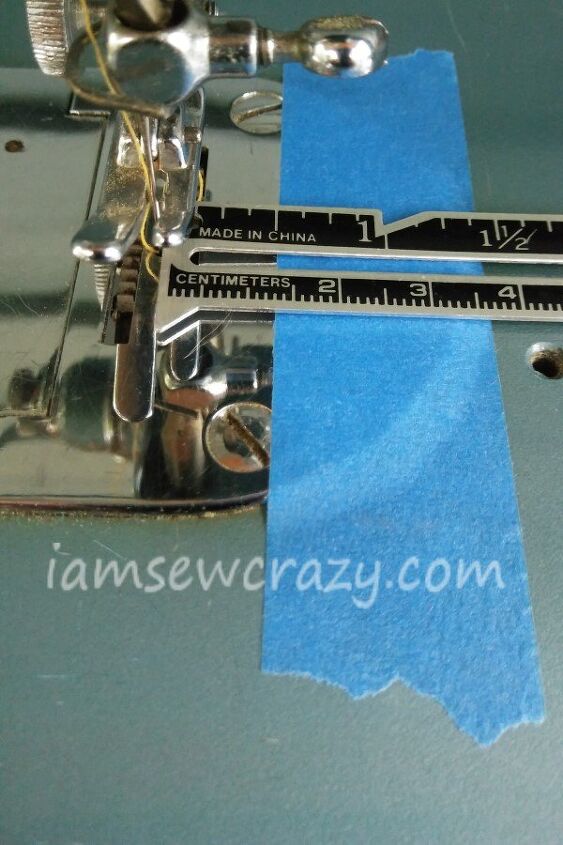
Every seam will be sewn with a 1/2″ seam allowance and a fairly short stitch length (I used 1.5 mm stitches, or 16 stitches to the inch.) If your machine is like mine and doesn’t have a mark on the throat plate for a 1/2″ seam allowance, just take a piece of painter’s tape and place it 1/2″ away from the needle to use as a guide. It won’t leave any residue, and will be easy to remove later. (Guess what? That's another one of my 17 ways painter's tape can make your life easier!)
Set your machine up with a size 14 regular needle (it may be called a size 90 sharp, depending on where you live), and a sturdy all-purpose thread that matches the color of your felt.
Take one of the cylinder sides, and fold it in half so that the two short ends are meeting. Sew along the short sides, joining them so that you have a tube.
Now, you can finger-press the seam allowances open.
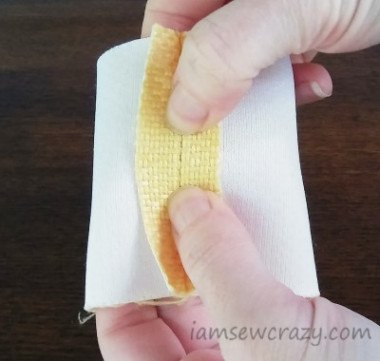
Take one of the tubes you just sewed, and one of the circular pieces for the cylinder tops.
Put the circle inside the tube, with the seam allowances on the outside of the tube, and line up the edge of one of the tabs with the edge of the tube.
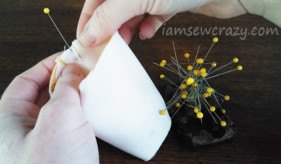
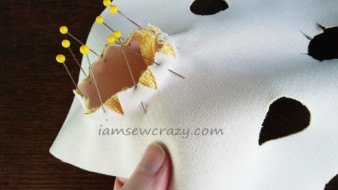
Pin the tab to the tube, and then go on to pin the next tab to the left. (P.S. Do you like my DIY magnetic pincushion? So do I!!! There's a tutorial on my blog so that you can learn how to make your own!)
The top of the tabs can overlap, and that’s fine, they’re supposed to overlap some. But make sure that everything is smooth 1/2″ away from the edge, where you will be sewing.
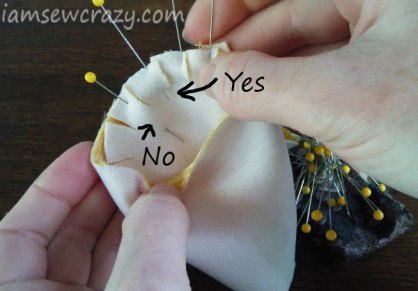
You don’t want to take a huge bite with the pin, like the arrows in the picture are showing. Just pin the tab, because if you pin the circle too far down, you won’t be able to line up the edges of the circle all the way around the tube.
Work your way counter-clockwise around the tube, pinning the next tab to the left until the whole circle is attached.
Sewing a curved seam isn't too tricky, but if you are a beginning sewist then you may want to cut a few extra practice pieces out of your scrap felt. That way you can get the hang of it without worrying about messing up.
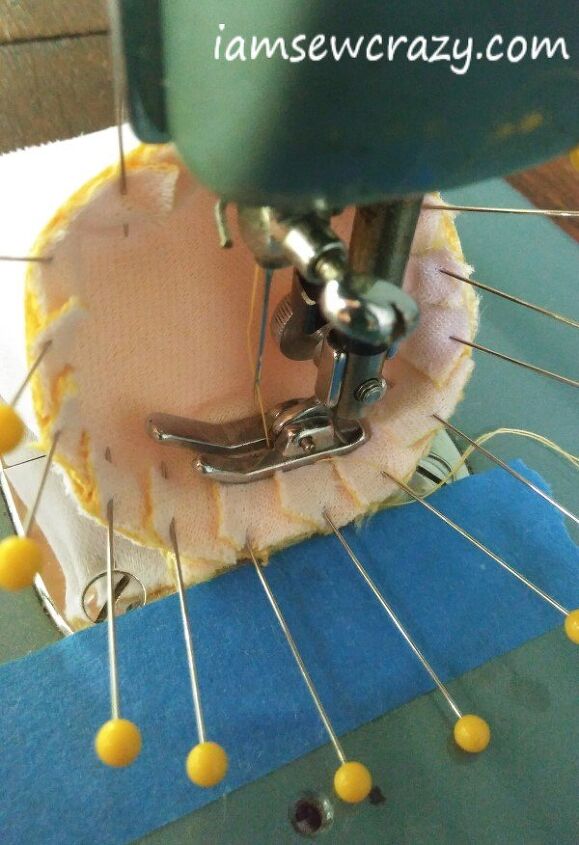
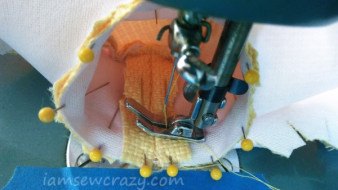
Place the cylinder under the presser foot, with the seam of the tube down so that you will sew over the seam first. (That’s because it’s easier to keep the tube’s seam allowances open if you sew over them first, instead of having the seam allowance flip over when you come around to them.)
Now you can see why it’s better to pin the tabs to the left, because the tabs are overlapping in front of the needle so that you will sew over them smoothly, and not fight against them, like petting a cat backwards.
Sew all the way around, attaching the top of the cylinder to the tube. You will need to keep the heads of the pins on the highest edge of the cylinder out of the way of the sewing machine’s needle bar as you sew.
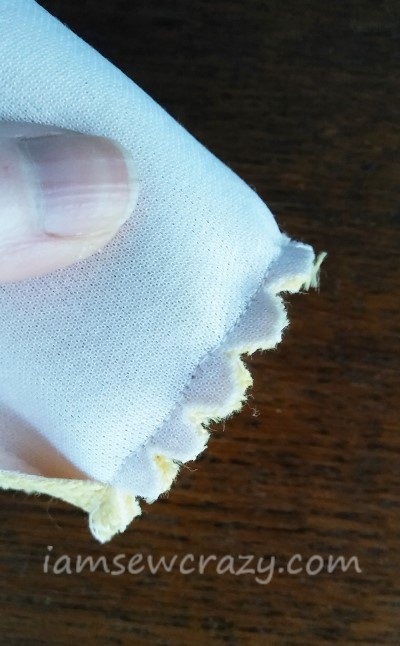
Clip and notch the seam allowances on all of the cylinders after you’ve sewn them, so that the curved edge will be smooth once you turn the cylinders right-side out. (You can see why you want to use a non-fraying fabric like a felt, or one that’s been stabilized with an interfacing. You don’t need to worry about your seam allowances being this narrow on a felt or similarly stable fabric.) Take a look at the picture to see how they should be trimmed.
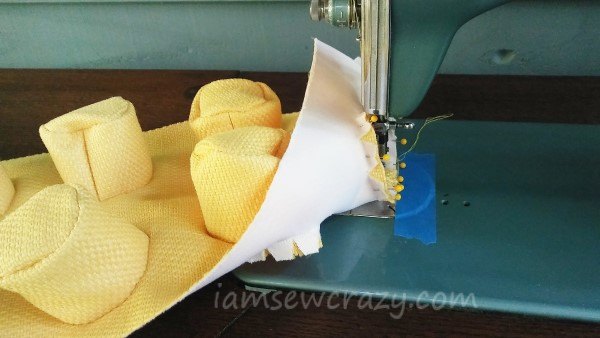
Now you can turn the cylinders right-side out and sew them into the top panel. You’ll pin the cylinder sides to the tabs on the top panel, lining them up just like before, except this time the tabs won’t overlap; there will be gaps in between the ends of the tabs as they spread apart to make room to attach the cylinder.
Make sure that the pretty sides of the cylinders are all facing out, and turn the seam on each cylinder side so that it faces the center of the pillow (that way the long seam will be less visible on the finished pillow).
Double-check after you pin but before you sew, to be sure that the cylinder will be facing the right way and that everything looks good. Now sew (with that same 1/2″ seam allowance) all the way around the cylinder, starting with the seam allowance of the tube underneath the presser foot. You will need to hold the rest of the top panel out of the way to keep it from getting caught in the needle as you sew.
Repeat to attach the other cylinders.
Now you can sew the side panels to the bottom panel. Sew with the long edges meeting each other, but begin and end your seam 1/2″ from each end, just like it shows in the picture.
Sew the end panels to the bottom panel next, starting and stopping your seam 1/2″ from each edge. Line up the edges and keep the side panels out of the way of the needle as you sew.
Now you’re ready to sew the top panel to the rest of the pillow! It’s just like sewing the sides and ends to the bottom panel. Start and end each seam 1/2″ from the edge, and keep the rest of the pieces out of the way so you don’t catch the wrong piece in your seam.
Make sure that all of the seam allowances are facing out, so that we will have the pretty sides showing when we turn the pillow rightside-out!
You should have something that looks like an inside-out Lego® brick, with four seams left unsewn (where the side panels meet the end panels.)
Sew three of the last four seams just like you have been doing, starting and stopping half an inch from the ends.
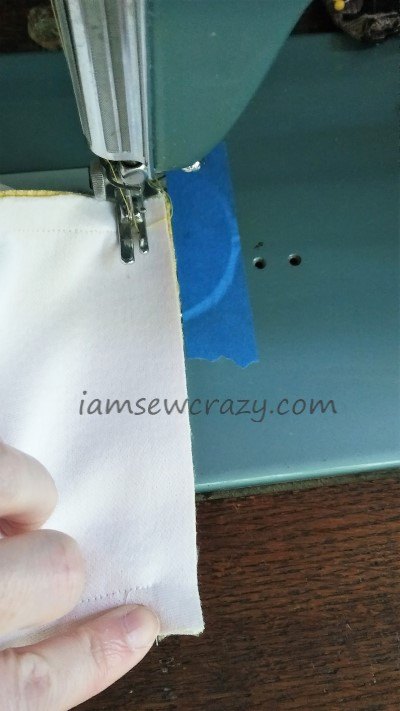
The last seam, you need to leave an opening to turn the pillow right-side out and stuff it. It’s helpful to leave an opening large enough for your hand to fit inside, so that it’s easier to fill the cylinders, but it’s not essential. I always sew two very short seams at the ends, because sewing the corners on the machine gives me a head start when I hand-sew the opening closed. The pen marks in the picture above are showing you where to sew the last seam.
Clip the extra fabric away from all of the corners and around the circles of the top panel, being careful not to cut your stitches.
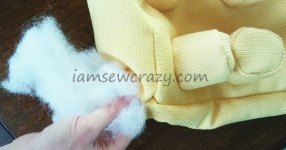
Now you can turn your pillow right-side out and fill it with the fiberfill. I always stuff the cylinders first, because it’s easier to get them filled that way.
You don't need to cram it full; I use about 6 ounces of fluff per pillow. If it's packed tight, it won't be as soft and smushy, and I like my pillows smushy.
The very last thing you have to do is hand-sew the opening closed. Whenever you’re going to do some hand sewing, it helps to wax your thread to make it sew more smoothly and resist tangling. A lot of tailors use beeswax, and I normally do too, but if you don’t have any beeswax, you can run the thread through some lip balm. It works fine, and you probably already have it on hand. You don’t need very much at all, a thin coating will do the trick.
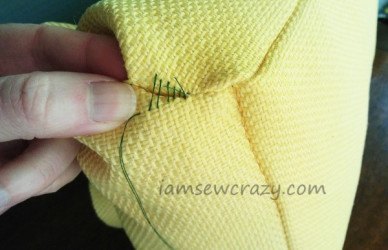
Take 4 small backstitches in the seam allowance to secure your thread, and then take a small stitch in one side of the opening, then the other, just like in the pictures. Try to stick with the 1/2″ seam allowance when you make your hand stitches. (You should use a thread that matches your pillow, of course I’m only using the dark green thread to make sure you can see it.)
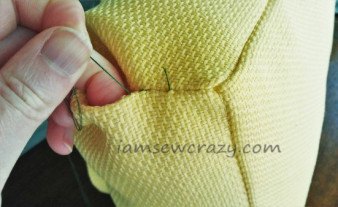
Keep your thread loose at first, and pull it tight when you’ve sewn an inch or so of the opening. Then continue on to sew the rest of the opening closed. When you’re done, secure your thread with 4 more little backstitches, and then bury the thread tails by using the needle to pull them to the inside of the pillow, never to be seen again.
And you’re done! You have an adorable throw pillow that declares your love for all things Lego®. It's perfect to adorn the couch in a game room, den, child's bedroom, or playroom. Or throw it at your brother. Or attach little Lego® minifigures all over it in various poses. Or give it as a gift, or make a bunch of them and build a tower, or... there's just something about Lego® bricks that gives me way too many ideas.


Comments
Join the conversation
-
I love this!!!
-
How cute is this!!! I should have done this for my boys when they were young. I love this.


Frequently asked questions
Have a question about this project?
I would love to make these pillows for my grandsons but I cannot find the link. How can I get the free PDF copy link?