


DIY Fall Decor: How to Make Stylish Dryer Vent Pumpkins

Fall is in the air (or it would be if the temperature would finally drop, so the leaves could change color). I absolutely love, love, love fall! The brisk air, the colored leaves, the pumpkins ... I just love it all.
So I was super excited when I found out how to make this adorable Dryer Vent Pumpkin. I'm always looking for new fall decor ideas, and I just found my favorite for this year.
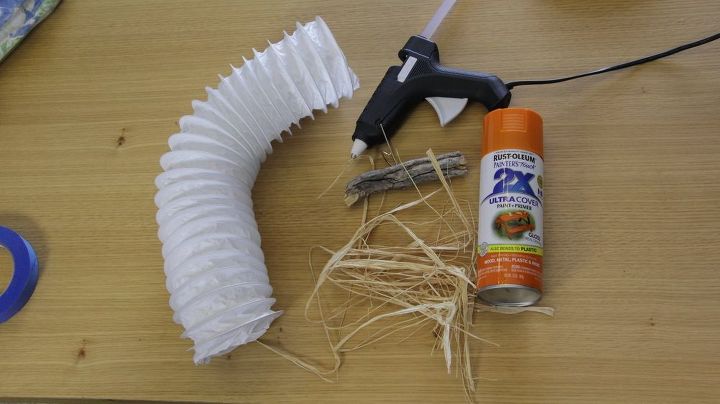
Tools and Materials:
- A 1.5-foot piece of dryer vent
- Orange spray paint
- A stick
- Raffia
- Hot glue
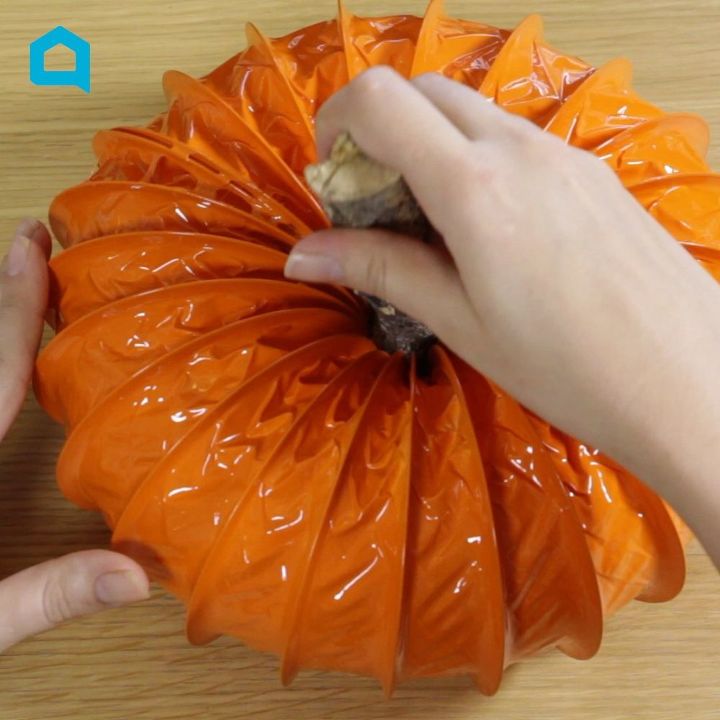
1. Glue the Vent Together
First, take your dryer vent, and apply hot glue around the edge of the vent piece.
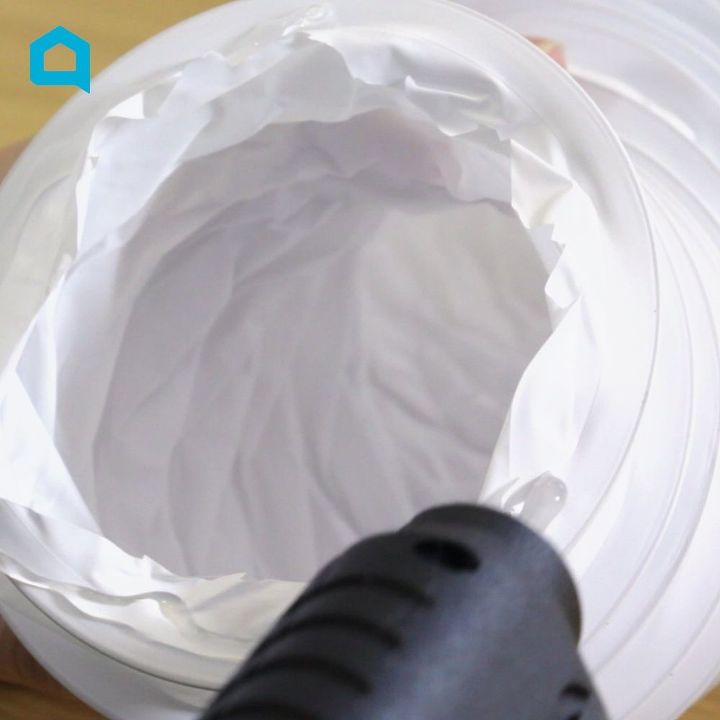
This step is crucial for binding the vent together and forming the pumpkin's body. Feel free to be as generous as you'd like with the glue—it'll ensure a sturdy pumpkin.
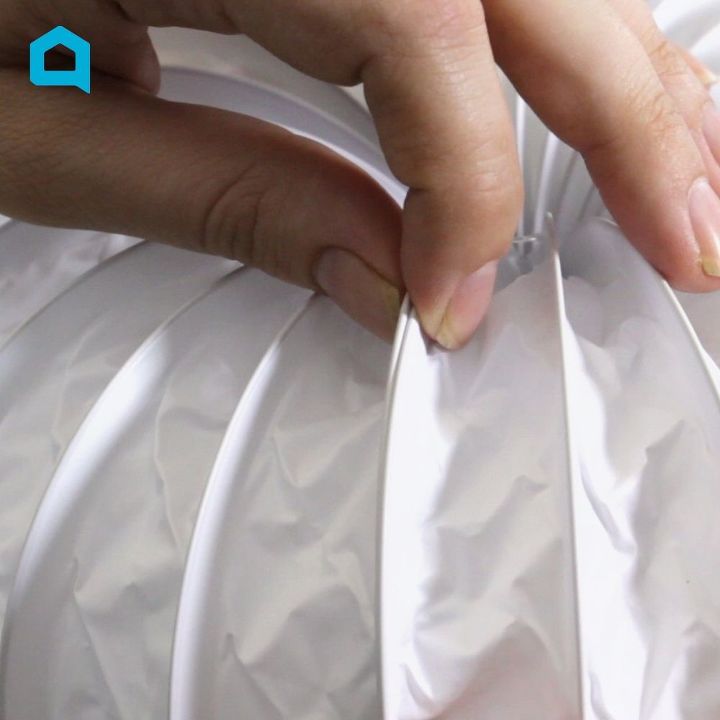
Then I pinched the two sides together to make the pumpkin body.
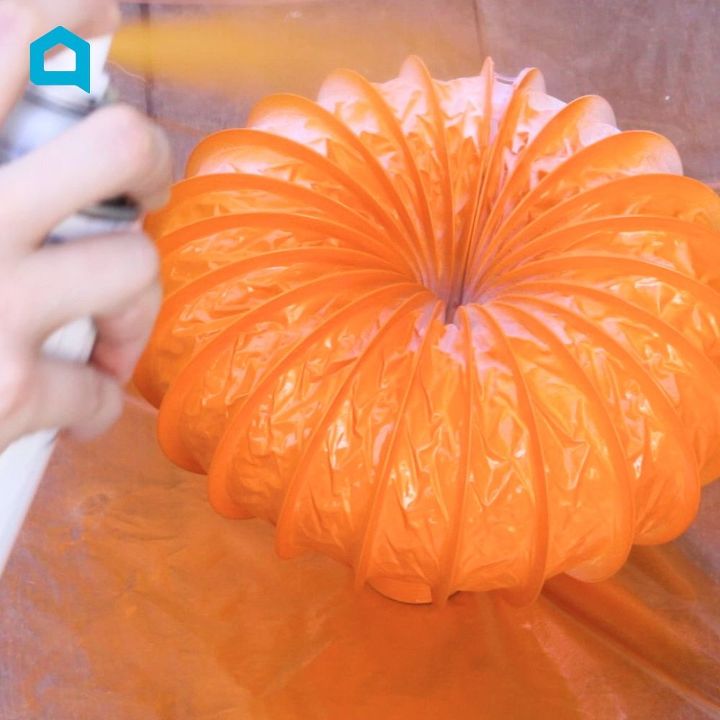
2. Paint the Pumpkin (optional)
Spray paint the pumpkin around the top, then allow it to dry for about 20 minutes. Afterward, flip it upside down and paint the underside.
Due to the plastic texture of the vent, you might notice that the spray paint takes a bit longer to dry than usual, typically around an hour and a half.
Keep in mind that this step is entirely optional. The Dryer Vent Pumpkins can look equally charming in white if you prefer a different look.
3. Add a Stick
To give your pumpkin that authentic stem, apply a dab of hot glue to the hole you've created and insert the stick.
This step adds character to your creation and brings it closer to resembling a real pumpkin.
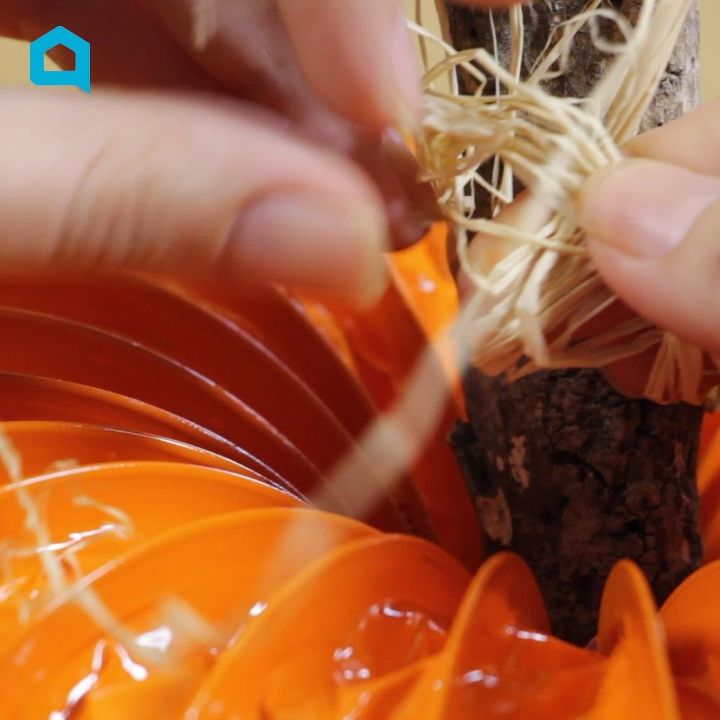
4. Add Raffia
To add the finishing touch, tie some raffia around the stick. This step is anything but optional; it truly completes the pumpkin's look. If you're feeling creative, you can even experiment with other materials like burlap for a different style.
Discover More DIY Pumpkin Ideas
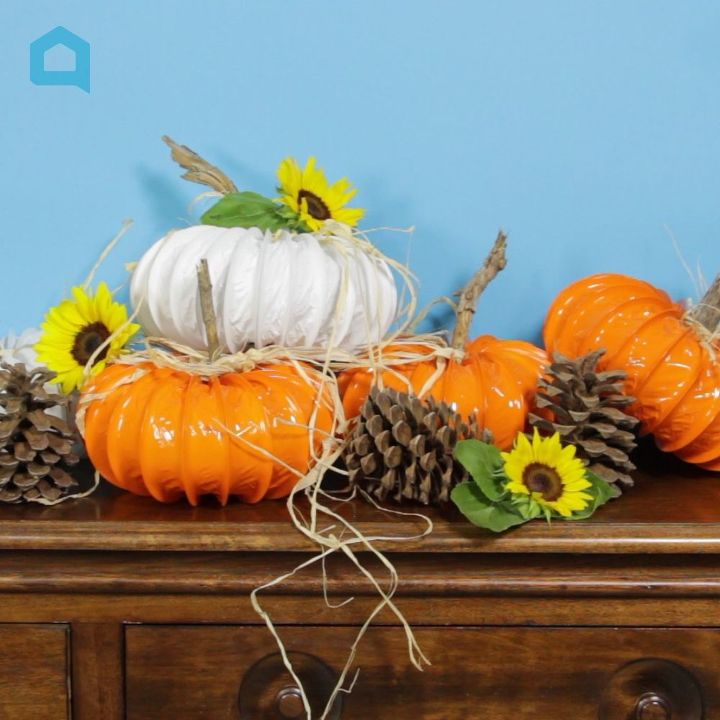
Look at my lovely little pumpkin patch in my entranceway! Isn't it adorable? These would also make a fun centerpiece for Thanksgiving.
If you have any questions or want to share your own pumpkin crafts, please feel free to comment below.
Comments
Join the conversation
-
I wonder if the segment of hose could be turned inside out before making the pumpkin. If it can, it might look even more like a pumpkin with the convex sections rounded and the concave sections more like a pumpkin's deep "V" shape.
-
Adorable! Will definitely do this. Thanks for sharing!


Frequently asked questions
Have a question about this project?
You said cost 1.00 where do u get the dryer hose so cheap
Any ideas for Christmas?
any ideas for a " unique" backsplash in the kitchen. I don't like tiles with grout. I'm redoing the kitchen with oak cabinets and granite counter tops and need something that's EASY to clean. Right now I have tin.