


Budget Friendly Dollhouse Makeover

It has always been a dream of mine to makeover a dollhouse, and when I saw this one on marketplace for only $25 I knew it was the perfect time to do it!
Unfortunately this dollhouse did not come with any furniture, but for the price and the immaculate condition that it was in, I didn’t mind. With a little creativity I’m sure that I will be able to make a few pieces to furnish the house.
This is part one of the makeover, where I will be showing you how to completely transform the interior and exterior of the home. It’s amazing what a little paint and a few wooden craft sticks can do to update the overall look of the dollhouse.
Stay tuned for part two where I will be tackling the interior decor and furnishings!
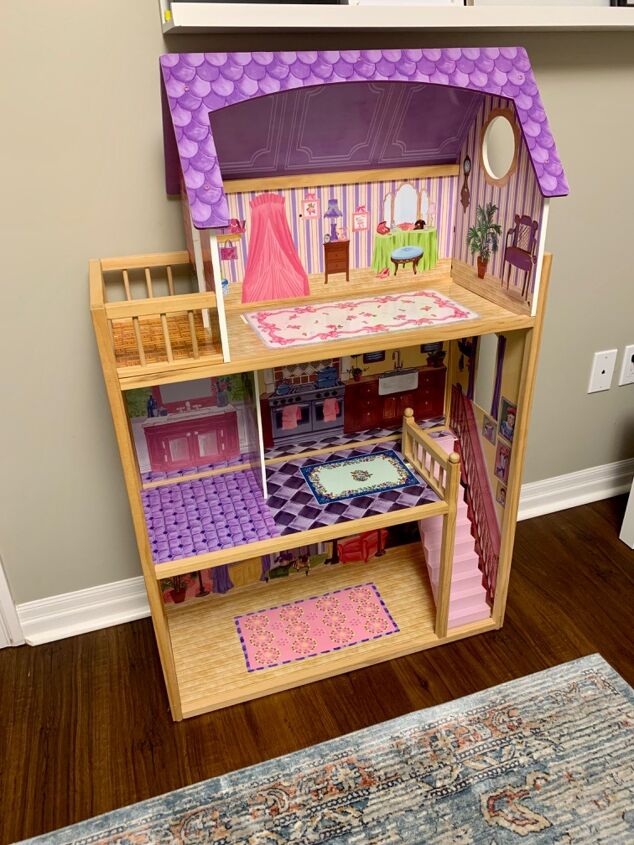
This is what the dollhouse looked like when I first picked it up. It was in amazing shape, however I wasn’t a fan of the bright and busy interior.
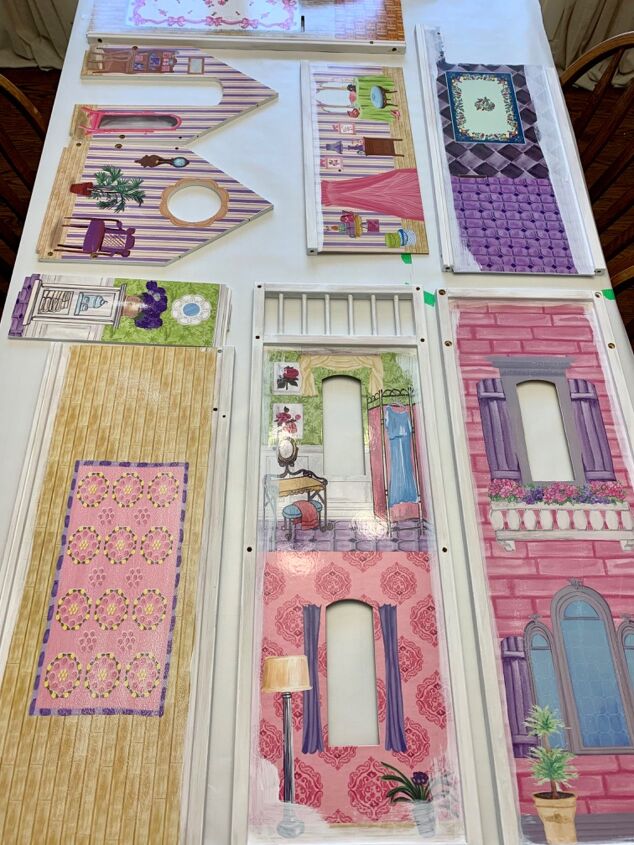
I began by taking the dollhouse apart. I thought that this would make it much easier to paint. I gave everything a very light sand, followed by two coats of a bonding primer.
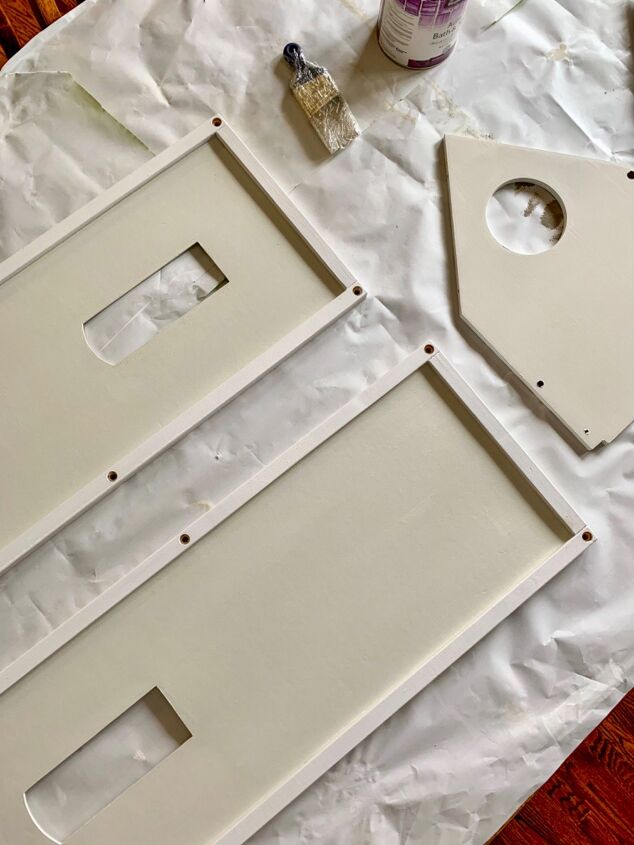
Once the primer had dried, I used various sample pots of paint that I had on hand to paint the exterior and interior walls of the dollhouse.

I decided to paint the floors of the dollhouse as well, rather than do a peel stick option. I thought the painted floors would be much more durable in the long run.
To give the floors that faux wood look, all I did was paint them a dark neutral colour, and then dry rushed a lighter paint colour on top. This really gives a beautiful wood grain effect.
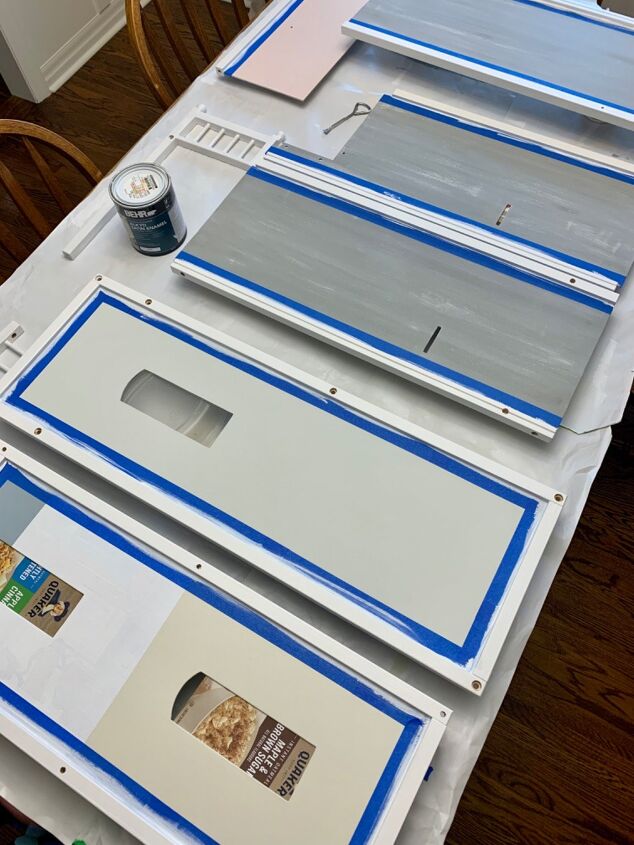
Finally, before assembling this house again I painted the trim with two coats of a white semi gloss paint. I used painters tape to help me get a nice crisp paint line.
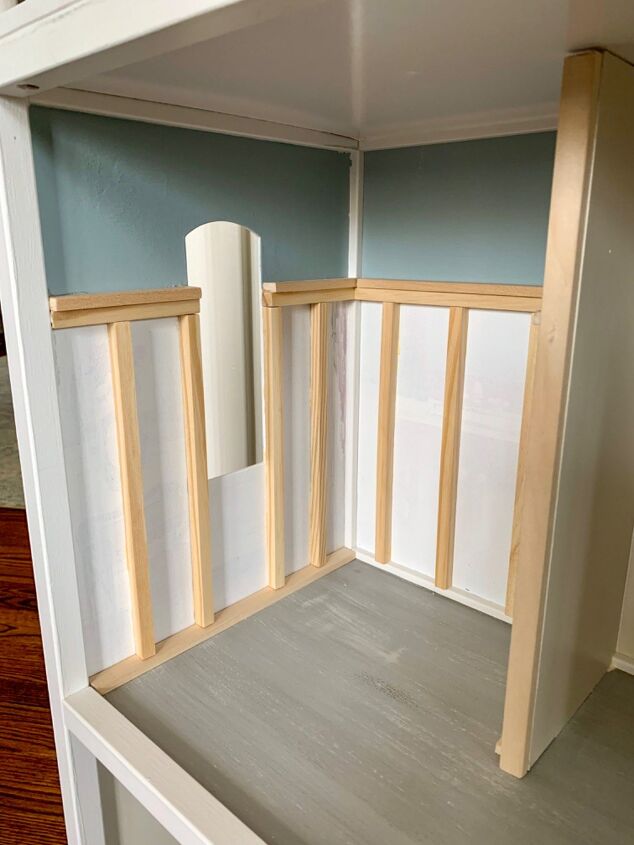
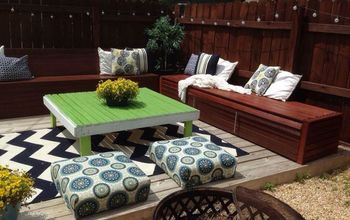
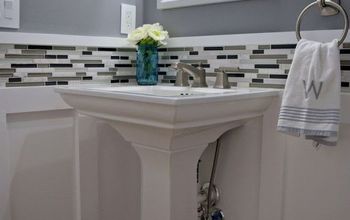
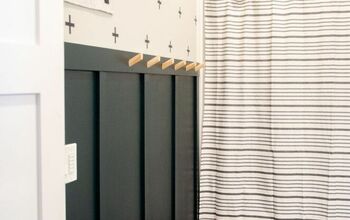
Once the house was fully assembled, it was time to give it some character. I found these square wooden craft dowels at the dollar store, and I knew they would make the perfect board and batten wall. I added this wall treatment to both the bathroom and living room of the house.
To secure the dowels to the wall I used a combination of hot glue and wood glue. The hot glue gives instant hold, while the wood glue is used for longevity. This was great because I didn’t have to wait and hold the pieces in place until the wood glue dried. (It has been a few months now since the boards were installed and they are STUCK for good)
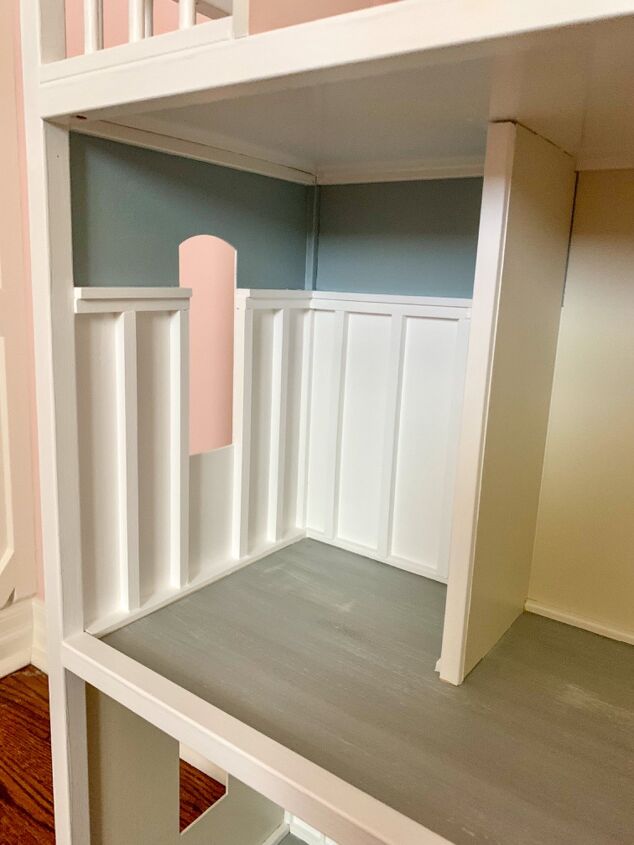
I gave the board and batten two coats of white paint to finish it off. I am so pleased with how this room turned out. It looks so realistic!
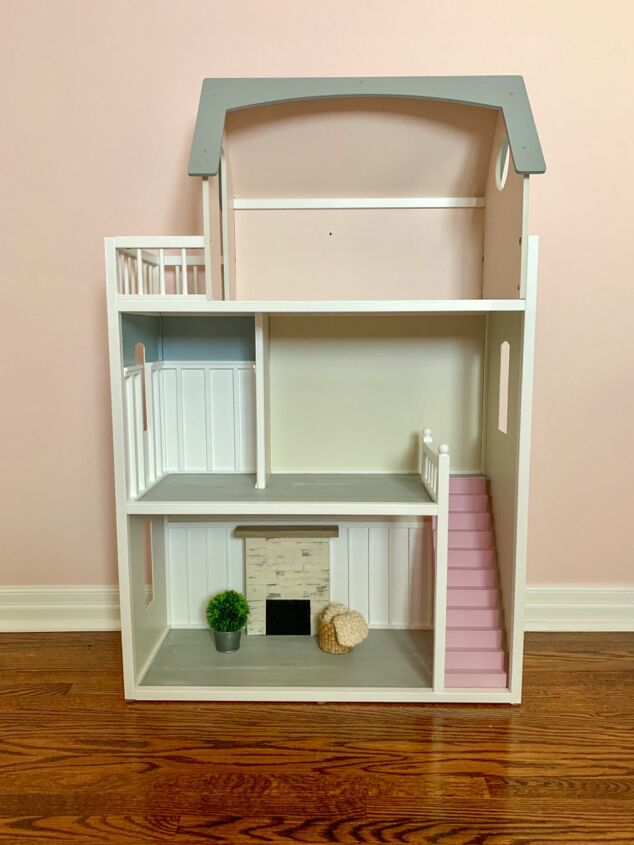
And here is the completed interior of the house! The new interior is much more eye pleasing and I do enjoy having this piece in my home now. It almost looks like a miniature version of my own home!
I would love to paint the stairs white, but my daughter insisted that they stay pink, so since this is for her they will stay pink for now.

I can’t wait for part two, where I get to built miniature furniture and decorate the interior!
Comments
Join the conversation
-
The colors and busy interior are attractive to little girls. Love what you did. Looks a lot better. Can't wait to see your furnishings. Make sure you get input from your daughter and have her help. Great project to do together.


Frequently asked questions
Have a question about this project?
When is part two coming?? I’m anxious to see your work! Love this cute dollhouse!