


DVD Cases Into Lampshade

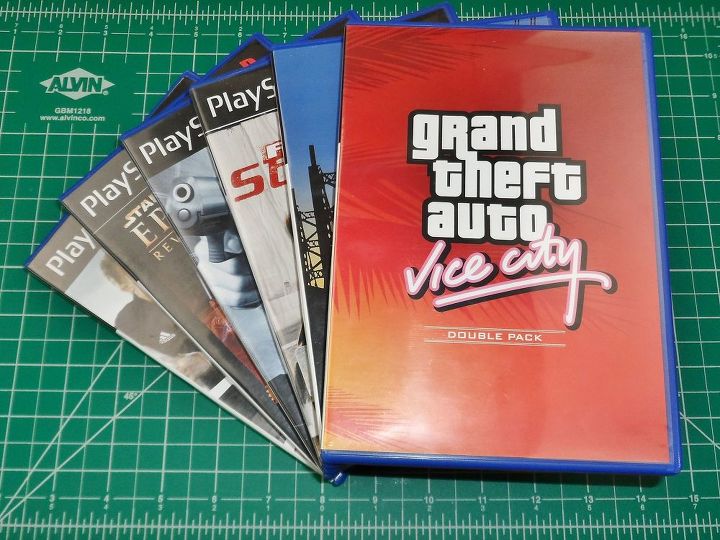
I've been in need of a lampshade for a while and now I've finally decided to make one. Whilst searching for suitable materials I came across some old Playstation game cases and here is the rest ;)
First of all I removed the transparent plastics from each of the cases and saved them for later. Then I separated the two halves with a hobby knife and cut away the top and the bottom edges with scissors.
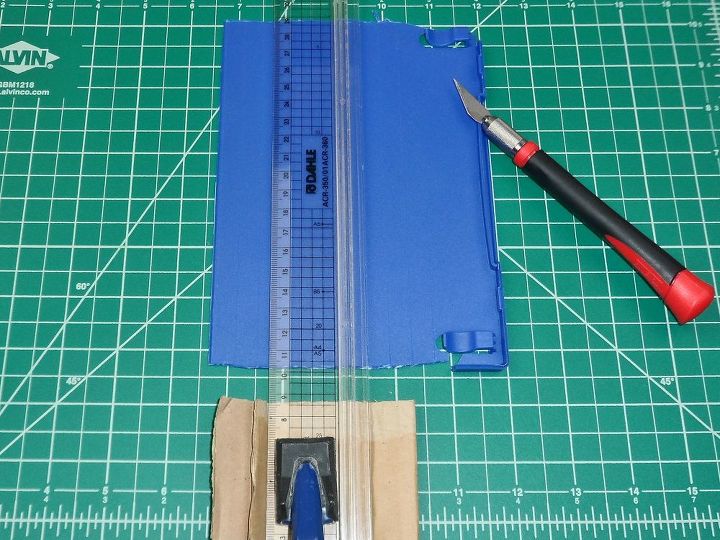
Next I needed to cut the plastic cases into 1cm strips, to do this I marked the top(s) and the bottom(s) of the cases and scored lines with a hobby knife.
At first I thought it would be quite easy to cut through the plastic cases with a hot knife, but it proved to be quite a lengthy process so I resulted in using a modelling jigsaw which turned out to be much quicker. After this I ended up with 60 1cm strips.
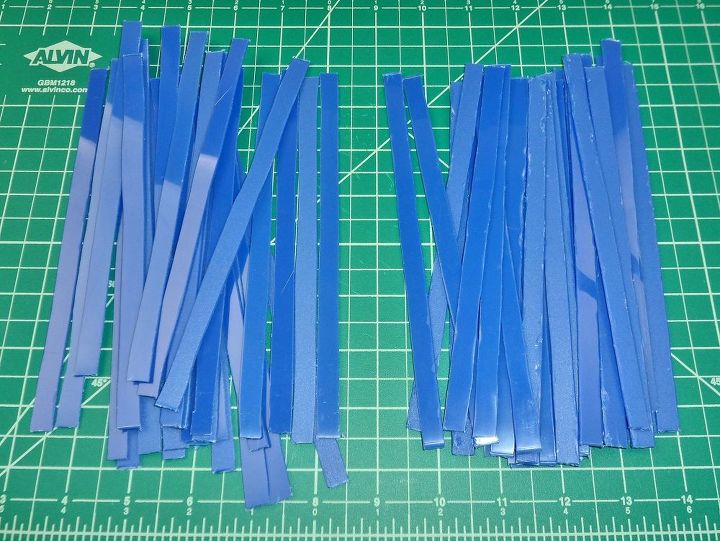
For cleaning the edges of the strips I used a hobby knife with blade No18 followed by scraping with No11.
In order to weld the structure together I needed a filament, so I cut up the reminder of the cases with scissors.
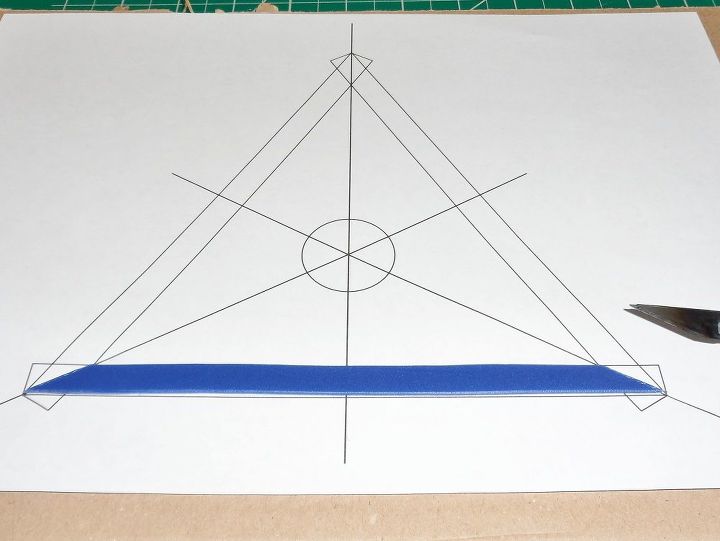
Once I done that I printed myself a template and started cutting off the edges for triangles with a hot knife.
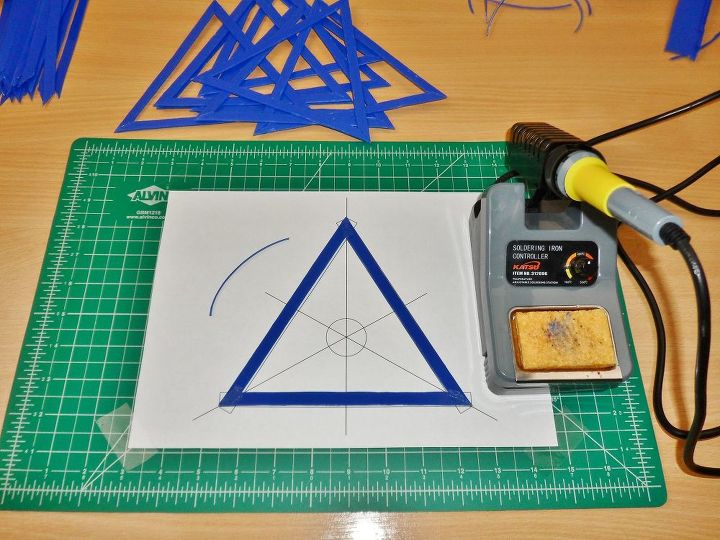
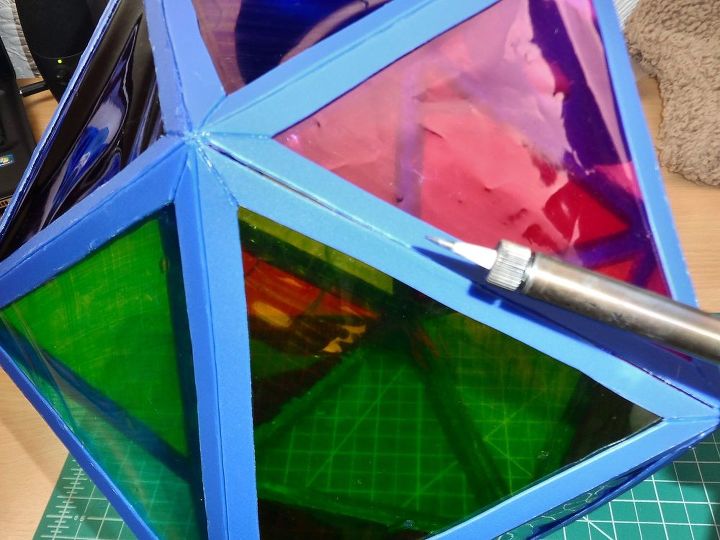
Before I started the welding process I aligned three pieces onto the template to form a triangle. Next I slid the tip of the soldering iron set at 300°C over all of the joints from both sides. To strengthen the joints I melted the filament into the grooves made by the soldering iron.
In order to add some color to the lamp shade I placed the transparent plastic film from the cases over the triangle and ran the hot knife along the edges whilst pressing down with a card. I needed to to this for 18 out of 20 triangles, however I only had enough transparent plastic film for 12 triangles so for the remaining 6 I used a transparent bag.
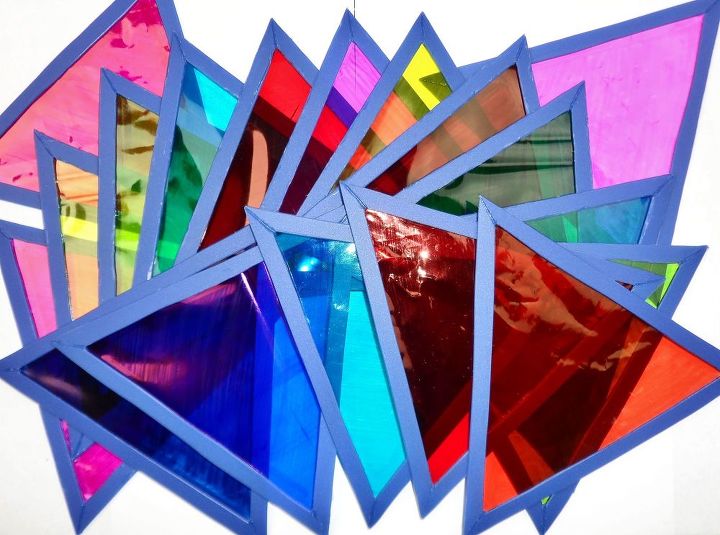
Next I used sharpies in different colors to stain the triangles.
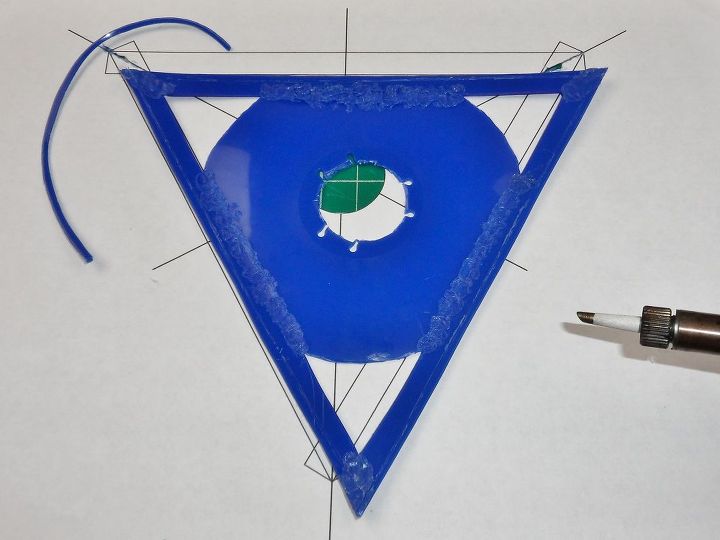
For the top of the lamp shade I cut out a circle from the back side of a case and cut it furthermore to fit into the triangle, not forgetting about the hole for the lamp fitting. Next I welded the two pieces together adding filament as I went.
In order to achieve the 138.19° angle of the icosahedron I stuck the template to the desk and added a piece of wood positioned so that when two triangles meet they would have the correct angle.
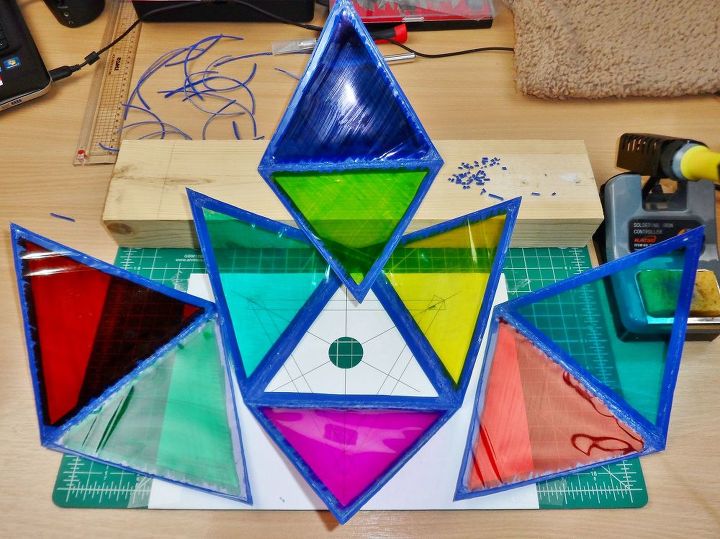
To make the welding process easier I melted the filament in 5 places along the joint whilst pushing two triangles together. This made adding the filament over the joint very easy. Then I just carried on adding the triangles to form the top and the bottom half of the icosahedron.
Before joining the halves I slid the soldering iron tip over all of the joints on the outside to make them stronger. To finish off I placed the top part onto the bottom and welded them together adding filament wherever needed.
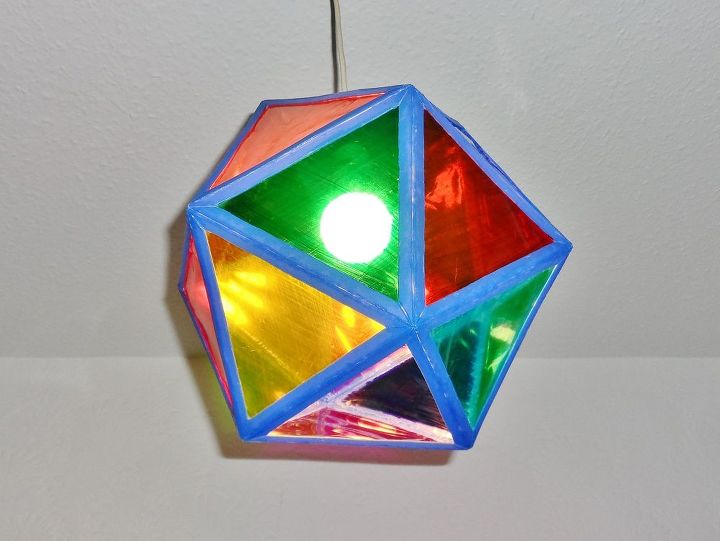
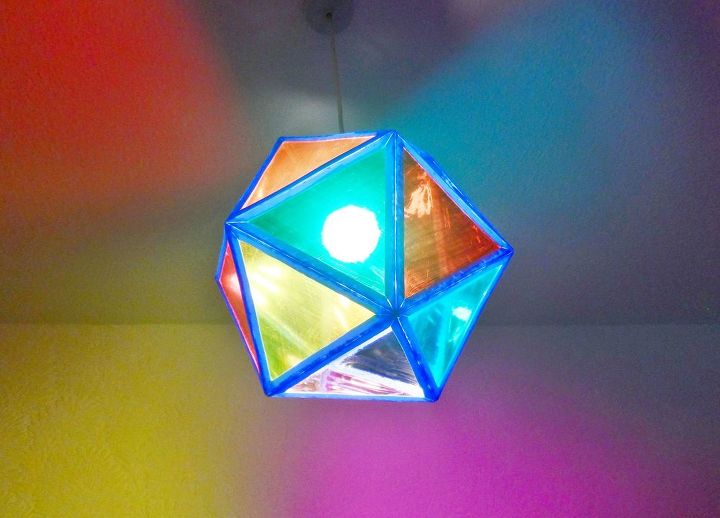
The project took about 10 hours to finish, which was a little longer than I predicted, but it was worth it. I really like how it turned out and I love the effect it creates on the walls.
For more photos and template go to: https://www.instructables.com/id/DVD-Cases-Into-Lampshade/
Resources for this project:
See all materials


Comments
Join the conversation
-
This is really cool! Who would have known, wow, amazing! Thanks so much for sharing!
-
Wow! I was trying to picture how old cases could look good but they do! You are so creative!


Frequently asked questions
Have a question about this project?
Did you use an LED light bulb? As they do not give off heat, they are recommended for any light fixture that is enclosed.