


Framed Silhouette

I saw this sweet idea of creating your own silhouette portrait and couldn’t resist making my own. I love the vintage look of these and thought it would be fun to have one which was personal to us.
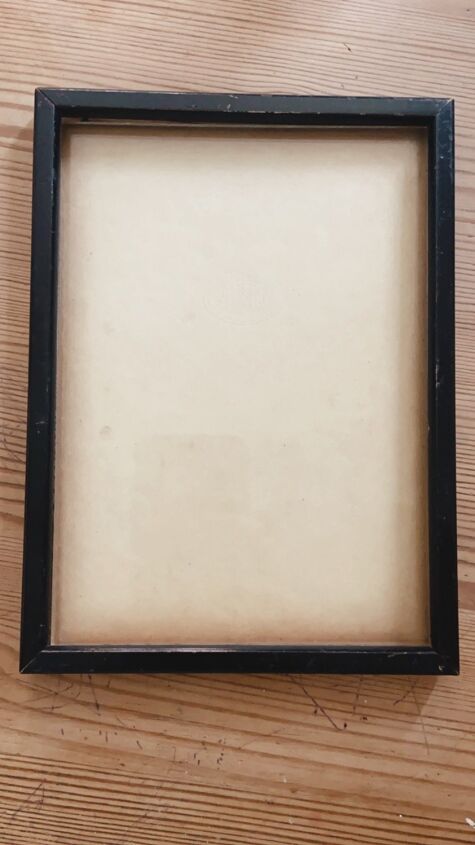
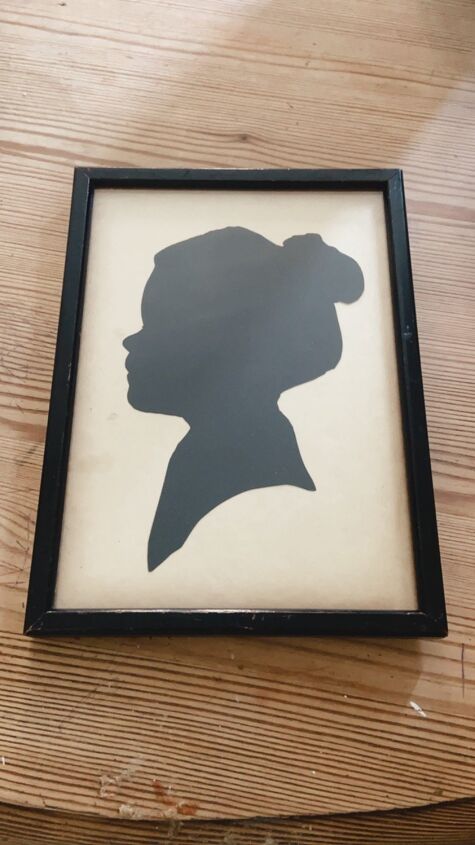
First I picked a suitable sized frame from my collection of frames sat waiting for the right project. This came from my grandma’s house and was perfect for this as it already looked antique and I wanted to use a black frame.

I took a photo that had a side profile of my daughter’s face and used her light box to trace the outline onto a piece of paper. Alternatively you could use the glass on a window to do this but the light box came in very handy for this project!
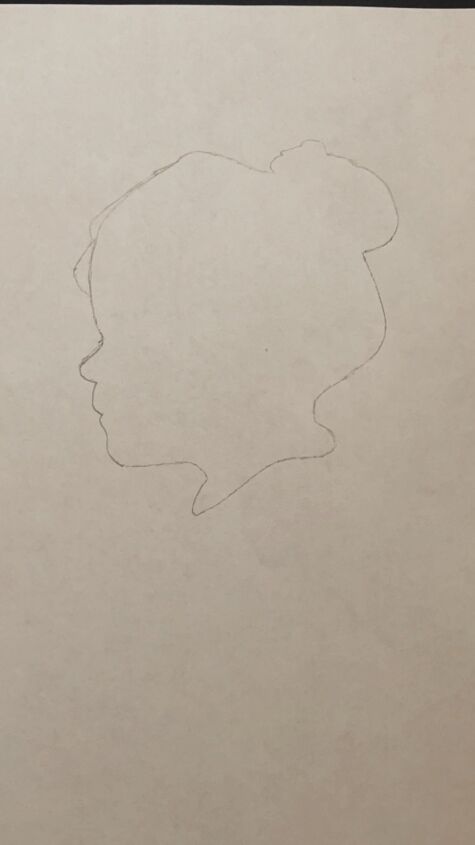
Here is the traced image. I decided I had made the neck too short so lengthend this before moving on to the next step. Had I needed to enlarge it to the correct size to fit the frame I would have done this using the outline rather than the original photo to save ink.
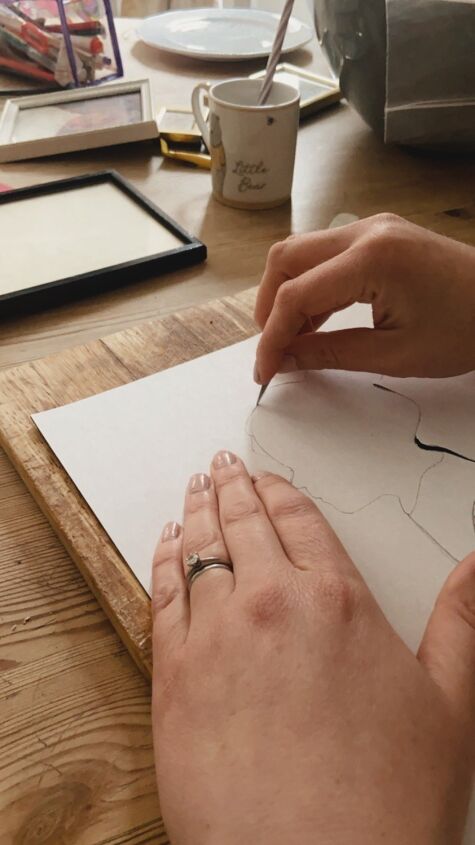
Next I placed the paper on a sheet of black paper to cut out. I used a blade to do this on a chopping board and it easily cut through both layers of paper.
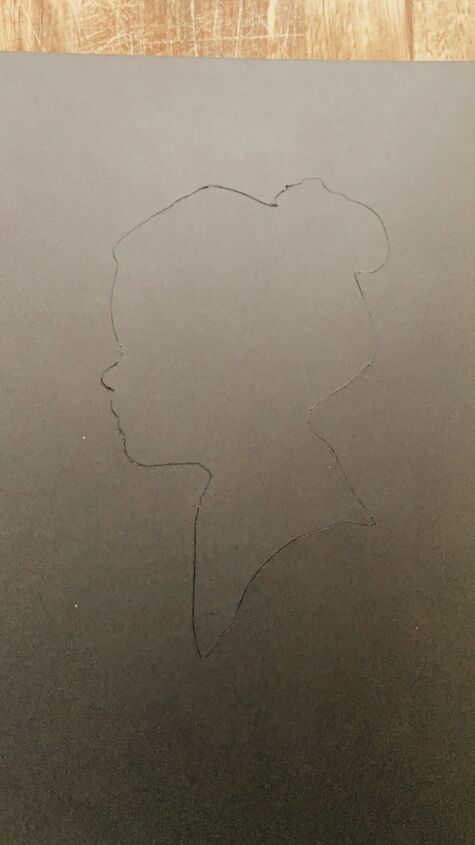
Here is the cut silhouette, underneath I popped out the finished black silhouette ready to frame.
I used the paper that came in the frame to stick the silhouette onto. This already looked aged so it was perfect for an antique look. Alternatively I could have used a tea stain to stain a new piece of white paper or card to use for the background.
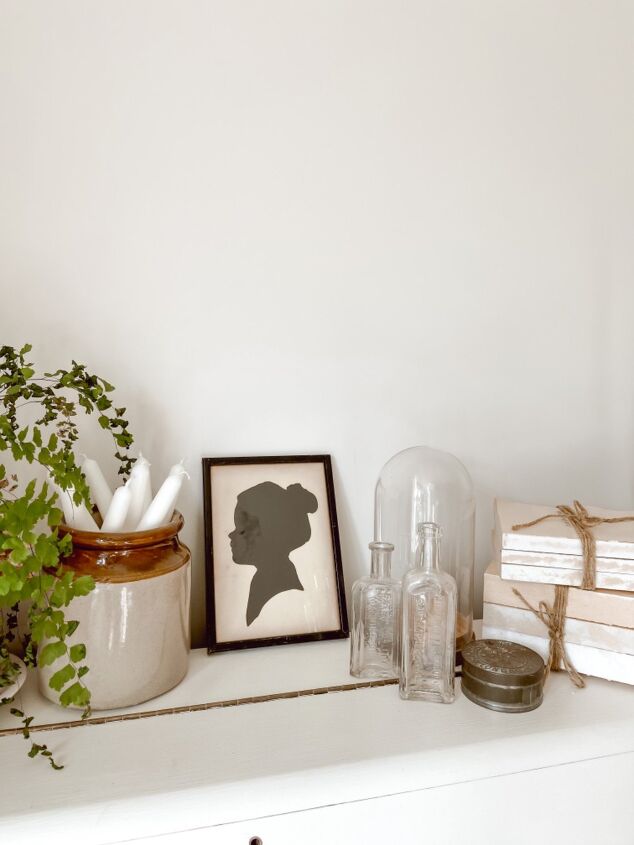
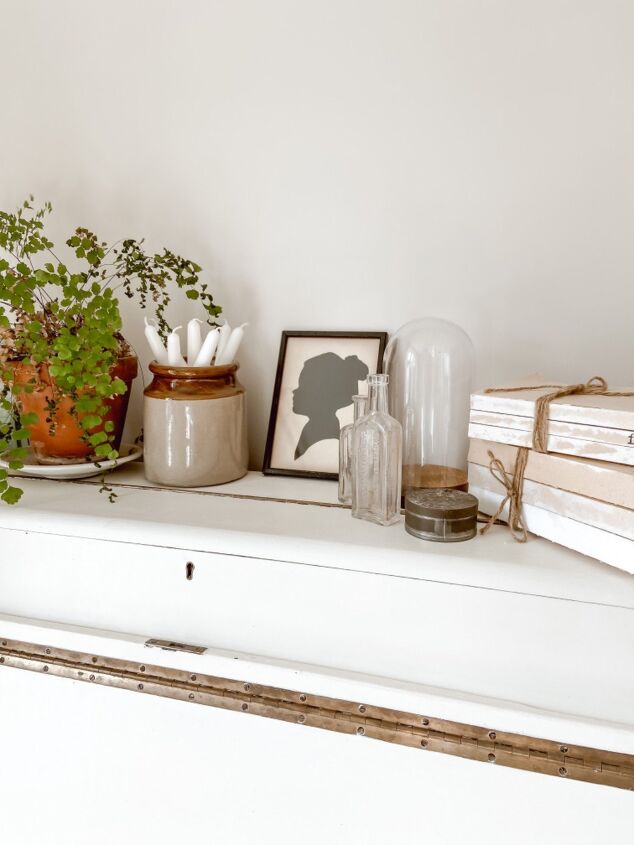
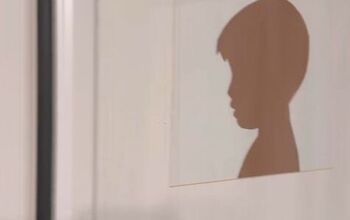
The finished look! I’m so happy with how this turned out and actually this project turned out way better than I expected!
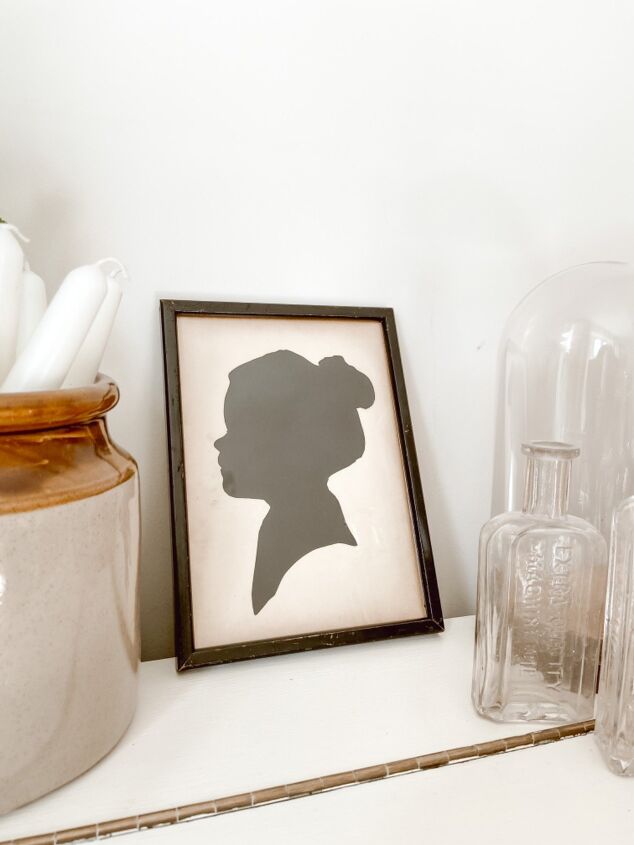
I love that this looks like an antique piece but has sentimental value to it since it’s a portrait of our daughter. I always liked these silhouettes that you can find in antique stores but this has so much more meaning and was so fun to make! Not to mention that it was so affordable in comparison!
I hope this post has inspired you to create your own.
To see more of this and other projects follow along on Instagram!
~ Rachel ♡
Resources for this project:
See all materials


Comments
Join the conversation
-
How sweet! It looks professional!
-
It looks great. What glue did you use?


Frequently asked questions
Have a question about this project?