


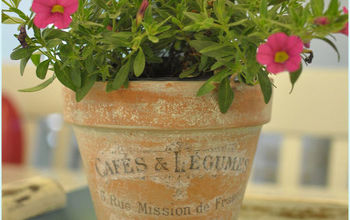
How to Age Terra Cotta Pots in 5 Easy Steps

Do you love the look of vintage distressed terra cotta clay pots? Learn how to age terra cotta pots in 3 easy steps with paint.
For more simple and budget-friendly DIY project ideas, be sure to follow us on HomeTalk and visit our blog!
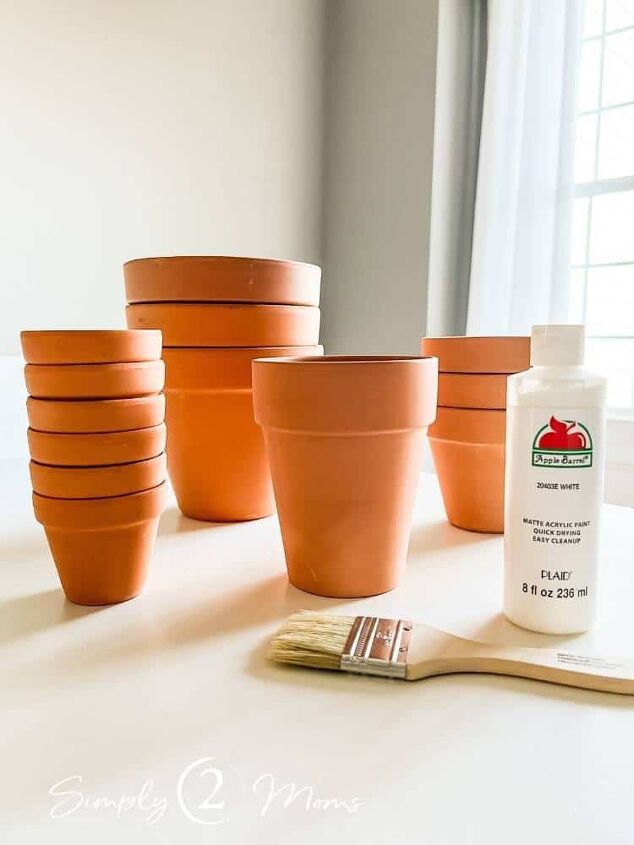
What Supplies Do You Need to Distress Terra Cotta Pots
- terra cotta pot
- white craft paint
- paint brush
- paper towels
- sand paper
Click here to get all supplies needed.
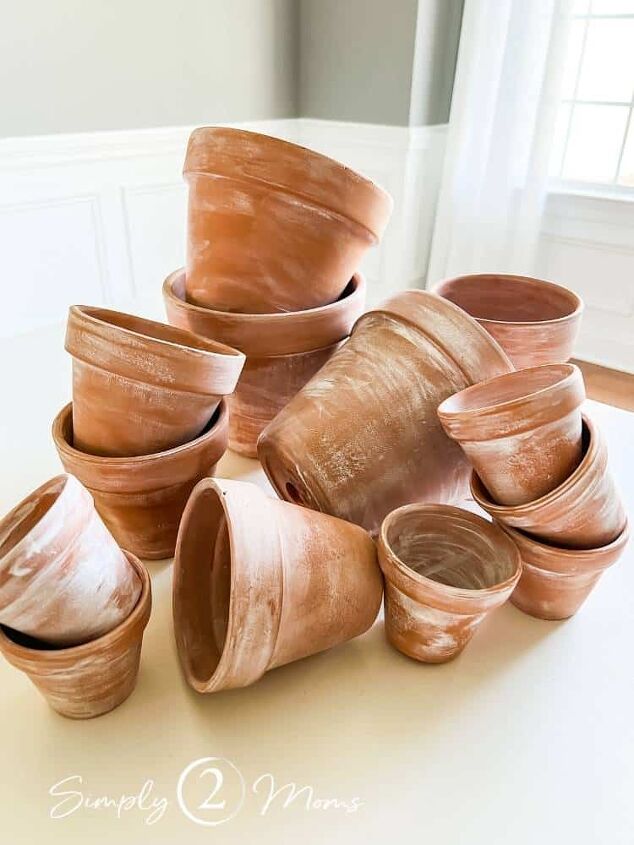
I had purchased a variety of different sized pots. The great thing about terra cotta flower pots is they are super affordable. You can find them at most craft, home improvement and big box stores.
How to Create an Aged Clay Pot with Paint
Before starting this project I did some research. Oh boy…who knew there were so many methods. Everything from paint to garden lime to yogurt! I really liked how fast the painted techniques were since I was planning to do my tablescape that day. And I needed to faux paint 13 flower pots. Nothing like procrastinating on this project for over two years and then needing it to be done in an hour. But I promise this is the easiest, quickest DIY craft!
I used white acrylic craft paint to complete my distressed planters.
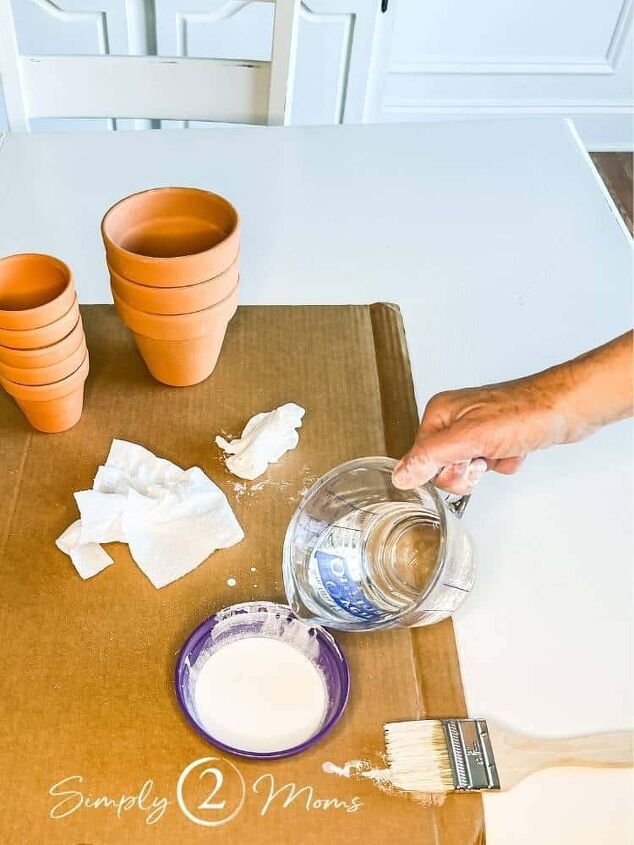
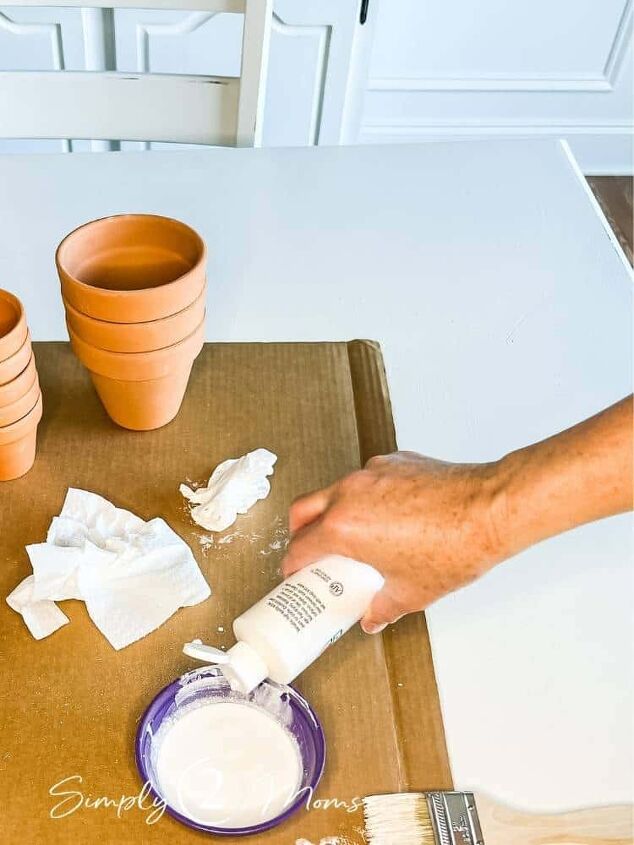
The first step is to add the white paint to a small bowl then pour in some water to thin out the paint. I didn’t measure but I’d guess the ratio was 2 parts paint to 1 part water.
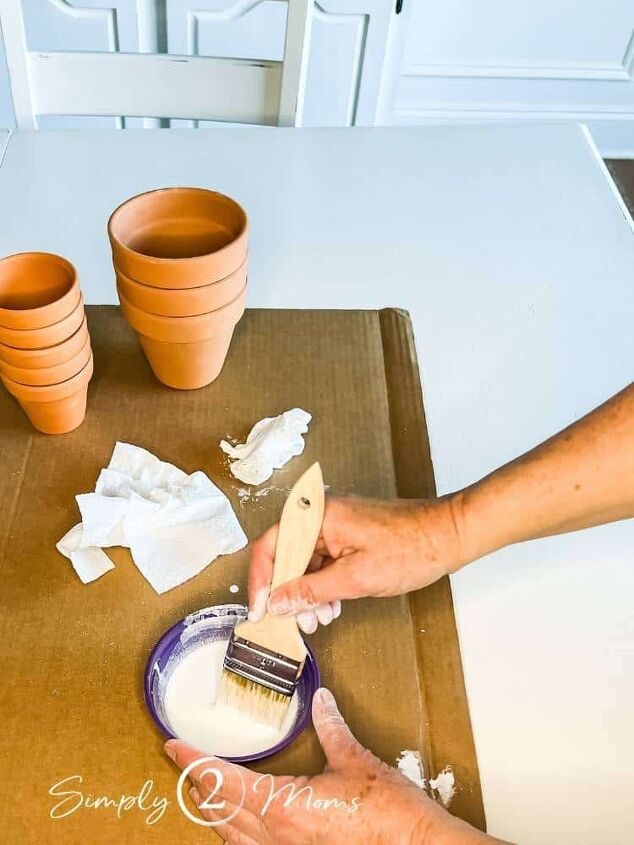
Next, mix the paint and water with a brush.
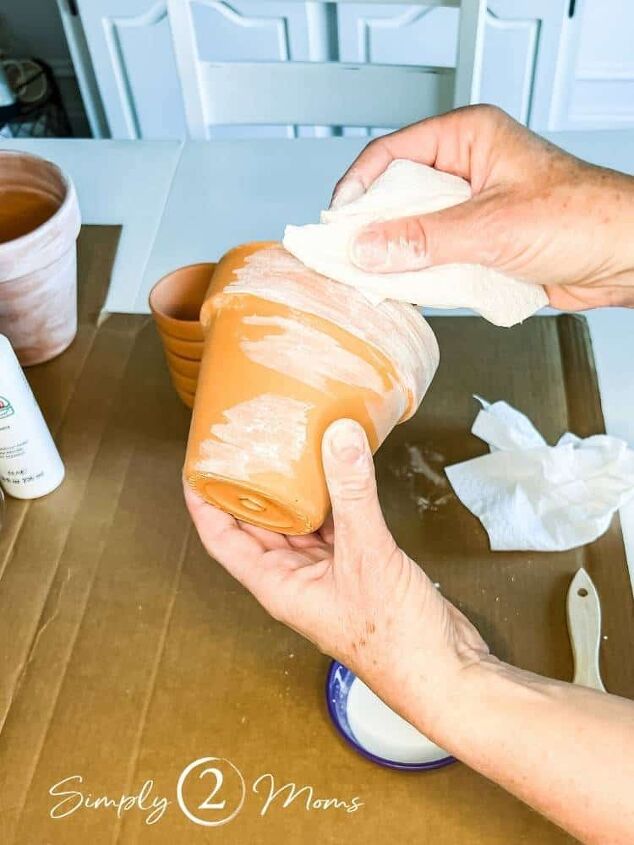
Initially, I used the paint brush to lightly apply the paint to the pot but it didn’t look great. Brushing the paint on made it appear too painted if you know what I mean. Instead, I grabbed a paper towel to “paint” the pots.
There isn’t a wrong or right way to do this…it’s more a personal preference of how you want the end product to turn out.
Using the paper towel, I scrunched it up and dipped it into the paint to. lightly apply it to the pot, then immediately rubbed it off with a clean part of the paper towel.
It was a little messy but acrylic paint washes off easily so I didn’t bother wearing gloves.
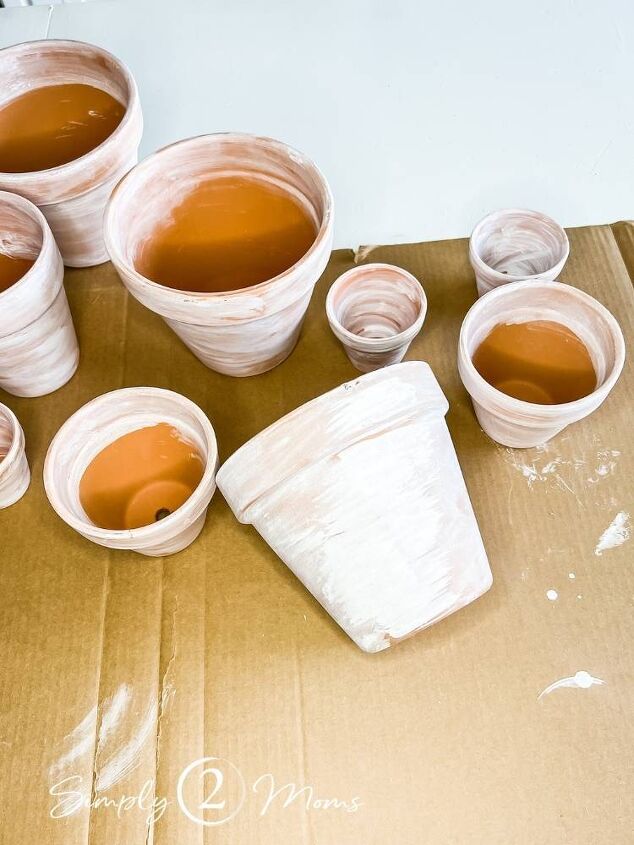
You can see in this photo the pot laying down is the first one I did with the paint brush. Notice how much thicker the paint looks than the others.
It took no time at all to paint all 13 planters with the paper towel method. I also painted the inside edge of each terra cotta pot.
How to Distress a Terra Cotta Clay Flower Pot
After I was finished painting all the terra cotta pots, they looked…well…painted. And I didn’t love the look.
If I were artistic I would have tried to add different colored paint…maybe some gray or green.
But remember I needed this done quick!
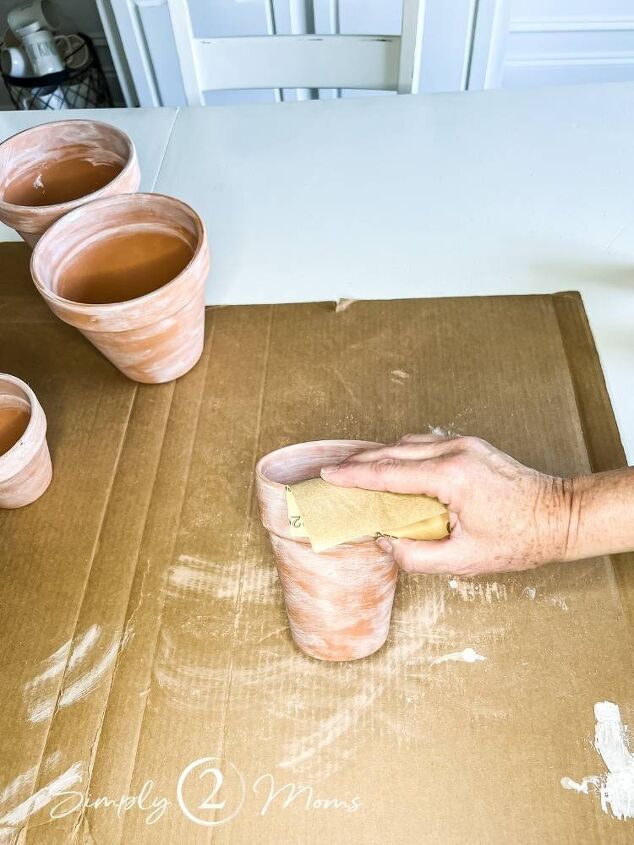
So, I grabbed some sand paper from my garage and got to work sanding the painted planters. I used 220 grit sand paper but any would do a great job.
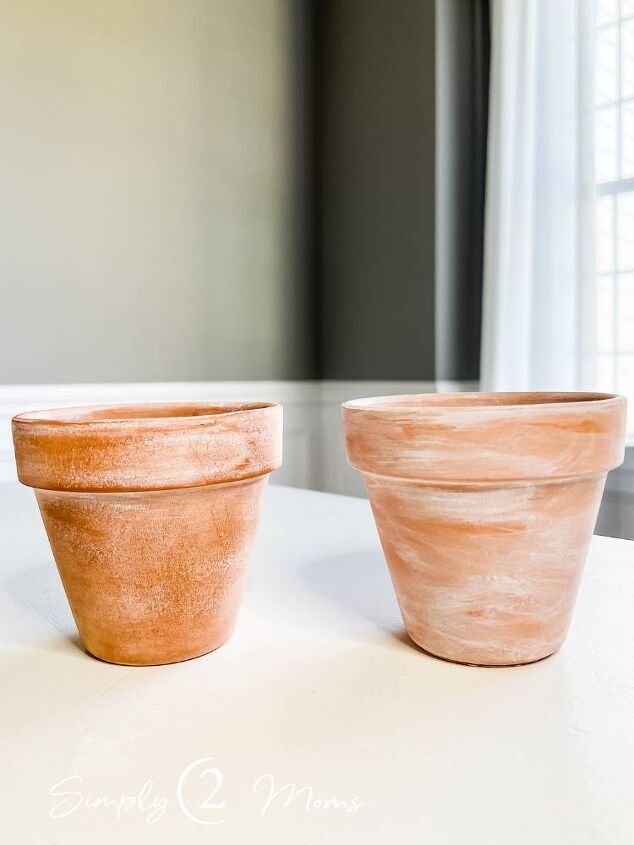
Here you can see the comparison. On the left is the pot after sanding and the right is the pot before sanding.
Doesn’t it look so much better sanded?
This was such an easy project that took less than an hour.
Since you are painting and wiping off at the same time there really is no waiting for them to dry.


Comments
Join the conversation
-
So realistic! Using the sandpaper was genius! Can you add a photo of the pots all set up (& ‘planted’), so we can see how your final project turned out?
-
I added some sage to mine for that moss look!


Frequently asked questions
Have a question about this project?
What can be done to keep the aged matte look but make them waterproof so you could use them outdoors? I’m assuming acrylic paint would wash off after getting wet..?