


How to Make a Beaded Ceiling Light Shade
Change up those boring ceiling lights with an easy beaded shade and take them from ugly to WOW in no time at all.
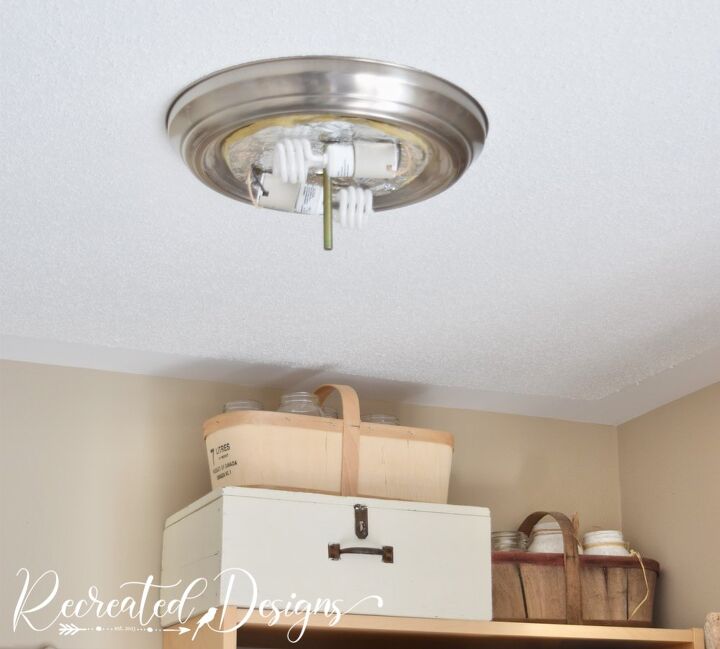
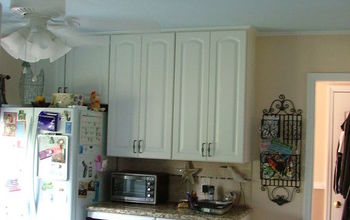
A few weeks ago I painted the builder-grade lights in my kitchen and boy do I love them!! ( see that project here…) There was one however in my work area right off the kitchen that was missing its glass globe. It had come loose quite some time ago and fell to the ground and broke.
This light isn’t one that gets seen by others very much because it is tucked in an alcove. I look at it daily though as it is right in front of where I sit to work. The fact that it typically only gets seen by me has definitely contributed to my snail’s pace in doing something about it.
BTW... Yes, I realize I could just remove the entire thing and replace it (or find a replacement globe) but… that would involve getting someone in to do it. One of the things I never, ever touch is electrical work; it kind of freaks me out. Alas, the light has been globe free for quite some time now.
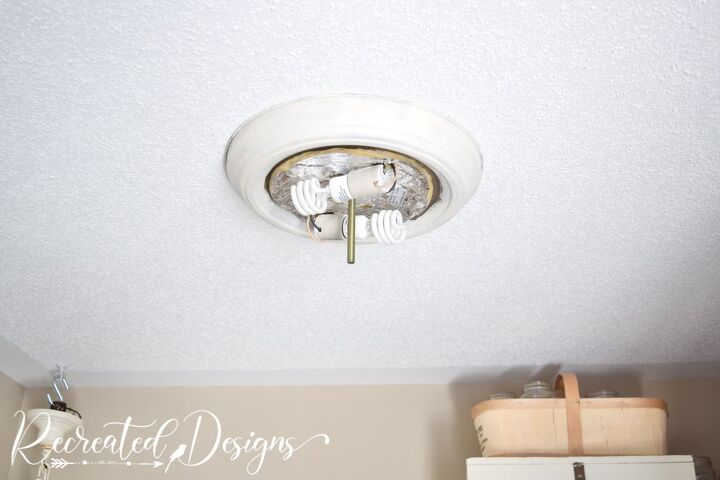
When I was painting the other lights in the kitchen I did go ahead and paint this one too. It looks so much better painted but it still needed something pretty to hide the lights themselves.
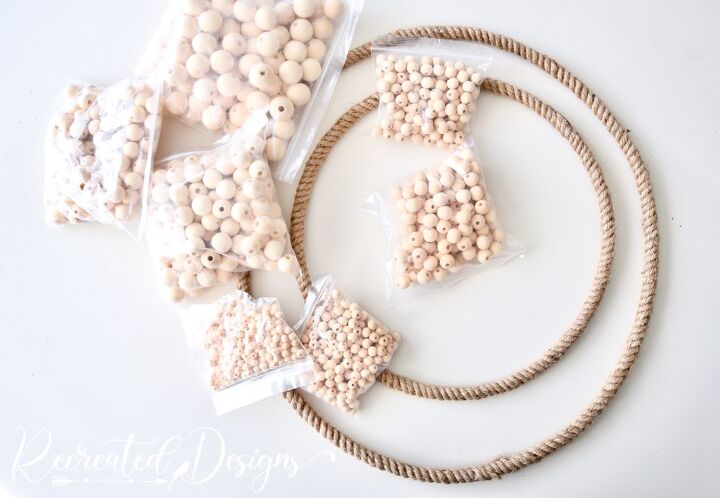
I thought through 100 different versions of what I could create to cover the ugly light fixture and settled on making a beaded shade for it. Luckily, I found metal rings at Michael’s that were wrapped in jute in the right sizes! They were made to use for wreaths but they worked perfectly for this project.
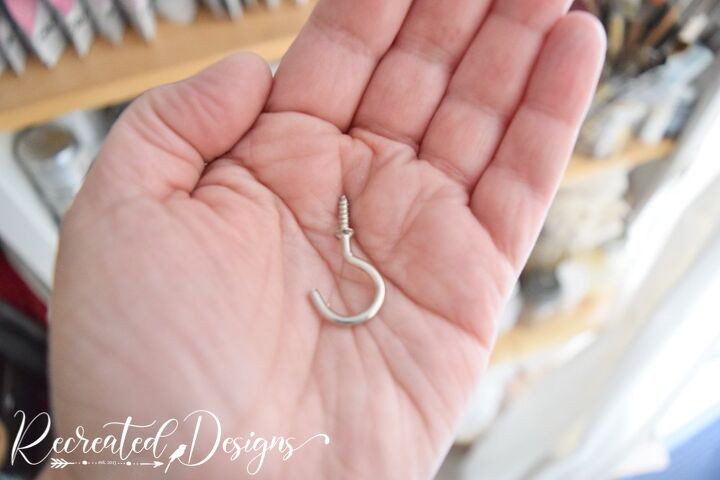
How to keep the metal ring attached to the ceiling was the next issue. I settled on these cup hooks that fit around the ring and screwed in three around the light fixture.
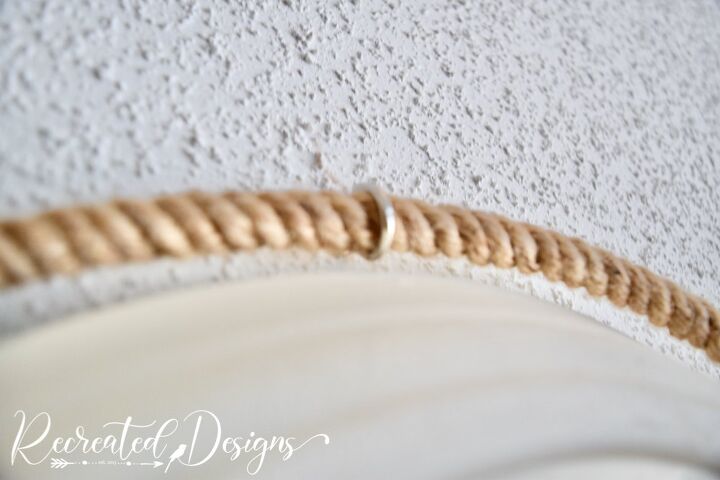
The cup hooks held the ring securely and fit right outside the edge of the light fixture.
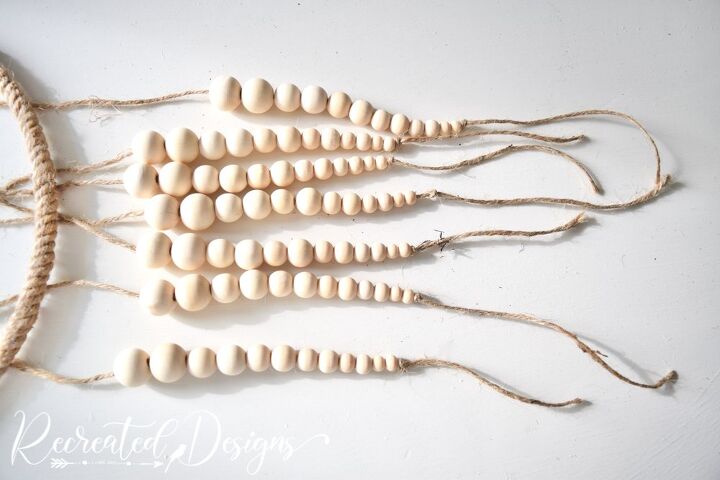
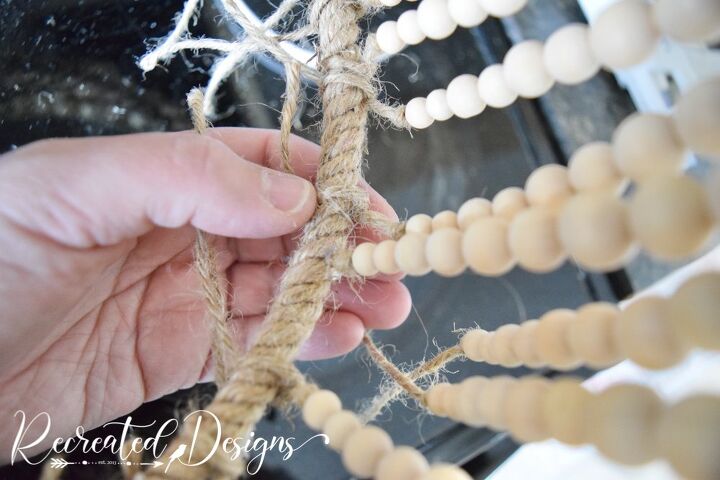
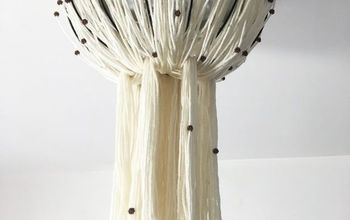
To create the beaded shade I used six sizes of wood beads. I strung two of each size onto a piece of jute twine going from largest to smallest. This was a bit time-consuming but so worth it in the end.
Once I had all of the beads strung, I tied each piece of twine to the rings with the larger beads at the top.
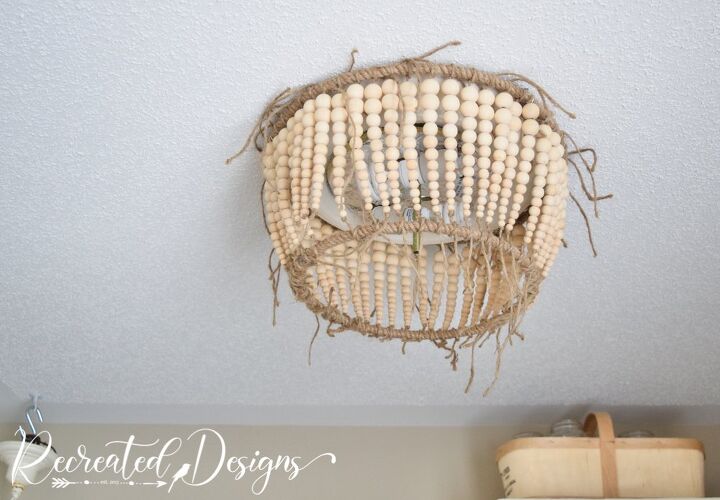
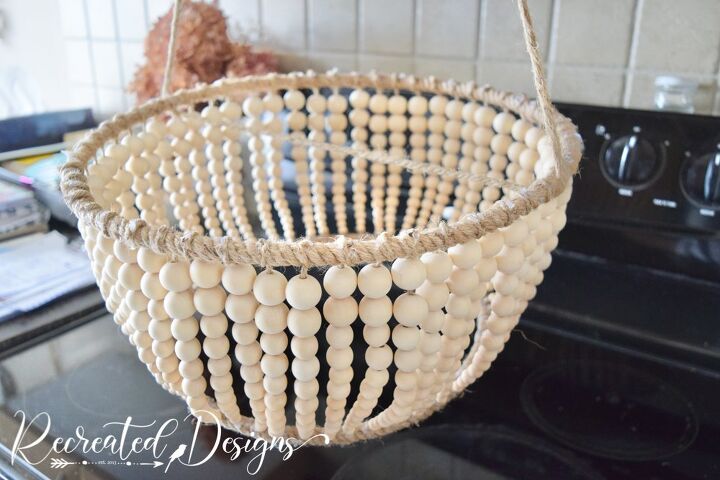
This is what it looked like when I was testing it out to make sure the beads were spaced out properly.
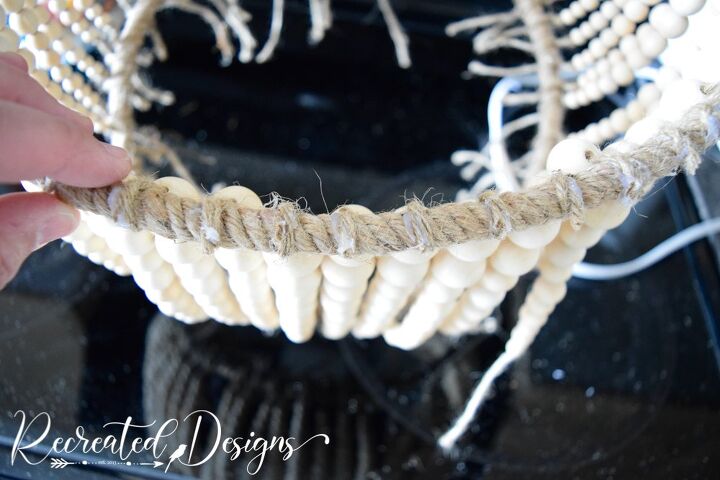
With the beads in place, I added a dab of hot glue to the top knot and then snipped off the excess twine.
For the bottoms, I knotted the twine and then snipped off the excess. A dab of hot glue kept it attached to the ring.
Before hanging it up, I gave it a coat of paint in the same Fusion Mineral Paint colour as the light itself; Raw Silk.
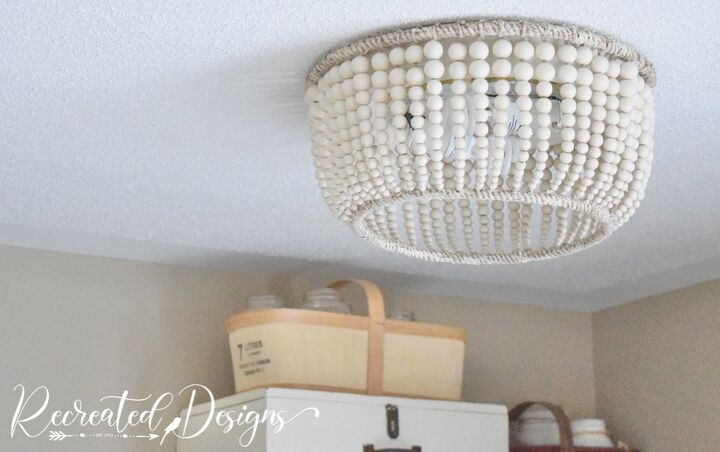
With it painted and the colours softened up, it was time to hang it. I can’t tell you how excited I am not to be looking at an ugly light fixture with a missing cover anymore!
See the original Recreated Designs post here with a special discount on your Fusion Mineral Paint, Homestead House, or Milk Paint by Fusion order. Hop over to the blog to grab your discount.
Don't forget to follow Recreated Designs above so that you never miss my posts or Hometalk TV episodes in the future!
Resources for this project:
See all materials


Comments
Join the conversation
-
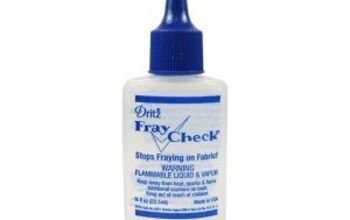
To help contain the rope ends, instead of only hot glue, I would suggest to use Fray Check, which hardens as it dries.
It is easy to use as it can be applied and rubbed in with your fingertips direct from the bottle, and easily washes off skin with regular hand soap.
-
I love this! Just looks so cool.


Frequently asked questions
Have a question about this project?
What size were the rings that you used?
This looks really great and would look perfect in my bathroom! one quick ? ... when the light is on can you see the unfinished guts of the lamp? Any chance you could post a pix of the fixture turned on?
Thx!
stacy