


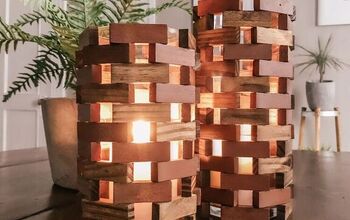
Memorial Lanterns
I have a wonderful way to remember special people in your life that I want to show you today. Grab some lanterns and some old photographs for this project. You can see more of my crazy creations here
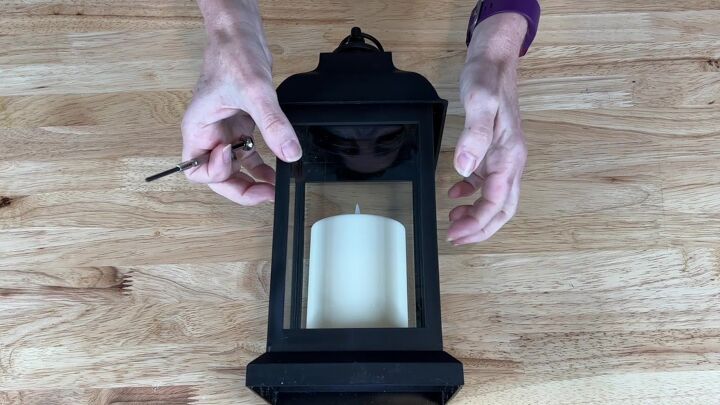
To start, you are going to need two lanterns. I used a Hazel Lantern.
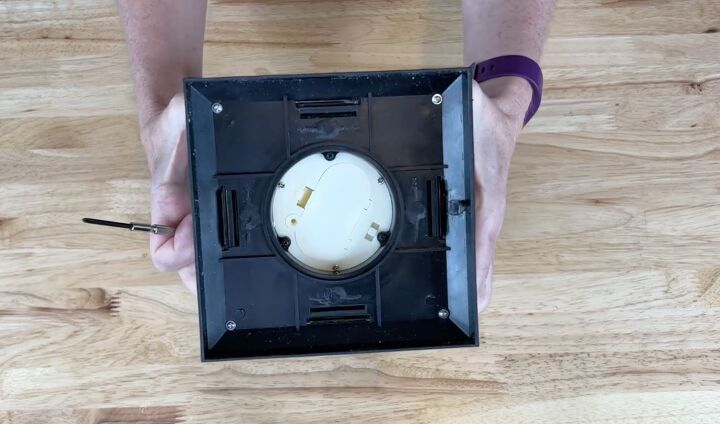
The Hazel Lantern doesn't have any doors so I needed to open the bottom by undoing the little screws.
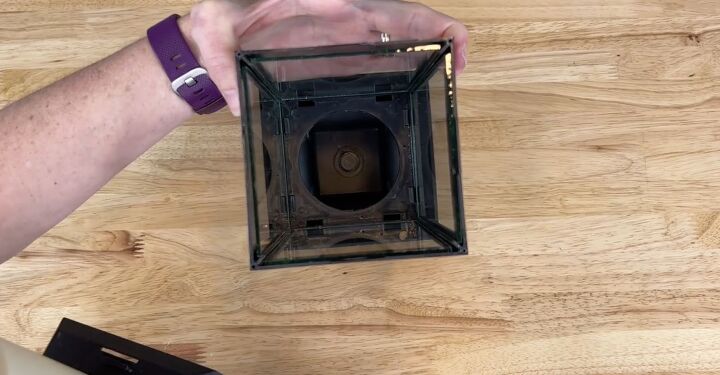
Once I had removed all the screws, it was easy to just simply remove the bottom piece because I am going to be working with just the top part of the lantern for most of this project.
With everything opened up, I used an alcohol prep pad and cleaned the glass.

For the saying I used in my lanterns, I went to my favorite search engine and searched “Memorial sayings”.
When I found two I liked, I recreated them in a word document. You could also do this in Pic Monkey or Canva.
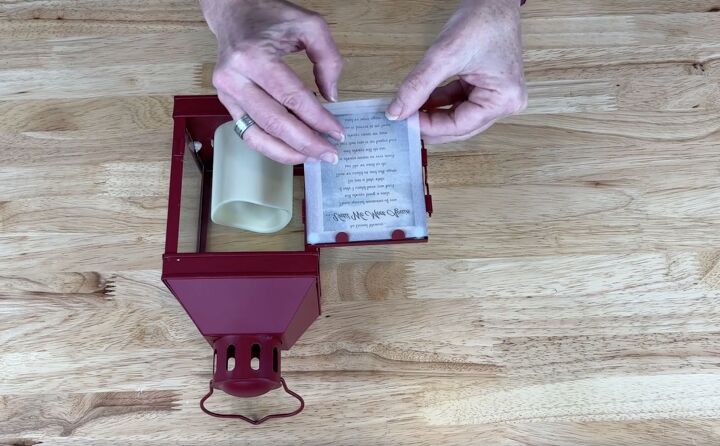
I printed my sayings on vellum paper. It was perfect to use in the lanterns and gave the sayings a translucent look. You could also use regular paper if you like.
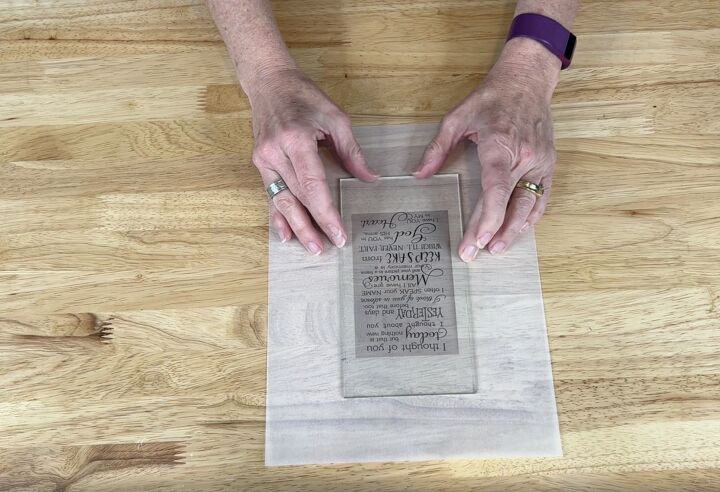
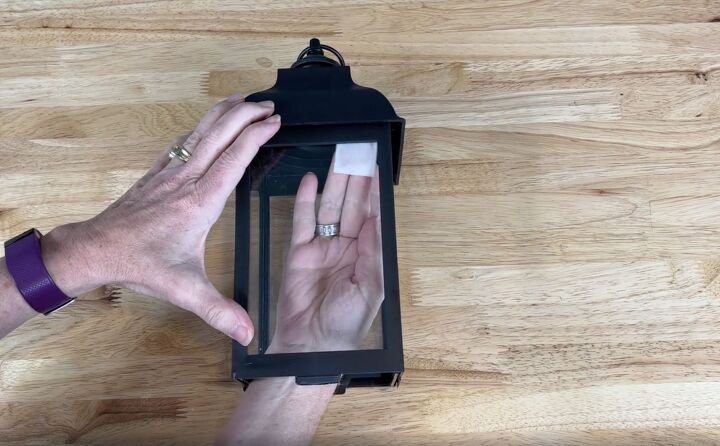
To make sure I had the correct size, I placed the glass on top of my paper once it had been printed.
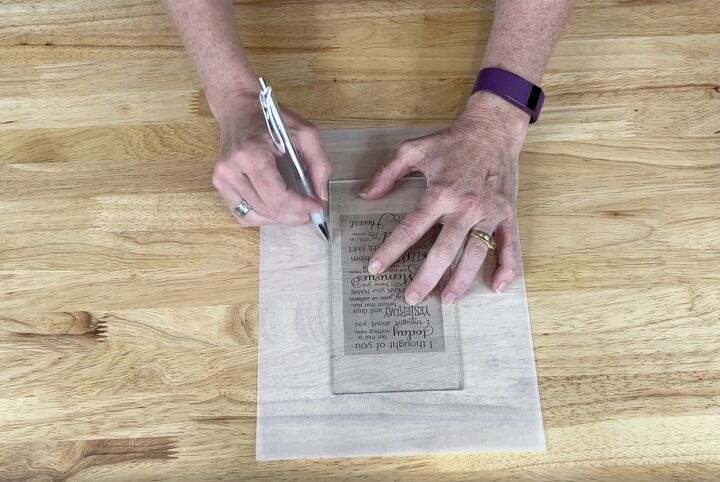
I used the glass to mark out where I needed to cut.
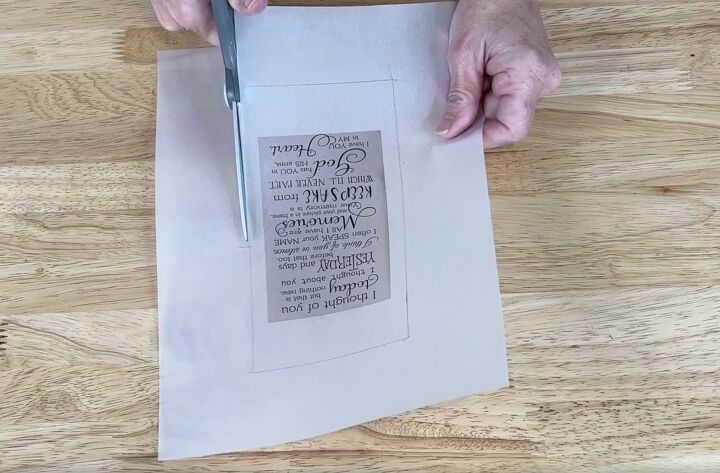
Once I had the size traced, I cut it out.
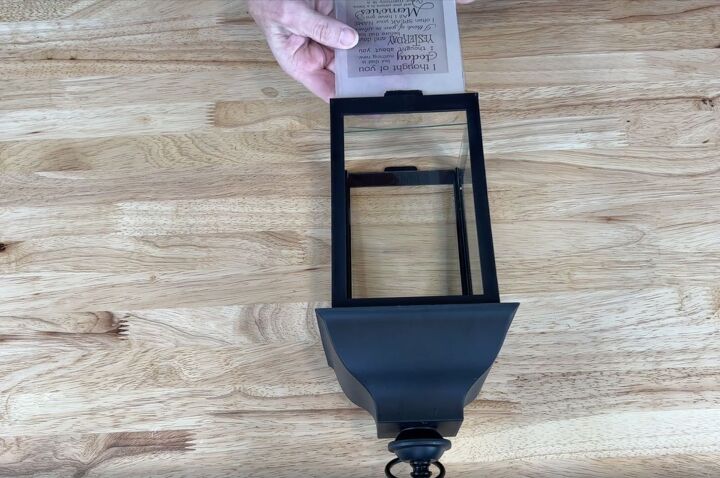
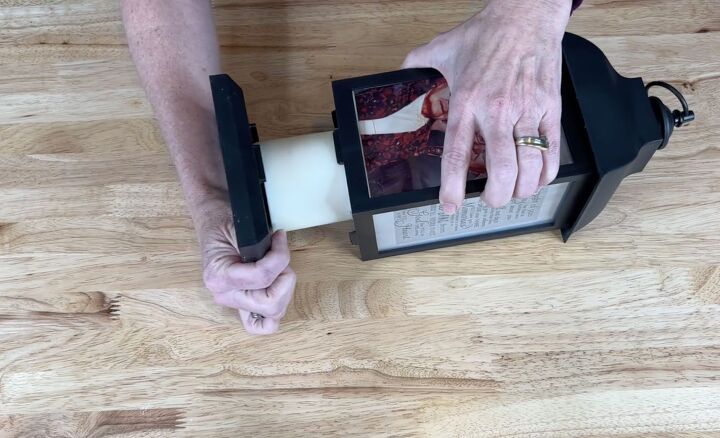
My lantern had little lips on the inside to hold the glass so next, I was able to slide in the glass and vellum paper and they stayed in place. You could also use glue or double-sided tape to hold your quotes and picture in place if your lantern doesn’t have little lips.
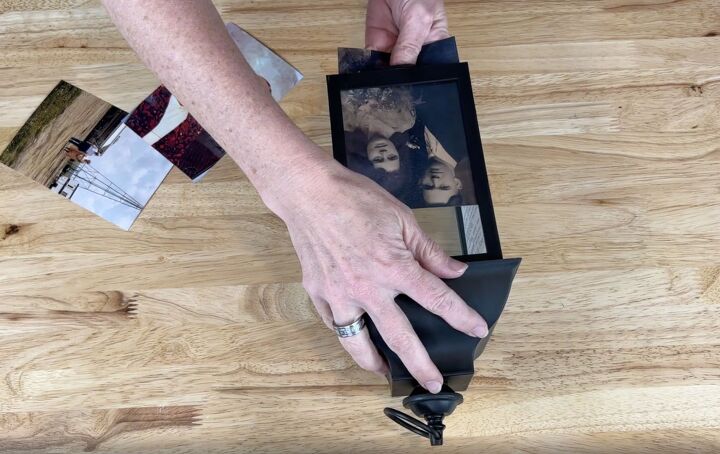
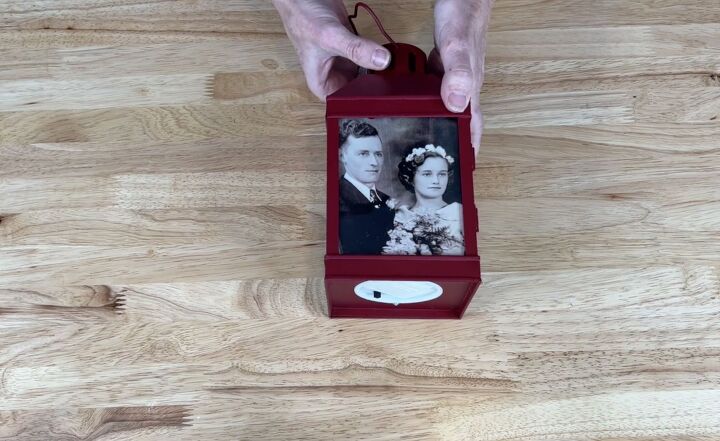
With the quote in place, I rotated the lantern to the next side. I put in three pictures of my grandparents the same way I slid in the vellum paper quote.
To finish this lantern, all I had to do was place the bottom and screws back into place.
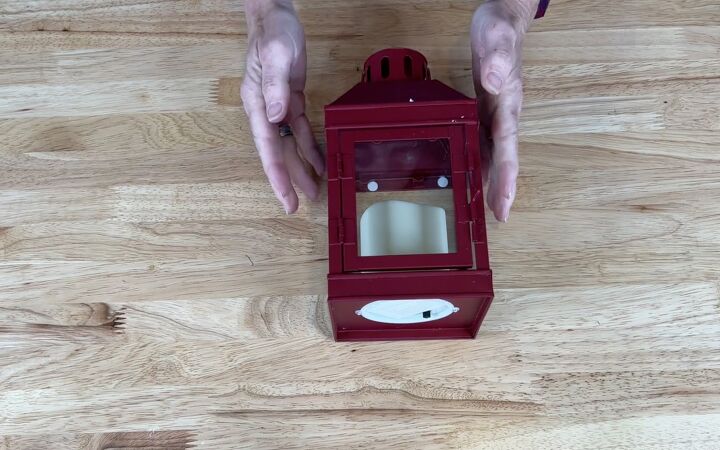
For my second lantern, it was a little different. Unlike the first, it had a little door to access the glass. It also had little clips to hold the glass in place which was very handy.
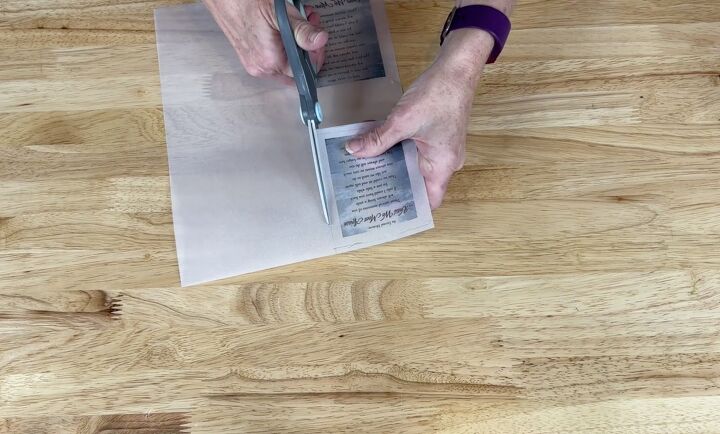
I did the same as my first lantern and cut a quote and three pictures down to the size I needed.
With those ready, I tucked each one into the little clips so that they were behind the panes of glass.
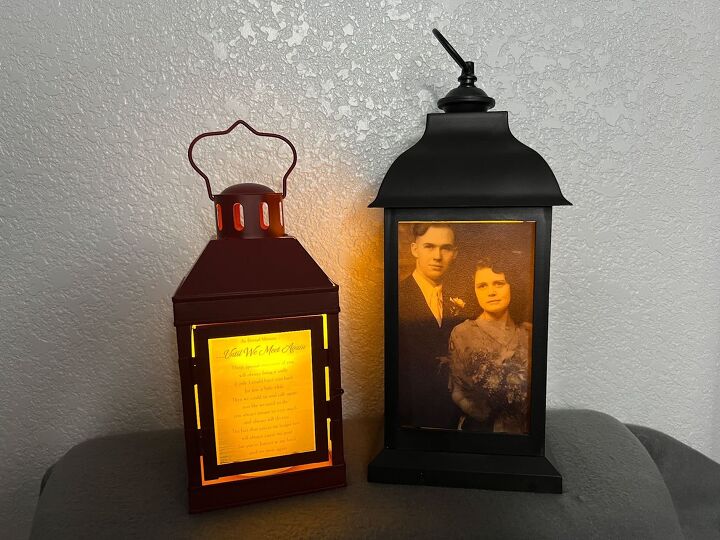
Once everything was in place, I was able to close up the door and get ready to turn on the lights.
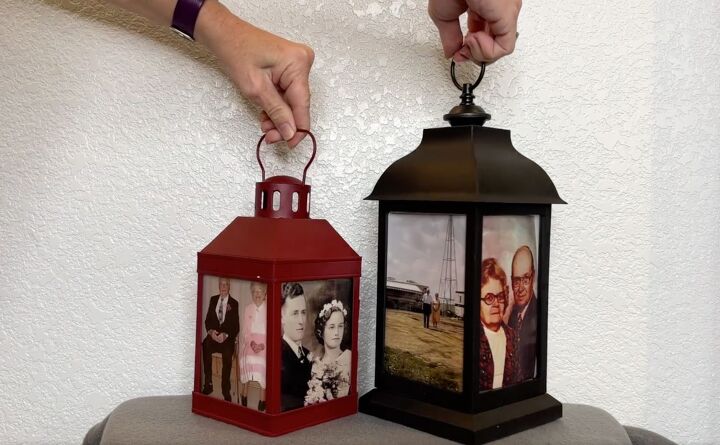
I love how beautiful these lanterns look and how special they are with pictures of my grandparents in them.
I hope this inspires you to make some Memorial lanterns of your own.
I would love to have you stop by my blog Chas' Crazy Creations for the full tutorial as well as sign up for my latest creations, posts, recipes, exclusives, and more...
I would love for you to subscribe to my YouTube channel to see more of my crazy creations - https://www.youtube.com/c/chascrazycreations
Resources for this project:
See all materials


Comments
Join the conversation
-
Great idea.
-
This is one if the best Memorial ideas I have seen...thanks for sharing! I will be making one of these in the future...


Frequently asked questions
Have a question about this project?
What kind of paper is the photo printed on?
thank you
Chas, What a beautiful idea. I lost my only son in 2002. I would love to make these. What kind of clips went behind the pictures to hold them in place? I have plenty of lanterns but they have designs in them. What a beautiful idea you had. I love what you did!