3 Easy Ways to Make The Cutest Coasters for Your House
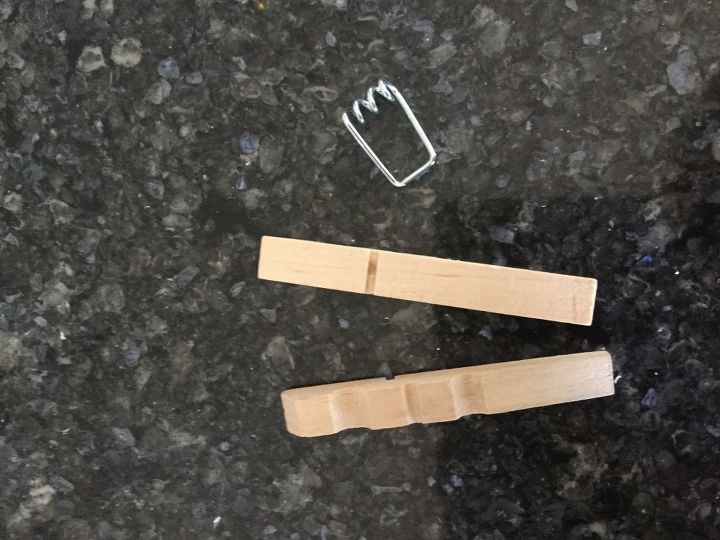
Step 1: Pull apart clothespins
This is to prevent your metal from rusting in the following steps. Get tutorial here
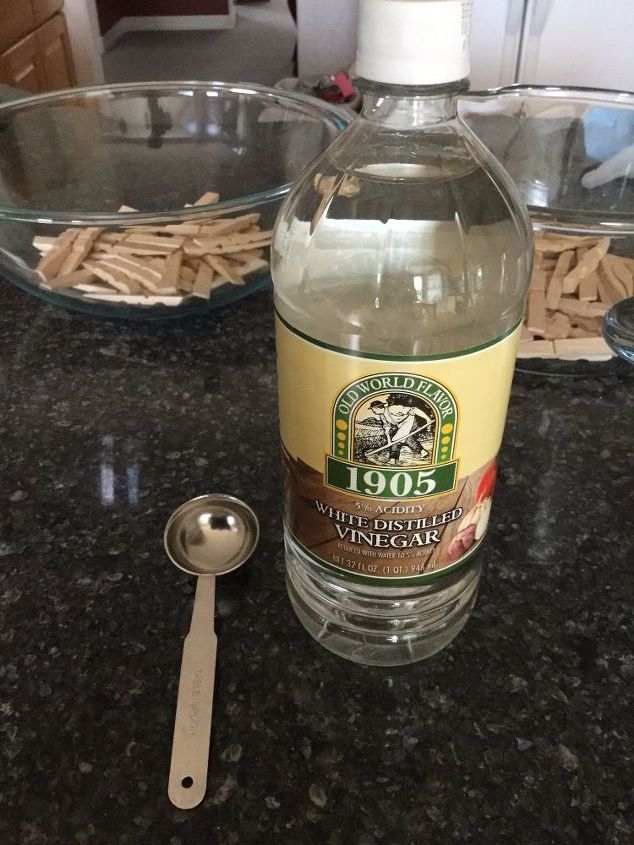
Step 2: Mix boiling water and vinger
Use 2 cups boiling water and 1 tablespoon vinegar per bowl. Get tutorial here
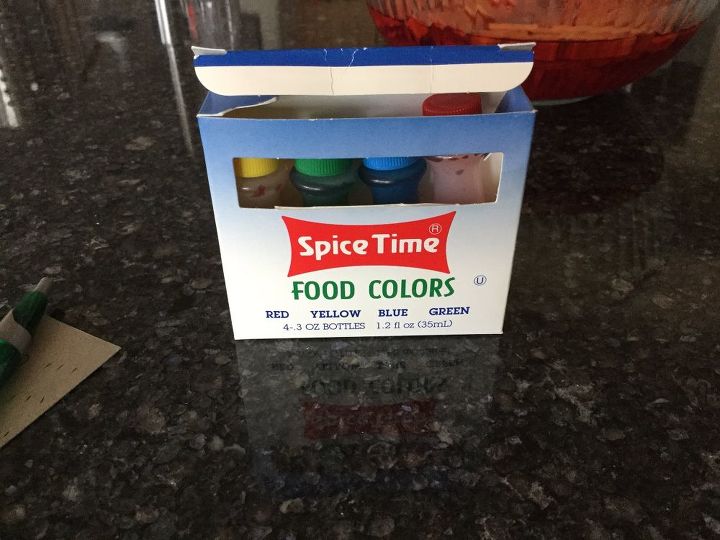
Step 3: Add food color and stir well
Add enough food color as the color somewhat fades when the clothespins dry. Get tutorial here
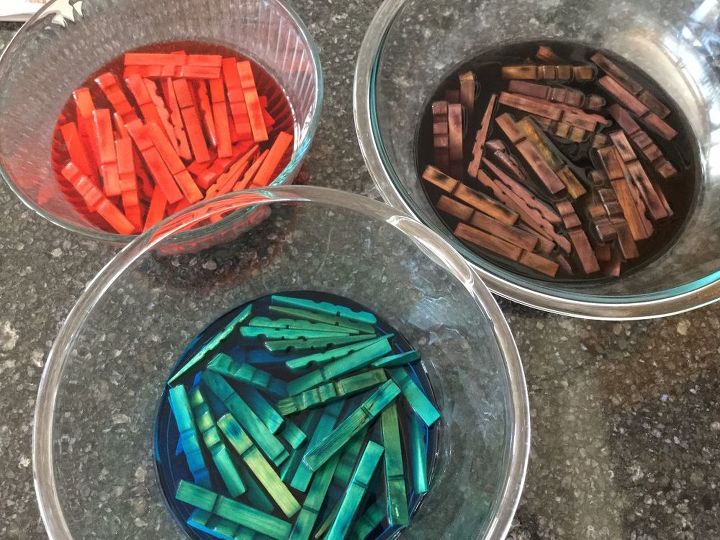
Step 4: Soak the pins for about 24 hours
Put about 20 clothes pins per bowl. Get tutorial here
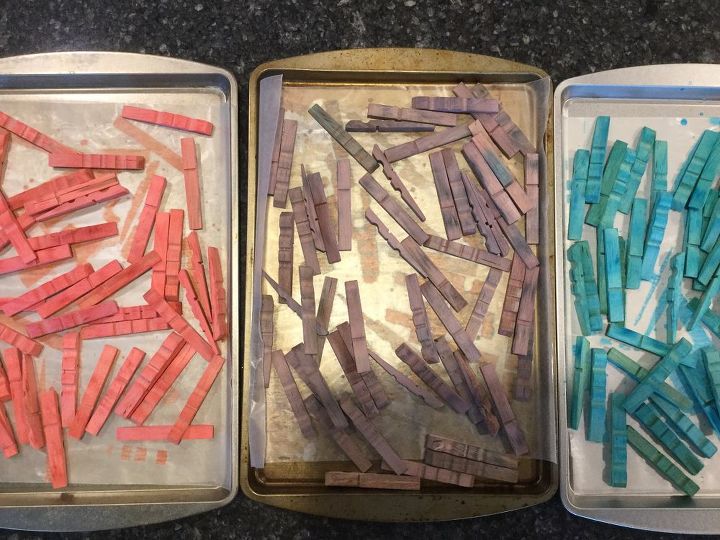
Step 5: Pull the clothespins out and air dry
This step might take a couple of days. Get tutorial here
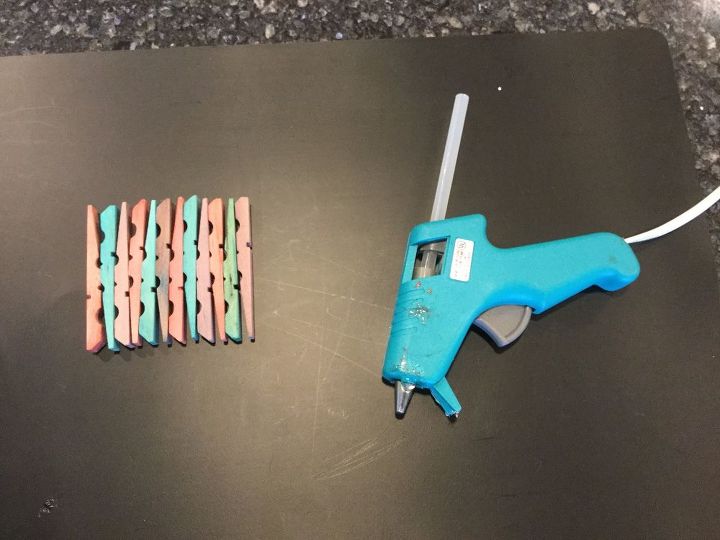
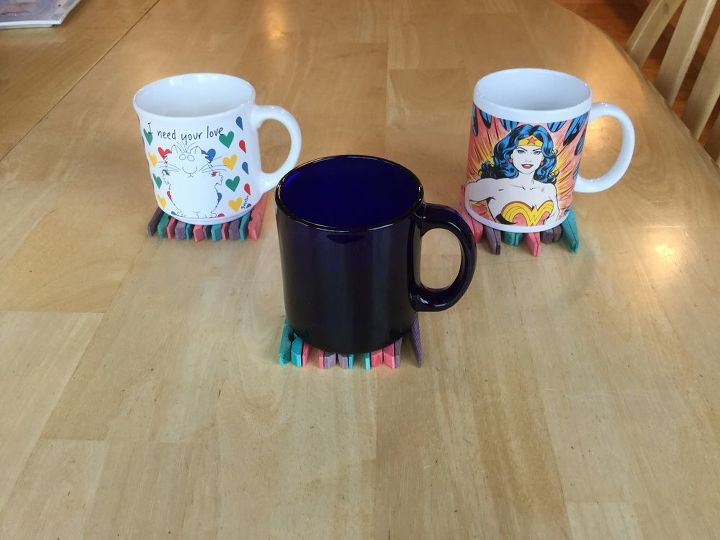
Step 6: Hot glue the clothespins together
Mix and match your clothespins for different coaster designs. Get tutorial here
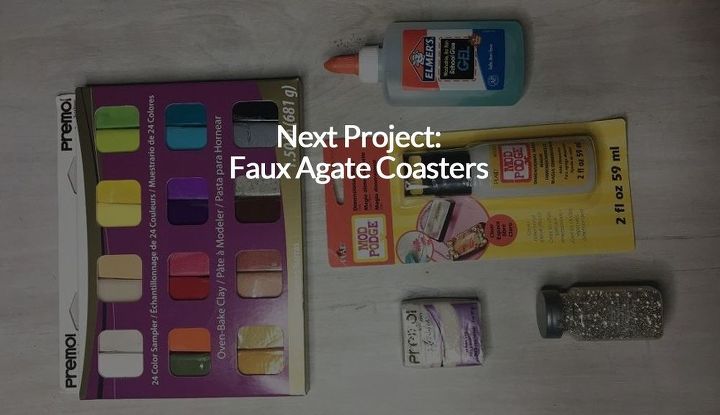
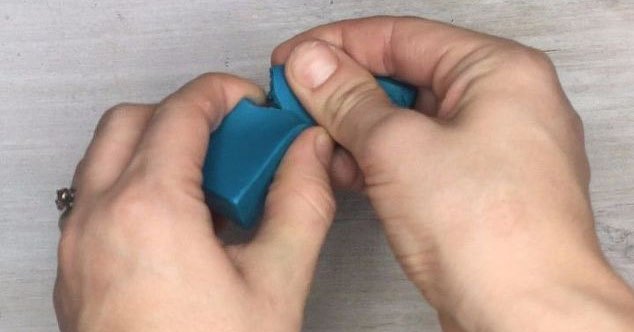
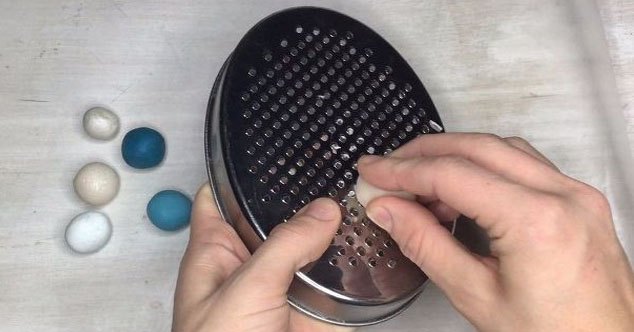
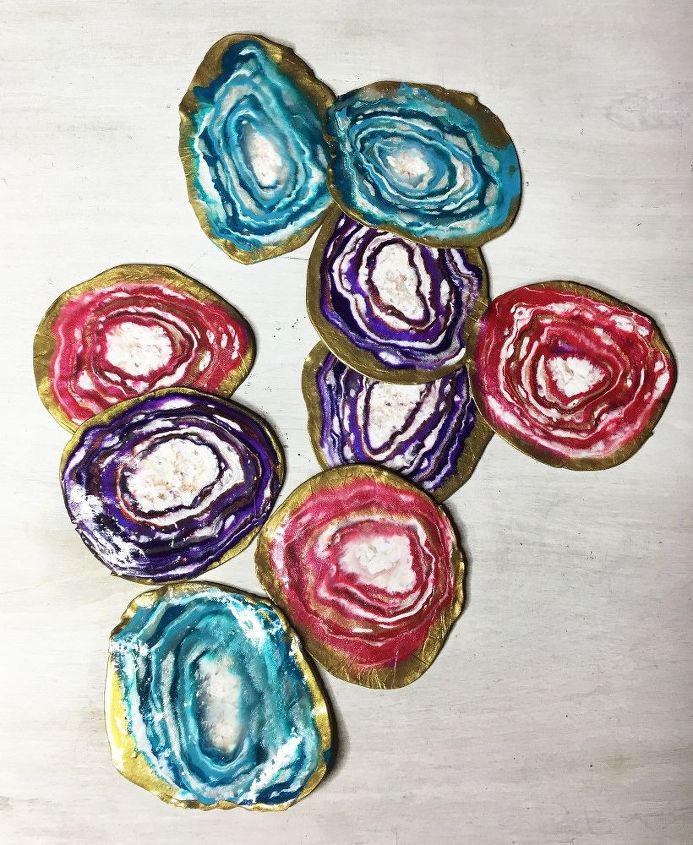
Step 1: Roll chunks of clay into balls
Repeat with several shades of the color of your choice. Also roll up balls of white, translucent and pearl white. Get tutorial here
Step 2: Place all the balls in the freezer
Freeze the balls for 10 to 30 minutes. Get tutorial here
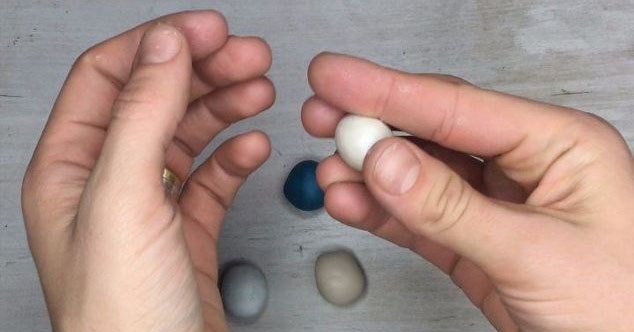
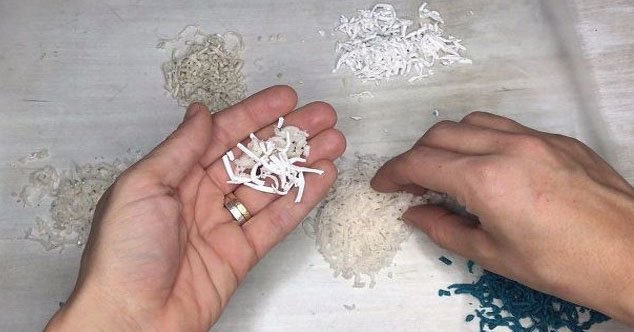
Step 4: Roll together the light colors
Gather a bit of white, translucent, and shimmery white and mix them without mushing them together. Get tutorial here
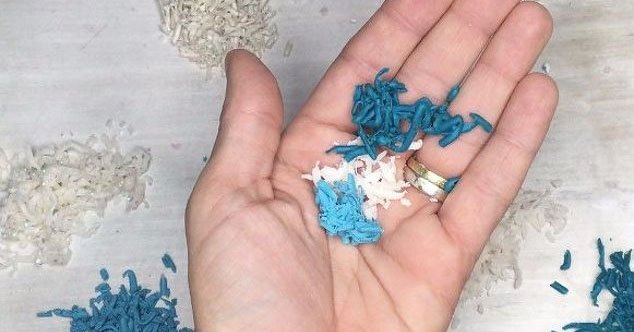
Step 5: Mix other three colors together
Gather more piles of three colors and mix without mushing them. Repeat until you have 8-10 ball combinations. Get tutorial here
Step 6: Roll balls between parchment paper
Roll the colorful balls between parchment or wax paper into thin layers. Get tutorial here
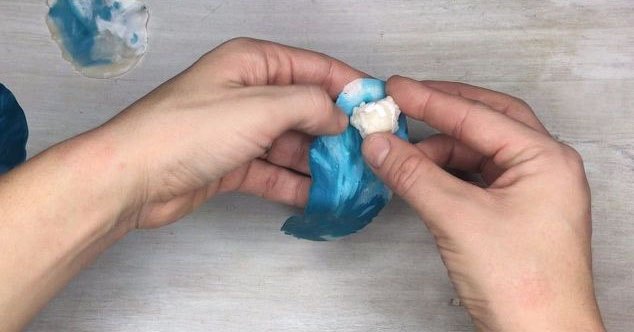
Step 7: Wrap flat layers around light balls
Take the light balls you made before and wrap the flat colorful layers around them. Get tutorial here
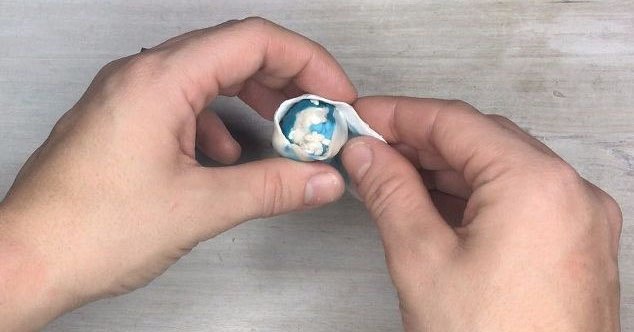
Step 8: Wrap around more shavings and layers
Repeat this until all layers have been used up and you have a large hockey puck looking shape. Get tutorial here
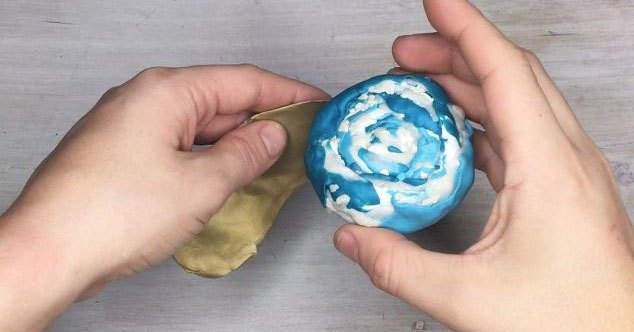
Step 9: Wrap with a flat layer of gold clay
Roll a chunk of gold clay into a ball and then flatten. Wrap the gold around the "puck". Get tutorial here
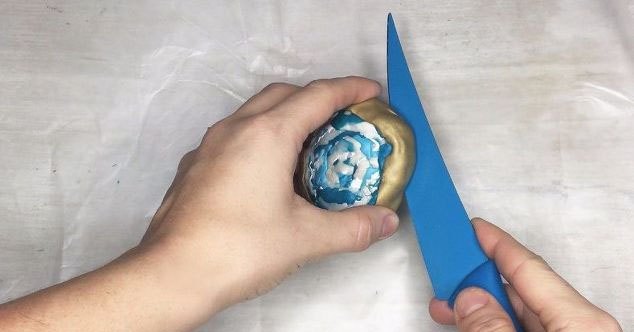
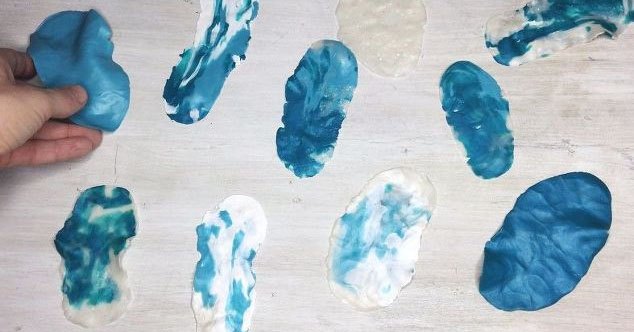
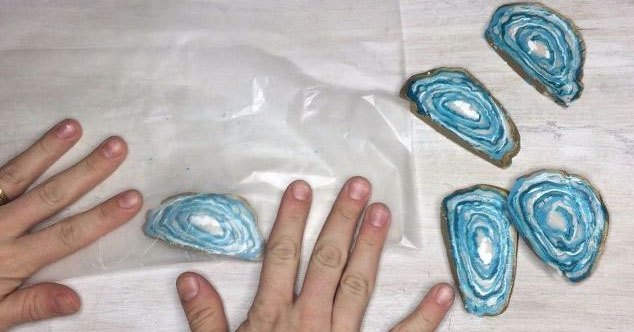
Step 11: Roll the slices between wax papers
Roll the slices out in all directions to create the shape you wish for your coasters. Get tutorial here
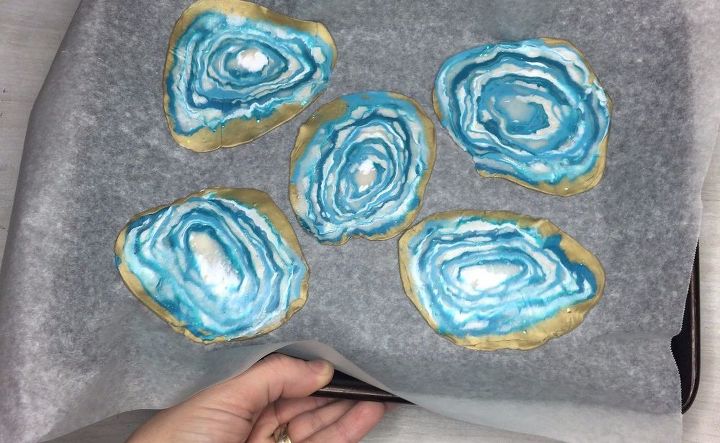
Step 12: Bake slices for 20 minutes
Preheat your oven to 275°F and place your slices on a piece of parchment paper atop a tray. Get tutorial here
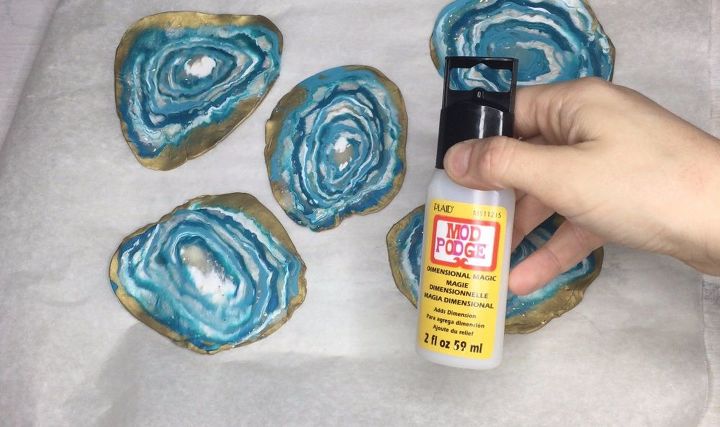
Step 13: Brush slices with Mod Podge
After the slices cooled, brush a layer of Mod Podge dimensional magic on top for a nice "agate" like shine. Get tutorial here
Step 1: Grab a ceramic tile or coaster.
Chose coasters with a cork on the bottom to protect surfaces, or just put sticker felt onto the bottom. Get tutorial here

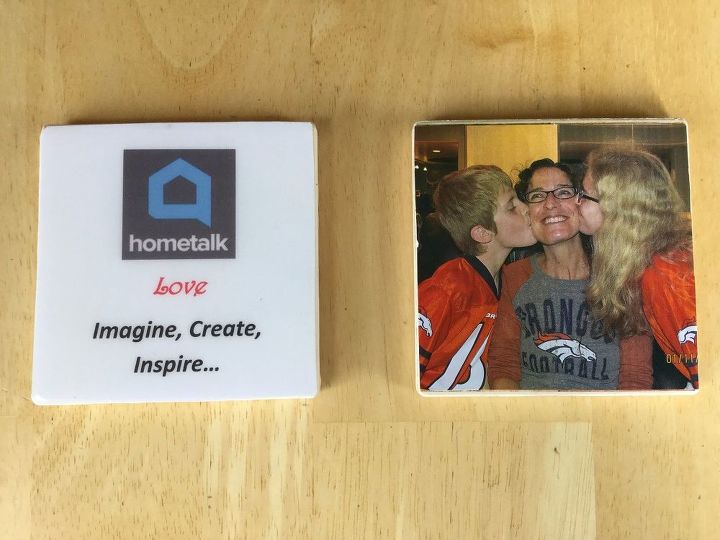
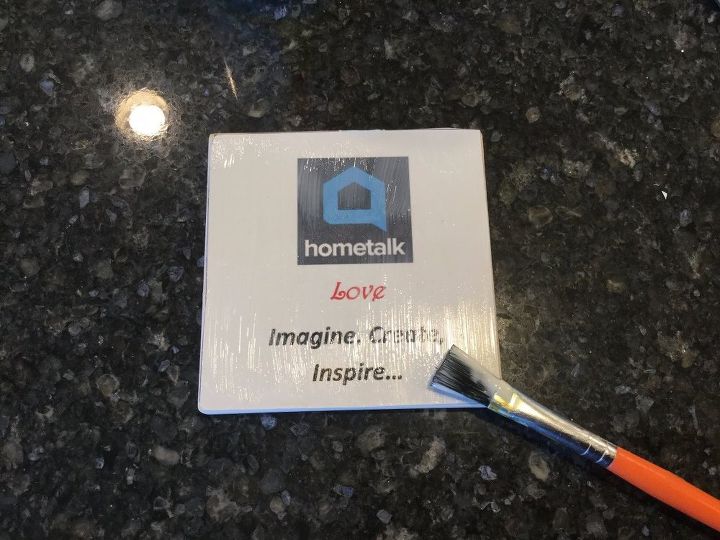
Step 2: Apply Mod Podge and put on your photo
Use fabric, a photo, printed design on photo paper etc. Regular paper is not a good choice as you will get bubbles. Get tutorial here
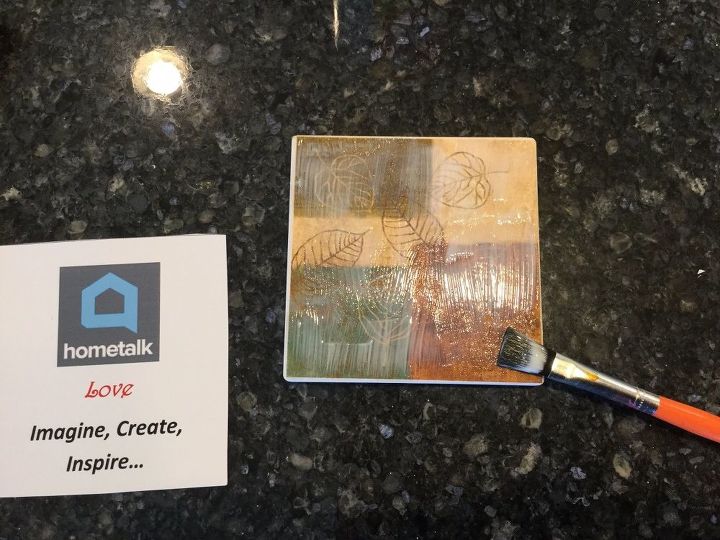
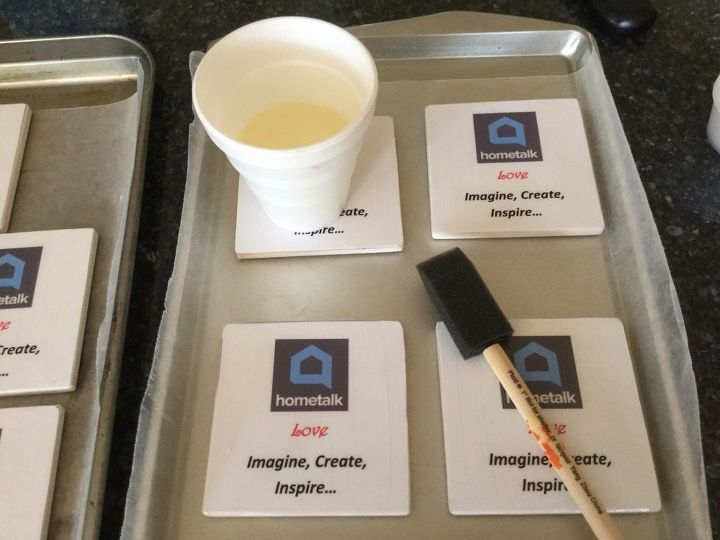
Step 3: Layer coats of Mod Podge and let dry
Repeat a few coats to protect and seal the project - don't forget the sides of the coaster and paper. Let dry between each coat. Get tutorial here
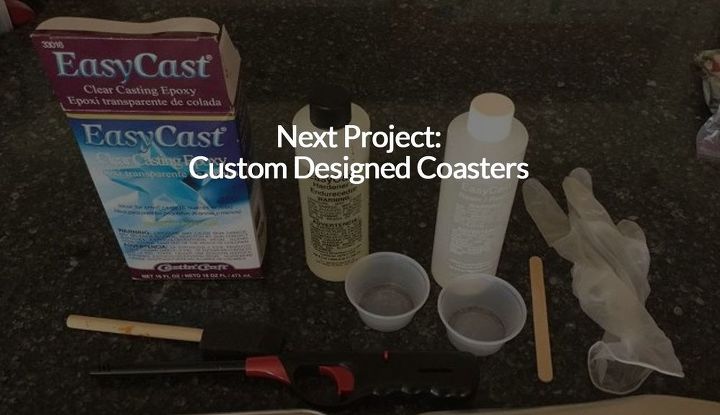
Step 4: When dry, top with Easy Cast Epoxy
You can also use a few layers of clear top coat nail polish, letting it dry between each coat. Get tutorial here
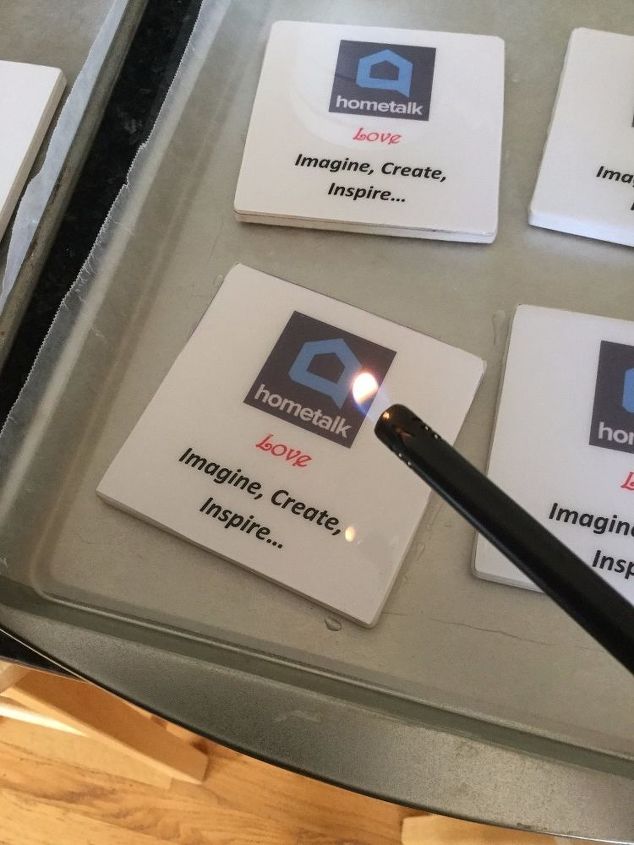
Step 5: Go over with a lighter to pop bubbles
After you paint all your coasters, you will see tiny bubbles in the resin. Use a lighter to get rid of them. Get tutorial here