


Upgrade Your House With These Clever DIY Home Decor Ideas

Follow a few easy steps and make the bedroom, bathroom, kitchen, or even the garage door look high-end without breaking the bank. See what you’d like to do for your home and prepare to create some handy and attractive features.
Faux Shiplap

Tools and Materials
- Wooden boards
- Glue or nail gun
- Paint
- Brush
- Shelves
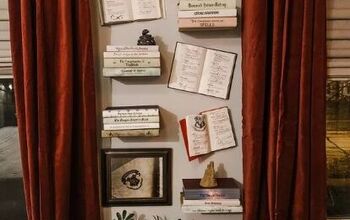
Step 1: Gather Your Materials
In my tutorial I upgraded a small bathroom wall, but this technique can be applied anywhere you like. All you need are enough boards for the chosen area, as well as a paint color that matches, and shelving of the right size. I love the look of bright, white shiplap so I went with white paint for my project. The cost of the overall project depends on its extent.
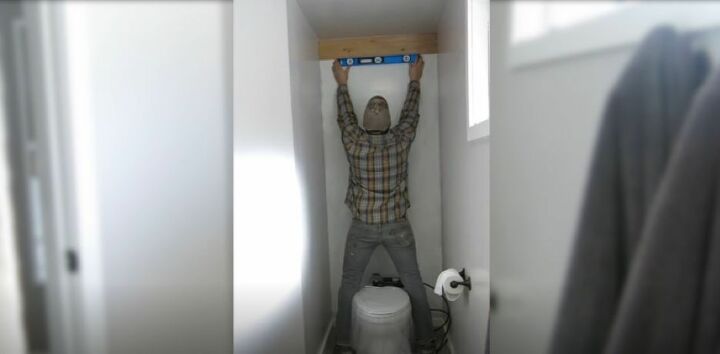
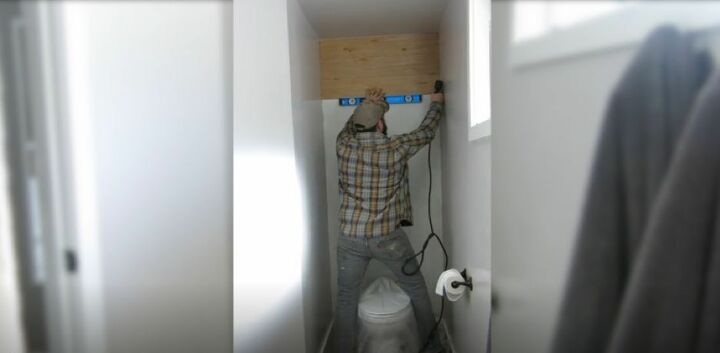
Step 2: Attach Boards to Wall
For this part, I used a nail gun for extra stability. Professional glue, however, would get the job done just as well. Attach the boards, one by one, down the whole length of the wall. You may need to cut some boards to fit them properly around obstructing objects you can’t temporarily shift.
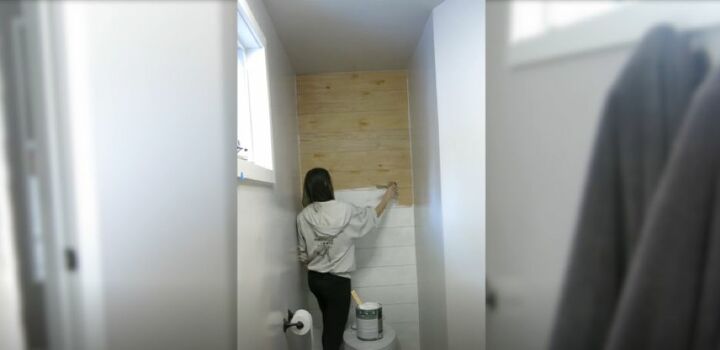
Step 3: Paint White
Because my wall was white, I went for the matching color of paint. As already mentioned, you can go in a different direction to suit the original design of the room, even if it’s a color washed or sponged style. An alternative idea would be to make the faux shiplap side an accent wall.
Step 4: Hang Shelves
The final step of this DIY home decor project simply involves hanging the shelves you chose. The number and thickness is up to you, and also down to what you intend to put on them. Heavy items will need sturdier support, for example. This stage is another opportunity for a creative interior design.

Faux Stained Glass
Tools and Materials
- Glass paints
- Glue
- Designs on paper
- Muffin pan
- Brushes
Step 1: Gather Your Materials
Assuming you have a specific glass surface in mind, get that ready to decorate. My object was a simple ornament of framed glass, which I took down and laid flat for easier access. It’s important to set yourself up comfortably, because the drawing process of this DIY home decor project can take a while.
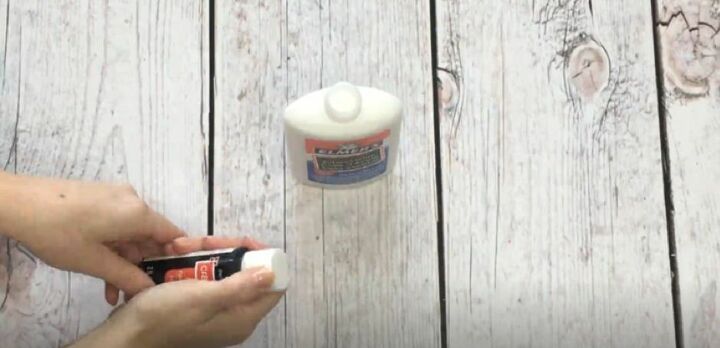
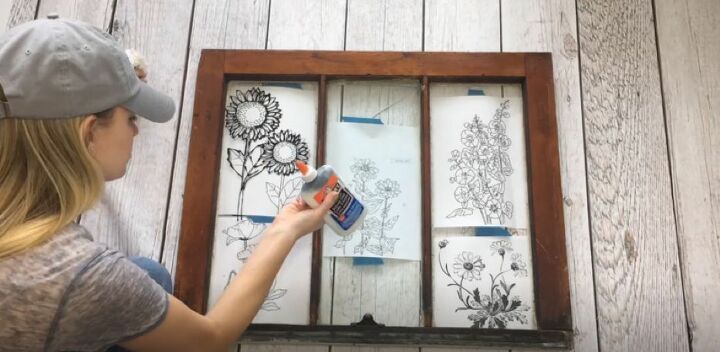
Step 2: Use Glue to Create a Pattern
Mix black glass paint into a bottle of glue, making sure it has an applicator. Place the designs you drew on paper behind the glass so you can then simply trace them onto it with the colored glue. This stage doesn’t have much room for error, so take extra care.
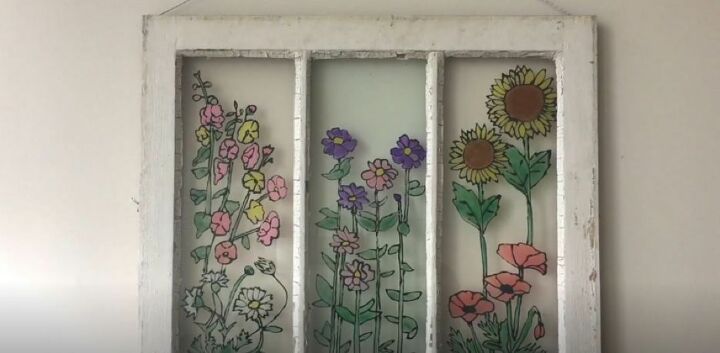
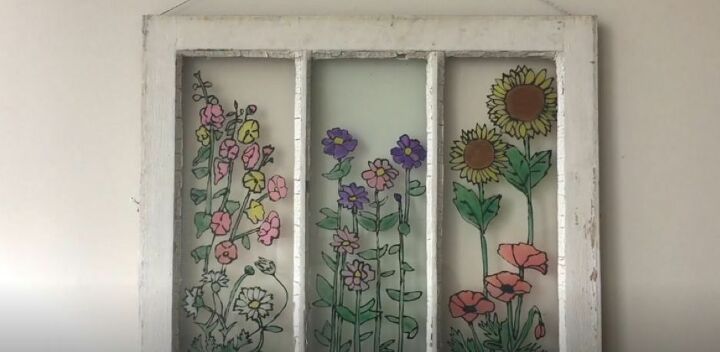
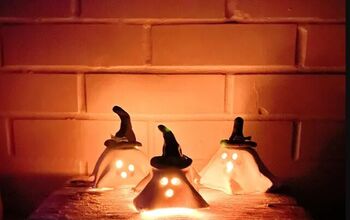
Step 3: Paint
Put the colors you want for your design in individual sections of the muffin pan and start painting. You may only need a small amount of glass paint at a time, but a bigger and more intricate design could require more supplies. Once dry, return the finished surface to its place and admire your faux stained glass.
Faux Barn Door
Tools and Materials
- Electric screwdriver
- Nuts and bolts
- Wrench
- Sliding door track system
- Sliding door
Step 1: Gather Your Materials
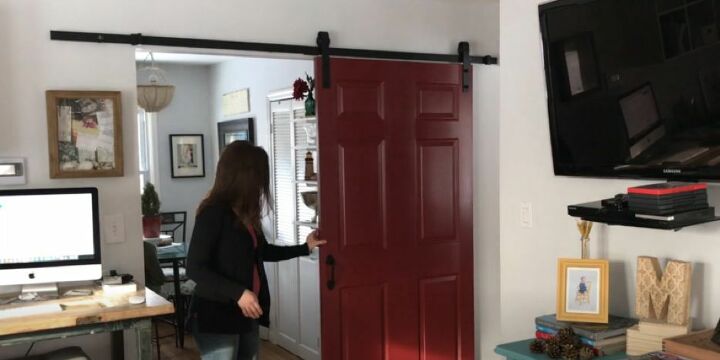
If you want to install a door in a room with limited space, this is the perfect DIY home decor solution. A sliding door is a smooth and sleek feature that only needs three steps to complete. It does require some precision and heavy lifting, so, besides tools, an extra pair of hands may be useful.
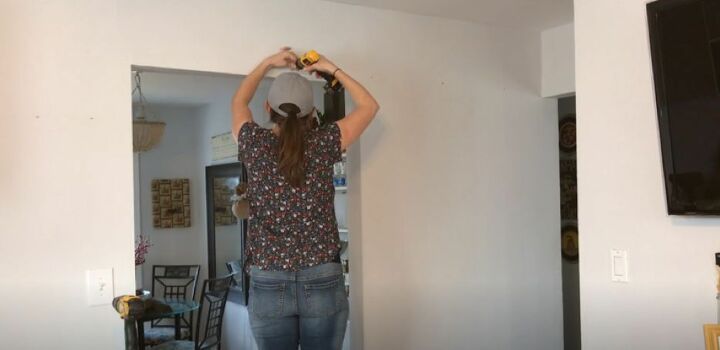
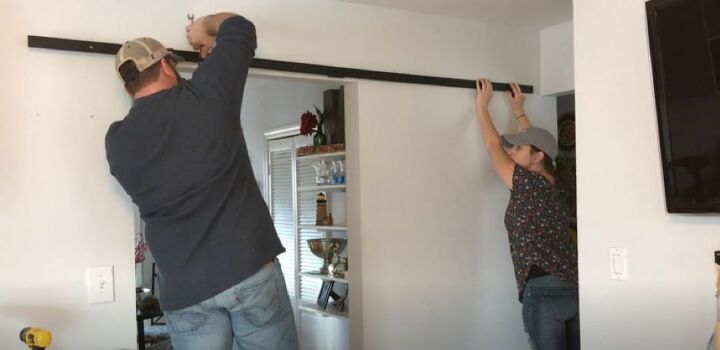
Step 2: Attach the Hardware
Add bolts along the length of wall where the door’s track system will go. Marking the exact points beforehand will make this part easier. Attach the track and secure it with the nuts, making sure the whole system is set straight and firm. It needs to hold a door up, after all.
Step 3: Install the Door
Finally, attach the sliding door. It should be able to move across the track in a smooth, unobstructed motion. While my door was of wood and a dark burgundy color, there’s a huge range of other options to choose from. How about a beautiful wood and glass door? Or one entirely of glass?

Faux Under Cabinet Lighting
Tools and Materials
- Stick-on hooks
- Rope lights
Step 1: Gather Your Materials
This is one of the simplest and cheapest of the seven projects. All you need are hooks and rope lights of the desired color. Taking measurements is advised in order to get lights of sufficient length to cover all the cabinets while also reaching the socket. The number of hooks needed depends on the intended effect.
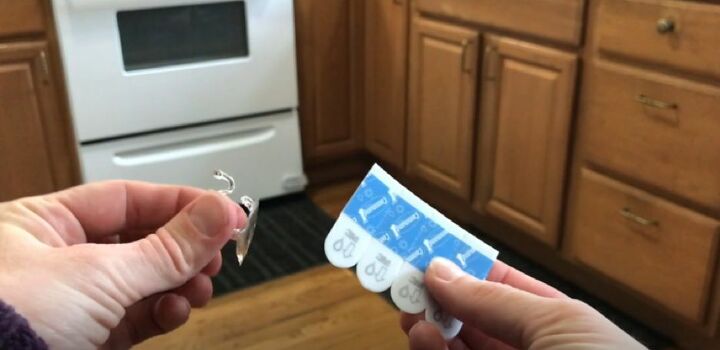
Step 2: Attach Hooks
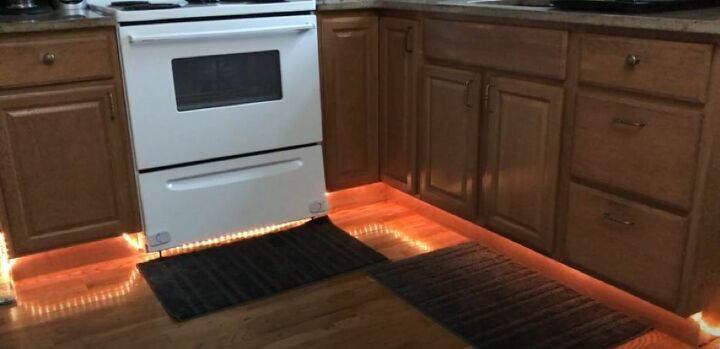
If all you want to be able to see is a pleasant glow under the cabinets, stick on enough hooks against their undersides so the rope lights are taught and not hanging in any way. On the other hand, you could place them with enough space between to create a symmetric looping pattern.
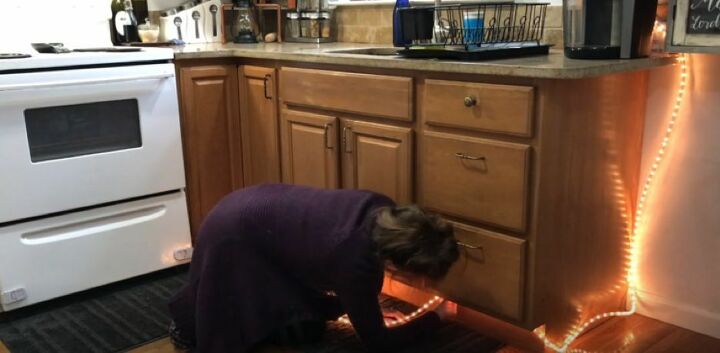
Step 3: Attach Lighting
However you choose to arrange the hooks, it’s time to add the lights. You will need to get on hands and knees for this, so be mindful of your posture and avoid putting too much weight on joints, especially knees. Arrange the rope lights as planned and stand back to admire your kitchen’s new high-end look.

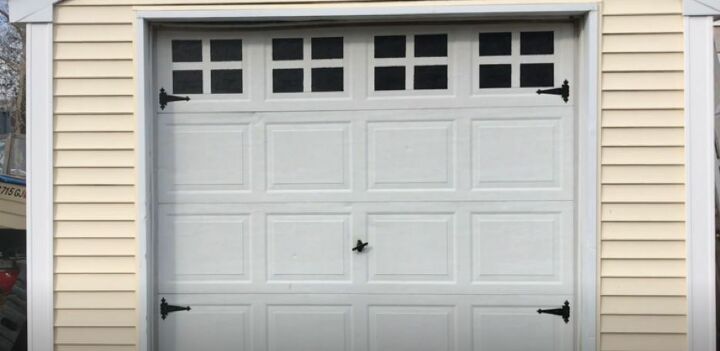
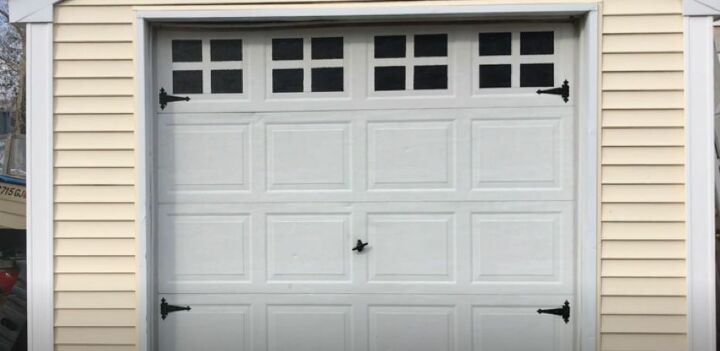
Faux Garage Door Windows
Tools and Materials
- Scotch tape
- Black paint
- Brush
Step 1: Gather Your Materials
Another very easy DIY home decor technique, this time for your garage door. As you’ll see for yourself, this design looks best on a white door, but it would still work with other colored surfaces. All you’re aiming for is the illusion of windows, as simple or realistic as you want.
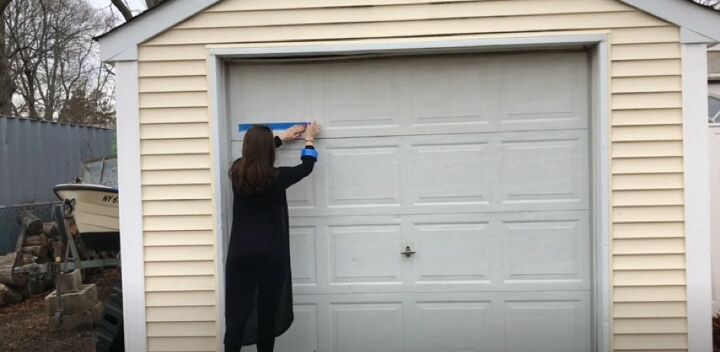
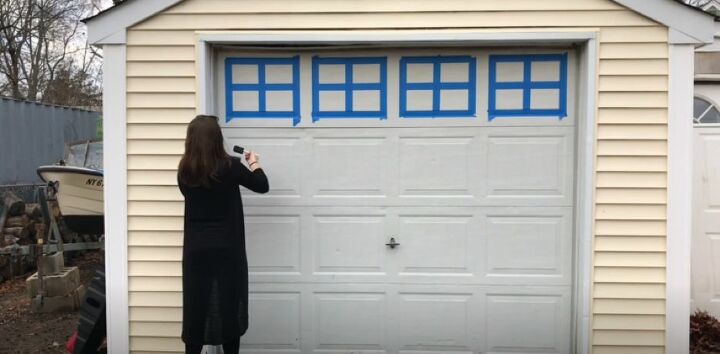
Step 2: Tape Off the "Windows"
Set the borders and design of your faux windows with tape. Just a square or rectangle would be enough, but I made mine crossed. Diamond patterns are also in-fashion, if you want some extra high-end flair. The windows’ look is entirely your decision. Just make sure the tape is in place and intact.
Step 3: Paint
Get the black paint and fill in the sections you’ve marked out as your windows’ glass. One or two generous layers will ensure the white beneath doesn’t show through. Paint on some hinges down either side of the garage door or use spray paint. A hinge-shaped stencil can make things easier too. After this, go ahead and do the best part: peel off the tape.
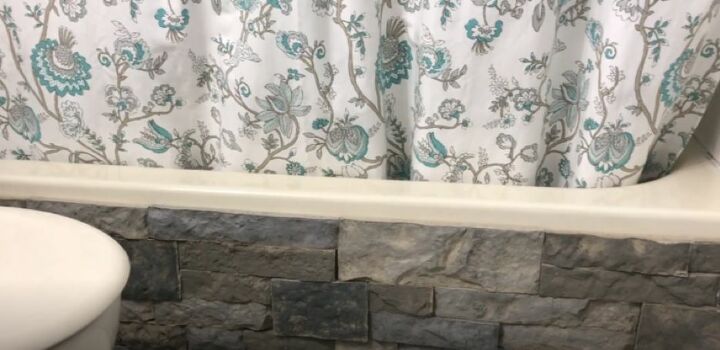
Faux Stone Tub
Tools and Materials
- Faux stones
- Glue
Step 1: Gather Your Materials
Just two materials and a couple of hours. That’s all you need to invest in to complete this DIY project. Getting the right amount of faux stones for the side of your tub does take some planning and measuring, but other than that it’s just a matter of sticking on the stones.
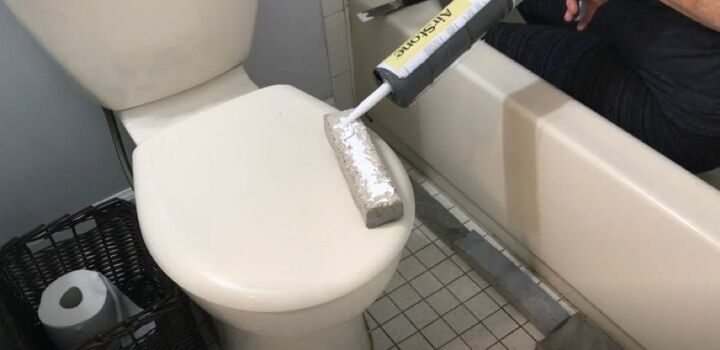
Step 2: Tile the Side of the Tub
Industrial glue is best. Apply plenty of it on each faux stone tile and then stick it on the tub’s surface. Start from the bottom and work your way up in rows. It’s like building a wall, one tile at a time. With the right stone color, you can get the high-end bathroom of your dreams.

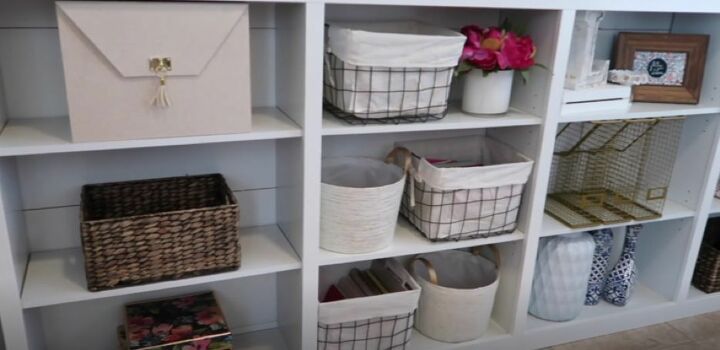
Faux Built-In Bookcases
Tools and Materials
- Shelving units
- Glue
- Wooden top
- Wooden frames
- Nail gun
Step 1: Gather Your Materials
This DIY home decor project can look very impressive. Take measurements before choosing the number and size of individual shelving units, not forgetting the top and frames. This tutorial shows the building process of a bookcase that stretches from wall to wall, but feel free to experiment with alternative designs once you know how it’s all done.
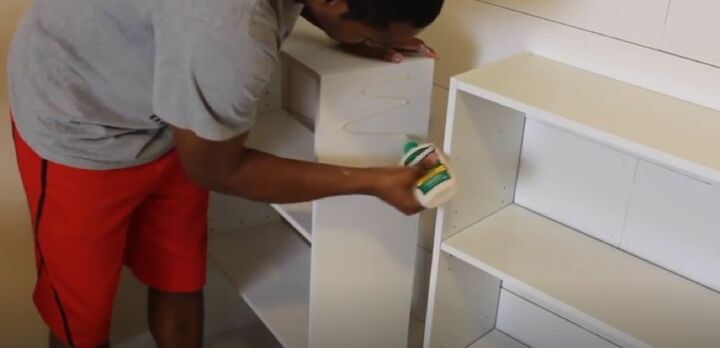
Step 2: Glue Shelves Together
The color of the shelves can match or deviate from the shade of the wall. Line up the shelves, and make sure they’re the same height and that there are no obstructions between or behind them. Get the glue, stick the units to each other, and leave them to dry as you prepare for the final stage.
Step 3: Attach Top and Framing
The length of the top needs to match that of the entire faux bookcase. Glue or nail it onto the top of the shelving units. Then attach the parts of the frame. The upper and lower length of the bookcase will need individual long panels. Install shorter ones down the sides, covering the connecting ends of the units.

Now you know seven stylish yet inexpensive features that can improve the look of your home. Think about which room you want to revamp the most and choose the best DIY home decor idea for its needs. Don’t be afraid to explore the many different ways you can put your own spin on each practical or creative project.
Have fun making your high-end upgrades and don't forget to tell us all about your favorite experiences!
Get the step by step tutorials:


Frequently asked questions
Have a question about this project?