


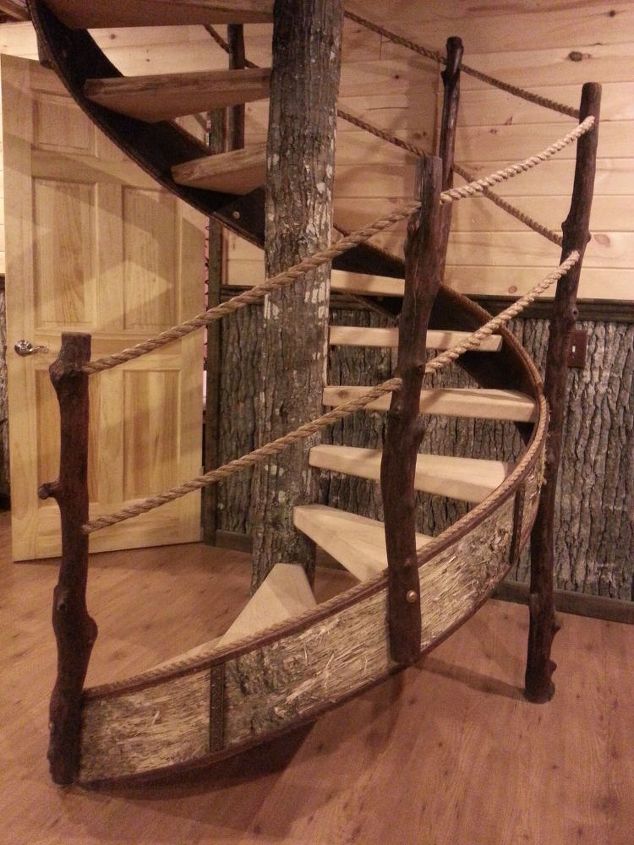
Bark Walls - Harvesting Poplar Bark

Medium
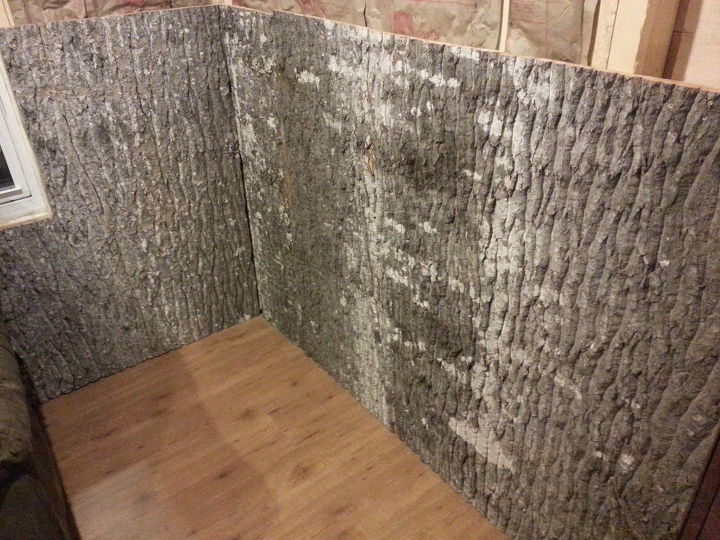
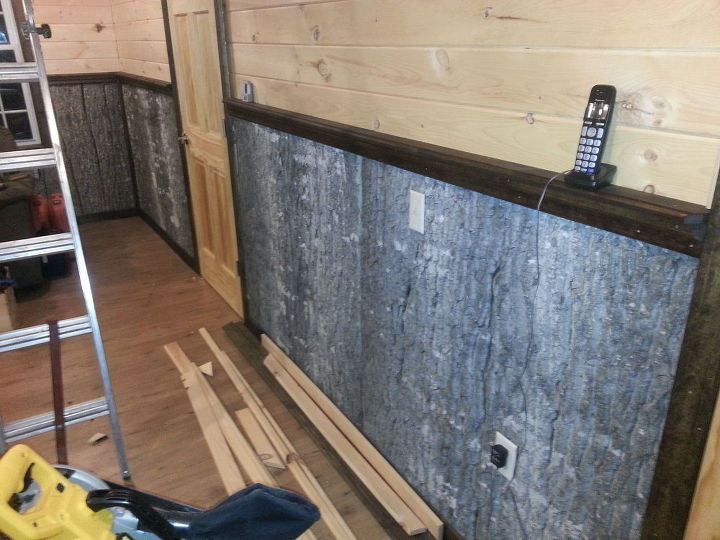
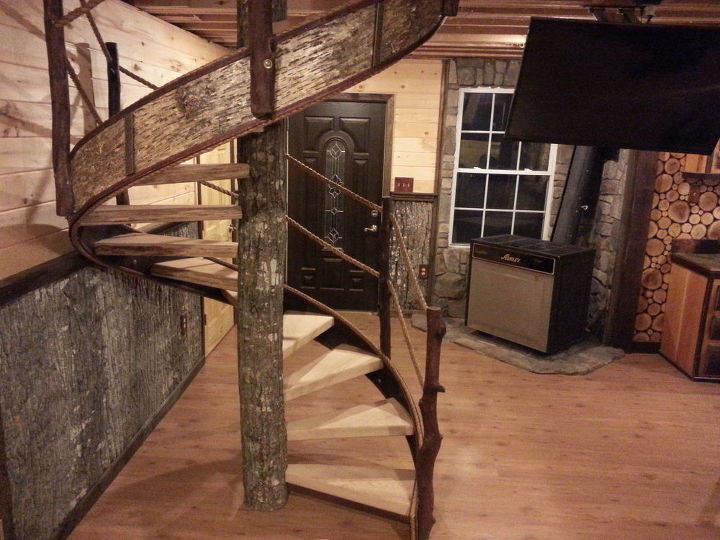
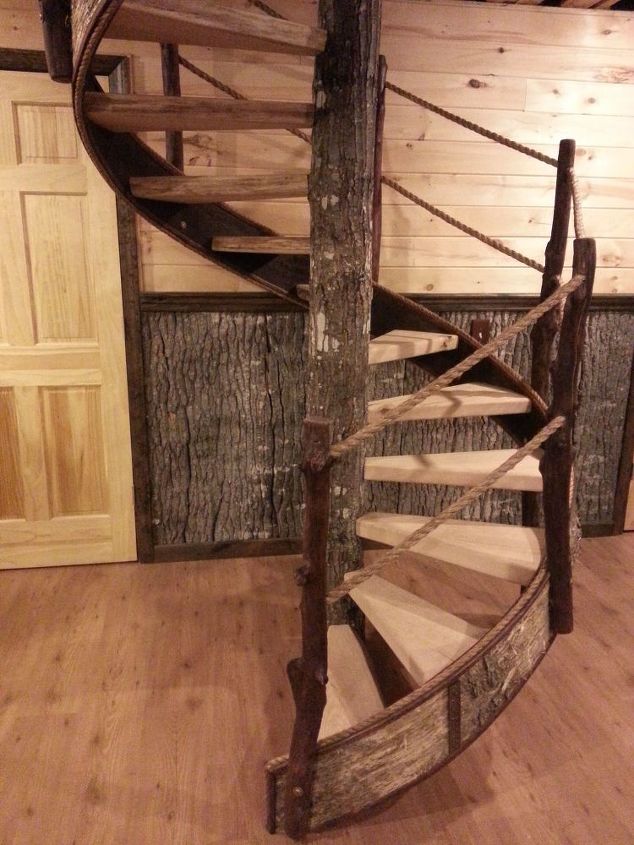
It is getting closer to the only time of year that you can successfully harvest Poplar Bark(Mid May - end of June, here in Maine). I took a few pics of the process last year and thought I would share. The bark can be worth more then the lumber if you can locate an outlet for it in your area. Poplar bark can be used for paneling, siding, shingles etc etc. To see more of our Treehouses go to our Facebook page www.facebook.com/timberstoneadventures
This Must be done in the Spring. Mid May - the end of June is the best time here in Maine.
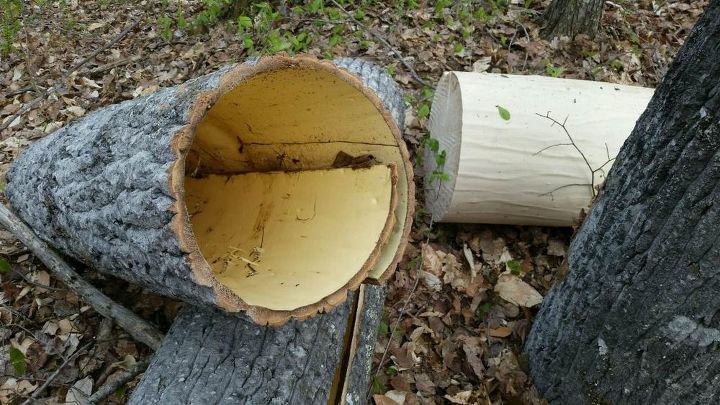
As you can see the entire bark will come free from the tree - larger trees like this one, will produce panels in excess of 5' in length when opened up.

The tree is scribed lengthwise with a chainsaw - only through the bark to ensure that you can still mill the log. Here I am using a regular flat pry bar (that's slightly curved) to separate the bark - moving up and down the piece as I go. They do sell specific tools for this job if you prefer. If you catch it at just the right time - the bark will almost fall off by itself.

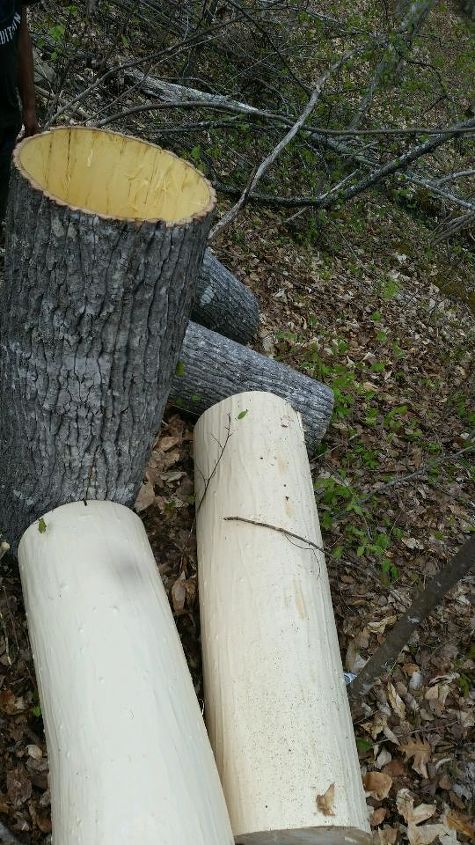
This pic demonstrates that you can do the entire tree length - without cutting the tree to lengths beforehand. I have found that removing the bark in lengths less then 8 feet are not to difficult (shorter the better/easier though).
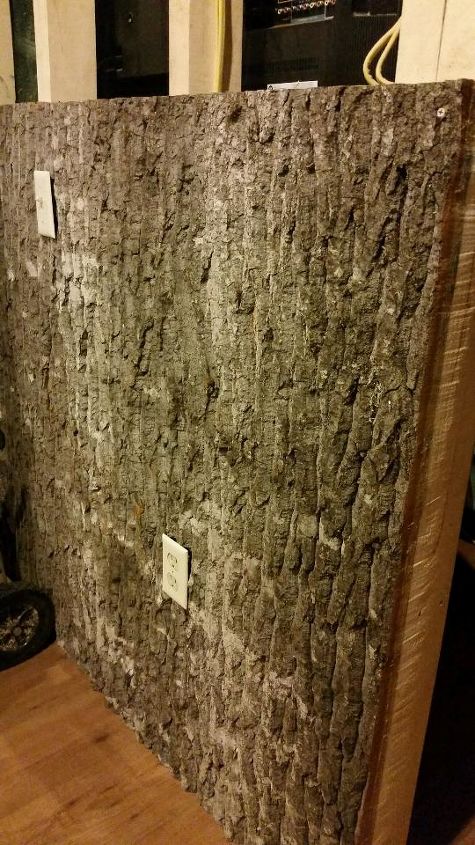
1. Have a pallet (or similar) ready, as well as several concrete blocks and spare boards or pieces of plywood. You will have to place each piece on pallets, then plywood/boards, then the concrete blocks to weigh them down, before the next sheet is place on top of that - and the process is repeated.
To see more of our Treehouses go to our Facebook page www.facebook.com/timberstoneadventures

To see more of our Treehouses go to our Facebook page www.facebook.com/timberstoneadventures
To see more of our Treehouses go to our Facebook page www.facebook.com/timberstoneadventures
To see more of our Treehouses go to our Facebook page www.facebook.com/timberstoneadventures
To see more of our Treehouses go to our Facebook page www.facebook.com/timberstoneadventures
To see more of our Treehouses go to our Facebook page www.facebook.com/timberstoneadventures
To see more of our Treehouses go to our Facebook page www.facebook.com/timberstoneadventures
Comments
Join the conversation
2 of 39 comments
-
Extremely beautiful!!
-
I'd be afraid of termites


Frequently asked questions
Have a question about this project?