


Bumblebee Wall Decor DIY
There's something about bumblebee crafts that offers a refreshing feel of nature for spring and summer- and who doesn't love the look of those adorable handmade bees! Celebrate your love of bumblebees with this whimsical bumblebee wall decor diy!
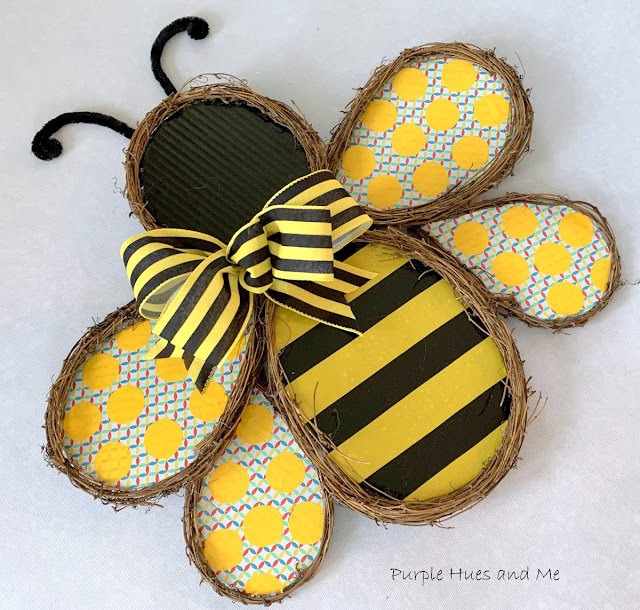
I know you've seen quite a few ready-made bumblebees just waiting to adorn a wreath, but how about instead of buying one - which can be somewhat costly - why not make your own! My adorable DIY bumblebee is made of corrugated cardboard covered in paper vinyl from the Dollar Tree and trimmed in grapevine garland. It's an adorable upcycle craft!
Materials:
- Corrugated cardboard
- Head, body, wings paper templates
- Craft knife, scissors
- Paper Vinyl
- Grapevine garland - (15ft.)
- Floral Stem wire - brown 22-24 gauge
- Ribbon- 2.5" wire
- Chenille stems - thick black
- Hot glue
Instructions:
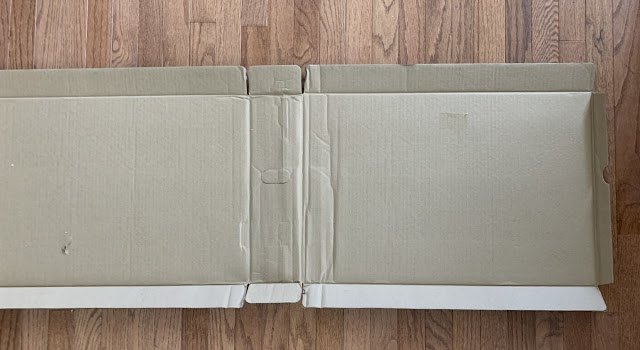
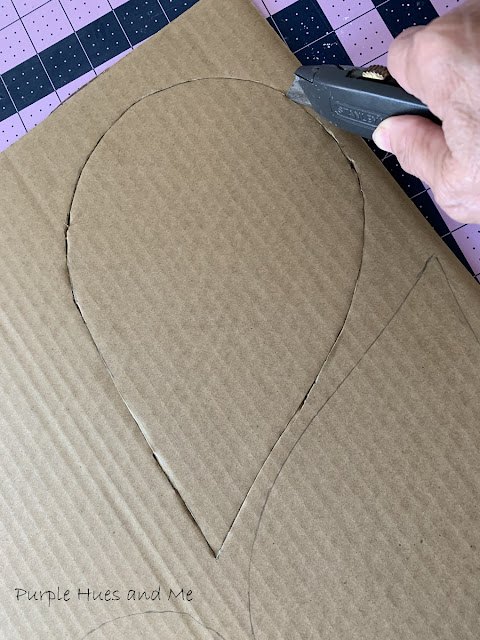
I keep large boxes in my stash! I open and then flatten them to store. This type pf cardboard is perfect to cut out parts for the bumblebee.
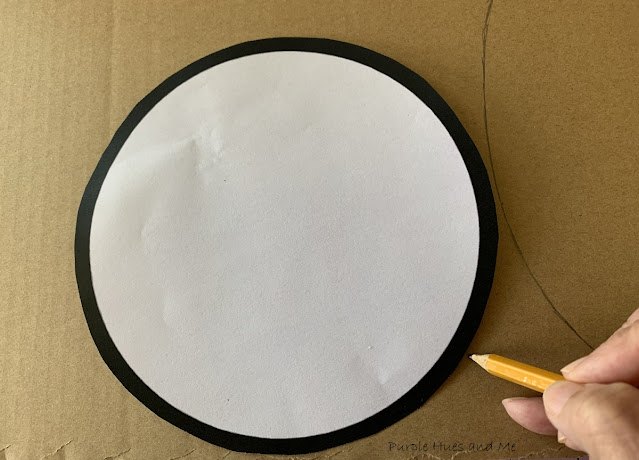
I made paper templates for the head, body and wings using simple oval, circle and teardrop shapes that I enlarge on printer paper and cut out. Then drew the shapes on cardboard, starting with the Head
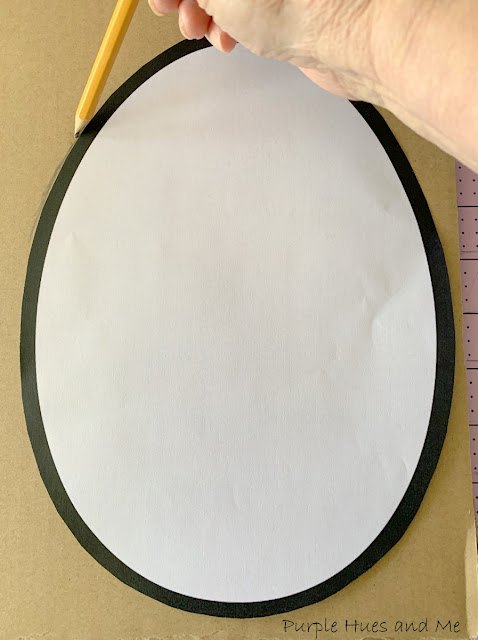
Then the body . . .
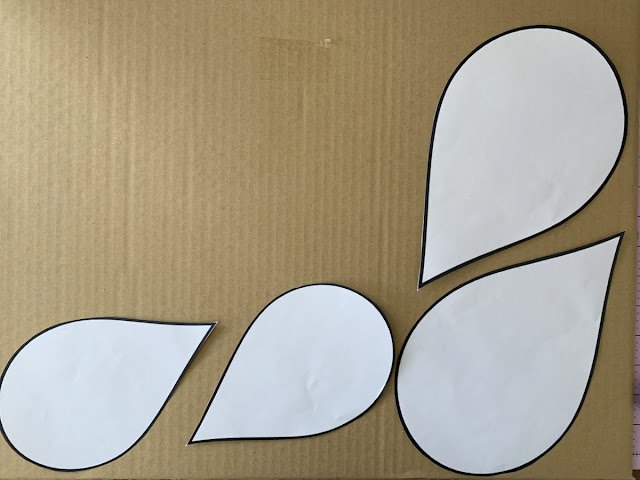
and the wings.
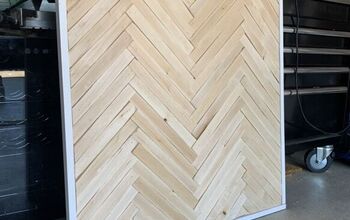
Cutting all the pieces out.
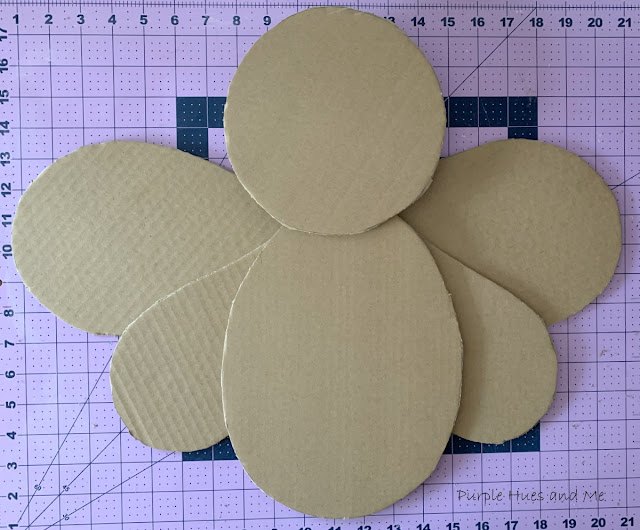
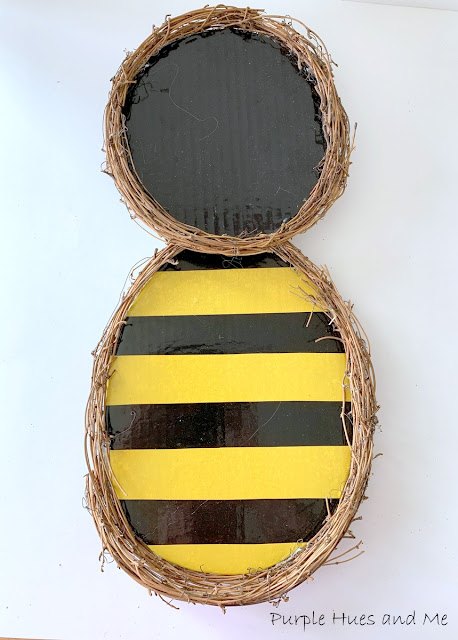
And assembled to see how it would look. The bumblebee is 19" tall by 22" wide. A nice size for your front door or wall!

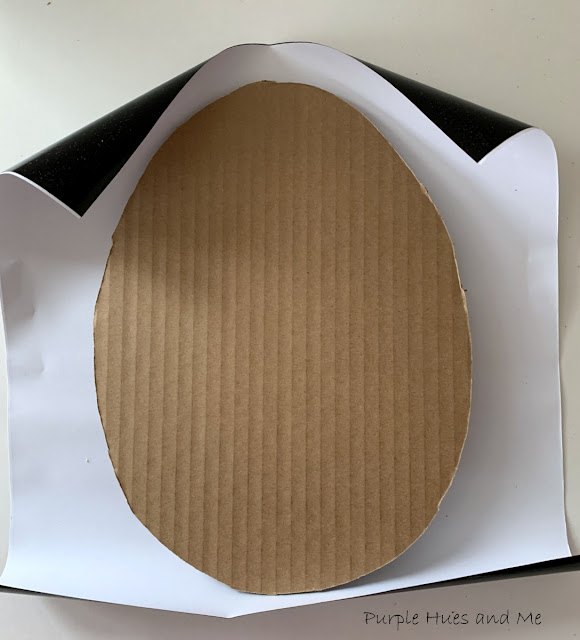
Then I began to apply the paper vinyl (which has a adhesive backing) from the Dollar Tree to each part . . .
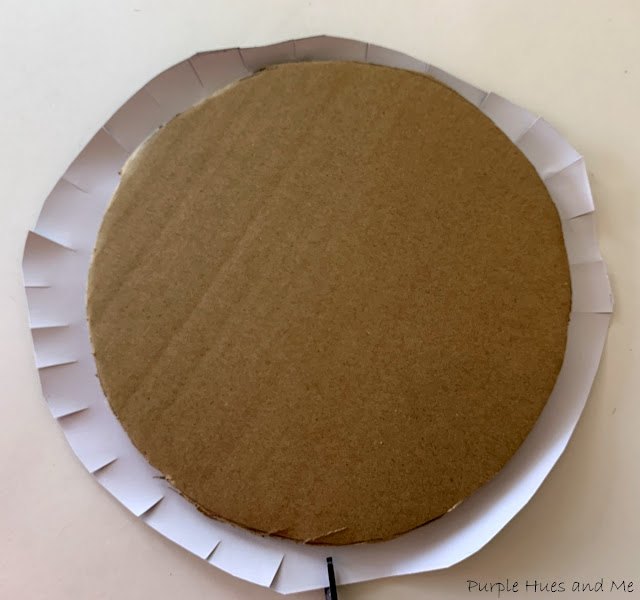
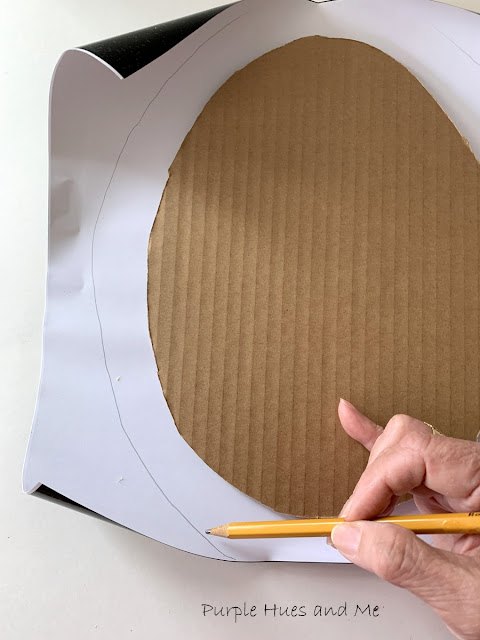
cutting the vinyl out in the shape of the bumblebee parts, leaving a border and . . .
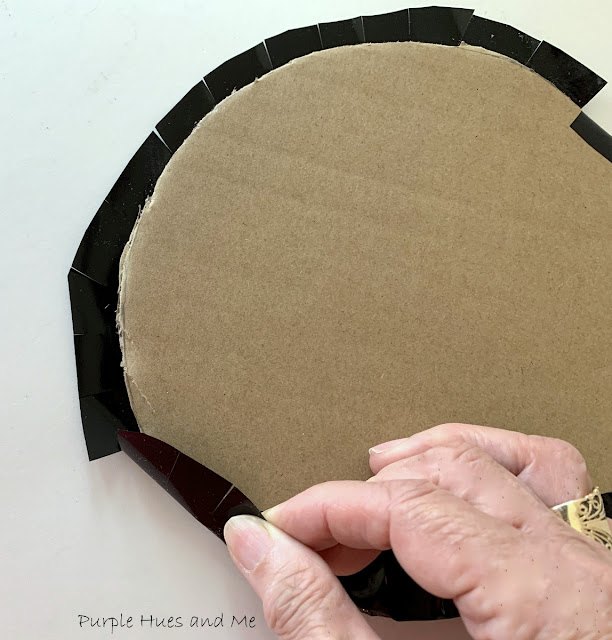
removing the backing to smooth out over the edges onto the backside for the head.
I know the edges look rather rough, but they will be covered with grapevine garland.
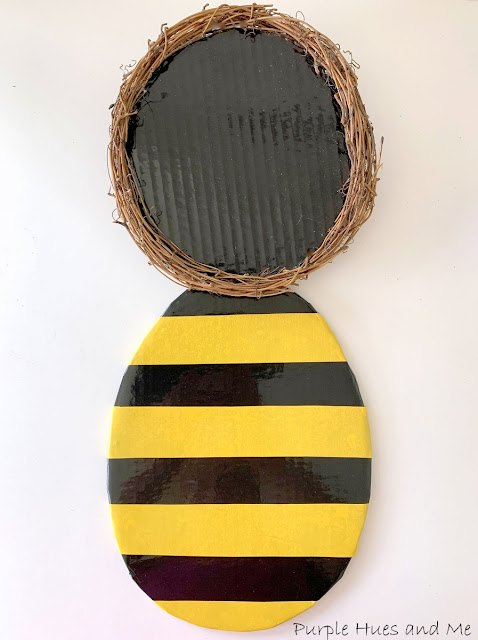
And then the body . . .
repeating the steps to cover all the parts with the paper vinyl.

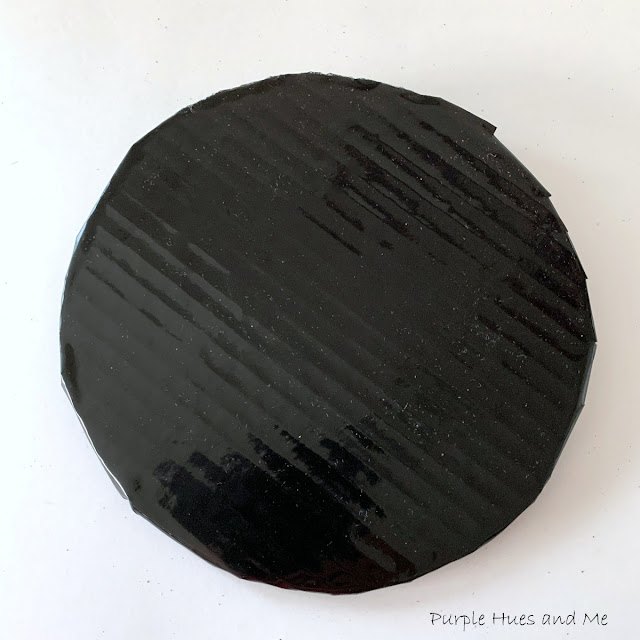
Folding over the edges and . . .

smoothing it out.
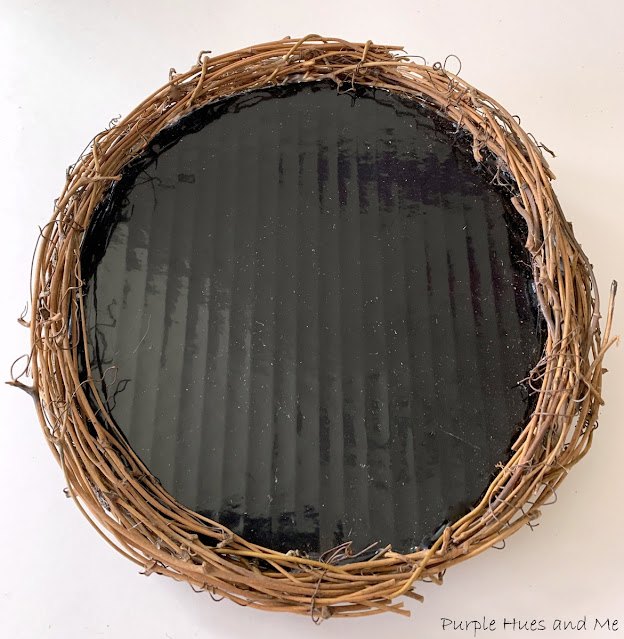
I hot glued grapevine garland around the bumblebee head. Sorry, it was hard for me to take a picture while I was gluing it on.
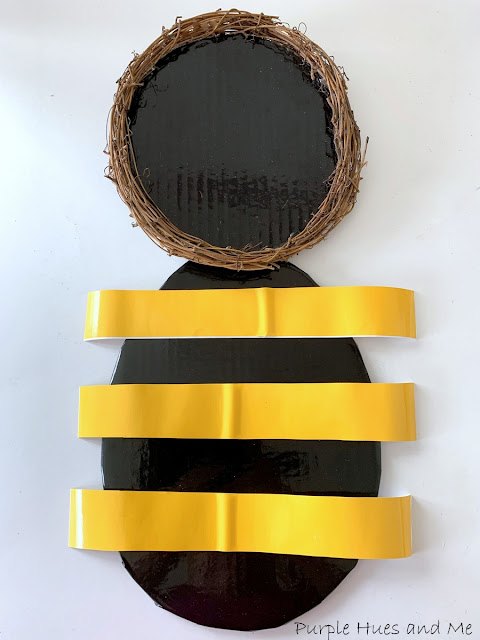
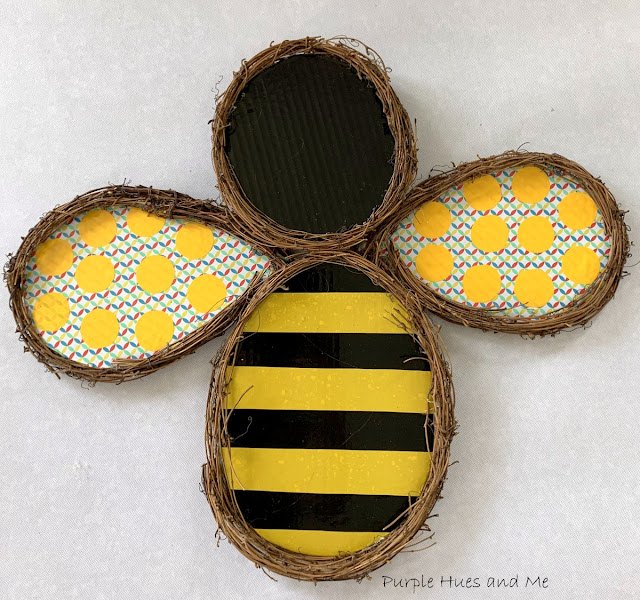
Here, I'm trying out placement of yellow stripes to the body.
I love that the vinyl paper has an adhesive backing. That certainly saves a lot of time and energy! Lol!
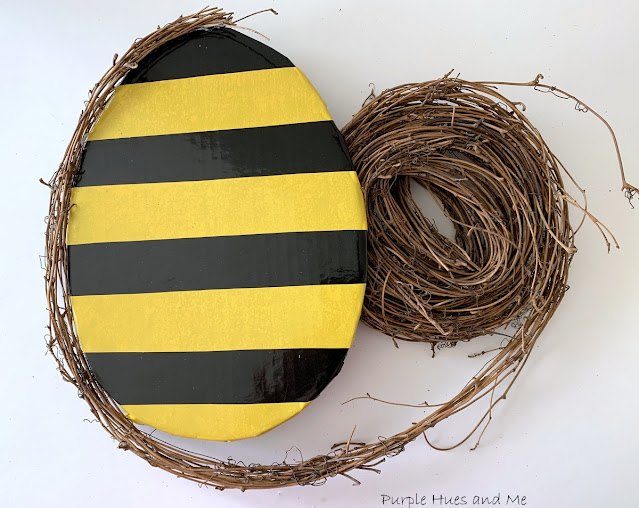
I started adding the grapevine garland to the top of body and adding hot glue on the edges as I applied the vine around the body.
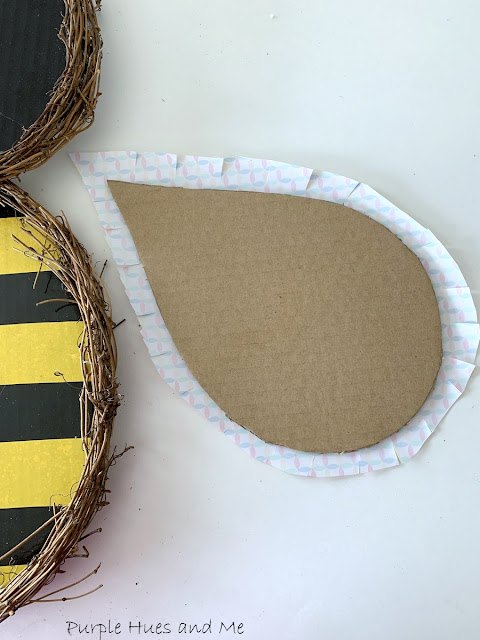
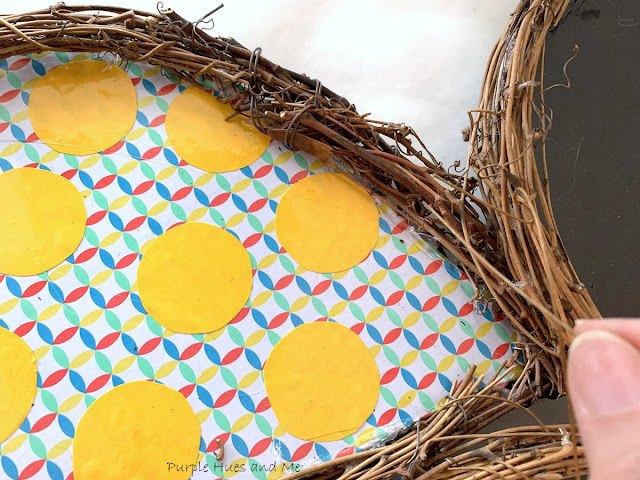
Applying vinyl to the wings . . .
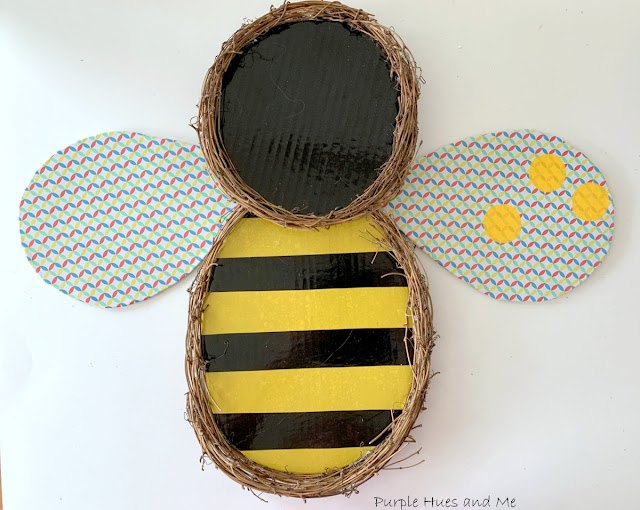
and seeing how the wings would look with yellow dots.
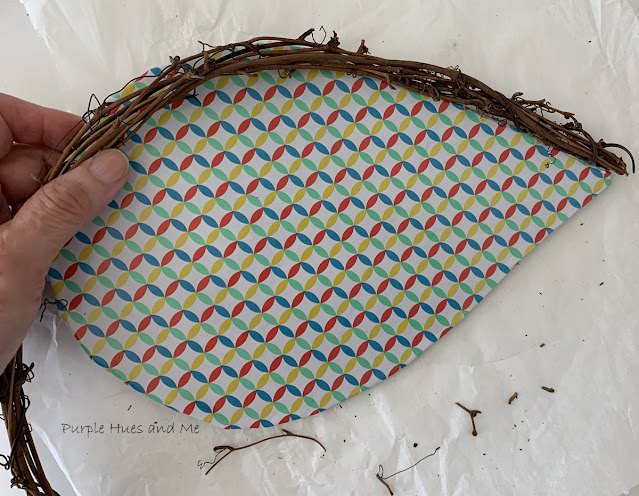
And then adding the garland to the wings
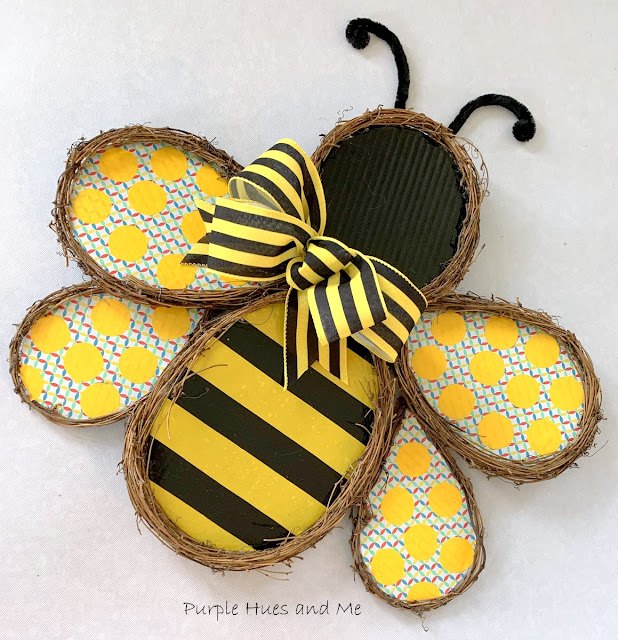
Once all the parts were wrapped in grapevine garland - most of the 15ft. roll was used - the bumble bee was put together using thin floral stem wire that matched perfectly with the garland, to secure all the pieces together. Glue could not provide any type of stability for holding the entire piece together.
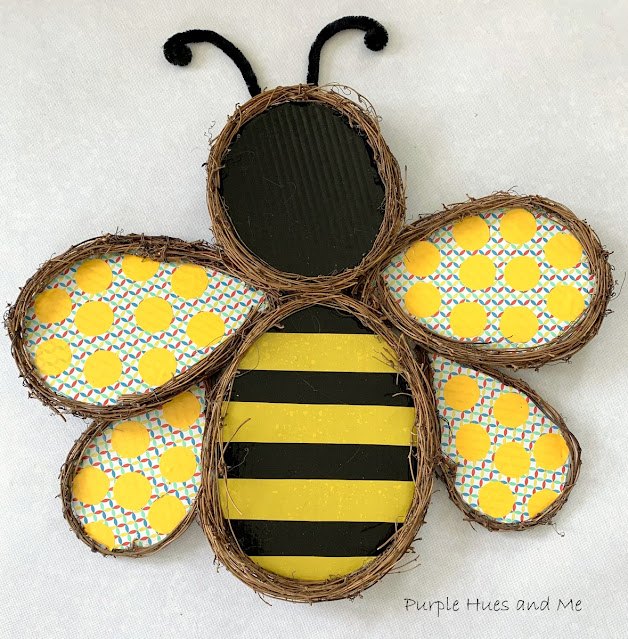
And finally, added chenille stems for the antennae to the head.
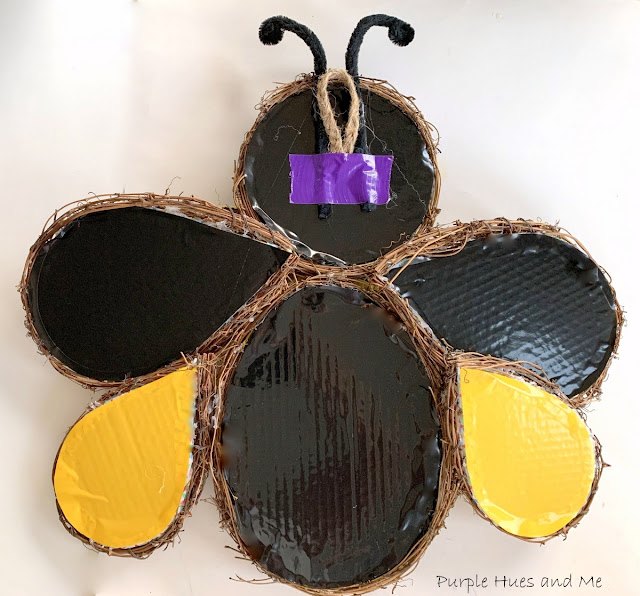
This is how the backside looks with a braided jute hanger that was glued and then sealed with duct tape. I love that the vinyl paper is water resistant, too!
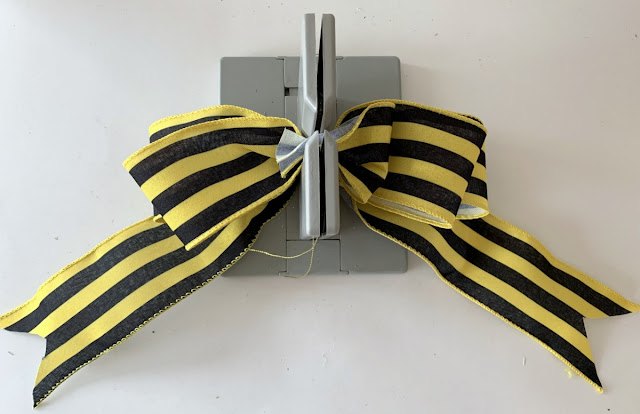
Made a bow using the Bowdabra - bow making tool!

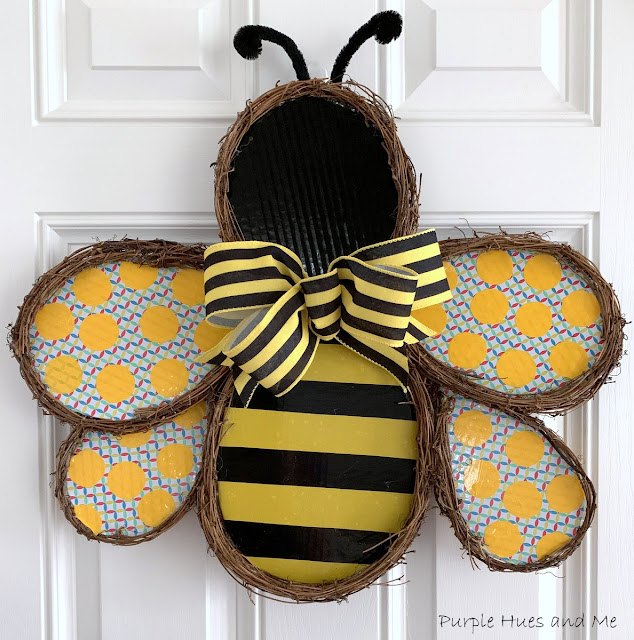
Everything looks better with a bow! Super cute!
This adorable eye-catching bumblebee is perfect for anywhere in your home or front door!
Resources for this project:
See all materials


Comments
Join the conversation
-
This is so adorable
-
SO cute! Love it! Thanx for sharing!


Frequently asked questions
Have a question about this project?
I am not sure how you put the parts together. You used floral wire but how did you insert the wire?
You left out a very important part. How did you place the floral wire to hold the bee together? Did you push the wire through the cardboard? More info please.
By wrapping the cardboard, would it be able to sustain outside weather?