


Easy DIY Gold Leaf Picture Frame
Here is an easy DIY gold leaf picture frame how-to, that will make your artwork look fabulous hanging on your walls! High end, low budget.
Do you have a canvas print, or a piece of art that needs a frame? Then look no further than this fabulous and very easy DIY!
A few years ago I was shopping one of my favorite consignment shops. It’s one of those gem shops where each time I visit, I inevitably come home with a found treasure. I’m not sure if that’s a good thing or a bad thing, but this store always has the best stuff, whether I come hone with a copper pot or two, a fabulous chartreuse velvet chair for Caroline’s room, or a tricked out painting on canvas of my favorite jazz musician, Billie Holiday.
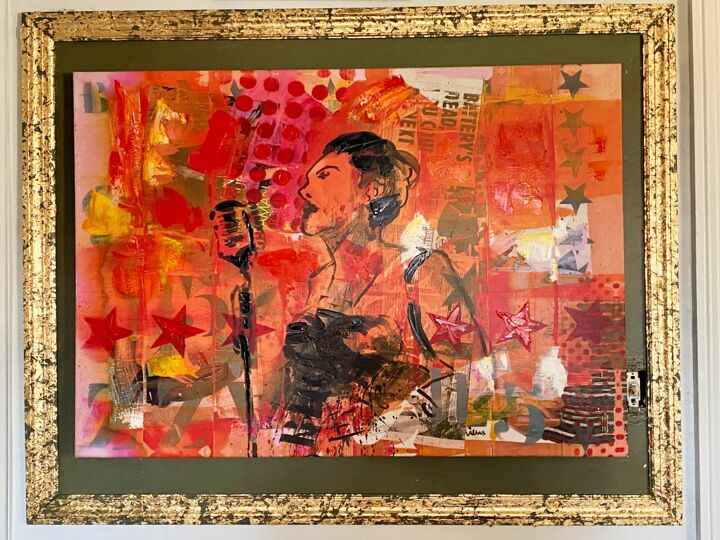
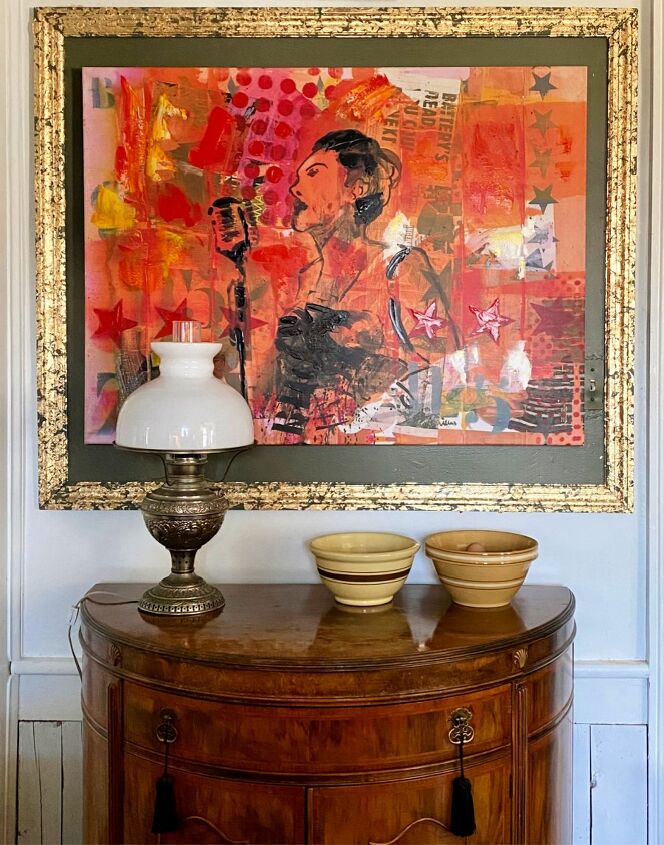
I scooped this painting up for a mere $20. The sight of it stopped me in my tracks. The colors, the intensity, and the moment captured here took me straight to that jazz night club. As a bonus, the girl that painted it was behind the check out desk. She was working at the consignment shop part time to earn spending money while she was in college. She spoke about it so nonchalantly, and I could only be grateful that her laissez faire was totally my gain.
The woman in the painting looked to me like Billie Holiday, who happens to be one of my favorite jazz musicians of all time. And, after only a click or two on google, I was correct. This painting was inspired from a photo of Billie while singing All Of Me. She’s only reversed, but the details from the photo are very evident in the painting.

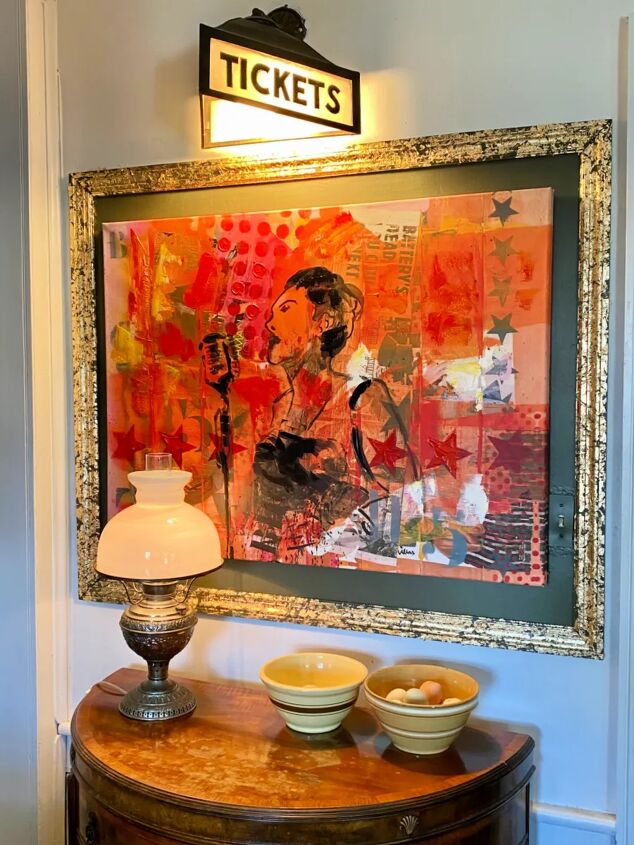
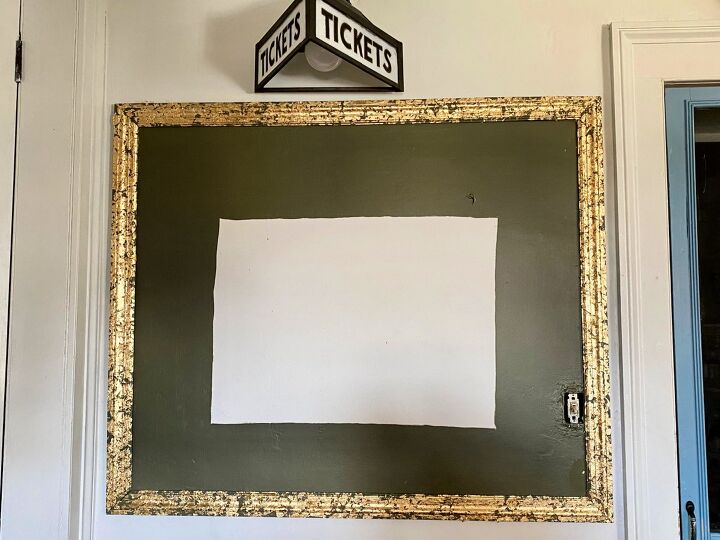
She has been hanging under the TICKETS light in our kitchen since I brought her home, and I’ve toyed with so many ideas how to truly show off the canvas. She needed so much more than to just be hung on the wall; she needed some va-va-voom. I felt that this night captured Billie singing All Of Me needed all of our attention. She needed more than just a simple frame. She needed the glamour and all the feels of this specific night, right here in our kitchen.
For a couple days, I thought I wanted to install antiqued mirror tiles behind her. Would be gorgeous, indeed, but costly and too much of a commitment. And too, almost seemed a smidge trendy. I wanted low cost and high FAB for the name of the game here. But then, after brainstorming with a couple of my besties, we decided that I needed to gold leaf a custom frame, and paint a faux mat around the canvas.
And that’s exactly what I did.
Easy DIY Gold Leaf Picture Frame
For this easy DIY project, the supply list is short, and there’s a great quick tip included.
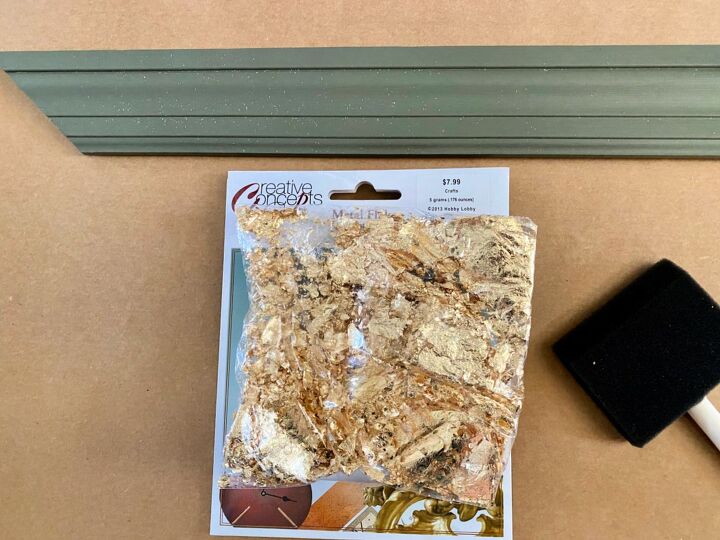
First, start off by shopping the molding section of the hardware store. I knew for this canvas, I needed to find the Goldie Locks of width – not too skinny, not too wide. I chose this one.
To apply the gold leaf, I kept things really simple. I used gold leaf pieces rather than sheets; modge podge rather than specialty gold leaf adhesive, and an inexpensive foam brush rather than a special gold leafing brush. And, the best tip here – have a sample size mixed for the paint color rather than commit to buying a quart; because really, there’s no need for a lot of extra leftovers here.
All in, this custom gold leaf frame project cost me less than $40.
Here’s How
Measure the canvas and decide the framing circumference you would like.

Cut the frame to desired size. Cut the ends of the molding on the 45 degree angle to join the corners perfect. Paint each of the four pieces of molding the same color as you’re painting the mat.
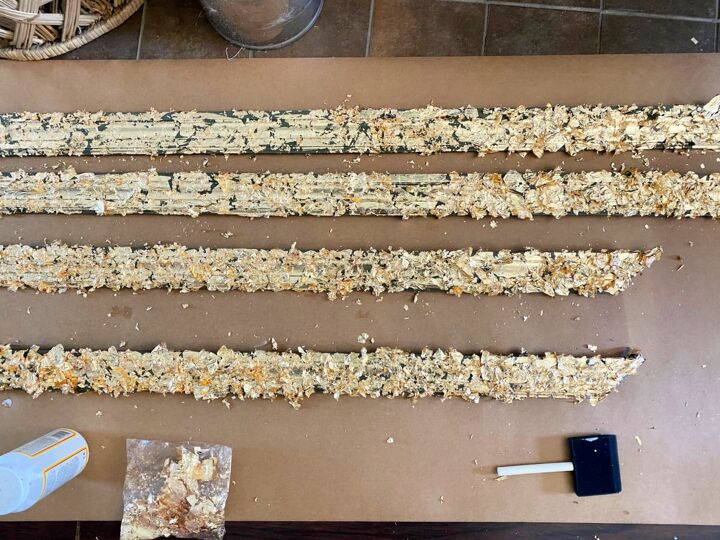
Tape off the area where the frame will be, and paint from the edge and moving toward the center.
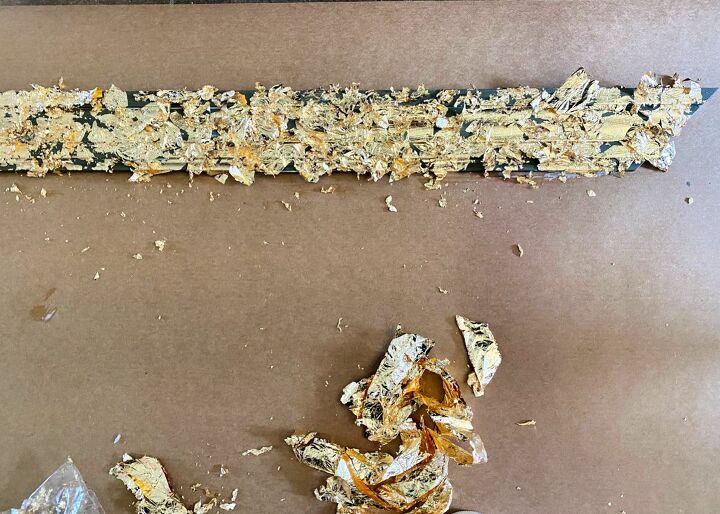
Once the paint as dried on the molding, now it’s time to gold leaf. Working in 10 inch increments, paint on the modge podge with a small paint brush.
Using two fingers, pinch off small amounts of gold leaf and apply to the modge-podge surface, tapping down to adhere. Keep moving in 10 inch increments.
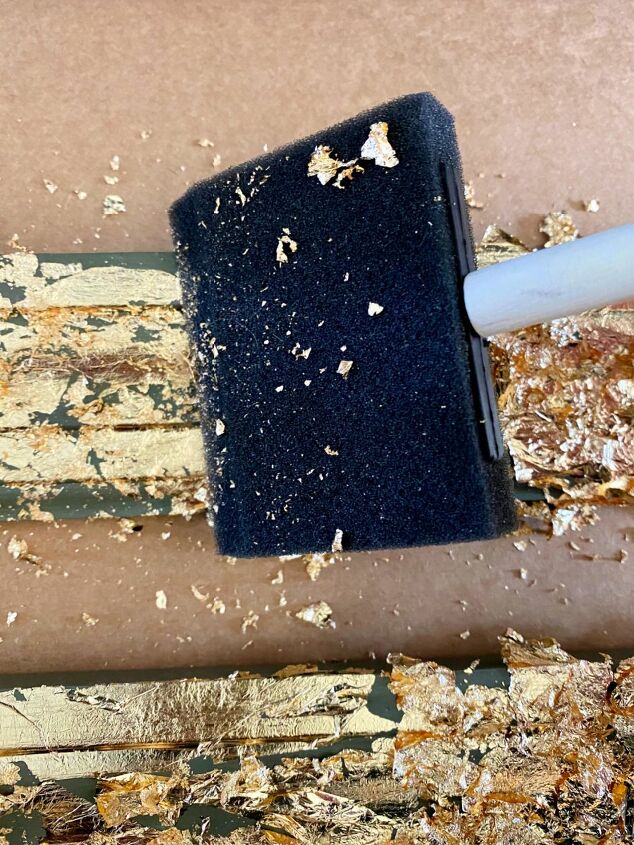
Once the modge podge has dried and the gold leaf is adhered, take the foam brush and lightly brush along gold leafed surface. Make sure plenty of gold leaf stays adhered, creating almost a vintage-y look. Save all of the extra gold flakes for another use. From here, let dry completely.
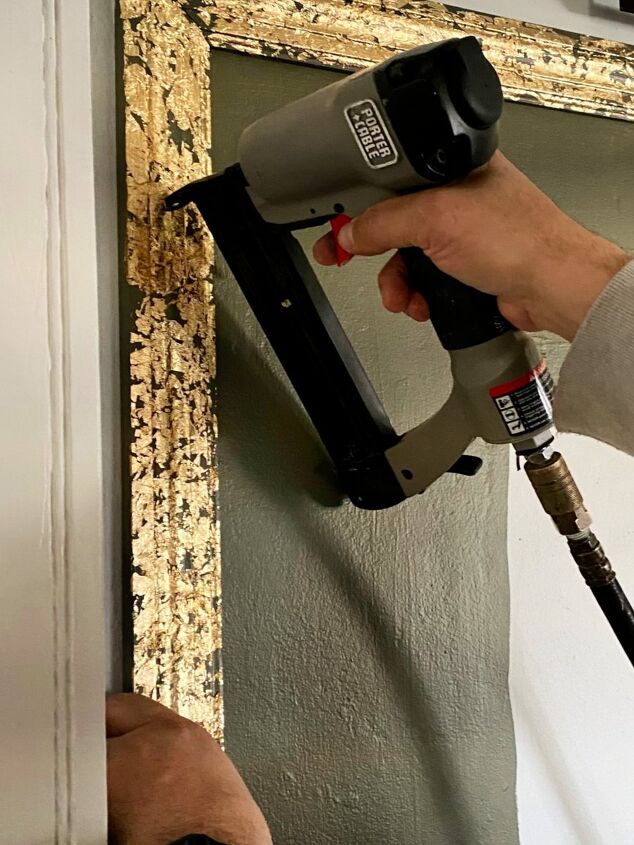
Tack or nail the gold leafed molding along the edge of the painted mat surface. Measure out, centering the canvas along all sides, and then hang. All in, this project took about 3 hours.

The majority of our artwork around the 1820 is geared around show business, but I have to say that this painting is one of my favorites. Now that it’s showcased in such a glamorous way, it certainly ups the ante on our farmhouse kitchen design and decor. It’s these low budget, yet high end, high impact DIY projects where my entire Farmhouse 1820 mission is geared around. And, it’s DIY projects like this one that are my favorite to share with my readers. I hope this gold leaf frame how-to has inspired you to show off and showcase your artwork. It’s easy, affordable, and the result is certainly high end.
I have more artwork quick tips too! This one is a must to protect your art from the sun’s UV rays!


Comments
Join the conversation
-
This is a very good idea, super thanks for the share!
-
Great job, and love the background story


Frequently asked questions
Have a question about this project?
Did you put a plate on the light switch or just paint the switch?