


How to Upcycle and Modernize Thrift Store Art
Want to learn how to upcycle thrift store art using spray paint?
I’m going to show you how easy it is to turn some blah art into a statement piece with the paint dipped look.
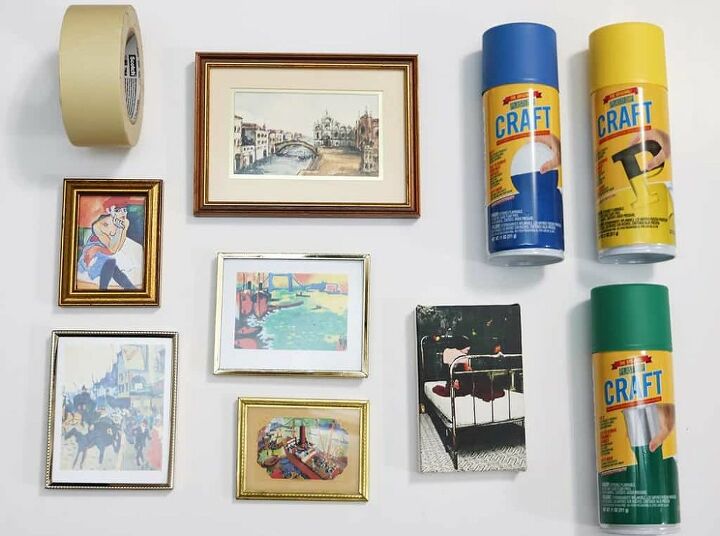
Gather your supplies.Thrift store framed or canvas art Plasti Dip Craft in your favorite colorsMasking tapeUtility knife (or similar)
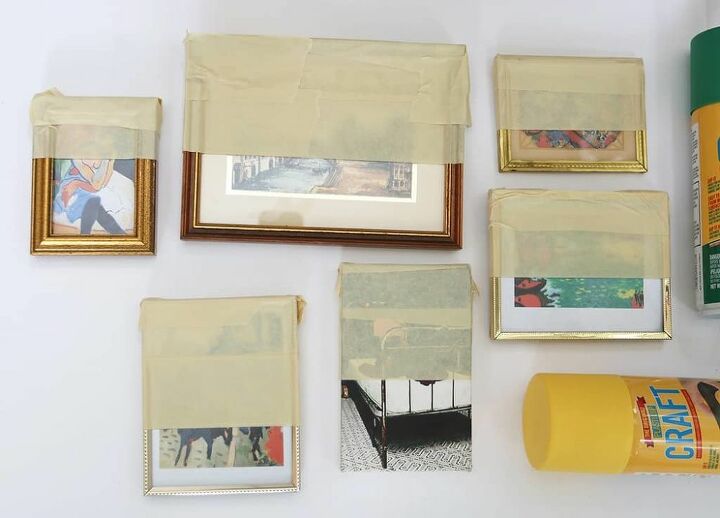
Using your masking tape, cover each piece of art leaving only the area you want to be covered in Plasti Dip Craft exposed.Make sure the tape is firmly pressed against the art to ensure a crisp line.
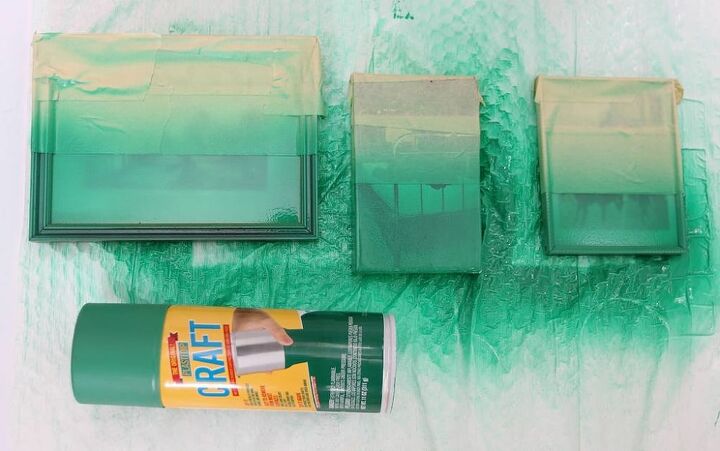
Decide which colors of spray paint you want to use on each art piece and group them together for painting.I think it’s easiest to spray the same groups together at the same time. You’ll want to apply 3-4 coats. Repeat these steps with all colors and allow 4 hours of drying time.You’ll want to spray in a well-ventilated area area and wait at least 30 minutes between coats.
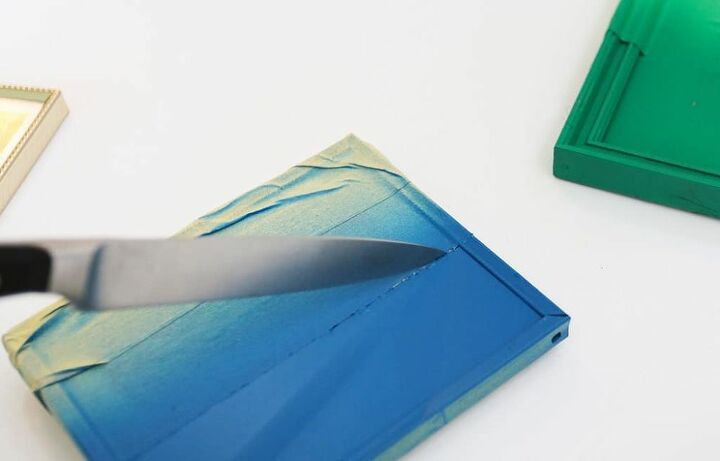
Once dry, you’ll want to take a utility knife and lightly trace the masking tape edge for easier peeling. I went over the tape 2-3 times to ensure the paint line would be clean.This is a must because of the stretchiness of the Plasti Dip Craft. If you skip this step the tape would peel the paint off of your art.If you're using regular spray paint you can ignore this step.
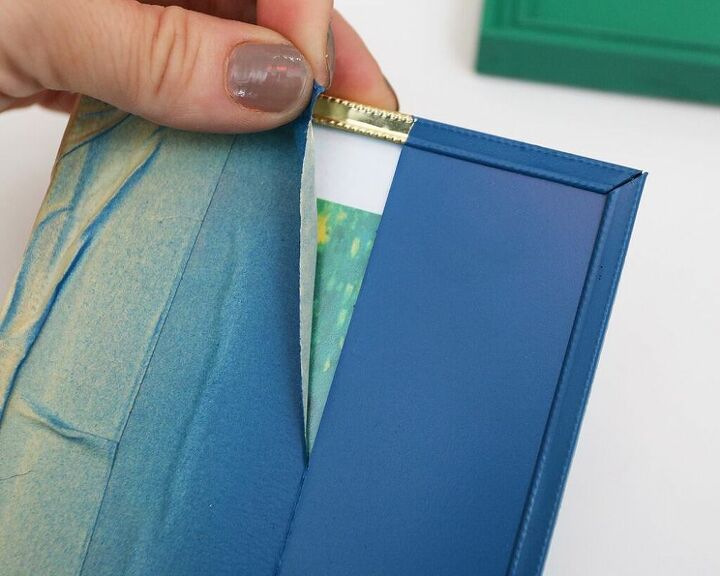
Slowly and carefully peel the tape away to reveal a nice, clean line. You can use your free hand to hold the paint edge down as you peel for extra security.
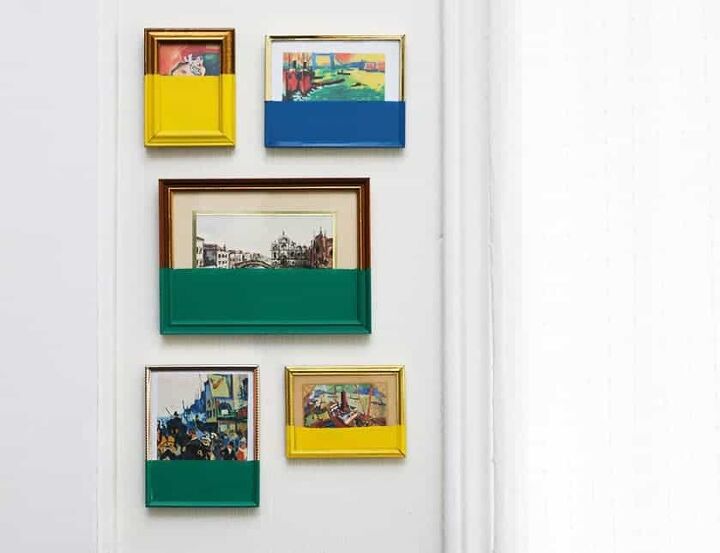
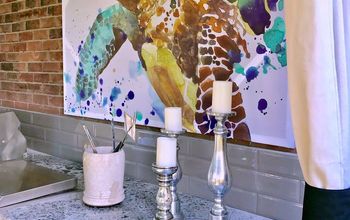
Repeat this step on all of your frames and canvases and that’s it, you have your very own upcycled thrift store art!I hung my art frames in a gallery wall grouping in my home office nook.

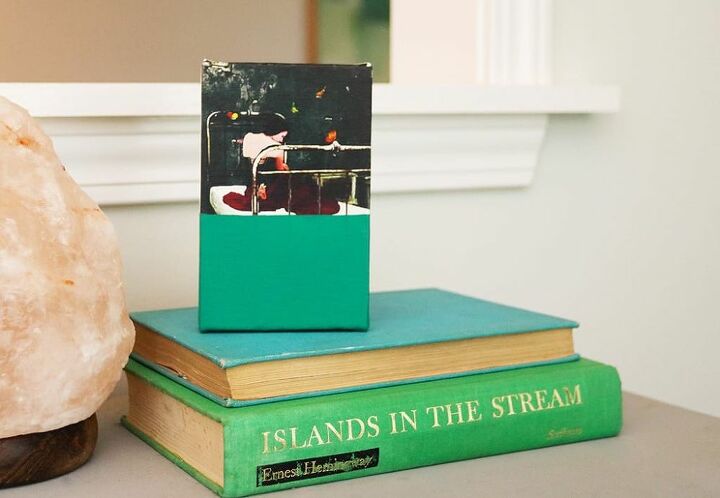
And I found a home for the canvas stacked on some vintage books next to my salt lamp.I love how unique these pieces are now and how well they tie into my decor! I told you it’s easy to upcycle thrift store art!
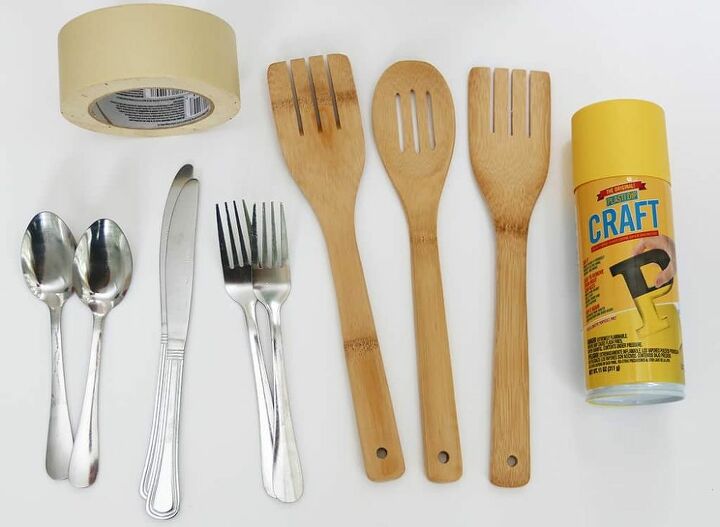
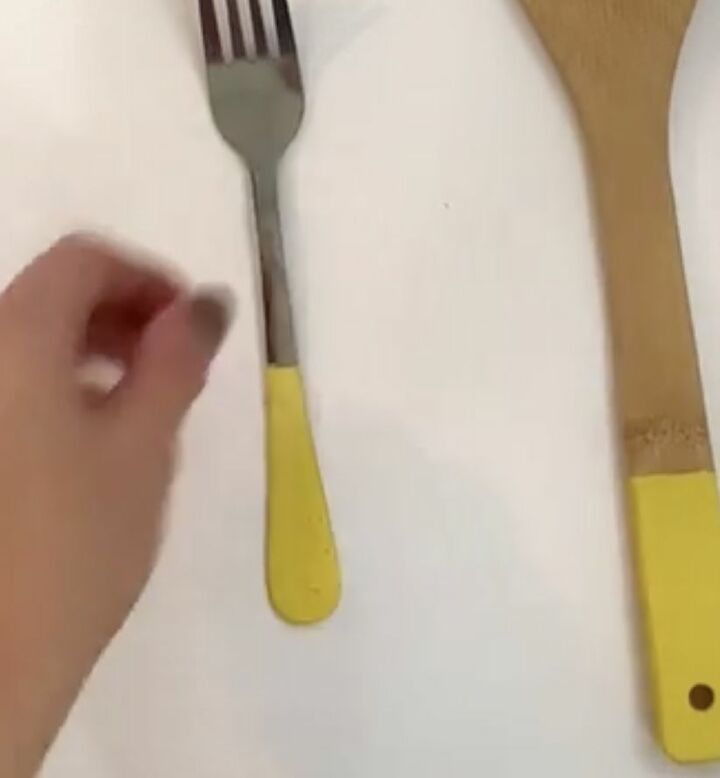
Upcycling art not your thing?I have another easy idea for you—rubber grip paint dipped kitchen utensils using Plasti Dip Craft.The only supplies you need for this project are:Aluminium foil Plasti Dip CraftWooden kitchen spoons from a dollar storeSilver wear from a dollar storeMasking tapeUtility knife (or similar)
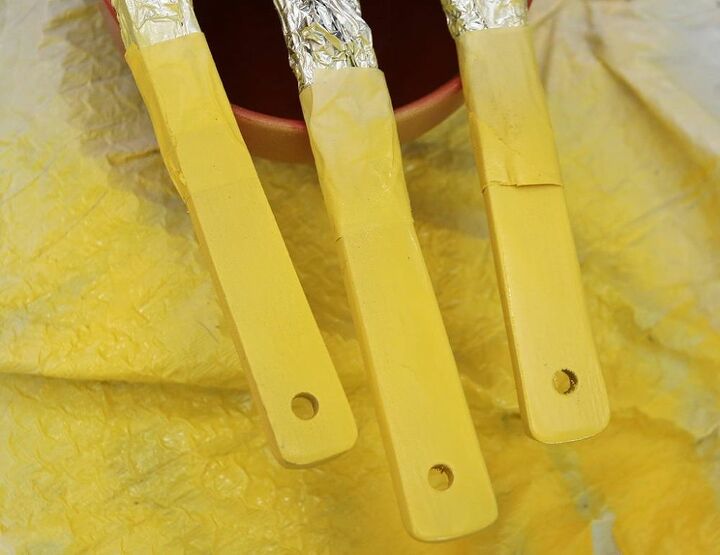
Wrap the foil around the sections of the utensils that will be touching your food (since Plasti Dip Craft is obviously not something you want to eat), then tape off the edge with your masking tape.

Spray 3-4 coats of Plasti Dip Craft and wait 4 hours for them to dry.I found it worked best to spray the utensils while they were elevated on something so they wouldn’t touch the drop cloth, which would peel the Plasti Dip away from the handles when dry.
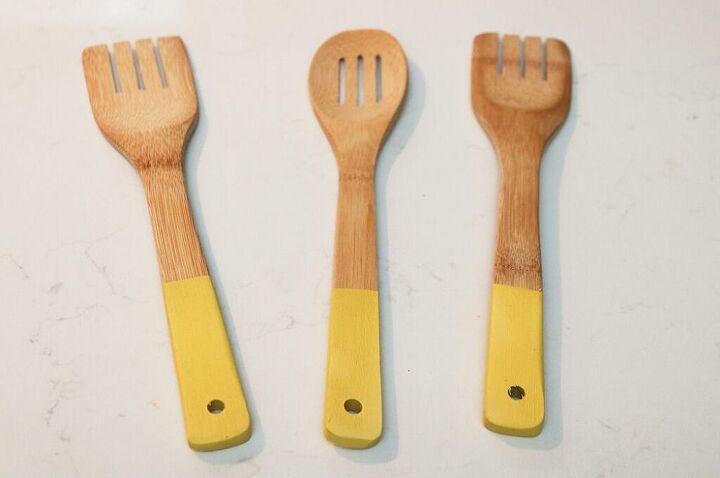
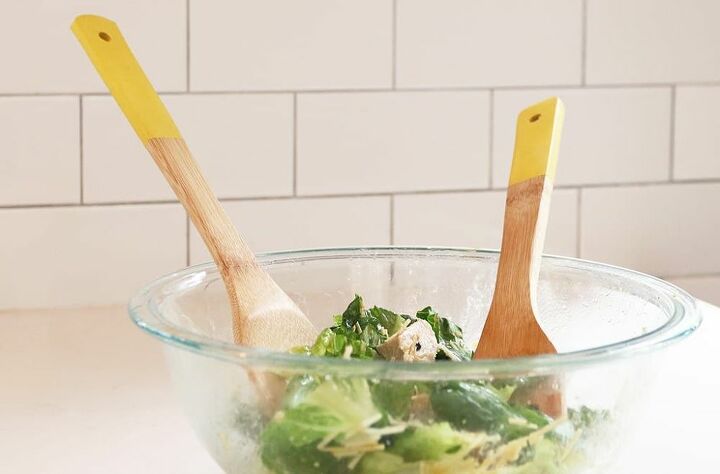
Once completely dry, take your knife and draw a light line along the tape just as you did with your art in the project above.Peel the tape and foil away and you have a cute set of utensils with a rubber grip AND in a cute paint dipped look!
What do you think? Plasti Dip Craft is pretty amazing, huh? I can’t wait to use it for more DIY craft projects around the house. I have so many ideas!


Comments
Join the conversation
-
Thanks for the interesting ideas. I have never heard of plasti-dip before and now I think it would be a fun crafting option. Thanks for sharing!
-
It's pretty cool! I love the plastic feel to it :)


Frequently asked questions
Have a question about this project?
I don’t understand the point of taping and painting. How is this up cycling?
I can only locate the plasti dip craft paint in one place in white?
What happened to the metal flatware?