


Faux Cowhide Rug
Today I want to show you how easy it is to make a high-end-looking DIY faux cowhide rug.
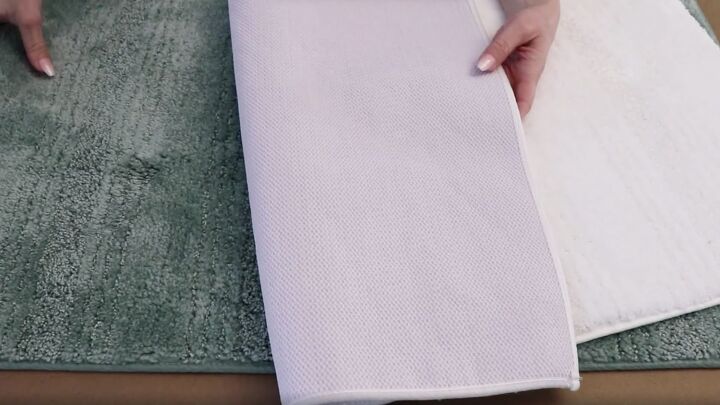
To make the DIY cowhide rug I grabbed two rugs in different colors.
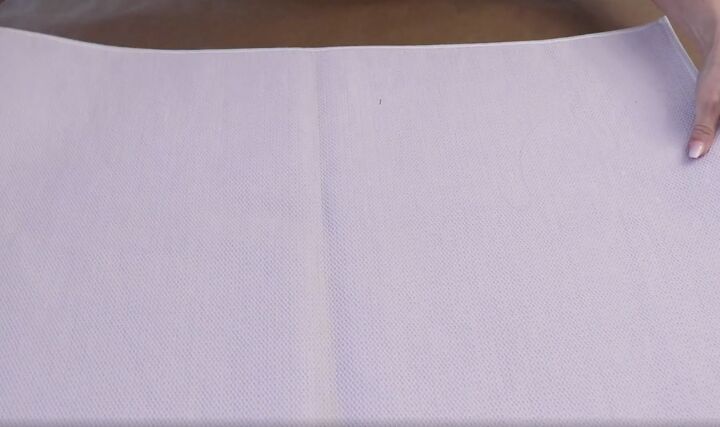
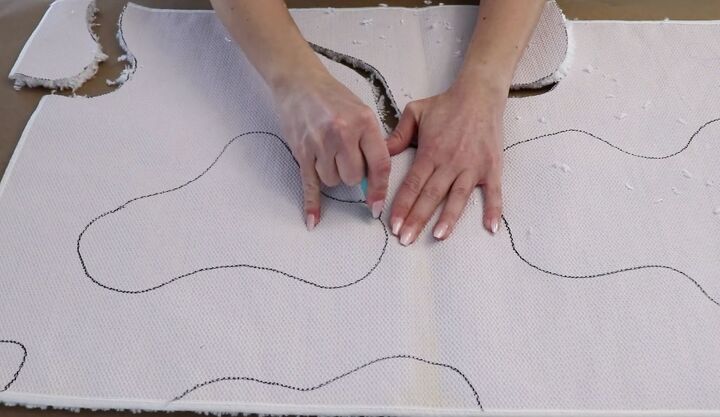
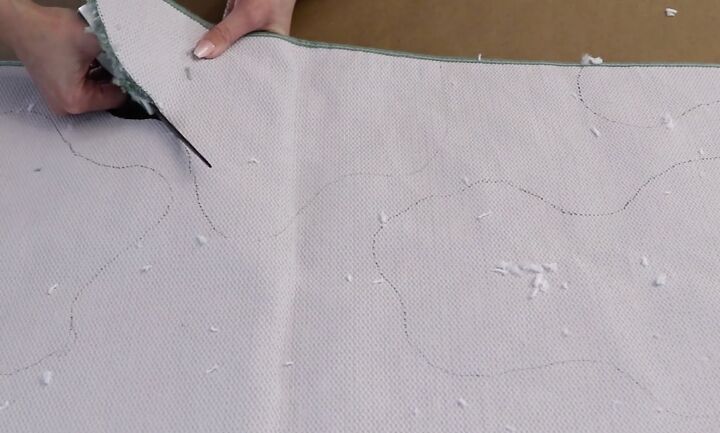
The white rug is going to be my base. I started by flipping it over,
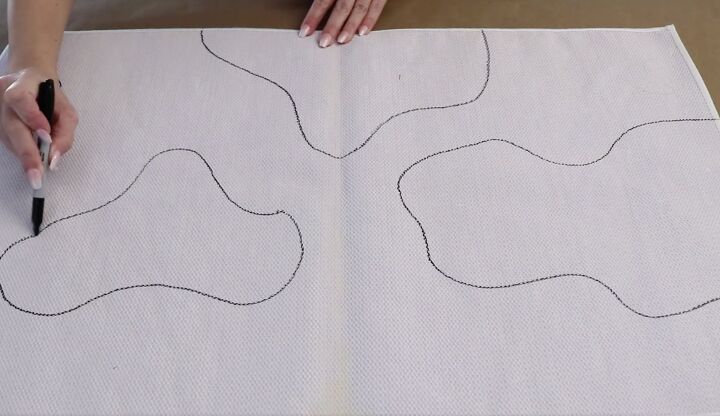
and then with a Sharpie, I drew some cow spots on the back.
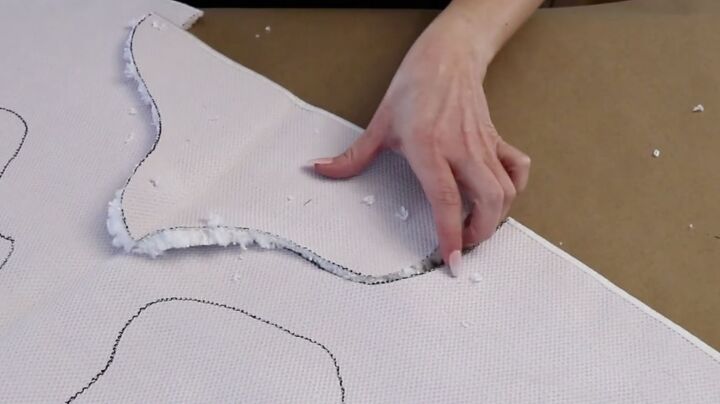
Then I carefully cut out each of the spots with some scissors. I wanted to preserve the base of the rug as that is what I was going to use for the project.
For the spots in the middle of the rug, I used a straight-edged knife to start the cut so that I could get nice clean cuts.
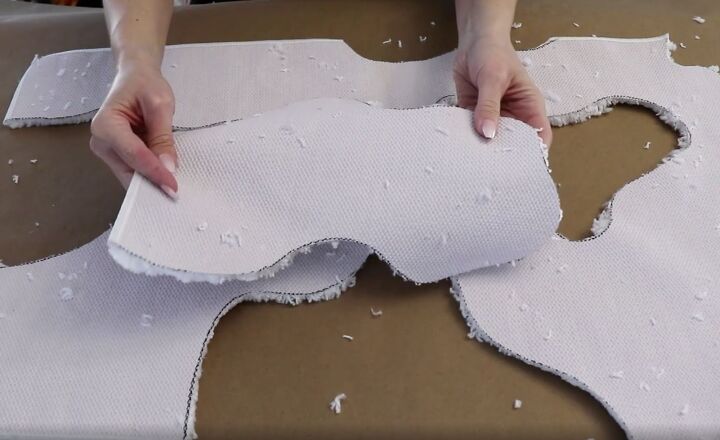
Once all the spots are cut out, I can put those aside. This white base is what I need as it is going to be the base of the rug.
Now it was time to move on to the teal rug. I started by placing it upside down and I grabbed the white spots and laid them out.
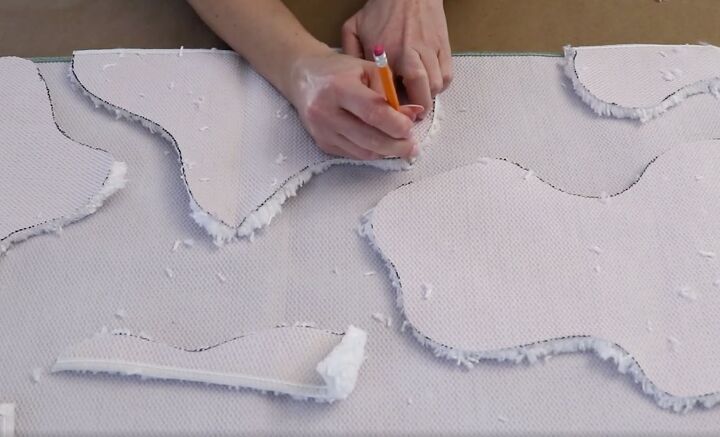
I then traced the white spots onto the teal
and cut them out. For this part of the project, I didn't need to save the outside of this rug so I didn’t need to be as careful. It's a little bit easier to cut everything out this time.
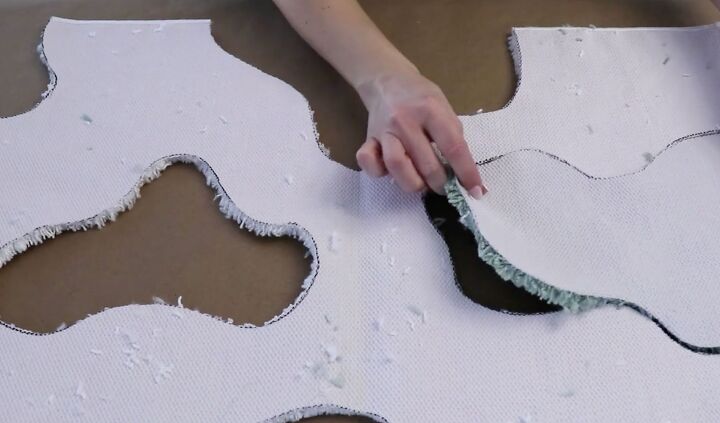
Once I had all of the teal spots cut out, it was time to put everything together. I laid the white base down with the backing up and then fit the teal spots in where they went like a puzzle.
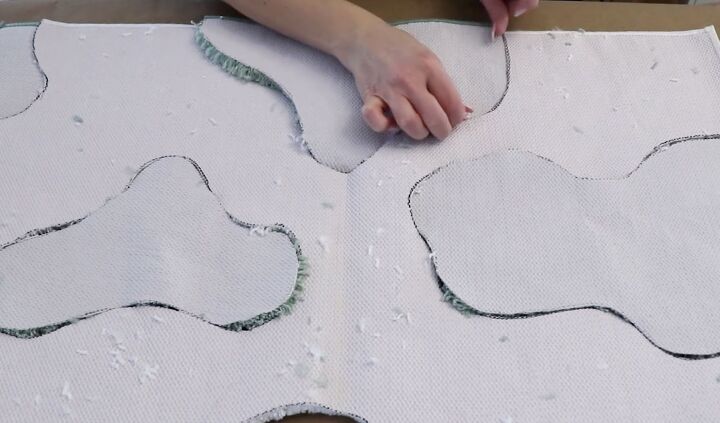
It's important to make sure all the little fibers of the rug are pushed down and not sticking up through the back. This will give it a nice full look on the front.
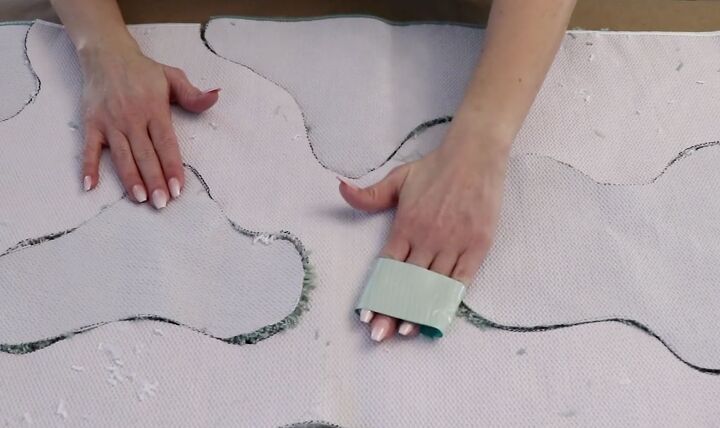
After it all fit together, I grabbed a piece of duct tape and used it to remove any loose pieces.
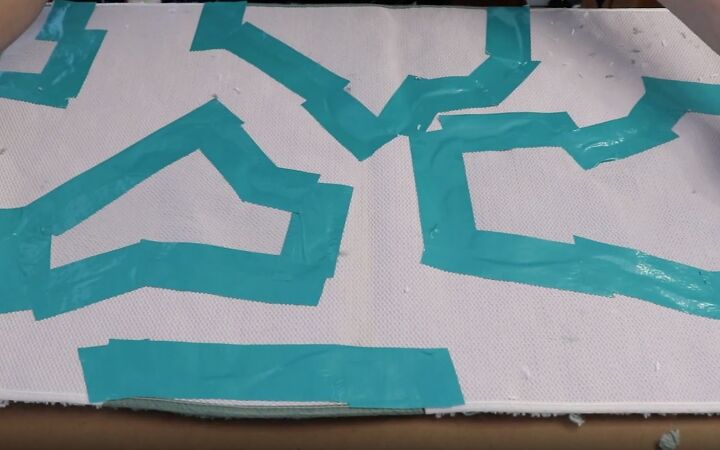
Now that I had a nice clean surface, I used a generous amount of duct tape and secured the spots into their places.
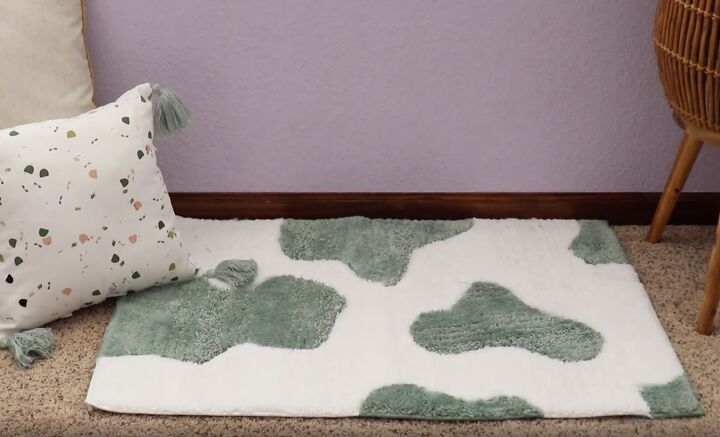
That was it! The rug was finished. Once I flipped it over I fluffed up all of the fibers and then placed my new DIY faux cowhide rug in my home. It has the look of a high-end cowhide rug and my daughter loves it!


Comments
Join the conversation
-
GREAT IDEA!!!!
-
Love it. Wonderful and creative idea. Looks awesome


Frequently asked questions
Have a question about this project?
It looks very nice! How will you ever be able to vacuum it without it coming apart? Duck tape is a temporary hold but it should be glued down for a permanent hold.