


How to Paint a Linoleum Floor

Do you have old flooring you want to update, but don't have the budget for it? This very budget friendly upgrade is so easy to do! I've done it on concrete, vinyl tile and linoleum and it is all holding up so well. The most common question about it I get is, how durable is it? We have one painted floor that is now over 6 months old and it looks the same as the day we painted it!
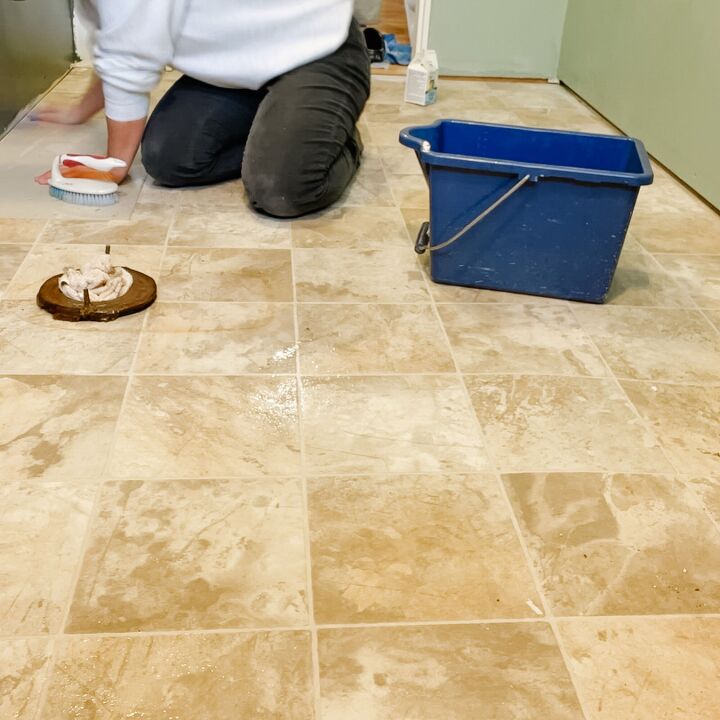
The first step is to clean your floor. Cleaning is very important and you want to spend extra time to make sure it is very clean, so the paint has the best chance to adhere to the flooring properly.
I scrubbed the floor with a brush and TSP in water. Mop clean after and let dry.
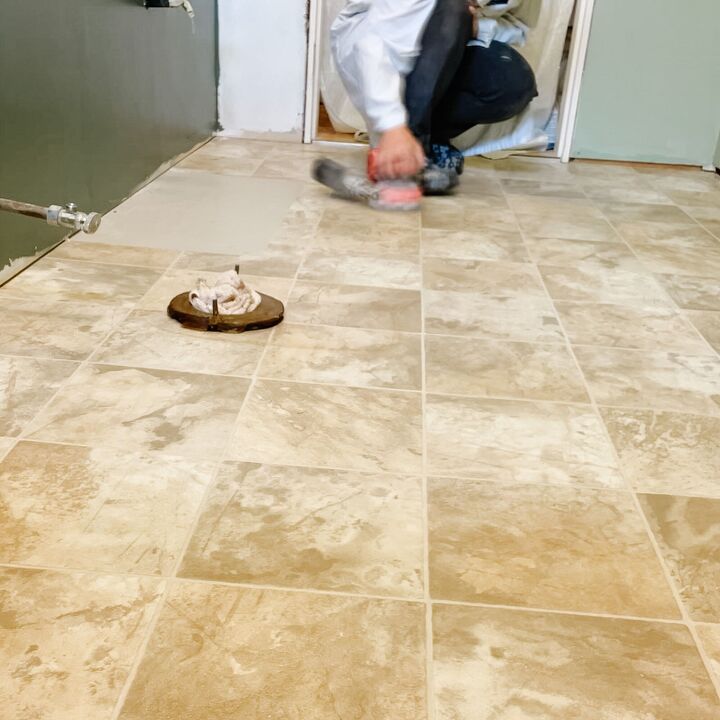
Sand floor with 80-100 grit sandpaper using an orbital sander. You could hand sand if you don't have a sander, but it is important to sand. Sanding roughs up the surface which gives more surface area for the paint to stick to.
After sanding, mop clean again. Let dry.
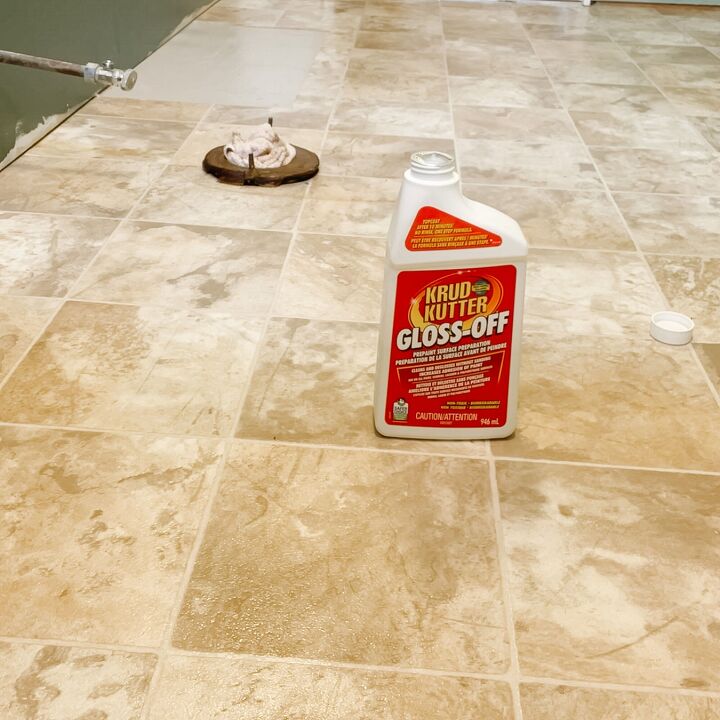
Use Krud Kutter Gloss Off - follow directions on the bottle. Let dry.

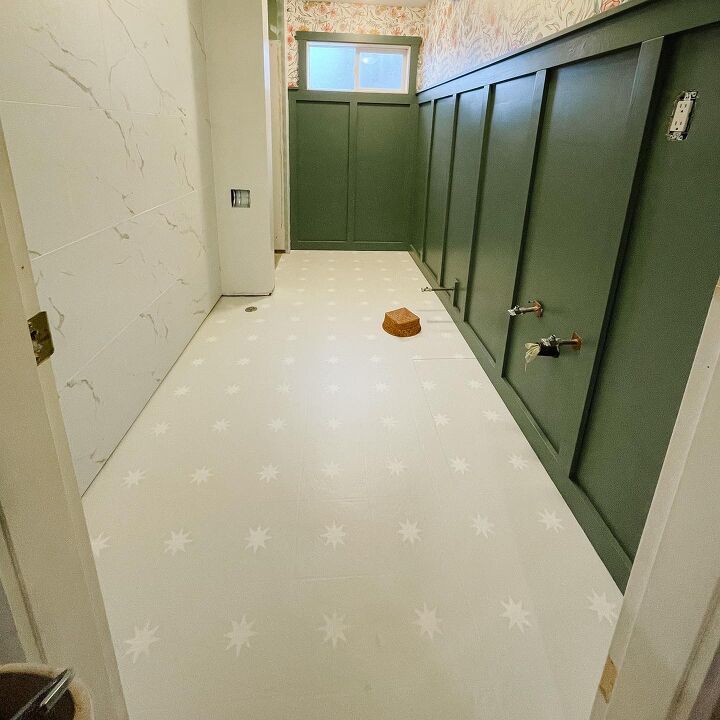
Paint the floor using a brush on the edges and roller for the rest. I used Rustoleum Home Floor Coating. It is a 2 step process. For this room I used the Steam Grey and added a bit of black latex paint to darken it a bit more.
Let dry.
I did a second coat of the base on both floors I've done. The paint instructions don't call for it, but I felt like it needed another coat.
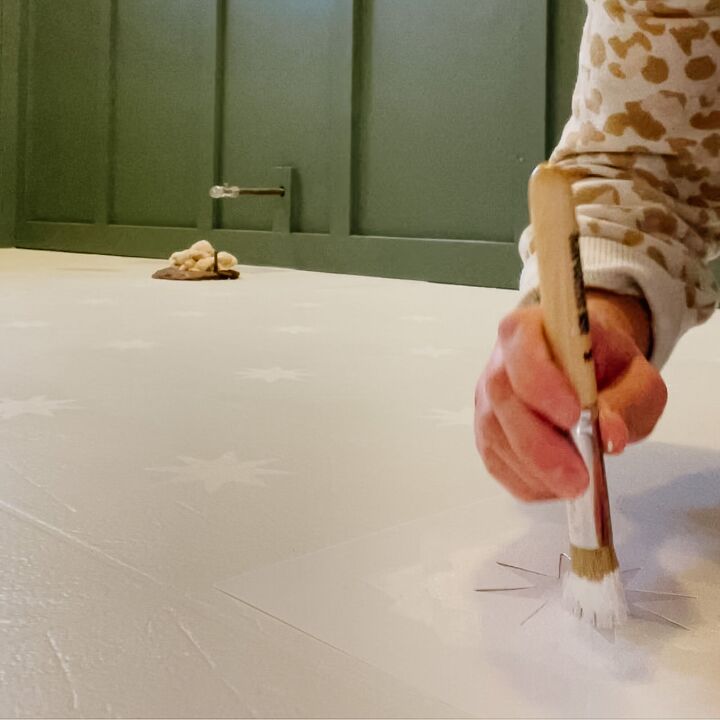
Using your favourite Cutting Edge Stencil, place it in the desired location. I used the Lone Star Tile and it fit perfectly within the linoleum squares. If you were to do this particular stencil on a floor that didn't have square tiles, It would be harder to line it up perfectly. The other stencils you can get from Cutting Edge come with an overlap in the corner.
For this one, I used a stencil brush, and dapped the brush straight up and down. You want very minimal paint on the brush, it doesn't take much!
You can tape the stencil down, but for this one I did not. It really was quick and easy!
The white paint is Rustoleum Home Floor Coating, but you can also use latex paint for the design part.
Let dry.
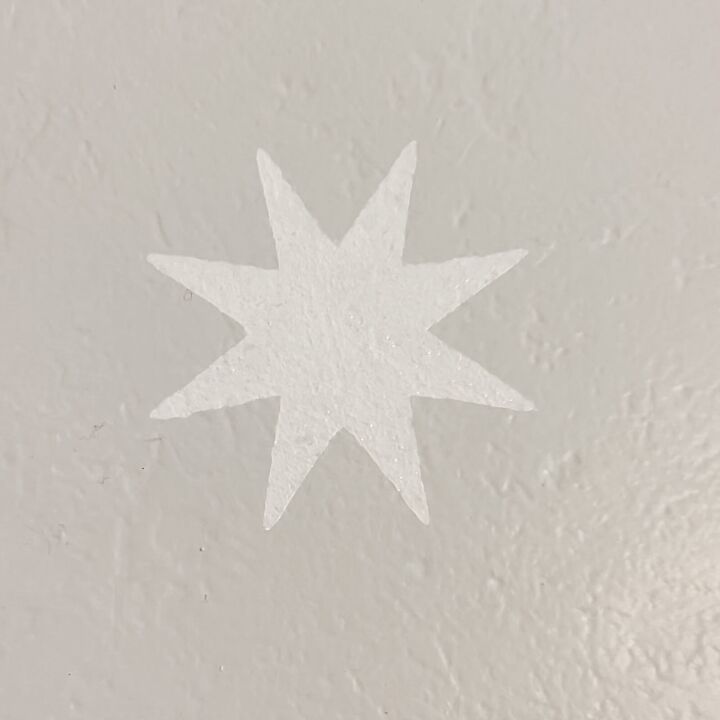
Here's a close up right after I took the stencil off. No touch ups at all and no bleeding! It does take practice, but it is possible!
Use the same method (brush for edges and roller for middle) to apply the top coat. This is step 2 in the Rustoleum Home Floor Coating. I used clear in Matte. The instructions said to do one top coat, but I did two :)
I had a lot going on in this room so I was happy to have a more subtle floor! I love how it turned out, how about you? Would you give stencilling a try?
Follow our daily DIYs on Instagram @sewbrightcreations


Comments
Join the conversation
-
Going to do this today,love painting things you people rock !!!
-
Looks beautiful, love the subtle design; thanks for the clear instructions!


Frequently asked questions
Have a question about this project?
I've got some brand new vinyl flooring with hexagon shapes in, I was thinking to paint some cream hexagonal mandalas on them. Would I still need to sand the floor? Would seem like sabotage if I were to spoil them. They're a wood effect so just wanted to add a pattern.
What do you think? Could I just get away with stencilling straight on and then using a top coat?