


How to Refinish a Vintage Desk--BEFORE and AFTER
Sign up here to join our weekly email newsletter!
Please watch the video for full details!
This vintage furniture had been relegated to the garage when the chair fell apart and the desk was in need of refinishing.
There the pieces sat, for years, gathering dust and mildew as well as additional scratches and damage. At some point, I started to refinish the chair but stopped.

This was the first piece of vintage furniture I ever purchased so it was a sentimental piece that I really wanted to refinish and repair to use again.
My goal was to refinish and NOT to paint and especially not to chalk paint the piece as that type of finish would not be keeping with the style and age of the piece.
I somewhat succeeded in my goal!
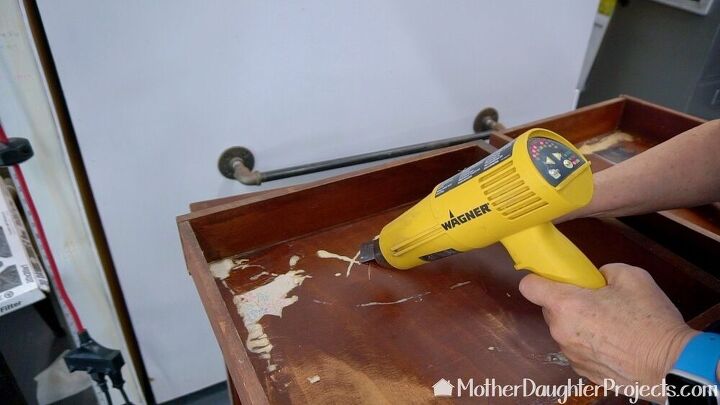
The first step was to remove the old finish inside and out. I started out simple by removing the old wallpaper that lined the two drawers. Heating with a heat gun proved to be slow but effective.
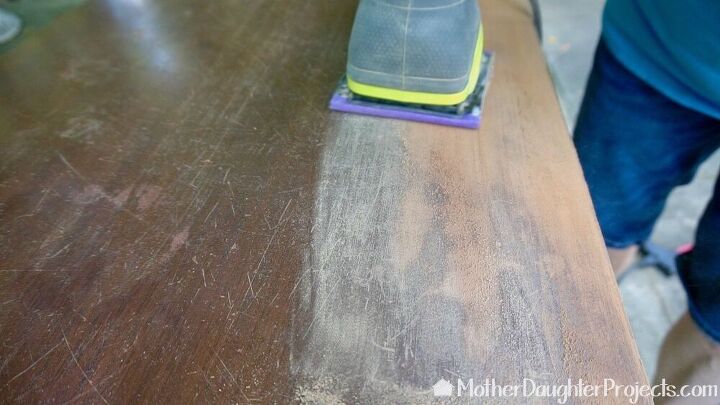
I used a variety of methods to remove the finish including sanding, chemical stripper, and scraping. Sanding was very effective on the flat surfaces but not on the decorative trim. The bead trim was tediously hand sanded as well as trying a chemical stripper. I will say, the chemical stripper I used was NOT a good choice for this project.
It didn't remove the finish but did create a gloppy, gunky mess to clean up!
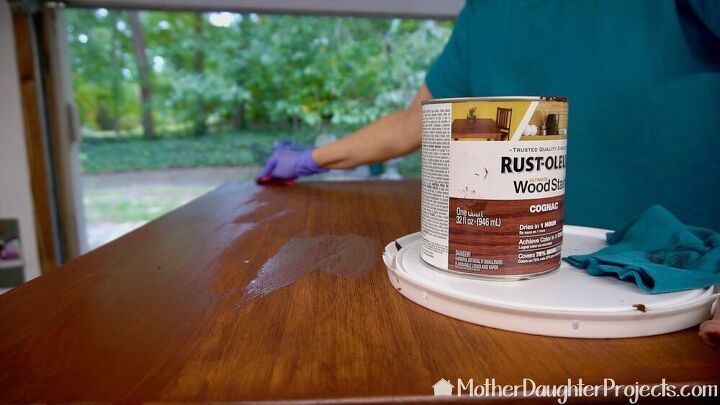
Once the finished was removed, it was apparent the desk and chair had been constructed with different species of wood. At this point, I wasn't sure stain would bring it all together.
This stain did a great job covering all the color variations in the wood. The biggest problem with the stain was the days and days of humid weather we had after staining. It probably took a week for the stain to fully dry! Tip: stain when no rain is in the forecast.
The chair was a MESS! Everything needed to be reglued so I had to actually take the bottom of the chair apart. It came apart easily enough but putting it back together was another story. Tip: use long clamps to pull the chair joints back into position after gluing and allow to dry. This method absolutely worked.
As you can see, the chair did get a coat of spray paint. The wood on the chair was beyond salvaging so painting was the only option.
The chair got reupholstered in an amazing vintage piece of needlework.
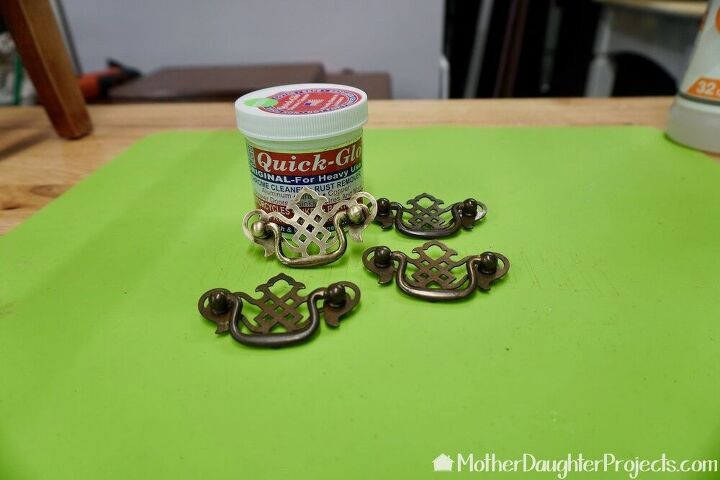
The brass hardware cleaned up beautifully with Quick-Glo.
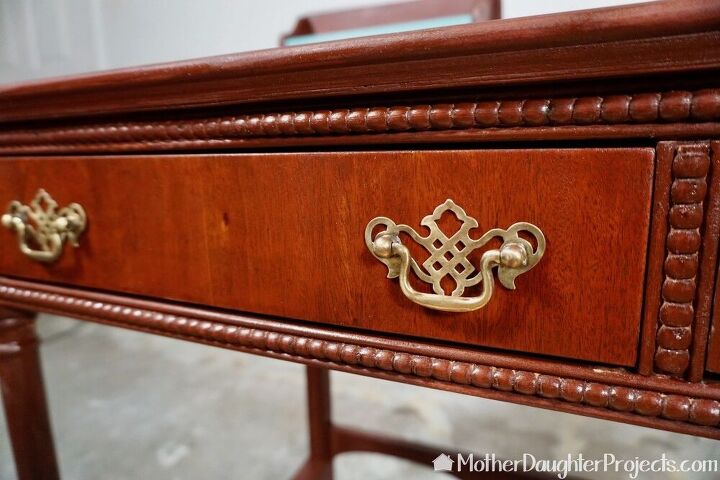
The hardware put back in place. There is a surprise inside the drawers that you can see in the video or in the original post on our website. It was fun to do.
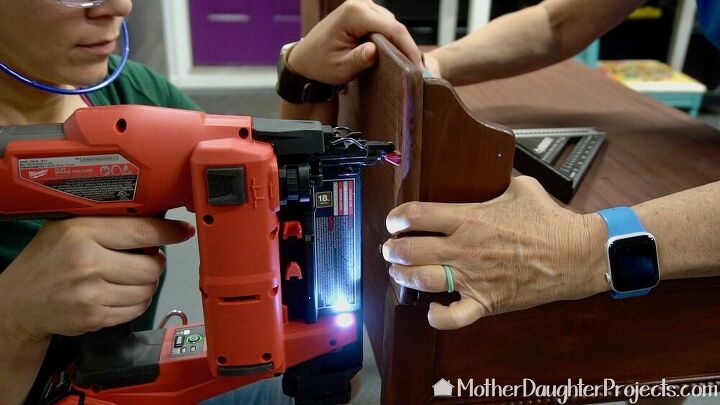
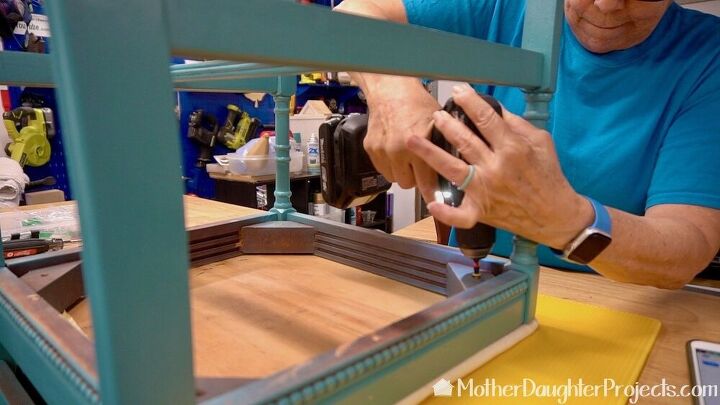
With all the staining and painting finished, I enlisted Steph's help to reattach the desk organizer to the back. Steph is using a brad nailer.

Here it is. You can see that beautiful piece of needlework on the chair. Since the chair had to be painted, I added a bit of the same paint to the desk to tie it all together.
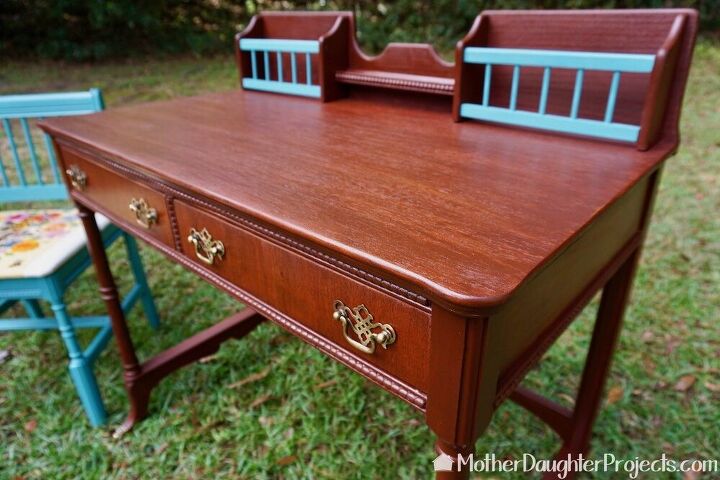
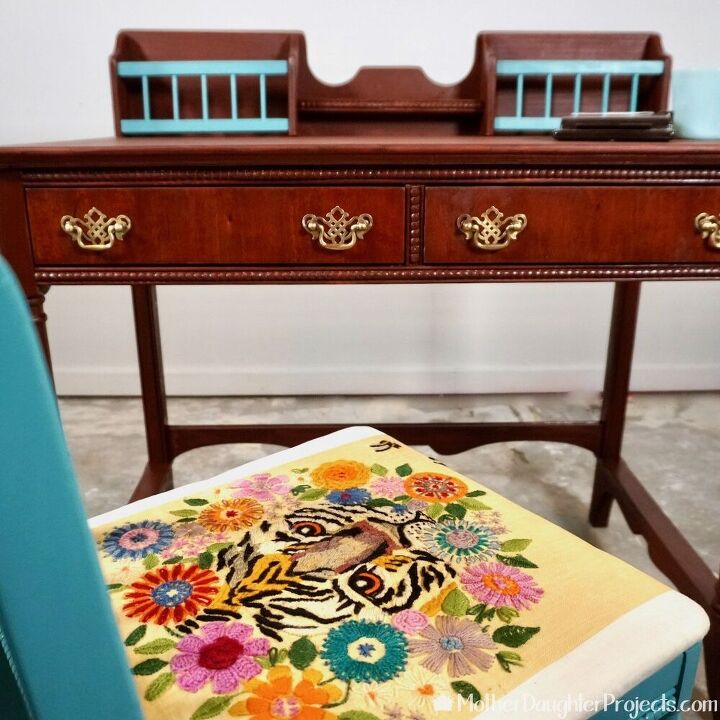
The spray paint color is such a good match to the needlework. The color is Vintage Teal by Rust-Oleum.
This was a big project, but I did it over a period of three weeks so it wasn't overwhelming.
Have you ever refinished a sentimental piece? Are you team stain or team paint?
Resources for this project:
See all materials


Comments
Join the conversation
-
Thank you for NOT painting this lovely piece!
-
What a Beautiful keepsake! U did an amazing job!!!!👍️😍


Frequently asked questions
Have a question about this project?
I have a cherry wood drop leaf table on a 4 claw pedestal. I would love to modernize it, but don’t have a clue what color to paint it. Open to all suggestions. Can also post a picture if needed!
Thanks, Donna