


Faux Kitchen Backsplash

And we are back with another paint project, because WHY NOT?! Painting is easy, cheap and packs a punch when it comes to transforming a space. My kitchen is dull and in major need of an upgrade. But with other financial obligations a total reno is tabled until further notice.
I'd seen ideas of painted backsplashes floating around, and had successfully created one in our old condo. It looked awesome and with all the materials on hand it was a "free" no brainer.
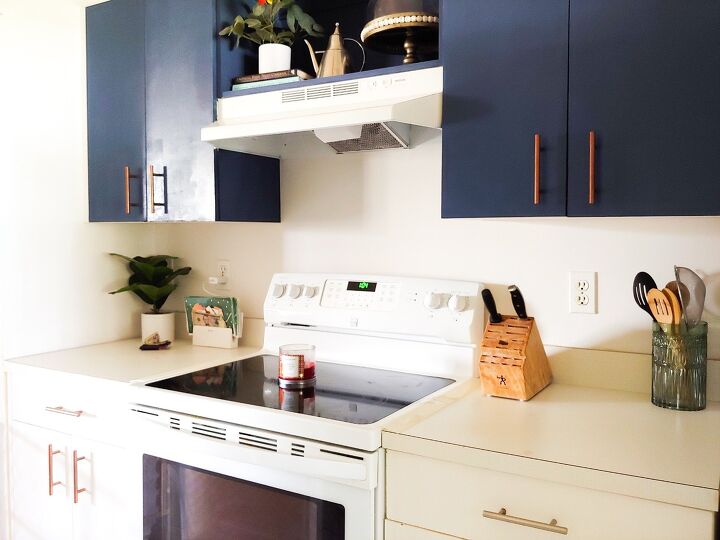
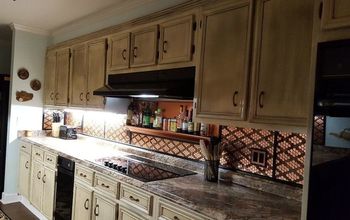
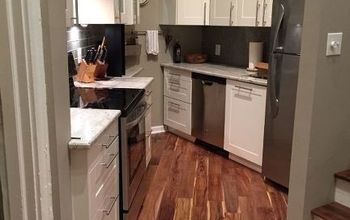
BEFORE
Here is the kitchen space before my DIY project. Not horrible, but lacked depth, and frankly wasn't interesting.
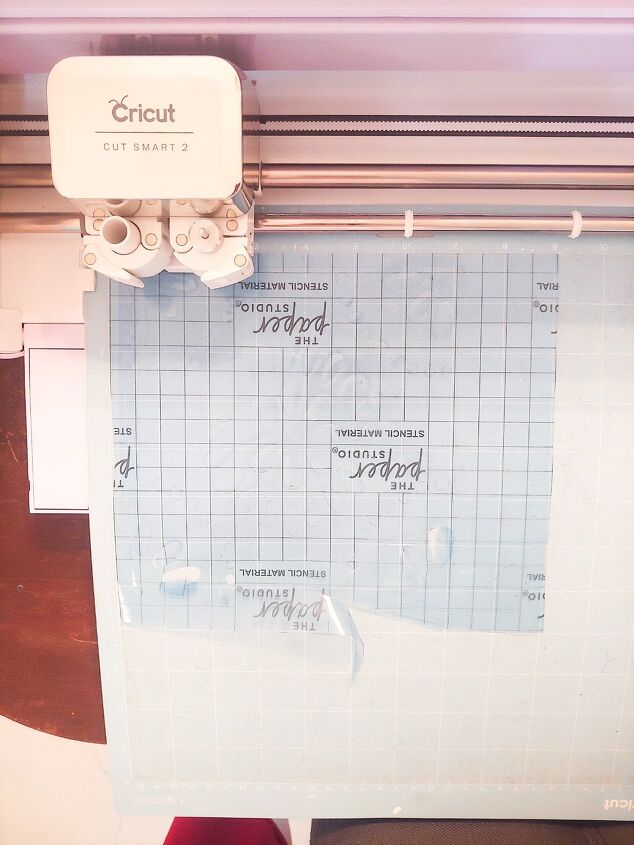
So I busted out my trusty Cricut machine (and if you're an avid crafter, I would HIGHLY suggest this investment for you). On the design space I uploaded a patterned image and created a stencil with adhesive stencil material.
GAMECHANGER! I have done stenciling before with the typical stencil paper (ya know, the plastic sheets that like to bleed paint and come off your workspace while stenciling). Adhesive paper made a major impact on the cleanliness of my pattern and helped keep the stencil in place, freeing my hands to focus on painting. The adhesive stencil was also easy to work around corners.
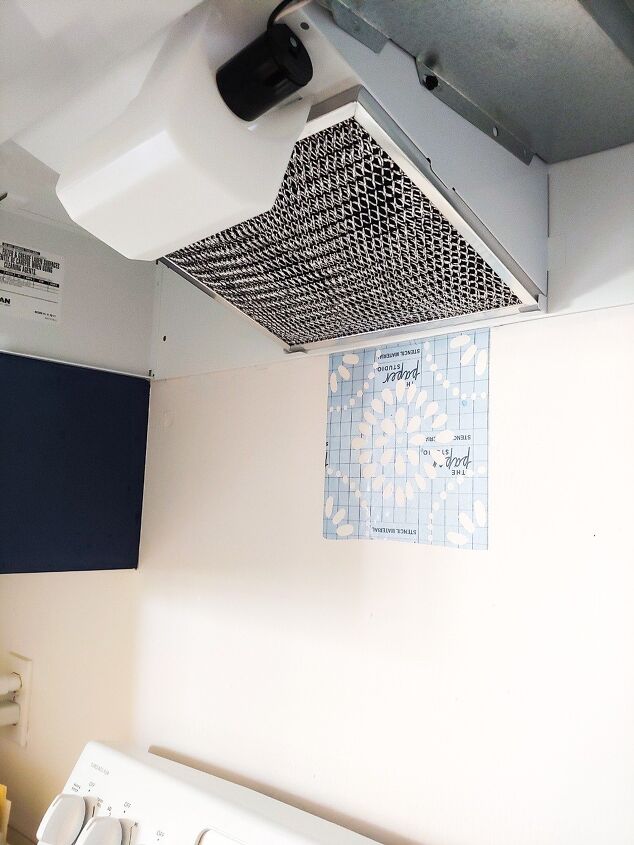
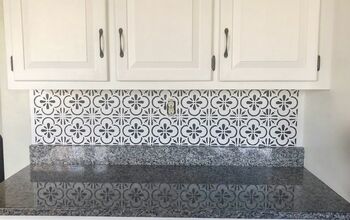
THEN
I placed my cutout stencil center on the wall I was DIY'ing. This helped balance the wall and keep it symmetrical. To center the stencil, I measured the wall space and made a pencil mark dead center. Then lined my stencil center to match the mark.
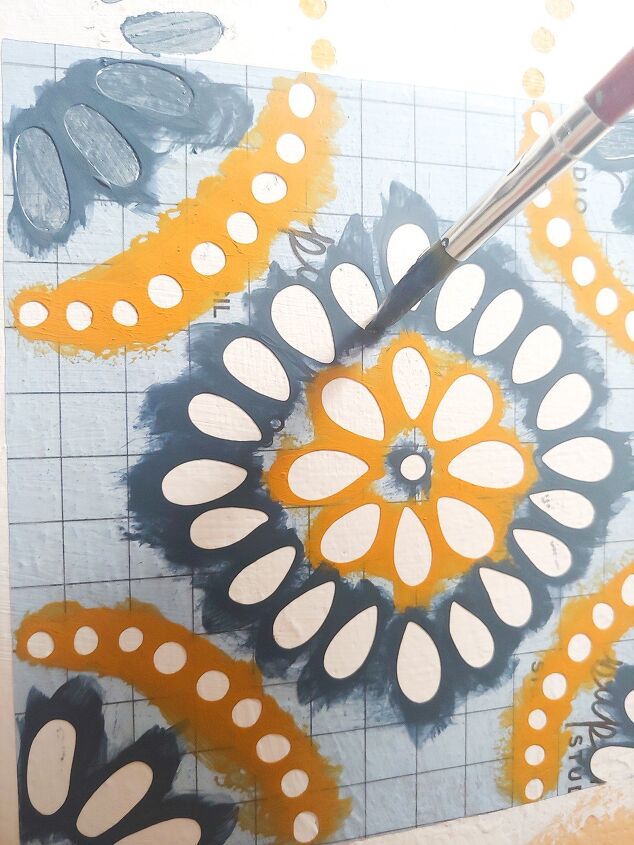
To make my project more complicated😜I chose two colors, blue and a deeper yellow. I typically stick to neutrals but felt like a pop of color would look great in the kitchen.
*If you're looking for a good color combo, search phrases like "colors that go with blue", "kitchen color pallet", etc to find the right colors for your space.
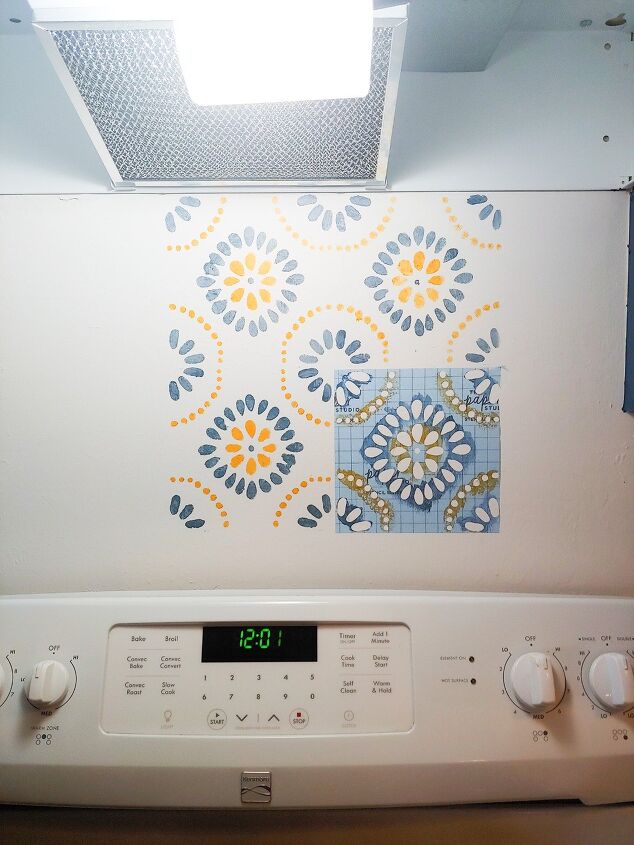
Using a paintbrush, I filled in my stencil and waited a few minutes for it to dry a bit before moving the stencil to the next spot. And then kept repeating the process until the wall space was covered!
*I created 2 identical stencils which helped speed up the process!
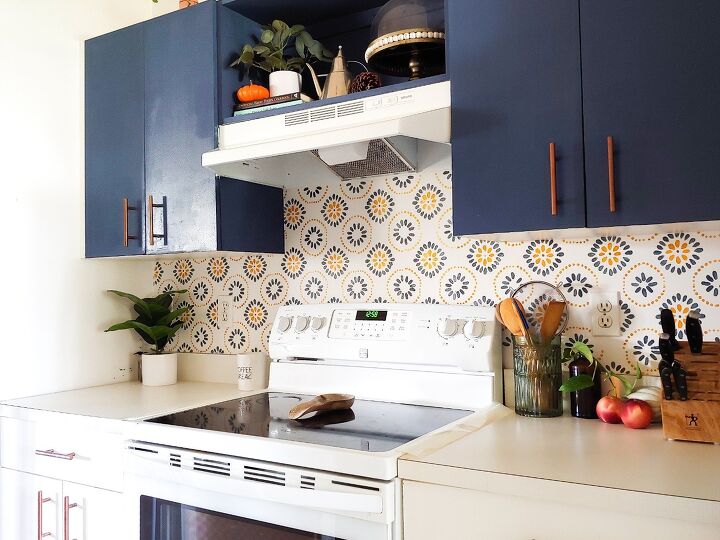
Overall, I am REALLY happy with the results! This isn't our permanent fix as eventually i would like to out in a tile backsplash, but for now (and until we can afford our reno) this was a great option.
⭐⭐⭐⭐⭐
Resources for this project:


Comments
Join the conversation
-
Great job
-
Beautiful!!


Frequently asked questions
Have a question about this project?
This is just beautiful! My kitchen walls are textured so the stencil won't lay flat on them. Other than sanding the walls down smooth and making a huge mess in my kitchen, do you know of any other way to prep my wall so I can stencil them? Thanks for this idea! (And I do have a Cricut that isn't used as much as I'd like. LOL)
What if you have a small square ceramic tile as a back splash now, how can you use the stencil?
please help
Can you duplicate a stencil on your stencil maker? I am stenciling my floor and the stencil has too much paint on the edges so I need to make another one as I cannot find the stencil anywhere now.