


DIY Bleaching Wood – Restoring Precious Vintage Pieces
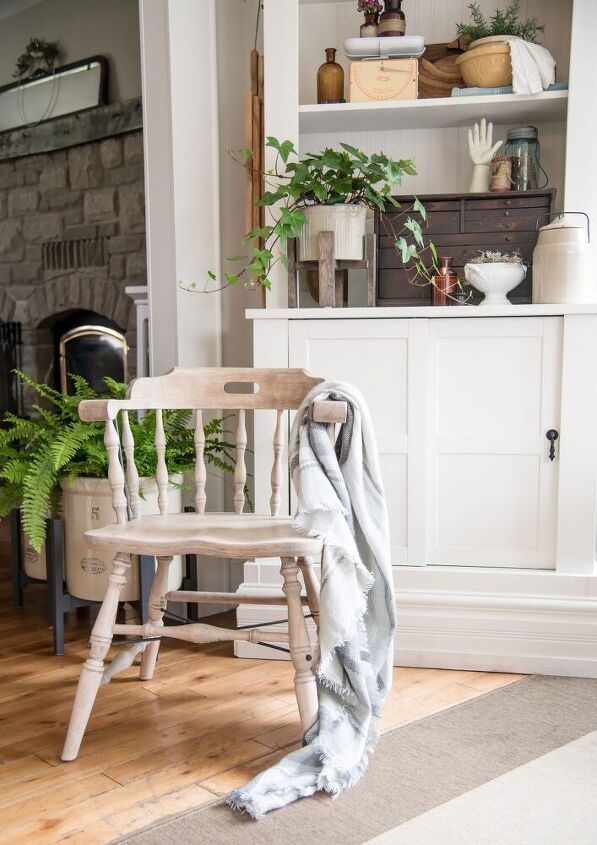
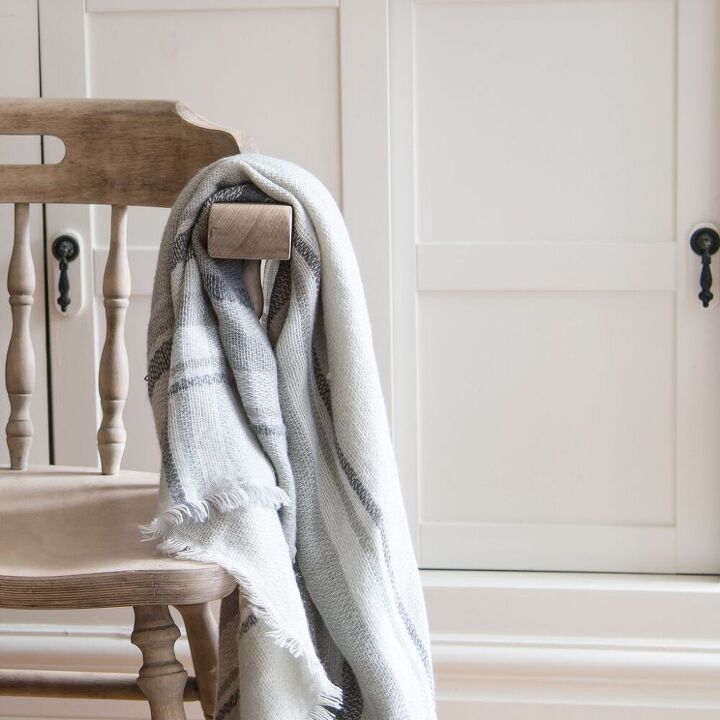
Hi friends! Thanks for popping in today, I hope you like how I’ve refinished my Dad’s vintage chair? I’ll explain how I got this blond look but first a bit of why this chair is so precious to me.
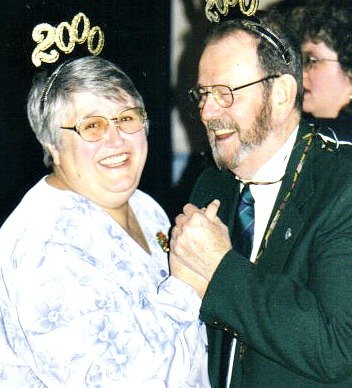
If you’ve been following me here for a while you all know that in 2014 my family experienced a monumental loss, both of my parents passed away. The word monumental doesn’t even scratch the surface, frankly. We are still working through grief, it is a very long journey that all of us will have to take one day, for us it’s the new way of being in the world – that world shifted at the loss of those two beautiful people, just a little off kilter now, but filled with so much gratitude, it’s really hard to explain. Having had both Mom and Dad in life for as long as we had them is a true blessing, they were exceptional humans! My Dad passed in January of 2014, and 6 months later Mom passed. We actually laid her to rest with Dad exactly 6 months to the day, we didn’t realize that until afterwards. So many things, so many signs happened during that foggy period and still do, things that I cling to and am grateful for.

Today (May 3rd) is my Dad’s birthday and he would have been turning 80 if he was still with us. Things are so strange… funny even (in a peculiar way). When I started this chair project I had NO idea that I would be finishing it and sharing it on his birthday… this just wasn’t planned! I love when those unexpected things happen, especially when Mom and Dad are concerned, it feels like a little visit. A nudge, “we’re still here Laurie watching and cheering”! They were my biggest fans and my passion for creating feels so appreciated when they nudge me. Does that even make sense? I’m rambling now, this unplanned post is taking on a life of it’s own. Opps! 😉 This isn’t the first post I’ve done, talking about Dad and Mom – if you’d like to read more about my feelings, you can go here and here.
I really wanted to share this chair’s transformation with you and tell you why it’s so near and dear to my heart – I restored and updated my dad’s everyday chair so that I can use it in my home. Why this chair specifically? Well, this is the only thing my dad was comfortable sitting in, he had a debilitating arthritis, Ankylosing Spondylitis. Something soft and cushy was not comfortable for him at all, ever since I can remember Dad sat in this chair, so it’s obviously very special to me and my family.
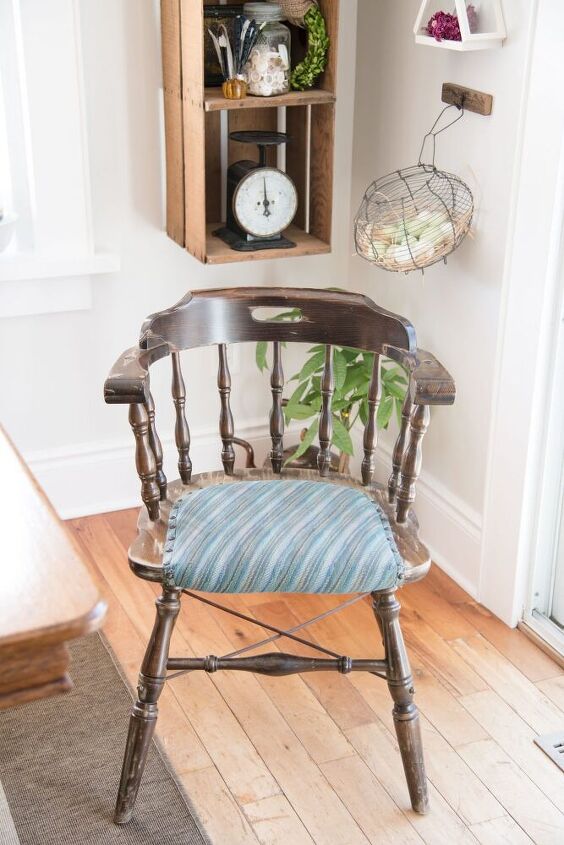
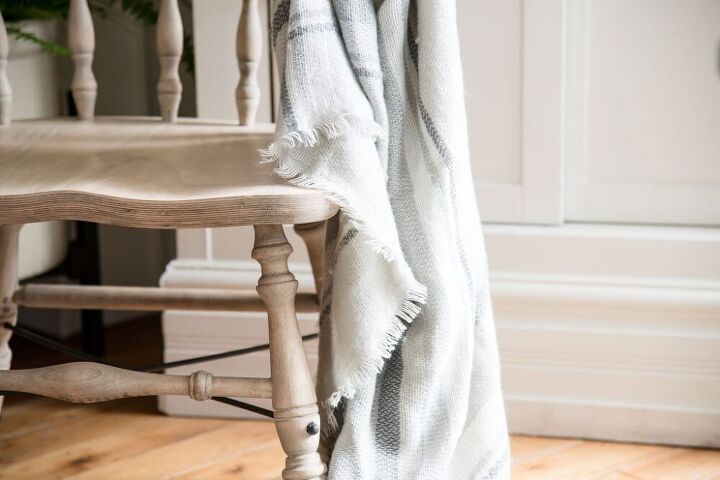
I had big plans for this chair, I was going to recover the fabric portion and yadda yadda… and on and on. You know how projects evolve, right? Once I started to take the bajilliion staples out of the top of the chair I realized that I really loved the curve of the seat. So the recovering got nixed. What about all of the staple marks in the top of the wood? What about them? I don’t actually mind them, isn’t that strange? The more I worked on this chair the more I liked all of the imperfections!

Restoring the chair
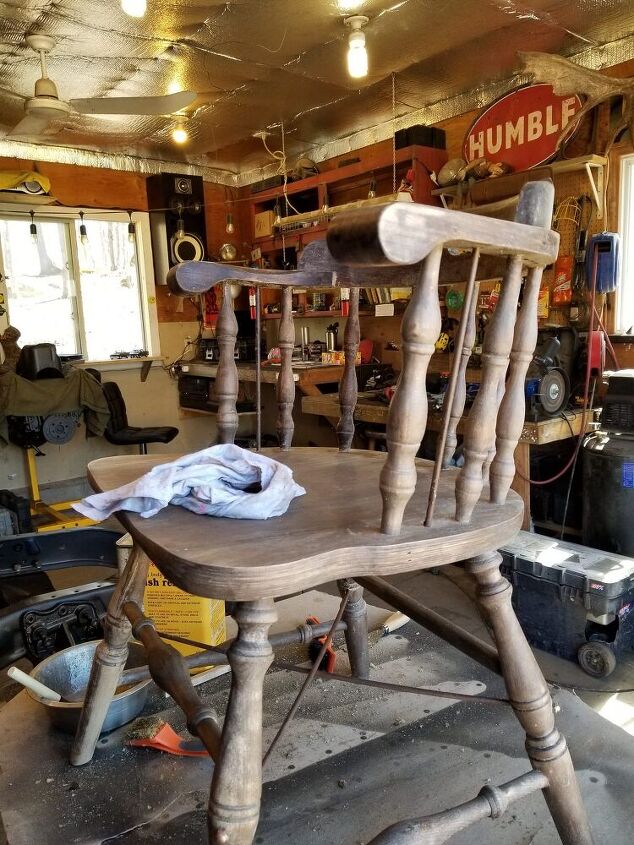
I had NO idea the time it would take for me to do this chair, the effort and colourful swear words, my goodness! Mad respect for the people that do this type of restoration for a living – hats off you to fine people! I am a highly patient person, usually and this chair pushed that patience right to the line, let me tell you! 😉
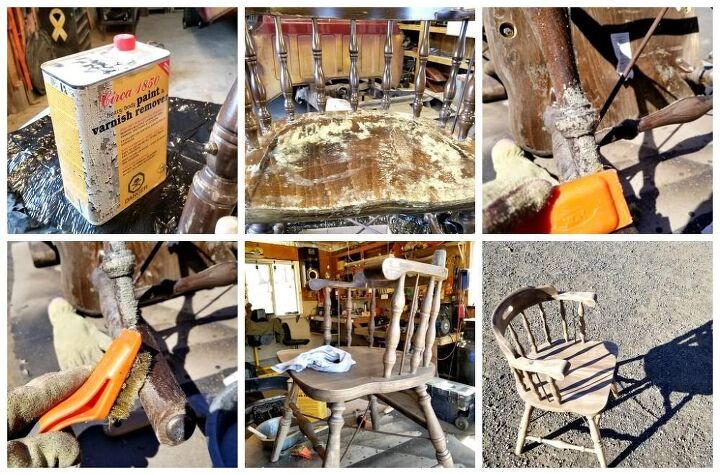
I was sharing my frustration on Instagram stories and I received a lot of suggestions – thank you all so much by the way! But, even after ordering a different chemical stripper that was recommended, I ended up going back to old faithful (pictured above in the first square). Let me insert here that this “old faithful” stripper is NOT a miracle worker, this took a lot of reapplying, scraping, reapplying – more scraping – some swearing! PS that little brass bristled brush worked like a charm and seemed to speed up the progress to a snail’s crawl. 😉 But the stripper worked and worked well, eventually! I always saw progress, the magical bubbling of the old varathane, showing the wood under that stubborn protective layer. It progressed little by little, but I got it done, completely and truly a labour of love!
Why bleaching?
Once the chair was stripped and sanded it was still very blotchy and I really didn’t know what I wanted to do with it. Bud (my hubby for those of you that are new here) teased me and said, I should paint it! haha he’s a funny one!
I wanted to even the wood and maybe re-stain? I just wasn’t sure. So I started researching bleaching – my concept was to make the wood one even colour without days of additional sanding… and at this point in the job of refinishing, I didn’t want to go out and buy the special and specific wood bleach (the one the interwebz was recommending). I turned the chair upside down and tested a tiny patch with my household bleach, it worked perfectly and fast! BUT – I wasn’t comfortable with splashing a bunch of straight on bleach onto my dad’s chair! Bud and I had a chit chat and he said, what about deck cleaner? Hmmmm, tell me more Mr. haha – he said, “we have a bunch left over in the wood shed from last year’s porch cleaning and it removed all the stain, dirt and smelled a bit like bleach”. Okay, so how would we do this? I did the same spot test on the bottom of the chair (where no one could see) and it took a bit longer than the bleach did, but it did the same thing!!! So outside we went…
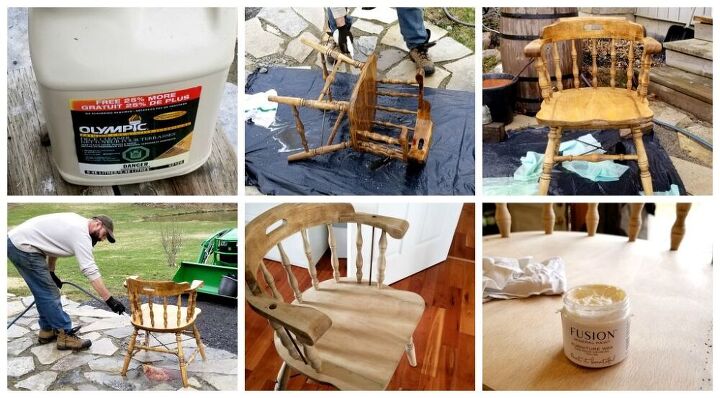
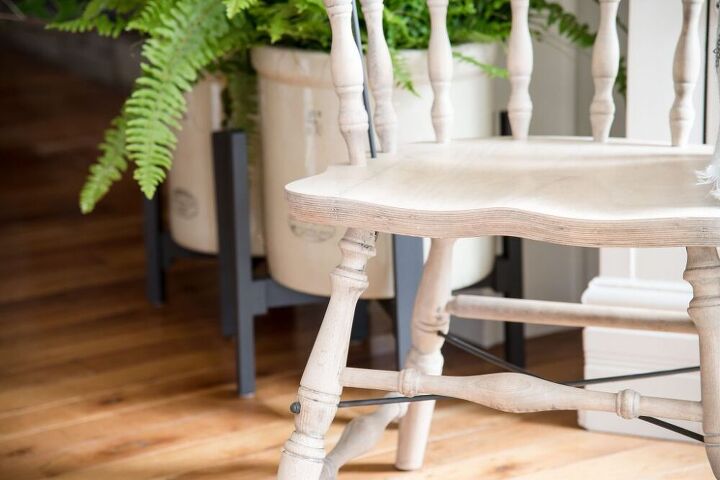
We covered the front step with an industrial garbage bag, filled an old spray bottle with the deck cleaner and sprayed the daylights out of the chair. At this point in the details it should be noted that this stuff should be used in a well ventilated area (outside) and while spraying on the solution protective gloves, goggles and a face mask should be used as per the directions on the back of the deck cleaner. We then let it sit a bit longer than the directions stated – approximately 20 min. During the 20 minutes we added additional spray to any areas that seemed to be drying. Once the time was up we sprayed it down with water from our water hose, once it was neutralized the garbage bag and paper towels were cleaned up, and for good measure we sprayed it down with water again. Then it was done… what next? I decided I didn’t want to put any stain on this blond beauty, I liked the way it looked as is. And then, in comes my favourite, Fusion Liming wax! I can NOT tell you the pure joy (not an overstatement – that’s what I was feeling) I had while applying this tiny magical wax! I started spreading it on – it felt like slathering the chair with butter. The magic started to happen rather quickly, it brought a grey undertone to the forefront of the chair. It was like this wax was, “stand back girl, I got this”!!! And OMGoodness it totally did have it!
And it totally left some white in just the right places! Then I turned to Fusion again and painted the metal rods with my favourite colour – Ash.
Fusion™ colours are non-toxic, lead free, virtually odourless and zero volatile organic compounds (VOC), contain no ammonia or formaldehyde.
So, I partner with fusion all the time, my over the top feelings are sincere and all mine … I adore their paints, finishes, coverage and brushes – the fact that they are Canadian – icing on the cake! I could not think of a better partner to help me bring Dad’s chair into the now and into our home where we use it every day! *insert heart eyes emoji here*
Thank you so much for visiting and listening to my story about a chair that I love, how it means the world to me, you guys are simply the best! xoox
Happy Birthday Dad, I miss you more than all the words could ever express! xo
Pin – DIY bleaching wood – restoring precious vintage pieces

Comments
Join the conversation
-
I love your chair! Perfect!
-
beautiuful


Frequently asked questions
Have a question about this project?
Surely there's a quicker way of getting that old stain off!! Any ideas?? Some of us don't have the time or wherewithal for this long process...I love how it turned out, though!!