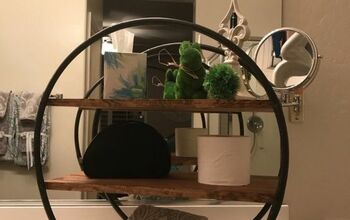
Conceal a Cluttered Shelf

Amanda C, Hometalk Team
by Amanda C, Hometalk Team
10 Materials
$40-100
1.5
Medium
This project has been a long time in the making! My husband is a filmmaker and his movie collection certainly is quite vast as a result of his love for film. We have had a wall full of movies for years and have always talked about tucking it behind some curtains for a less cluttered look, and we finally made it happen! This is an easy and fun way to conceal a projecting shelving unit that is covered in madness. With a long pair of curtains and some copper piping and hardware, you can cover just about any cluttered spot in the house!


We want to help you DIY, so some of the materials in this post are linked to sellers. Just so you know, Hometalk may collect a small share of sales from the links on this page.
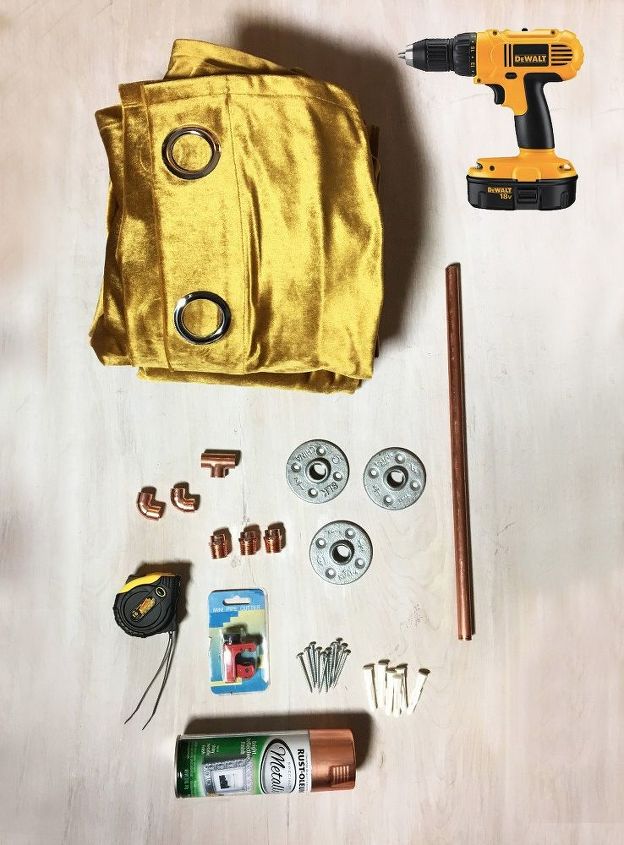
SUPPLIES:


-2-3 1/2" Galvanized Floor Flanges


-2-3 1/2" Male Fitting Copper Nipples


-2 1/2" 90° Copper Elbows


-Tape Measureer


-Drill


-2-3 Curtain Panels (or more if you are covering a large wall)


-Pipe Cutter


-Dry Wall Screws (8-12)


-Dry Wall Anchors (8-12)


- Copper Metallic Paint


-1/2" 10' Copper Pipe
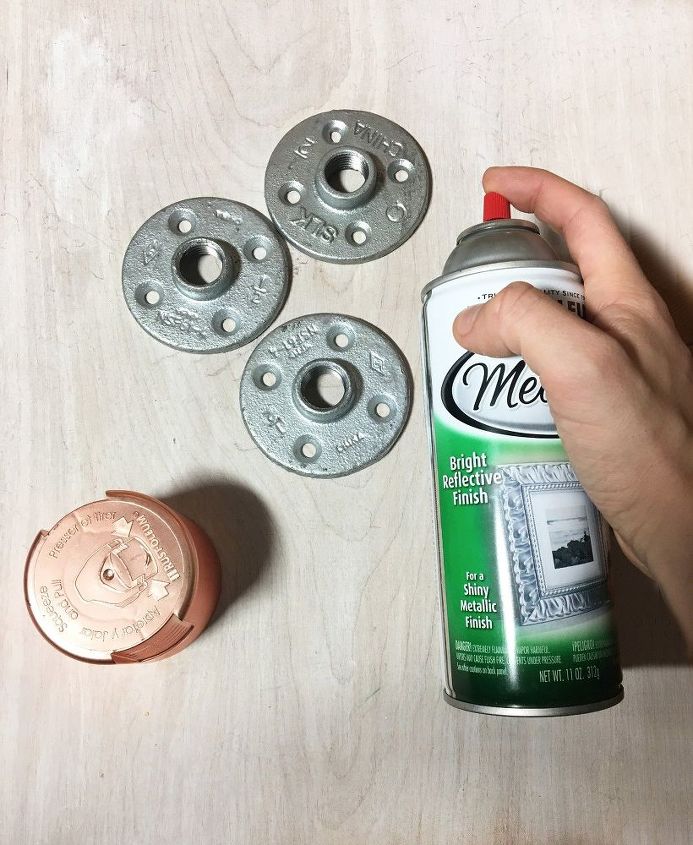
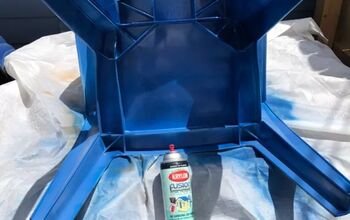
STEP 1: Spray paint your hardware to match


To start things off we are going to paint our galvanized floor flanges to match the copper pipe. Set these aside to dry as we move onto other steps.


*I only wound up using 2 flanges since my rod wasn't too long. If you have a long spot to cover, you will need to create a middle pipe with a copper t and a middle flange to create support for the weight of the curtains.
STEP 2: Measure your unit


Measure the depth of your shelving unit and cut 2 pieces of pipe the same length, so that the curtain rests away from the wall and covers the protruding shelves. For instance, my shelves had a depth from the wall out of 10" so I cut 2 pipes this length for either side.
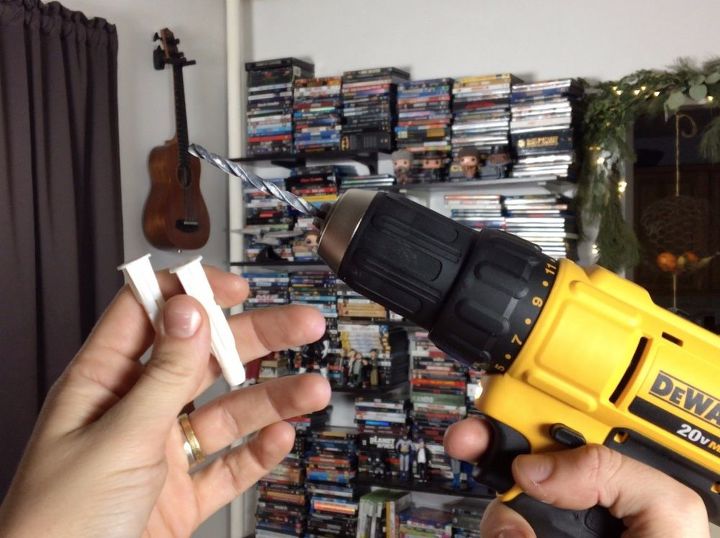
STEP 3: Attach the 90° elbows


Take each of the pipes you just cut and attach your 90° elbows to one end of each.
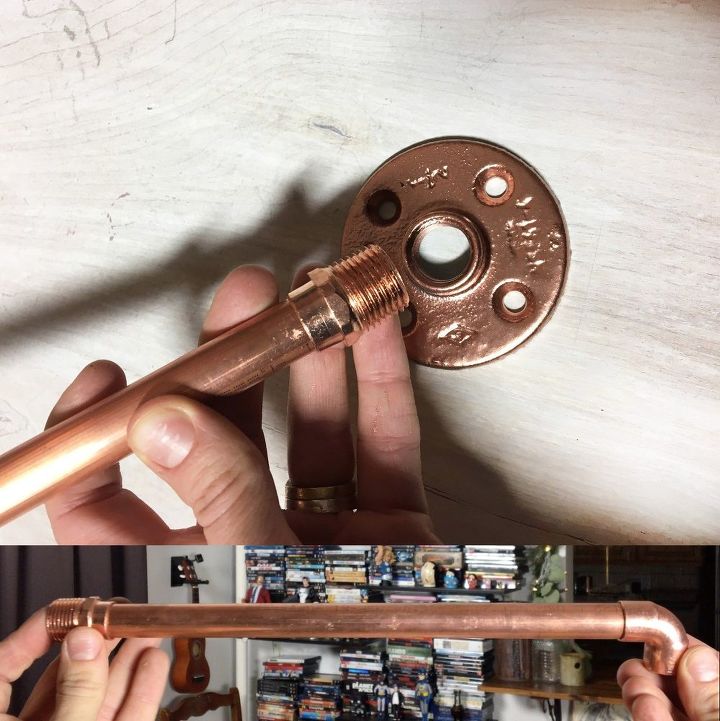
STEP 4: attach the male fitting


With the same 2 pieces of pipe attach the copper male fitting to the opposite end from the one with the elbow from step 3. These will later be screwed into the flanges once they are attached to the wall.


Each piece should look like the bottom image at this point.
STEP 5: Choose your height


Decide where you would like the curtains to rest above your mess. Using the floor flange holes as a guide, drill pilot holes into the wall and stuff them with anchors.
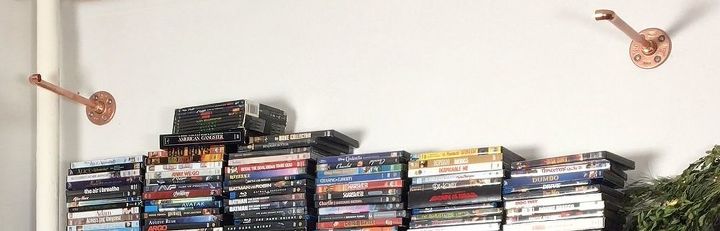
STEP 6: Screw your flanges to the wall


Once you have all your anchors in place screw your flanges to the wall and attach your pipe combination by screwing in the male fitting to the flange. Make sure the 90° elbows are facing in toward one another.
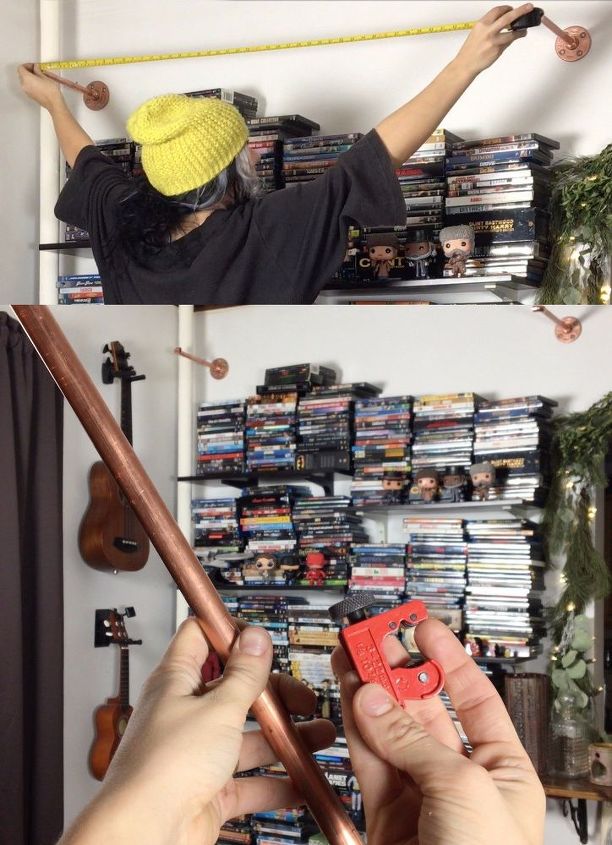
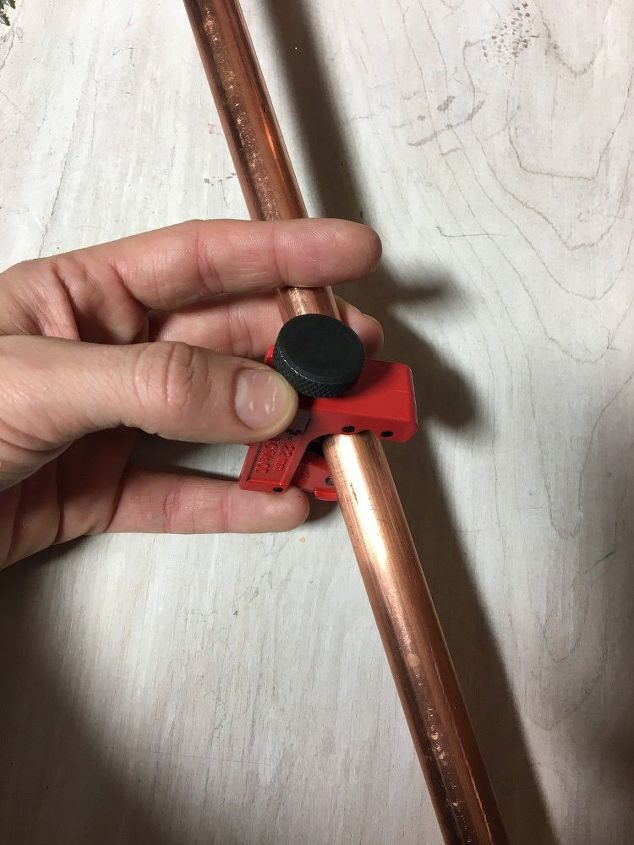
STEP 7: Measure the center rod


Grab your measuring tape and measure the distance between each pipe combo. *It is a good idea to measure from the bump in the elbow to the bump in the opposite elbow so that the pipe can fit snuggly between the two.


Use this measurement to cut out a piece of pipe. This will serve as the center rod for your curtains.
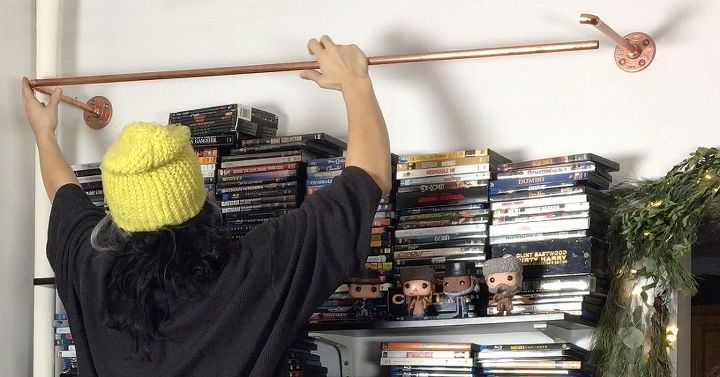
STEP 8: Secure the pipe


Take the pipe you just cut and secure it between the two combos you have attached to the wall by placing the ends of the pipe into the elbows on either side.


*Don't secure it too tightly just yet as you will need to place your curtains on it. You do need to make sure that it fits nicely at this point though.
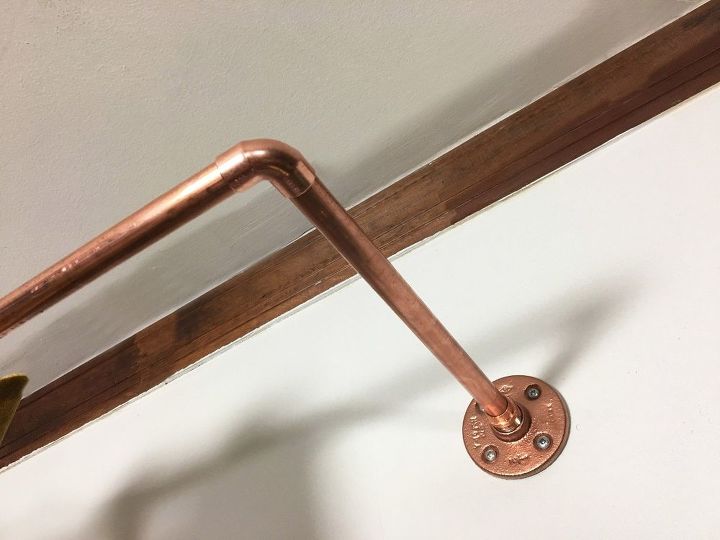
At this point your pipe should look like the above photo on either side.
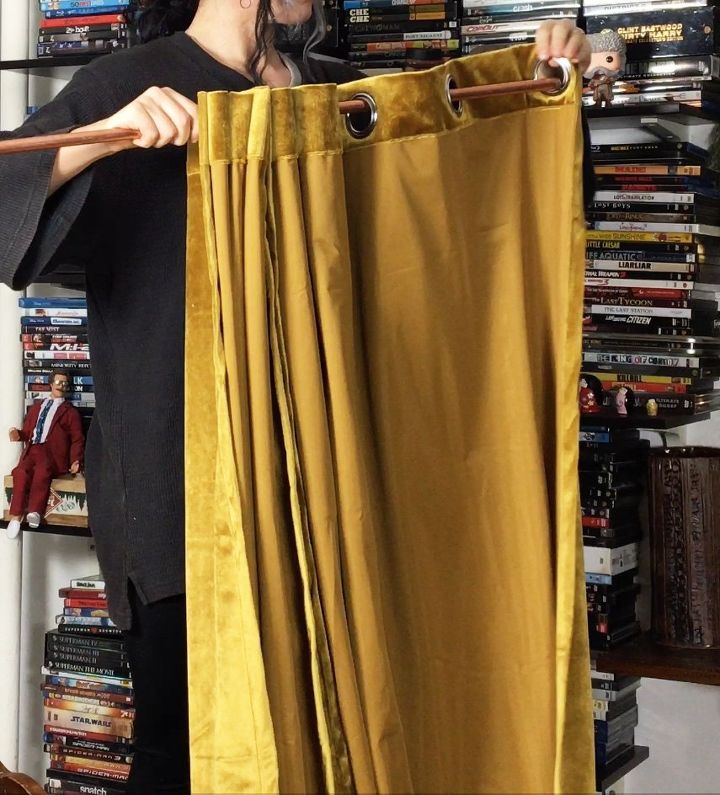
STEP 9: Attach your curtains


Take your long rod down and feed your curtains onto the rod and place it back up in between the two pipe ends.
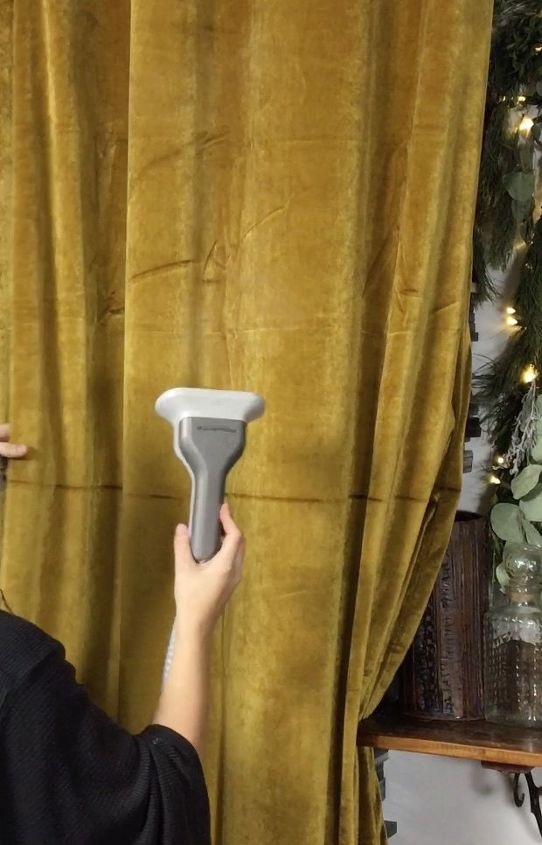
STEP 10: Steam your curtains


For a nice flowing curtain steam them to get out any creases. Especially with these velvet curtains, this steamer was really useful.
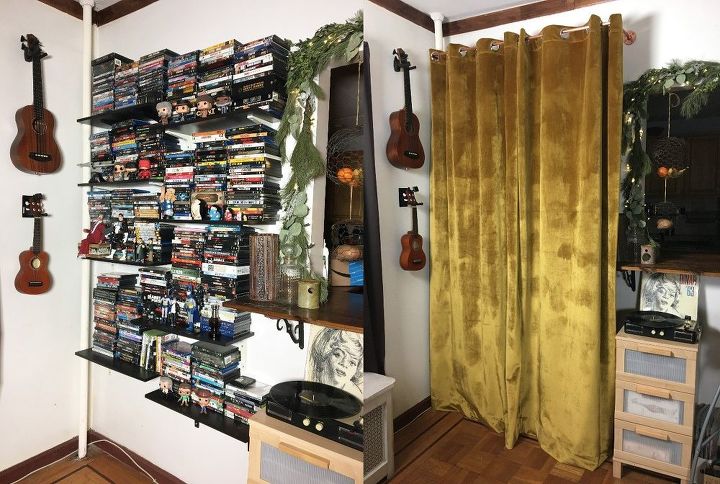
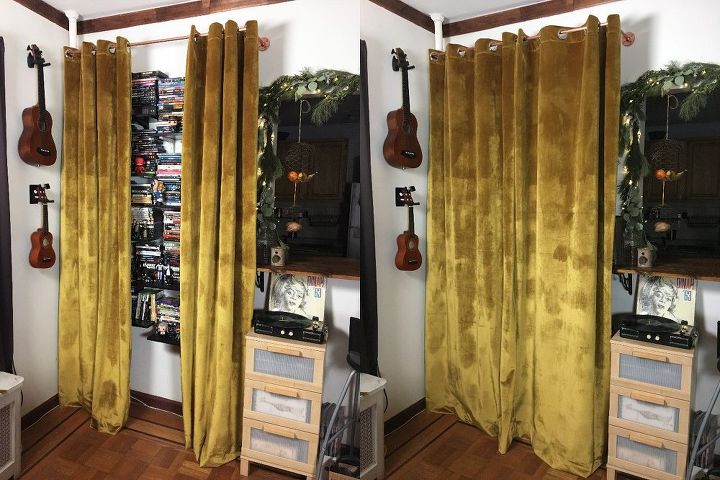
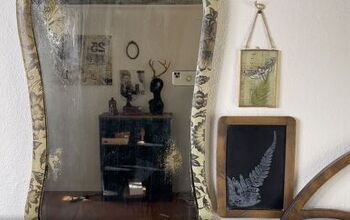
Here is a before and after of the space. I am not sure how I feel about these curtains just yet, but my husband loves them!
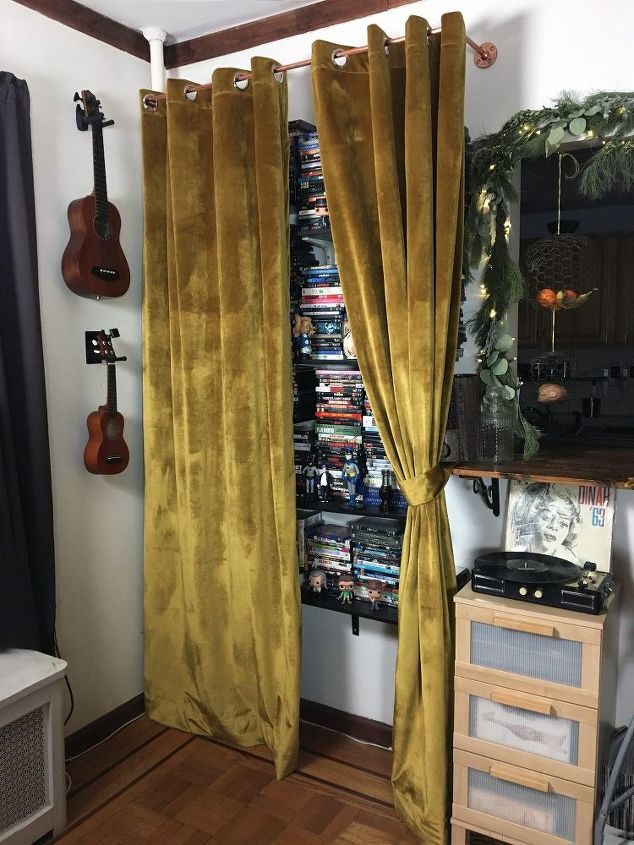
I kind of like letting the movies peek out from behind the curtains.
This corner does certainly look pretty epic now. I need to update some things around it so that it is fitting, but it is nice to have the clutter covered.
Suggested materials:
  • 2-3 Super Soft Luxury Velvet Warm Yellow Blackout Curtain Panels   (Amazon)
  • 2-3 1/2" Copper Male Adapter Nipple   (Lowe's)
  • 2-3 1/2" Galvanized Floor Flanges   (Lowe's)
See all materials
Frequently asked questions
Have a question about this project?
3 of 6 questions
  • Mary S Mary S on Apr 07, 2017

    I see you have two eukalaes hanging next to your curtains. How did you hang them on the wall? Is that store bought or did you make it?

  • I have been looking for gold curtains

    Where did you find them

    Thank you

  • I have been looking for gold curtains

    Where did you find them

    Thank you

Comments
Join the conversation
2 of 47 comments
Next