


DIY Blackout Curtains

When it comes to curtains for some reason I am extremely picky! I always have the hardest time finding ones I like that check off all the requirements. I found this pair of curtains that I loved but they weren't black out - something I need for my bedroom. I decided to get them anyways and make them black out curtains myself!
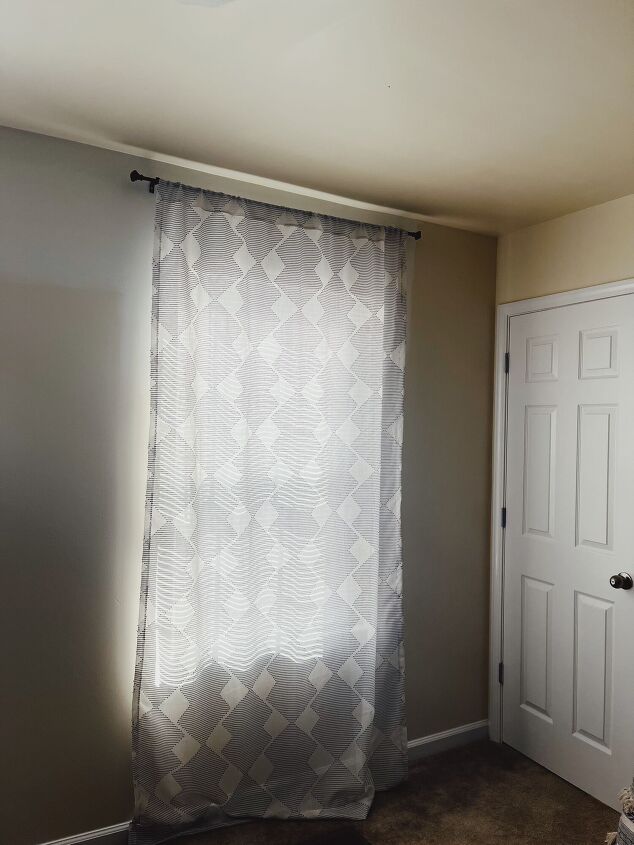
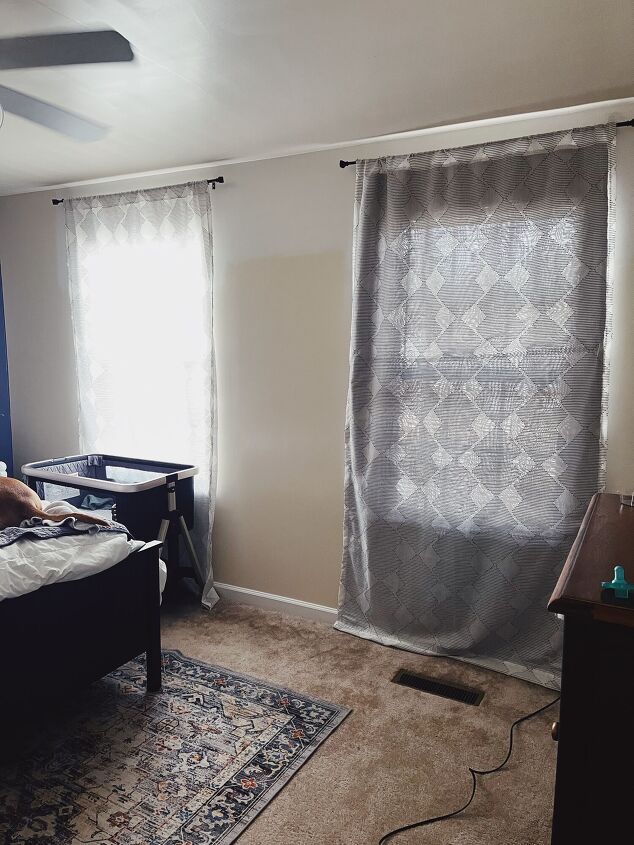
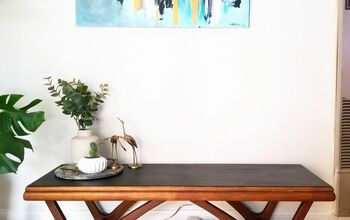
Here's the before. These curtains were advertised as semi sheer which is exactly what they are. There is a street light right outside my bedroom window so this was not going to work!
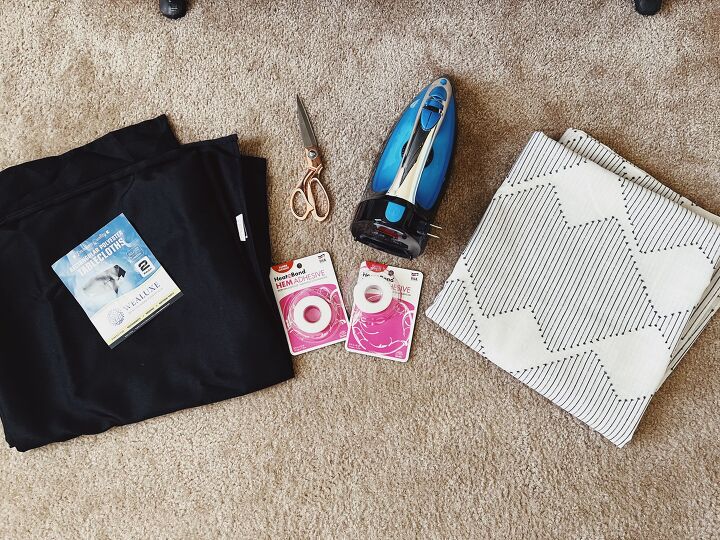
Materials Needed -
Fabric (I used a table cloth)
iron on tape
iron
scissors
Curtains -
https://www.amazon.com/dp/B09QYH4JSX?psc=1&ref=ppx_yo2_dt_b_product_details
Table Cloth -
https://www.amazon.com/dp/B07HR2YV7R?ref=ppx_yo2_dt_b_product_details&th=1
Iron On Tape -
https://www.amazon.com/dp/B000XZVXNK?psc=1&ref=ppx_yo2_dt_b_product_details
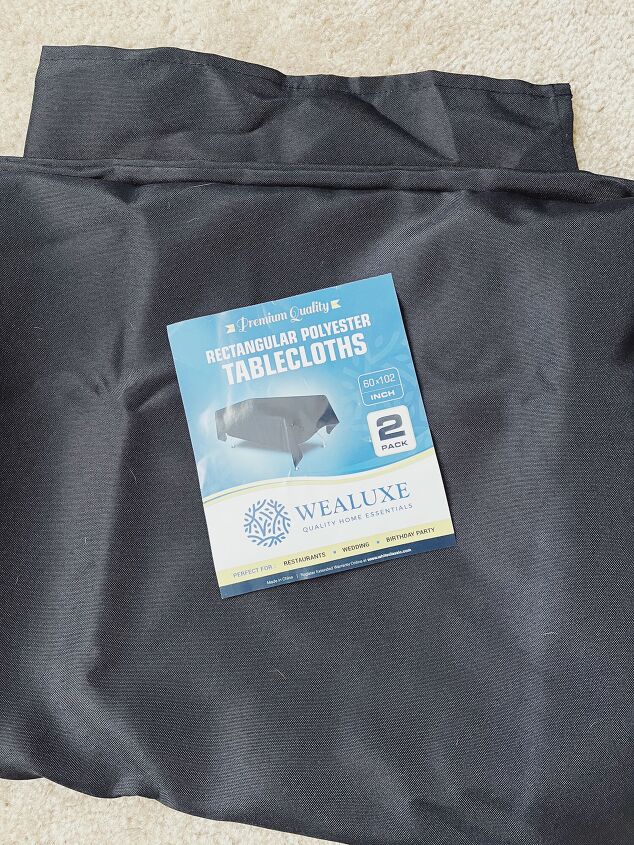
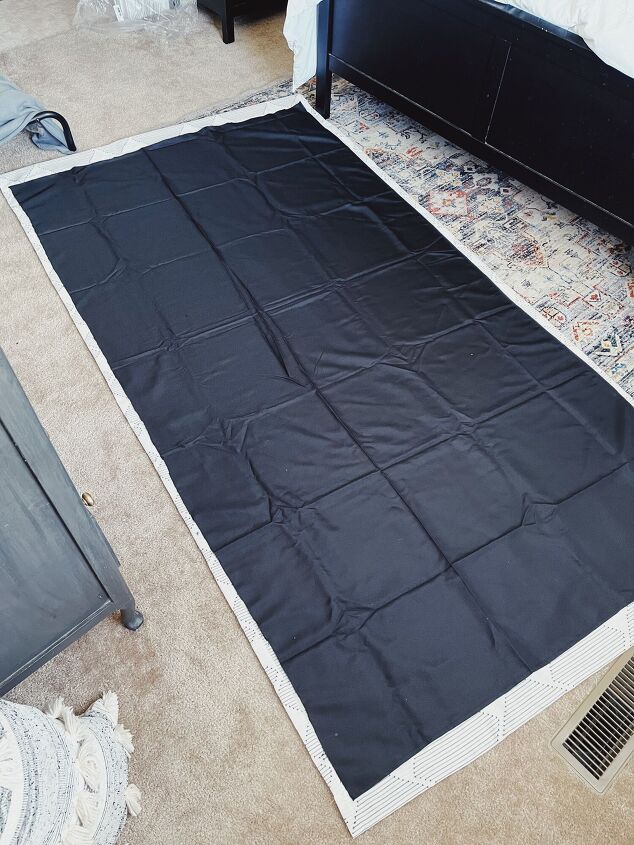
This is the table cloth I purchased. I had planned on going to Hobby Lobby and buying fabric, but ended up just purchasing this thinking it would be cheaper than the amount of fabric I needed. This table cloth was just about the same size of my curtain panel, just a tad bigger.
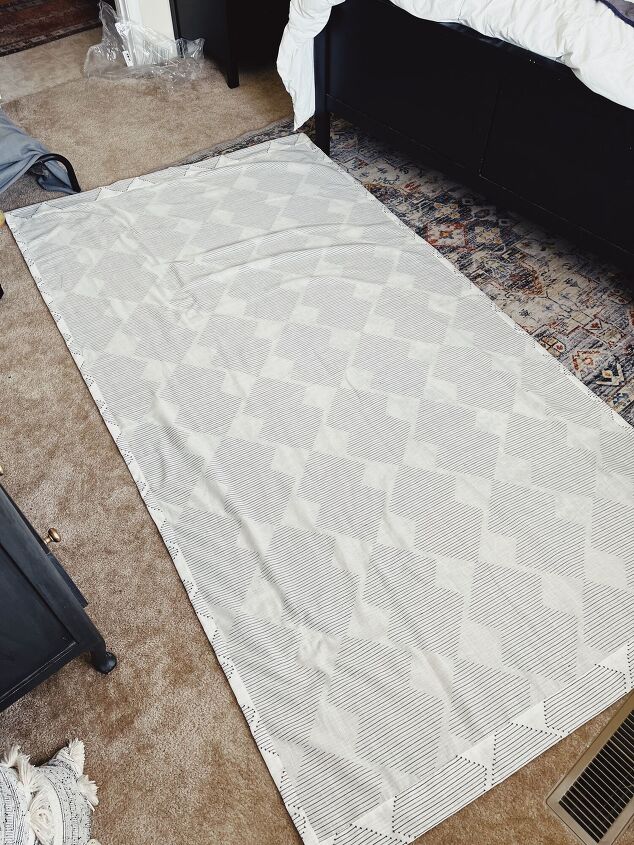
Step One - Lay out curtain
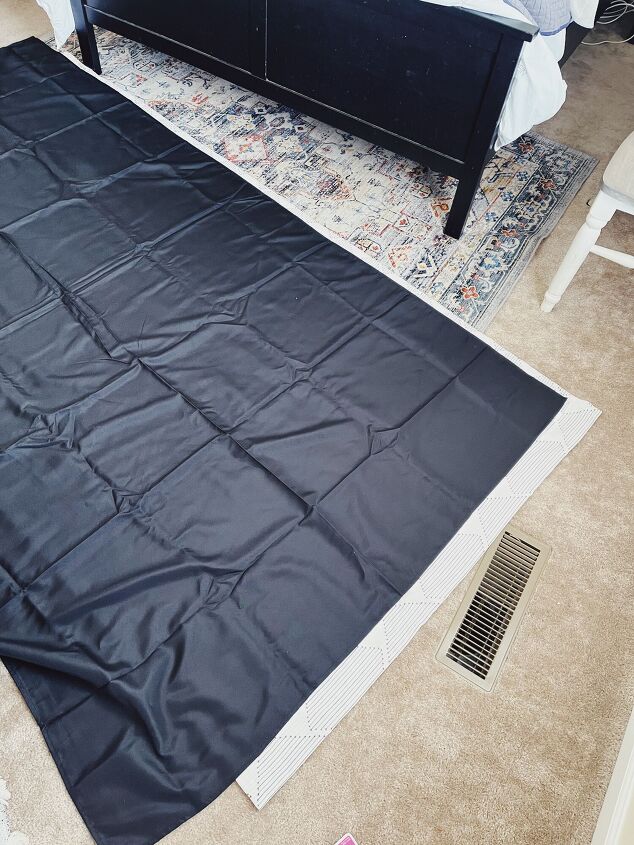
Step Two - Lay Over Fabric
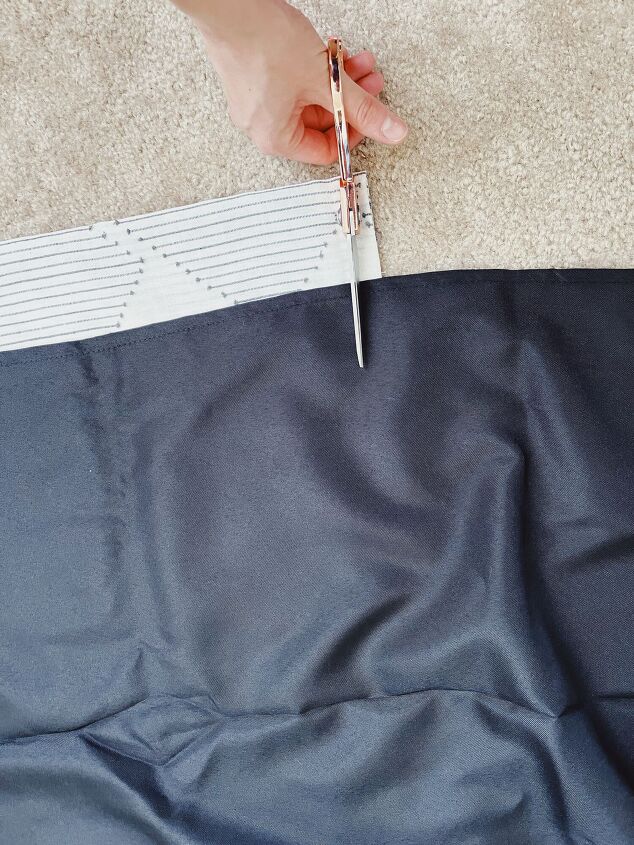
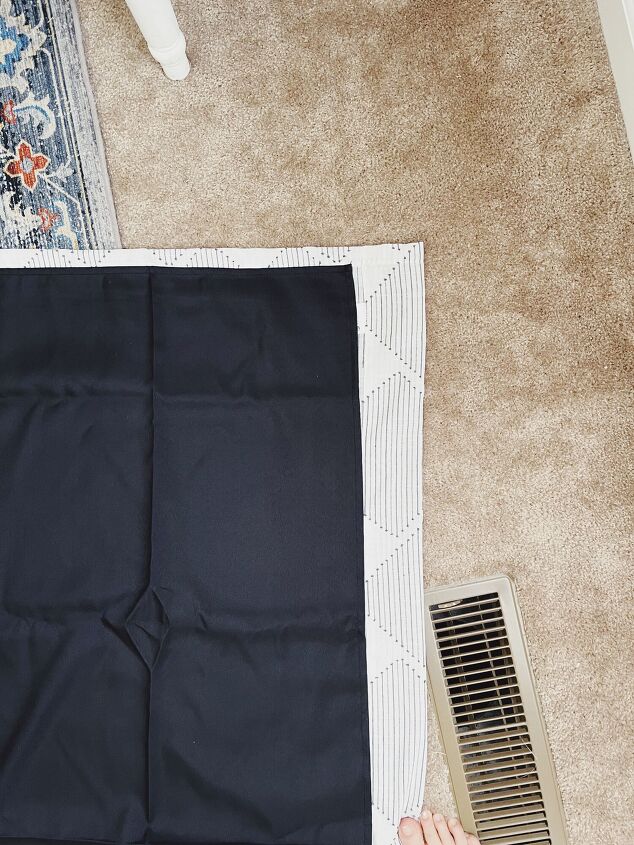
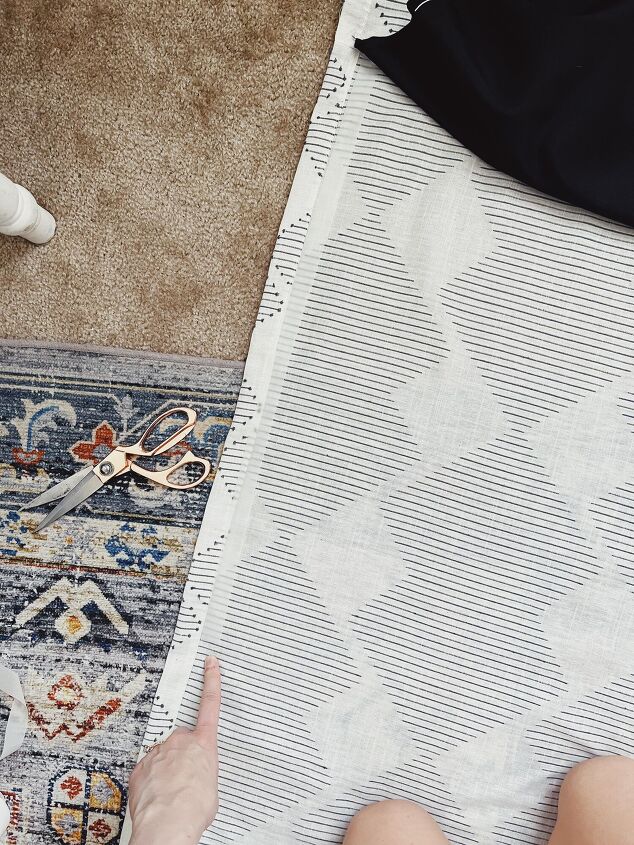
Step Three - Cut fabric
Little tip when cutting - fold over the fabric you are cutting off as you go and you'll get a straighter line than you would just cutting.
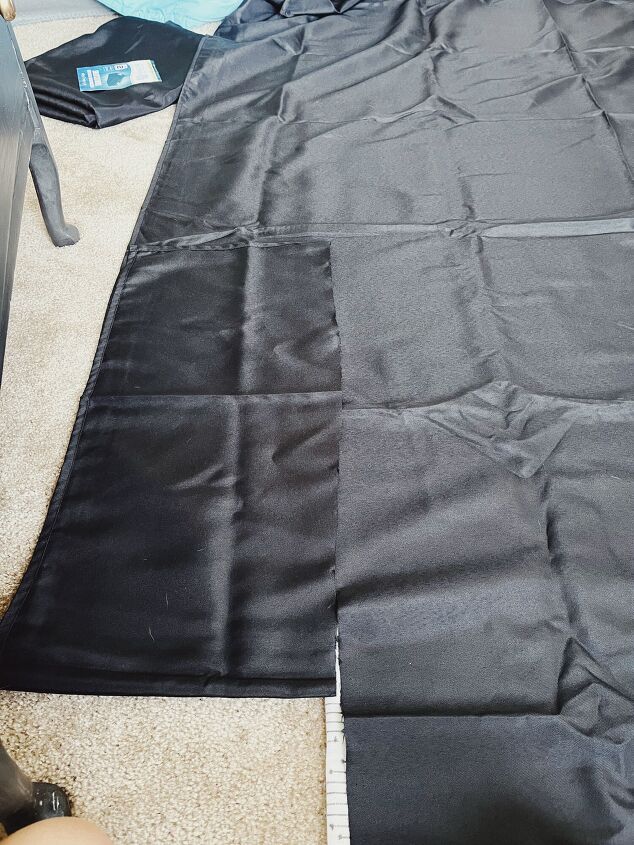
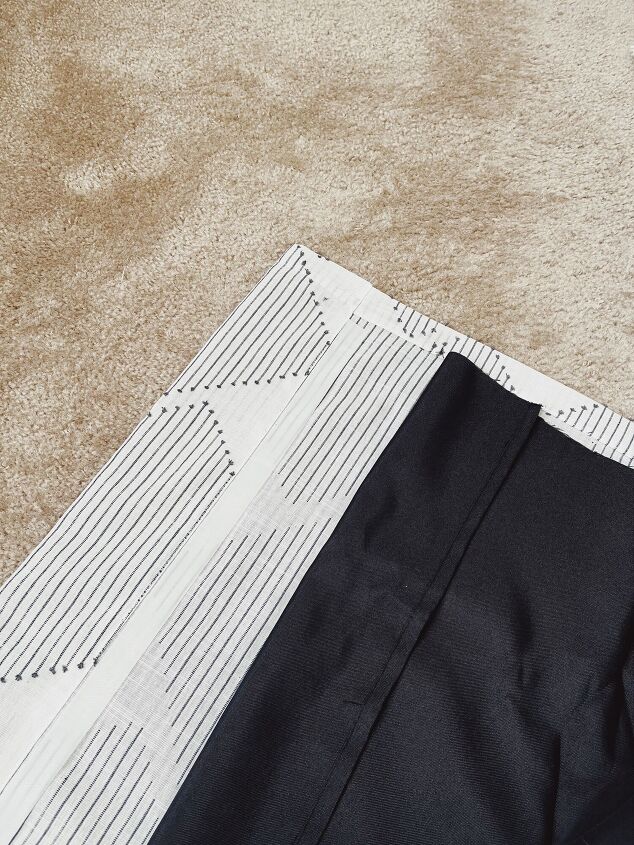
All cut!
I decided to leave the top and hemmed edges not covered - just personal preference.
Step Four - Add Tape
I folded over the top fabric and cut the tape to the length I needed.

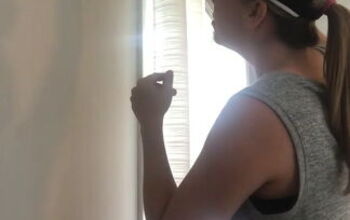
Step Five - Iron On
The directions said to press down for 3-5 seconds, I did about 10 per press.
For the sides of the curtain I decided not just to go straight down, but to go down halfway and then go across the width of the curtain just to make sure it was really secure.
Making sure the two fabrics were completely flat was the hardest part about this project.
And that's it! Super simple but makes a big difference. The table cloth fabric isn't completely black out - that's the chance I took ordering online and not seeing the fabric in person first. There's a big difference from the before to after though so I'm happy!
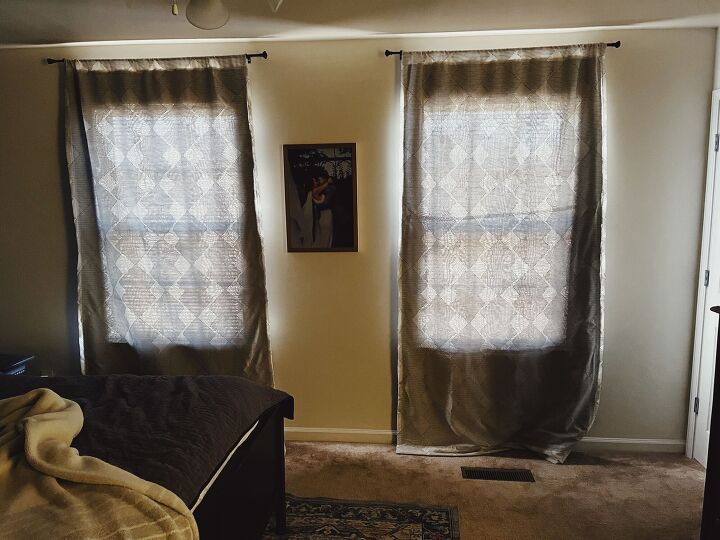
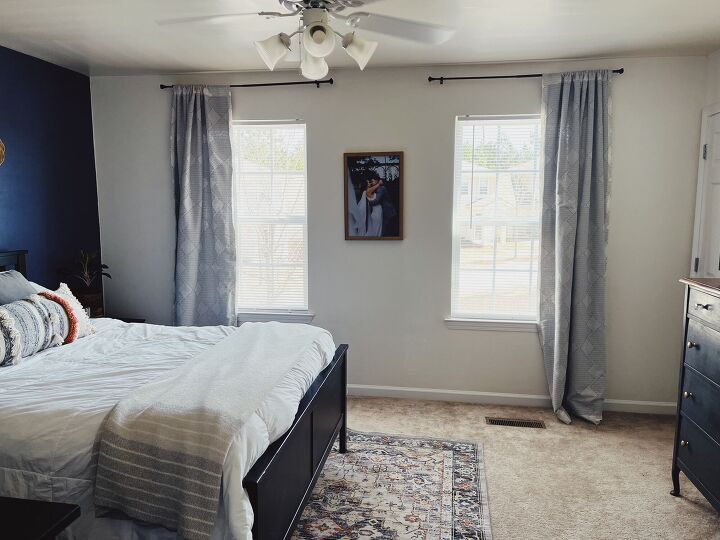
Here's them both done!
You could do this by sewing the fabric together, I just decided to do it the lazy way and not have to haul out my sewing machine!
Resources for this project:
See all materials


Comments
Join the conversation
-
Why not just buy blackout shades they are really cheap on Amazon I bought a pair for an amazing price that look beautiful and do a supper job of blocking the light in order to keep the house cooler. In fact I bought a much more expensive pair from a local store that was far less nice looking when hung and did not do as well at light blocking.
-
There are room-darkening shades, also sold as light-blocking shades, and there are blackout shades. They are not the same.
I have found that genuine blackout shades are usually more expensive than the other types for the same brand. They are higher priced as they are heavier and contain more layers.


![How to Make Curtains With Grommets [and Lining]](https://cdn-fastly.hometalk.com/media/2021/03/02/6965263/how-to-make-curtains-with-grommets-and-lining.jpg?size=350x220)


Frequently asked questions
Have a question about this project?
why do I see so much light coming thru the window if this was supposed to be “blackout” curtains?