


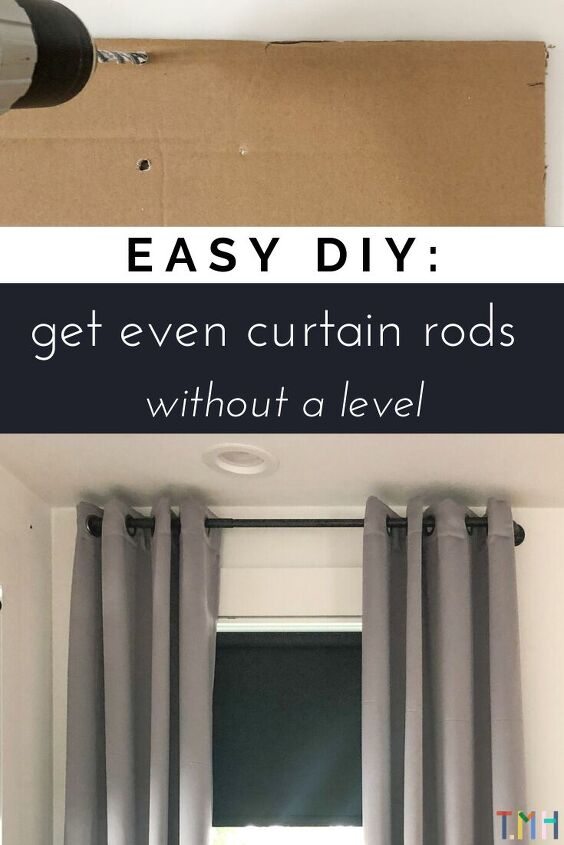
Installing Even Curtain Rods Without A Level
Today I’m going to show you the one fail-proof way to install curtain rods in your own home and get even curtains every time. And all you need is a piece of trash.
Over the years, I’ve seen many tricks to install even curtains. Those tricks often include a myriad of tools; laser levels, traditional levels, measuring tapes, etc. They can be complicated and those hacks often allow for human error. Even just a millimeter miscalculation can result in wonky and uneven curtains.
So today I’m going to show you the one fail-proof way to install curtain rods in your own home and get even curtains every time. And all you need is a piece of trash.
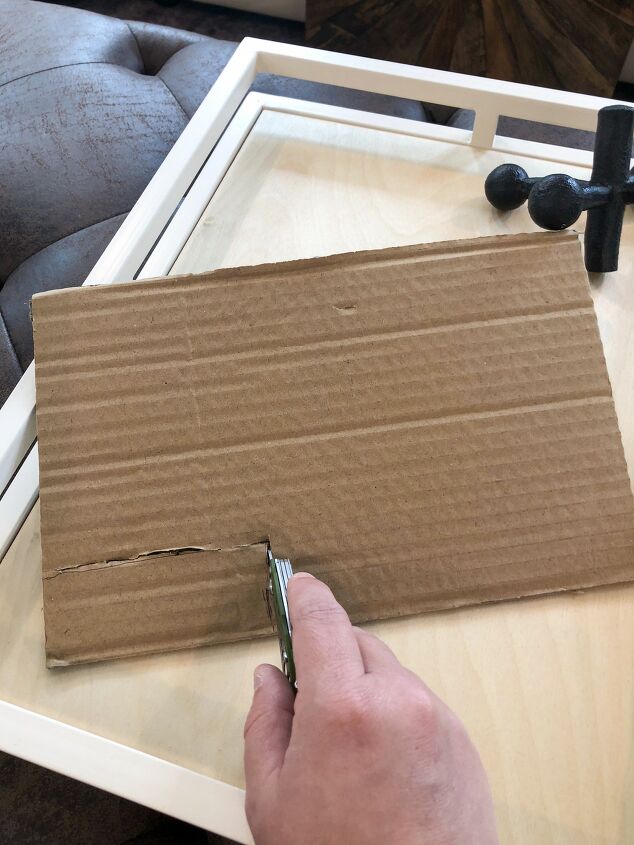
STEP ONE: using a flat piece of cardboard, cut a 45 degree notch out of one corner.
This will allow you to place your guide directly above and beside the window trim. This method works best if your windows have moulding installed around them. The trim will allow your cardboard to rest in place on the edge of the moulding.
If your windows do not have trim, you can still use this method by holding the cardboard in place on exactly the 45 degree edge while making your template markings (step 2 and 3).
If your windows aren’t square, you can still use this method by incorporating a level to make your own 45 degree angle, using the highest and widest points of the window and marking it on the wall.
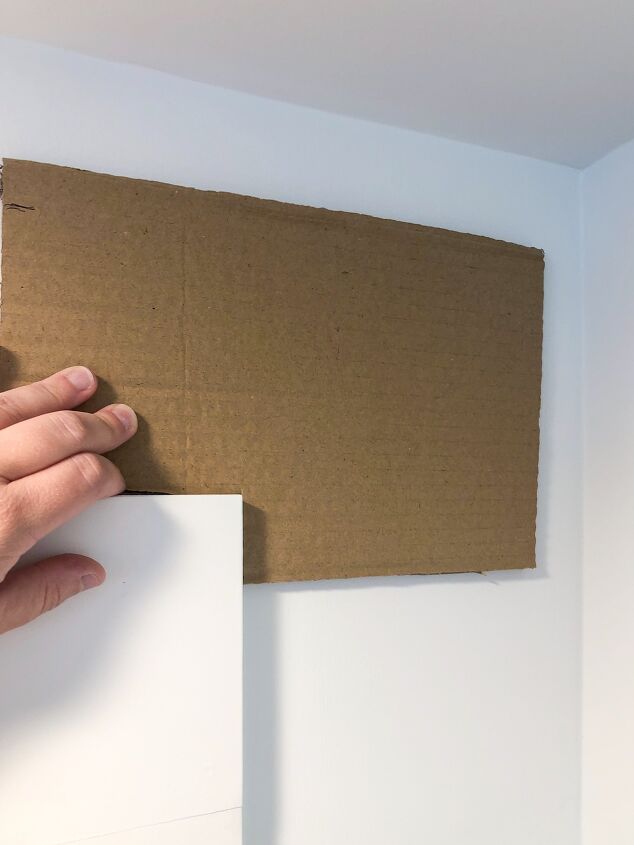
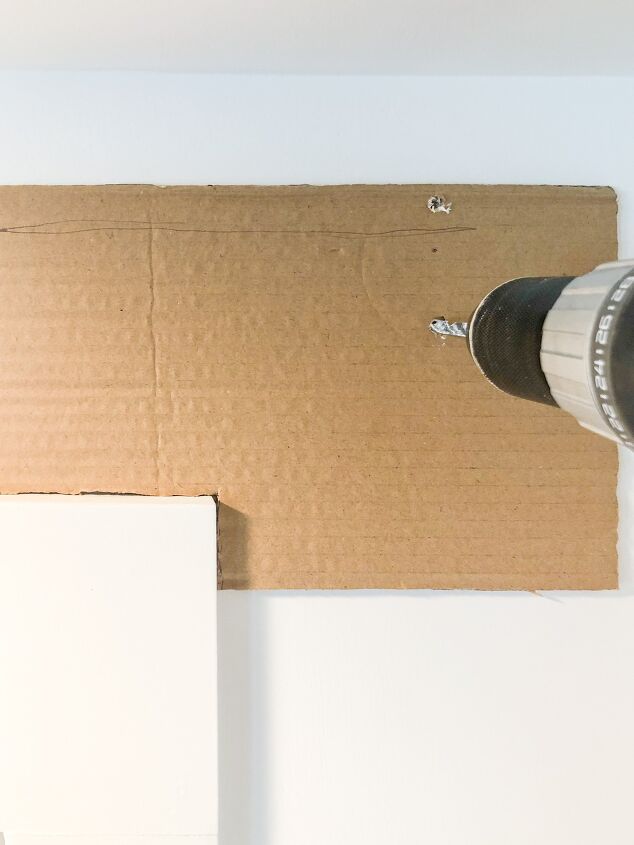
STEP TWO: place your cardboard with the 45 degree notch situated around the window trim (as pictured). On your cardboard, mark where you want your rod to land, in relation to the window and ceiling.
The cardboard should rest on the edge but if it moves, use a strip of delicate painter’s tape to secure it in place while you make your pilot holes (next step).
If your windows do not have trim, you can still use this method by holding the cardboard in place on exactly the 45 degree edge while making your template markings (step 3).
If your windows aren’t square, you can still use this method by incorporating a level to make your own 45 degree angle, using the highest and widest points of the window and marking it on the wall.
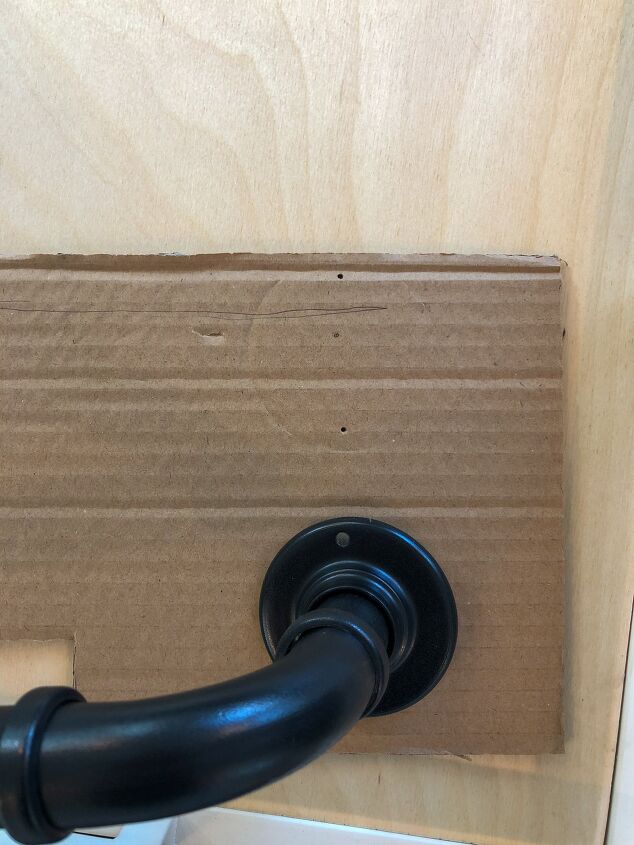
STEP THREE: bring your cardboard back to ground level and place it on a horizontal surface with the rod’s screw holes resting where you made your previous mark. Using a pen, mark the holes where your screws are to be installed on the cardboard.
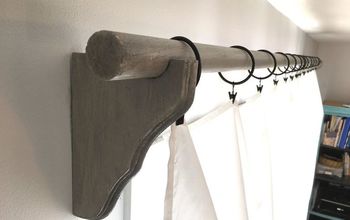
If your rod comes with separate hanging hardware (most curtain rods have a hook style bracket that allows the rod to rest inside it), follow this method, using only the hardware hook portion of the rod to make your guide.
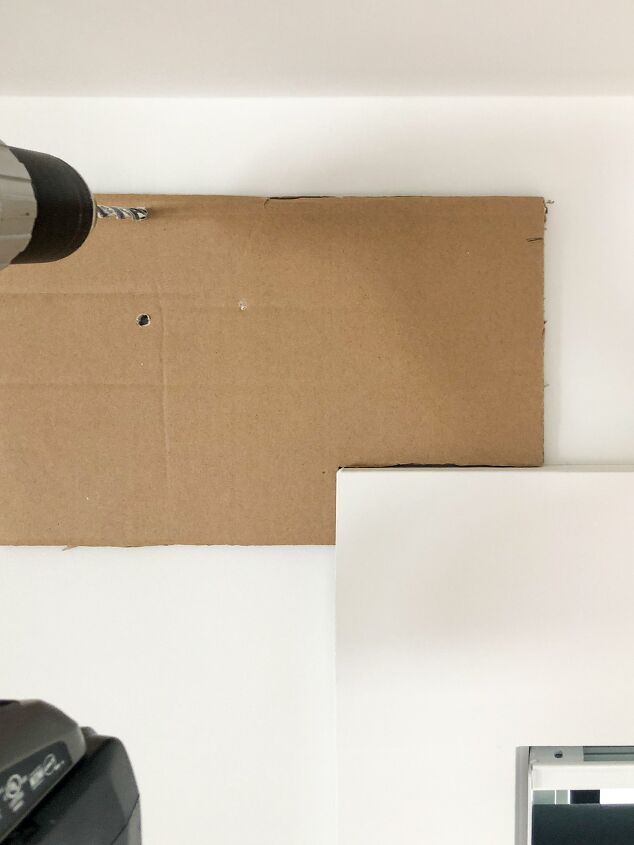
STEP FOUR: place the cardboard back on the wall using the same corner method as before. Use the screw hole markings you just made to drill your pilot holes. Drill through the cardboard and into the wall.
This will be your template that you’re going to use on the opposite side of the window and on each subsequent window so use care and make sure you go into through the cardboard and into the wall.
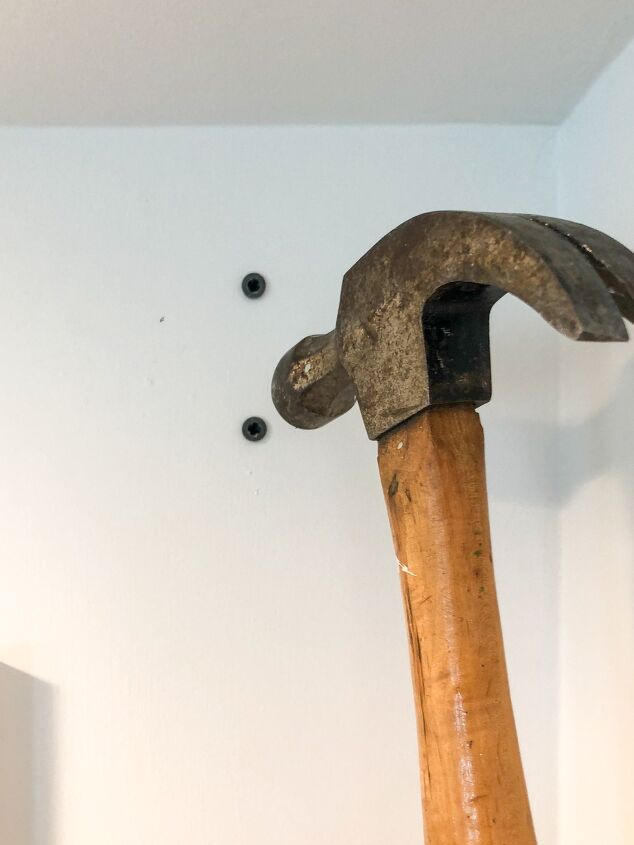
STEP FIVE: place the cardboard to the side (do not toss it!) and install your wall anchors.
For drywall, you can use the anchors included with your curtain rod. Use a hammer to gently tap them securely into place, as shown.
If your curtains are heavy (like velvet), I recommend using these self-drilling drywall anchors as they grip much better.
If you have plaster walls, I prefer these molly bolts.
STEP SIX: flip your cardboard over so it’s a mirror image and place it on the window trim on the left side exactly as before.
You should have drilled through the cardboard so that your holes will line up exactly evenly - and angled identically - on the opposite side of the window.
Follow steps four and five from above.
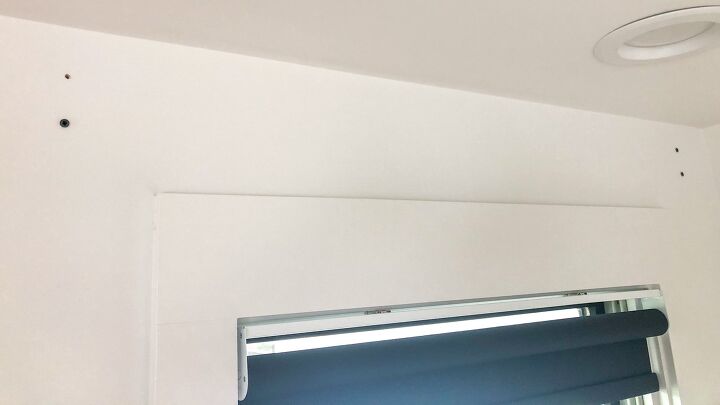
Note that on the top left side, there is no anchor installed. That’s because I ran into a stud while drilling my pilot hole. If this happens, you will not need an anchor as your screw will be secured directly into wood.
If you have lathe and plaster walls, you may find the lathe tricks you into believing you’ve found a stud. Drill past the lathe to make sure your anchors will be secure.
If you aren’t sure which material your walls are made of, a good way to determine is by knowing the age of the house. If your house was built before the 1950s and has never undergone a total gut renovation, you most likely have plaster walls.
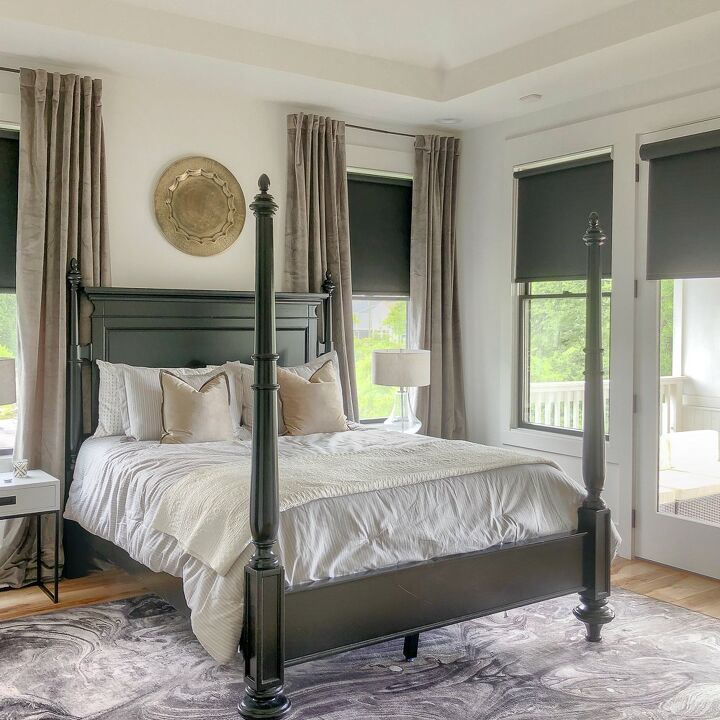
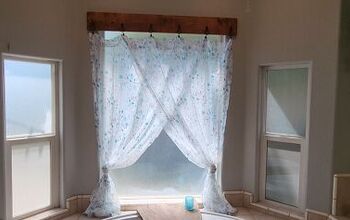
Now you can install your curtain hardware and your curtains!
If you are installing multiple windows in your home, I recommend saving your cardboard template to use on every window. This promotes continuity throughout the home when all your window coverings are installed at the same height and width.
Resources for this project:


Comments
Join the conversation
-
I am also confused about the 45 degree angle… a right angle is 90 degrees!
-
Thank you so much for this. I wish I'd had when I hung my rods and curtains.


Frequently asked questions
Have a question about this project?
Correct me if i am wrong, but although the writer keeps repeating "45° angle", aren't all the pictures showing 90° angles?