


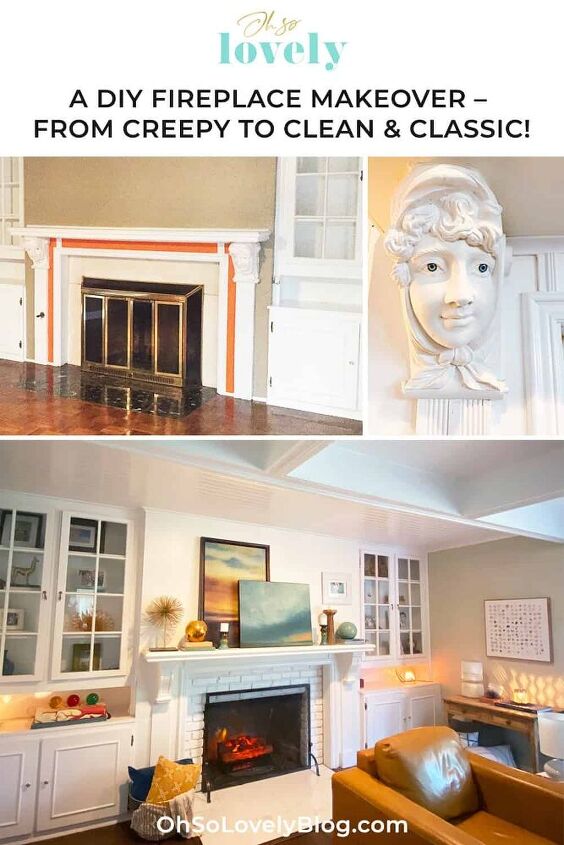
DIY Fireplace Makeover – From Creepy to Classic!
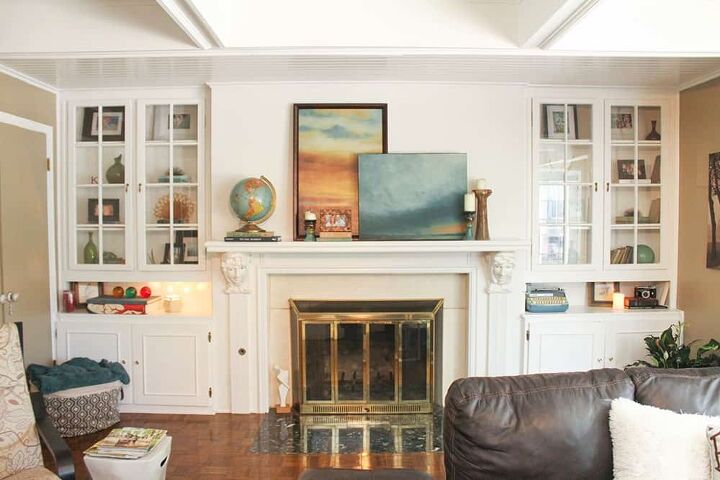
I’m so excited to share our DIY fireplace makeover. We bought this fixer upper “as-is” about six years ago and one of the first projects we planned to do was update our creepy fireplace!
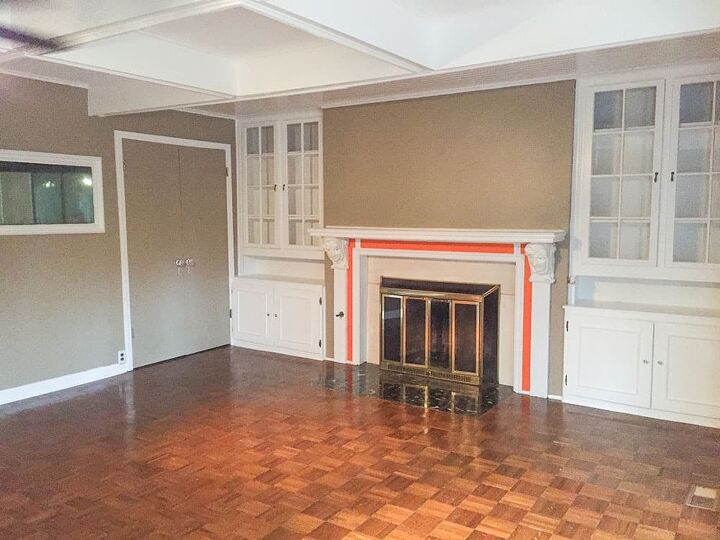
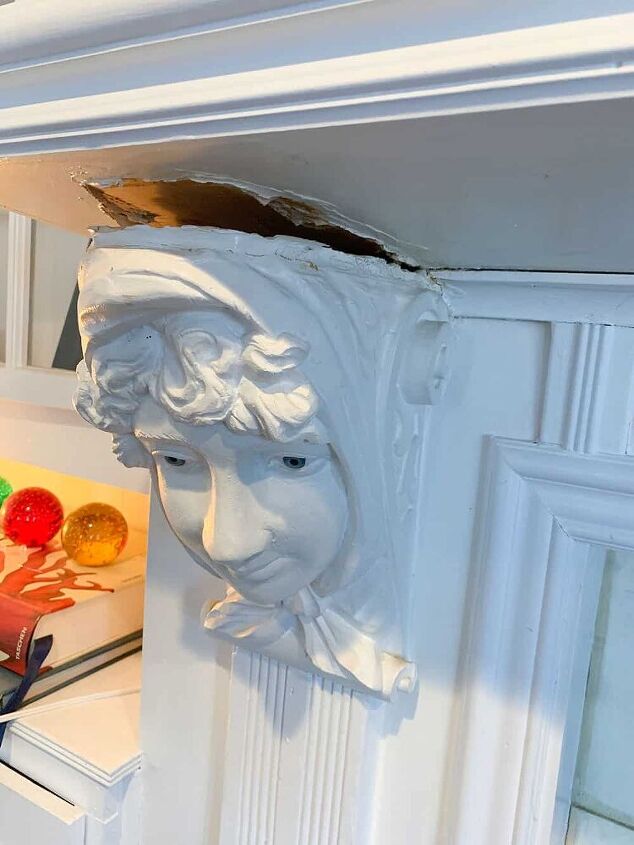
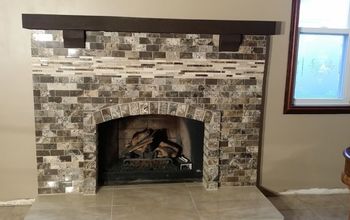
Take a look at the before photo, yikes! The face corbels and orange paint accents were definitely not our style – not to mention a bit creepy. Ha!
Most products used are linked in the original blog post here.
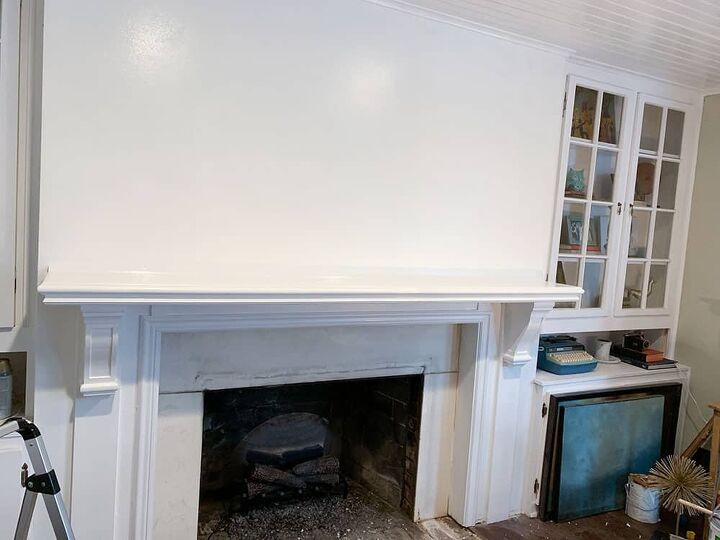
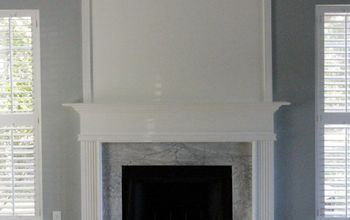
I immediately painted the parts of the fireplace that were tan and orange Gallery White by Behr.
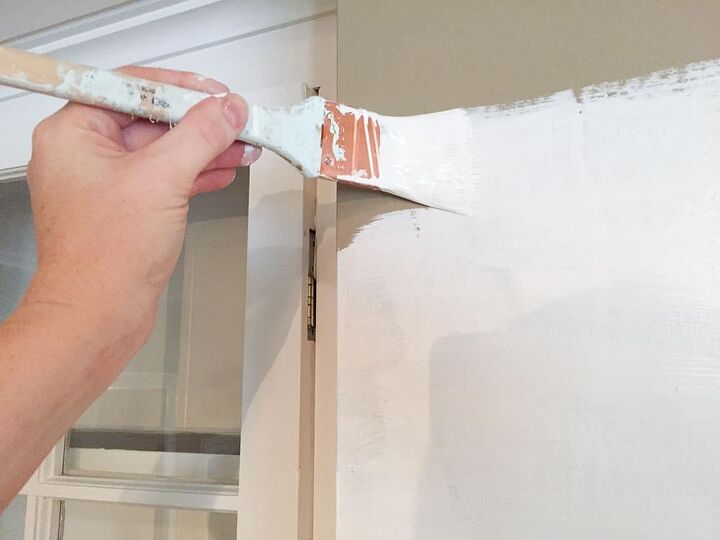
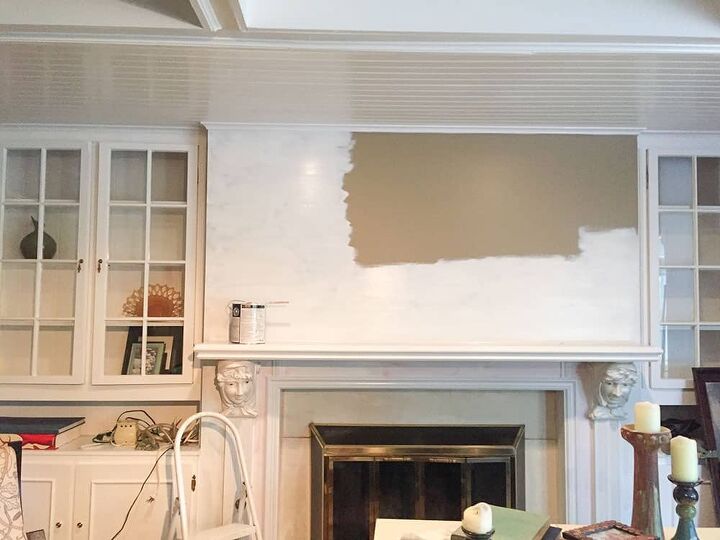
Having the whole fireplace one color makes it look like a whole section with the built ins.
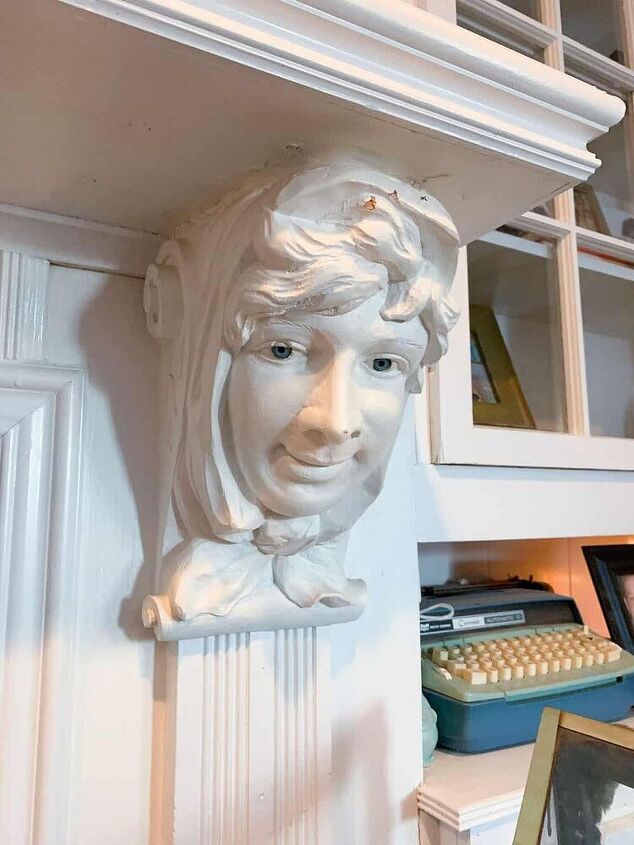
Much better, but obviously we still had some creepy face corbels to deal with (plus a dated enclosure and tile).
Life happened, and we ended up living with these corbels for longer than expected during our very lengthy DIY kitchen remodel project. It’s hard to be patient in a fixer upper, but we had to be.
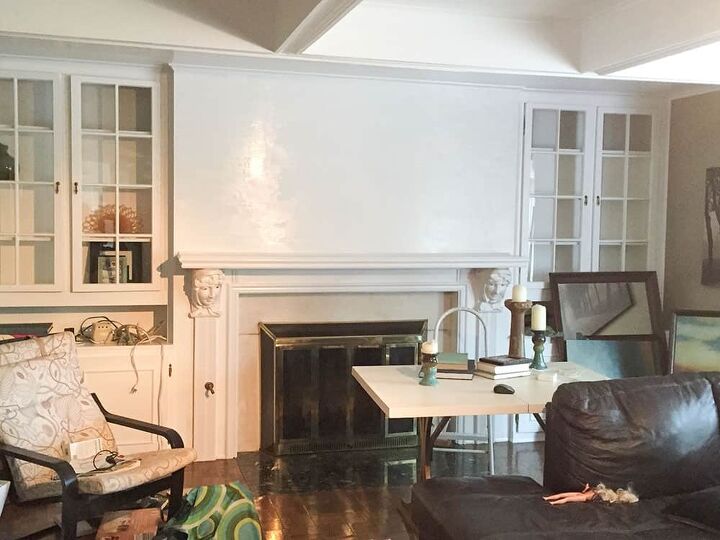
A month later I decided to paint all the walls in the room (minus the fireplace wall) Nonchalant White by Sherwin-Williams. It helped, but we still had the corbels, tiles, and metal gate to deal with.
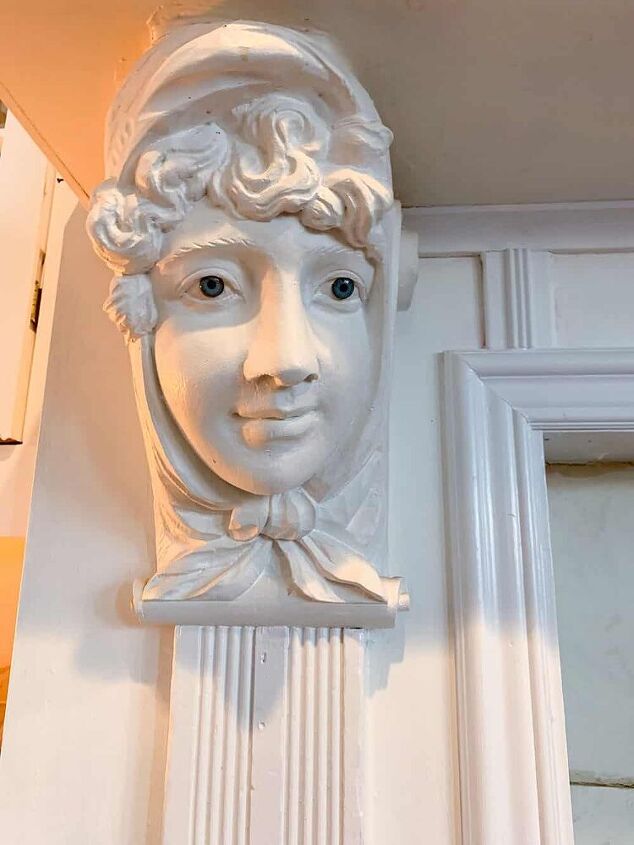
Look at these weird things! The eyeballs were just too much.
Before we got back to the fireplace, we removed the stick on parquet flooring throughout our entire house and replaced it with engineered hard woods.
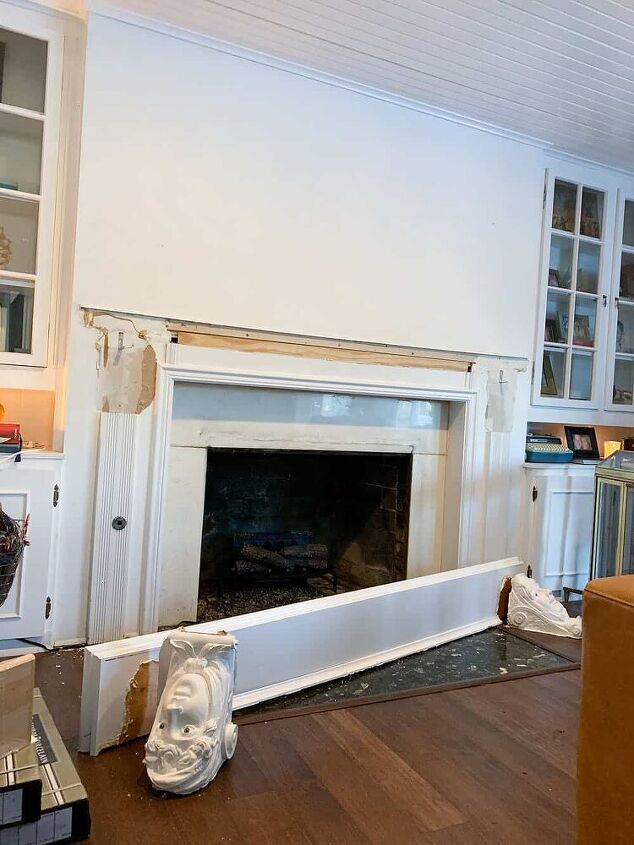
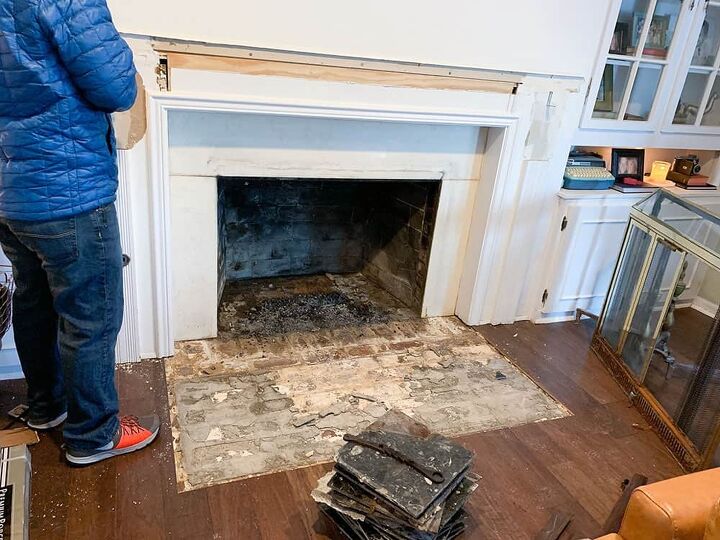
The time finally came for us to remove the creepy face corbels and I was so happy about it!
We gently pried them off the wall.
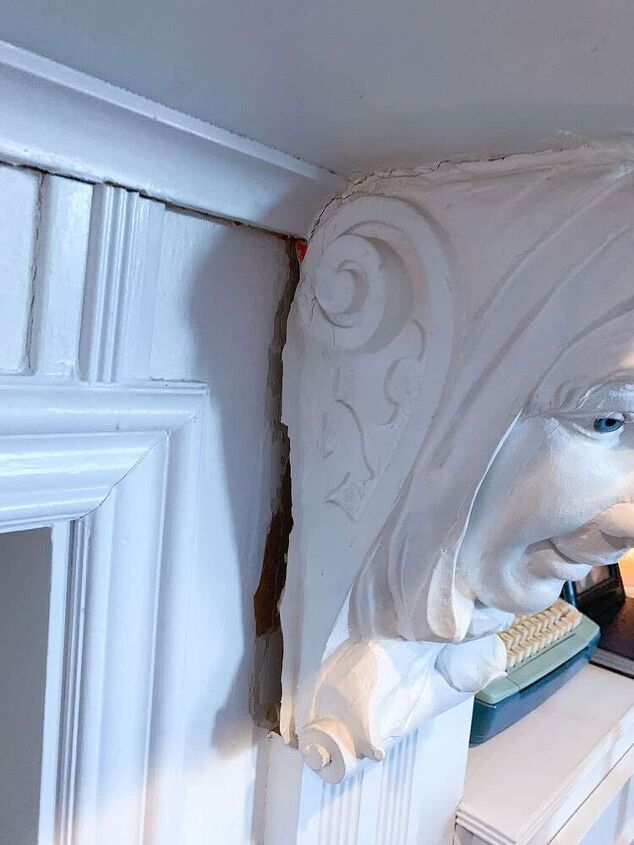
As expected, there was damage to the wood areas they were attached to, which meant we would repair the wood rather than buy all new.
Here’s a look at the aftermath once the mantel and corbels were removed.
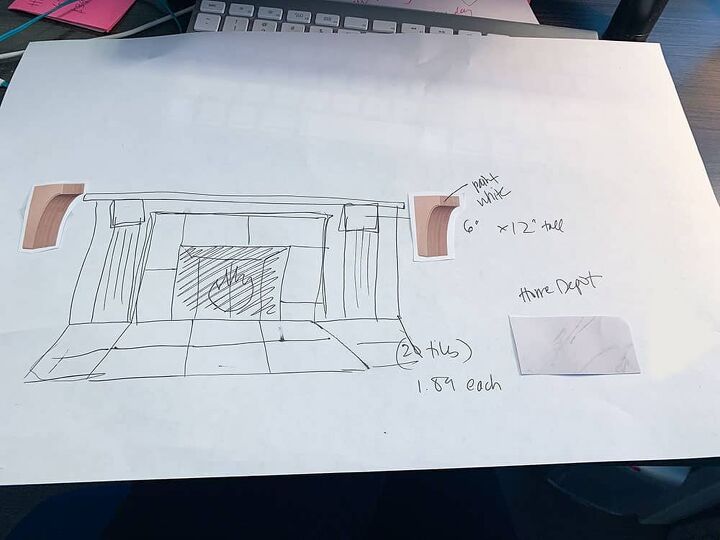
I referred to my trusty sketch, and my husband Ted and I got busy on our DIY fireplace update!
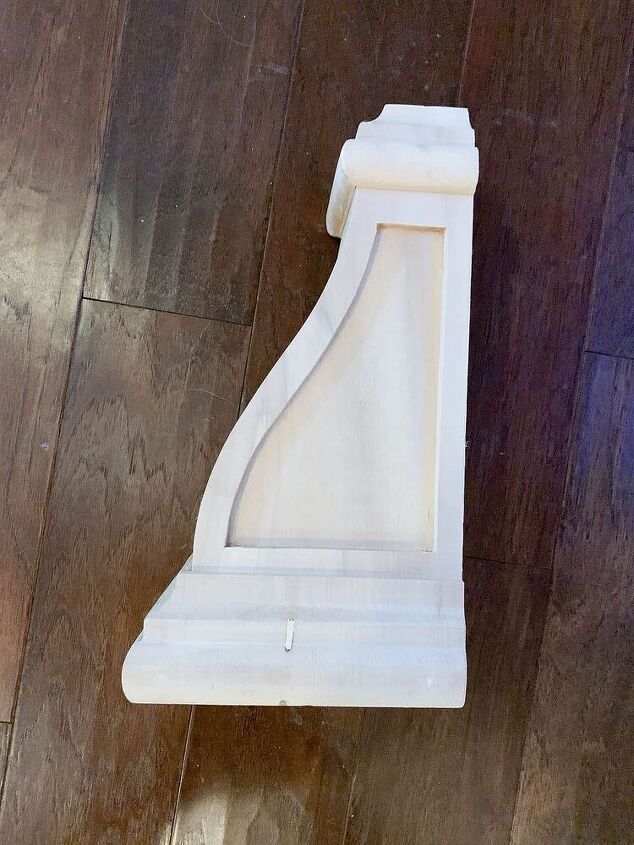
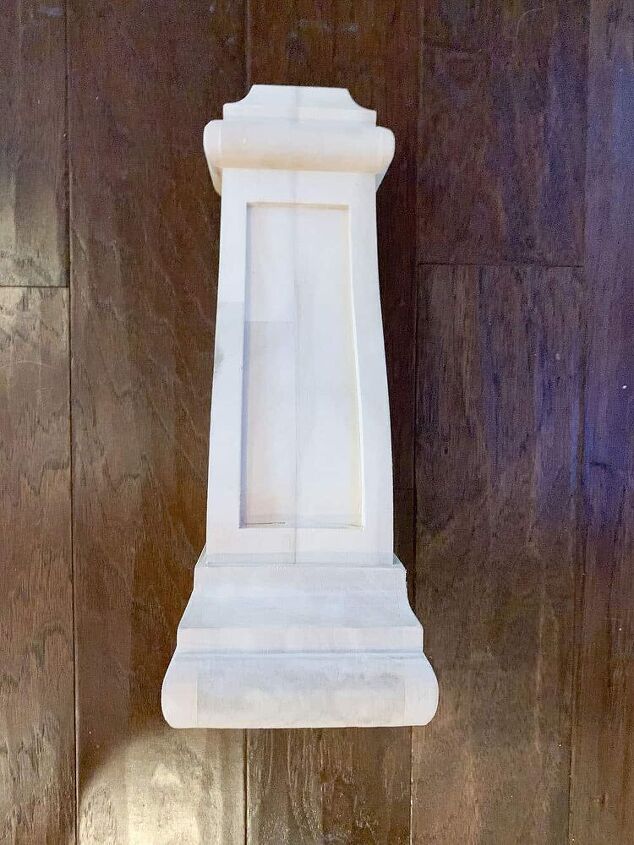
We found some affordable wood corbels in the perfect size. If you’re in the market, here are some similar options: option 1, option 2 (linked in original blog post).
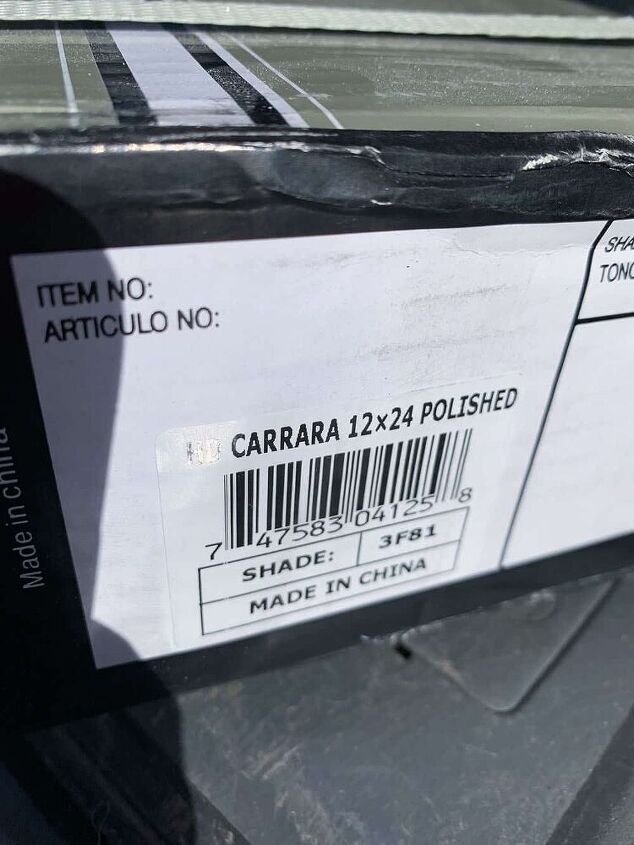
I also found some pretty and afforable 12×24 Carrara tile for the floor and wall surround.
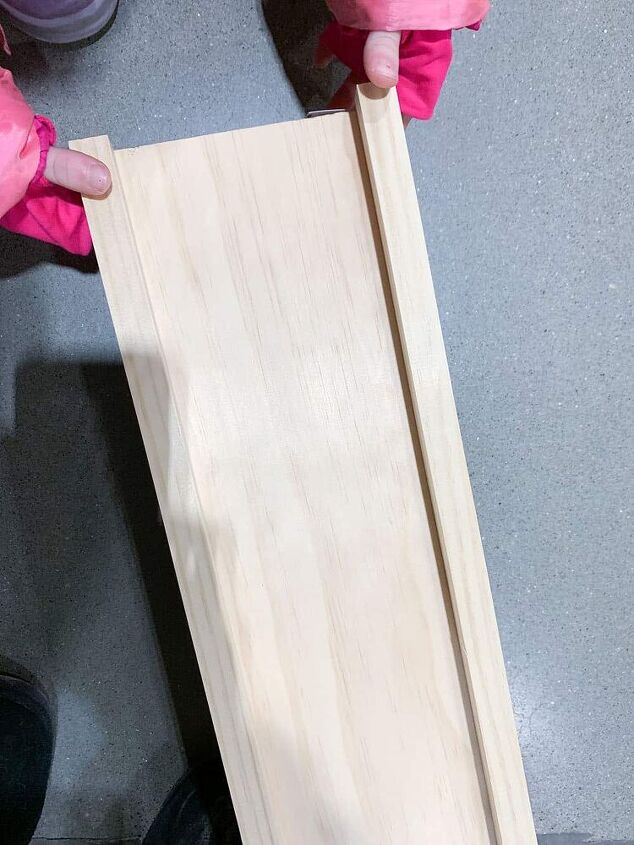
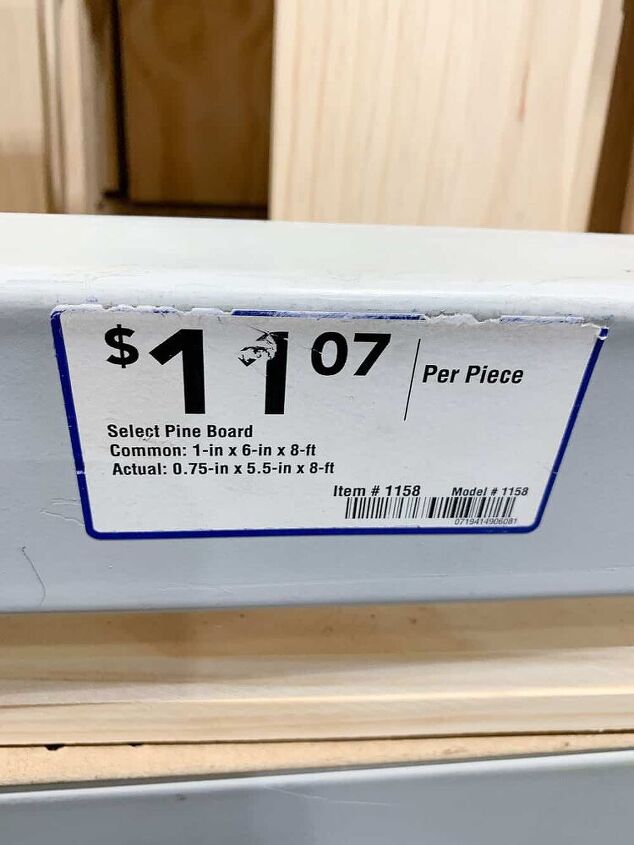
And finally, we purchased some affordable pine boards and trim to replace the damaged section behind the old corbels.
These prices were before the wood price surge of 2020-21.
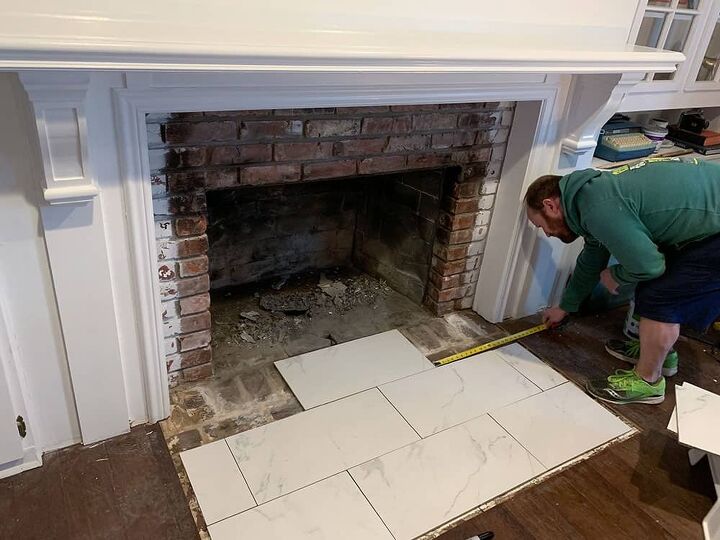
After we purchased or materials, it was time to get to work on the fireplace makeover. We started by ripping up the floor tile and removing the metal gate.
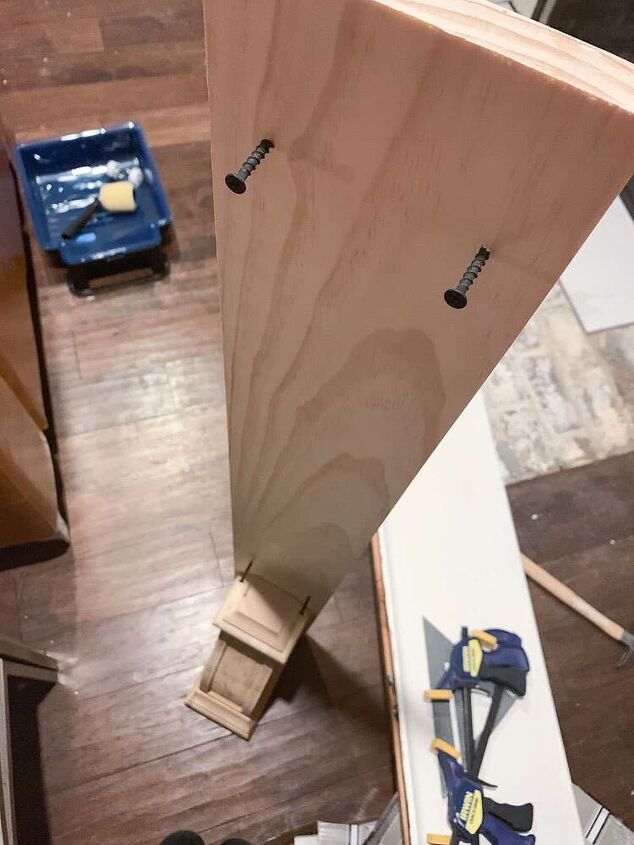
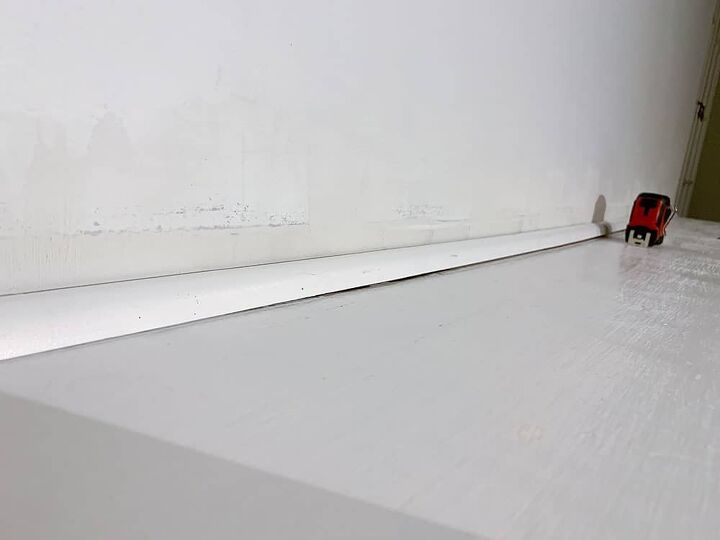
Ted used his square to mark up the new backer board to go behind the new corbels.
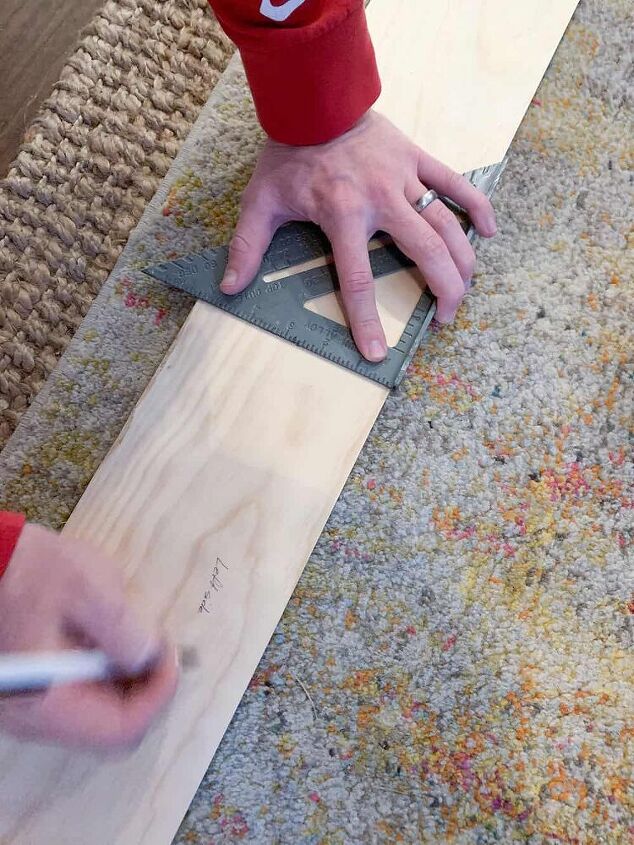
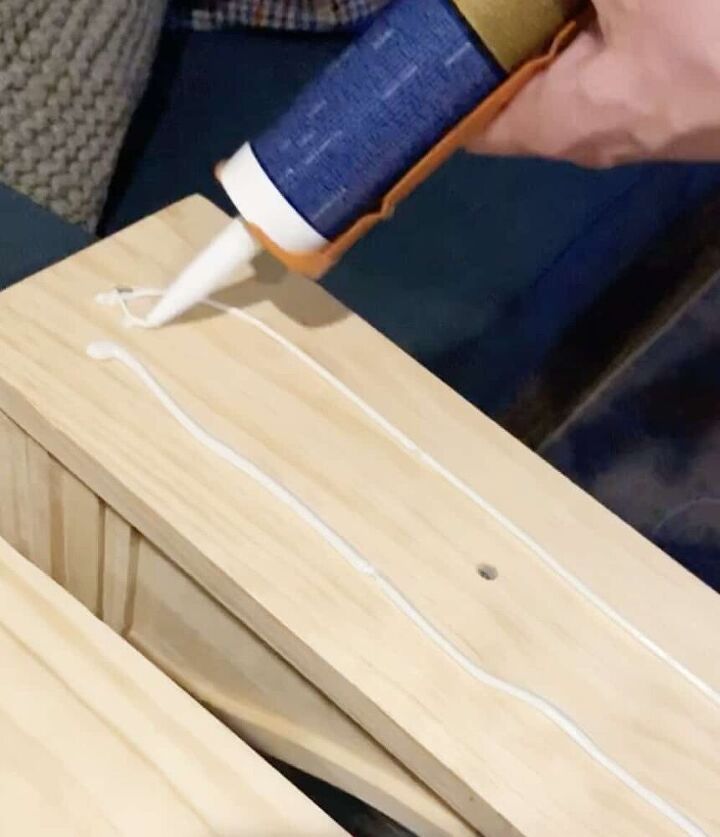
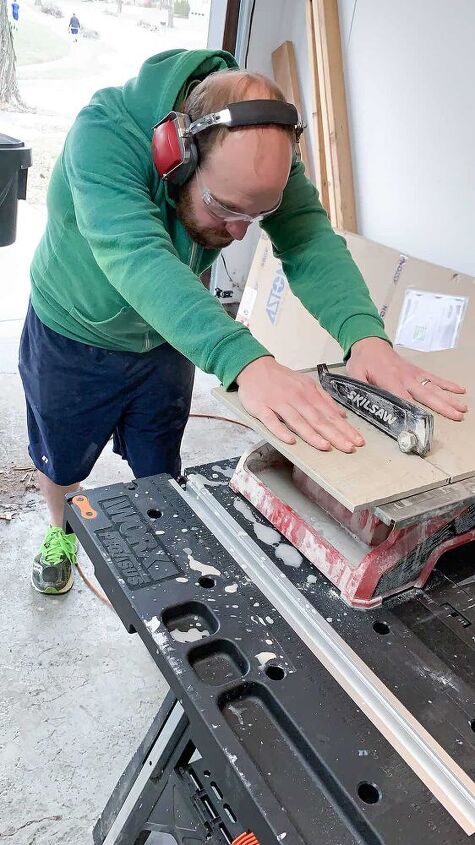
He cut the boards to size with his saw and began attaching the corbels with wood glue and screws.
He also drilled pilot holes on the long board, then screwed in the wood screws that would attach the board to the wall.

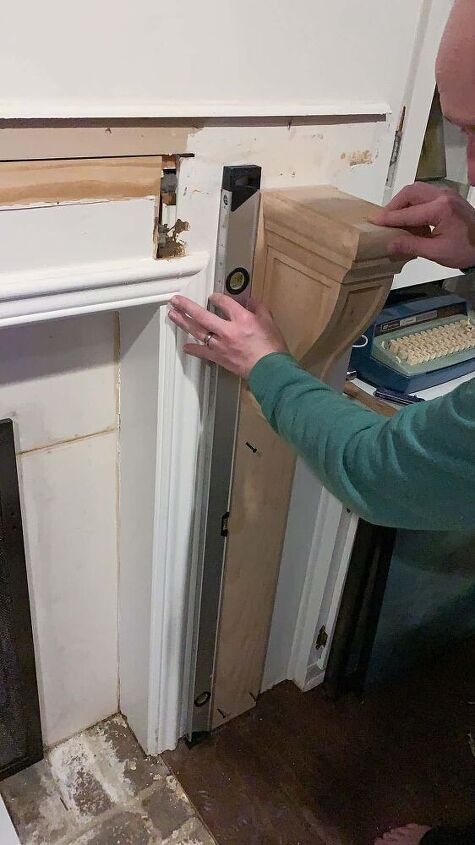
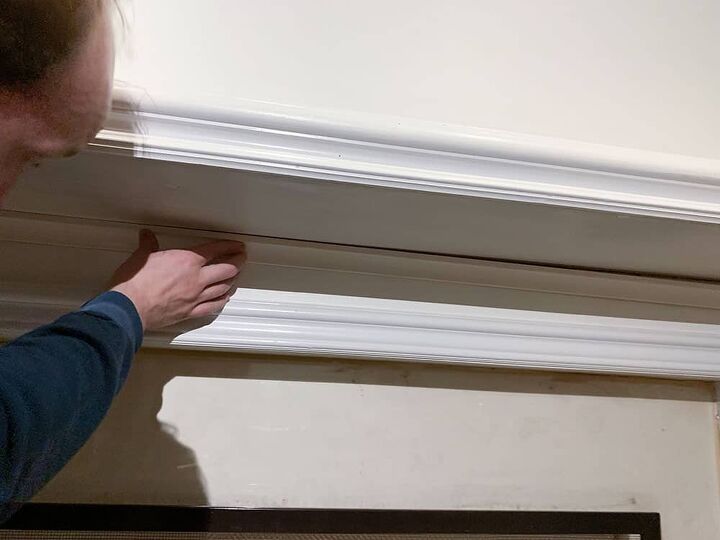
Once the new corbel sections were attached to the wall, Ted painted them. He then sanded down the mantel to repair the damage from the old corbels and re-attached.
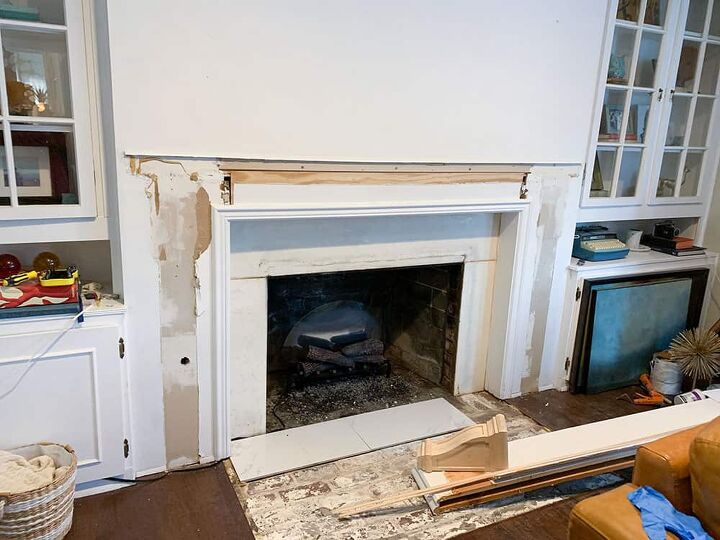
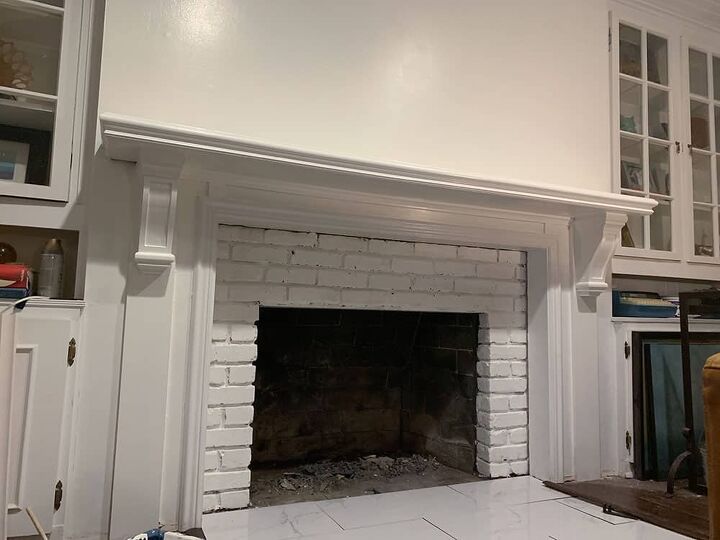
We were planning on using the floor tile as the fireplace surround tile as well, but after a closer look, we realized that there was brick behind the old tile.
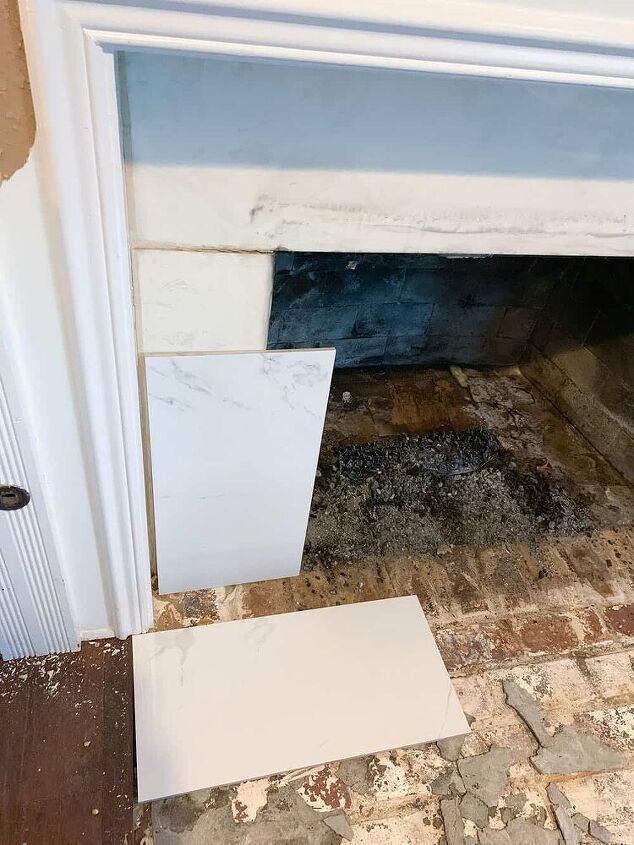
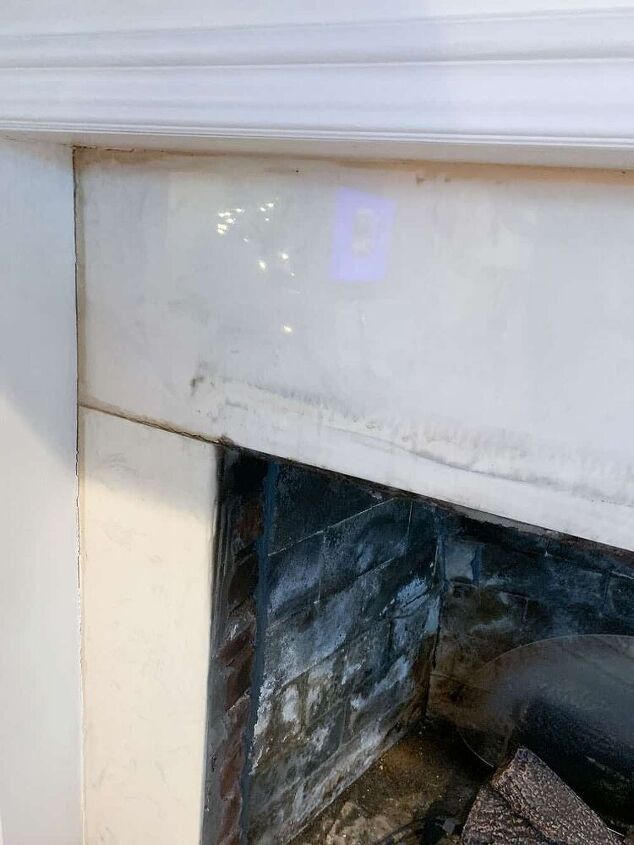
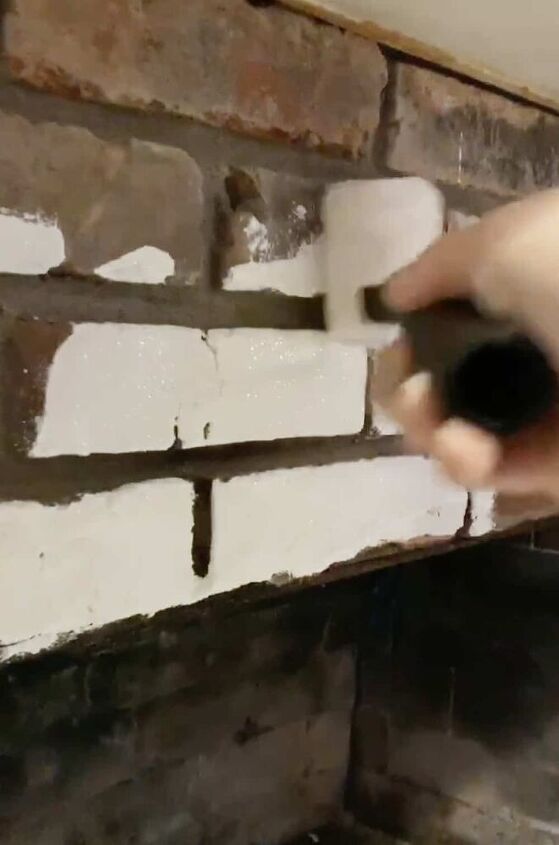
After some thought, we decided to just keep the brick, paint it white, and return the extra tile.
I got to painting using a roller for the fronts and a brush for the grooves in between. I applied two coats of the same Gallery White paint.
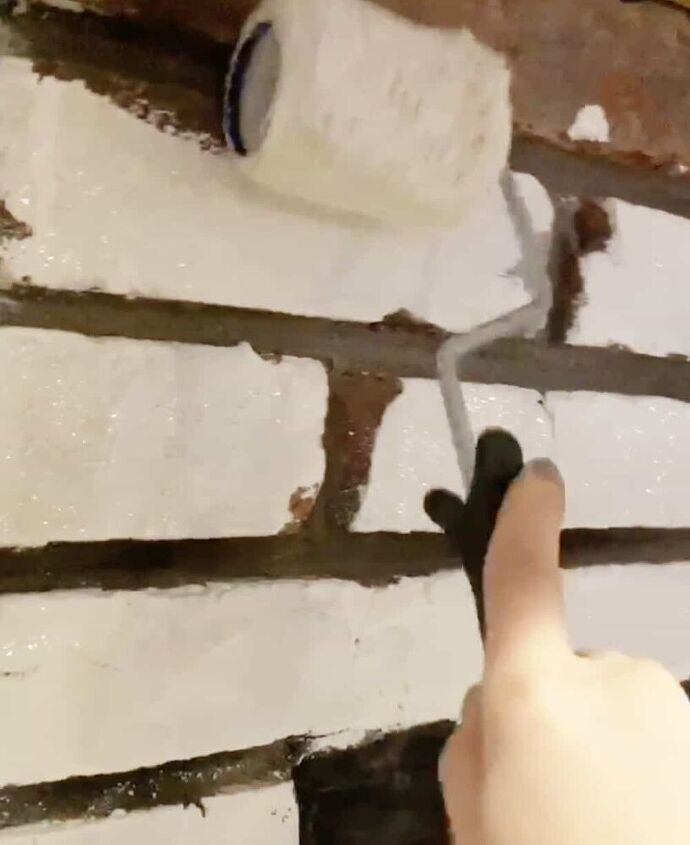
This part of the project moved along pretty quickly.
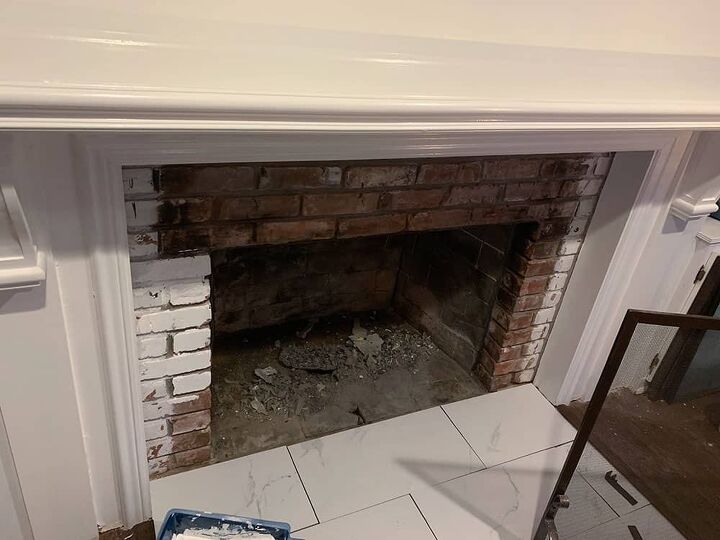
After I finished painting, Ted got to work cutting and placing the floor tile.
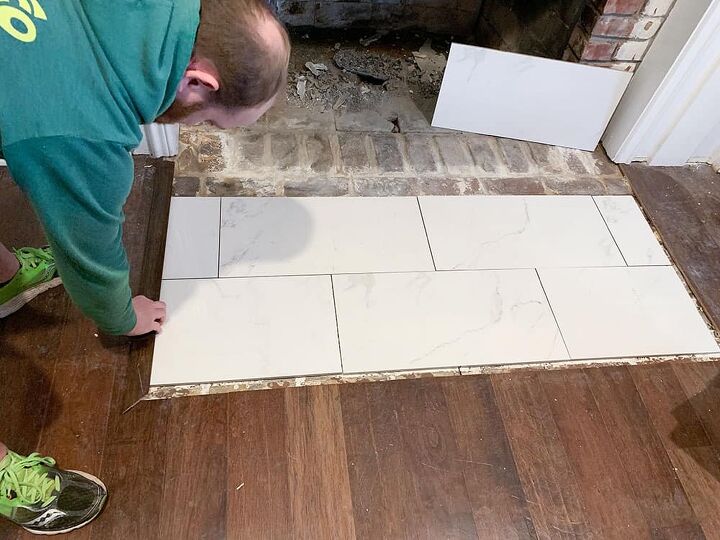
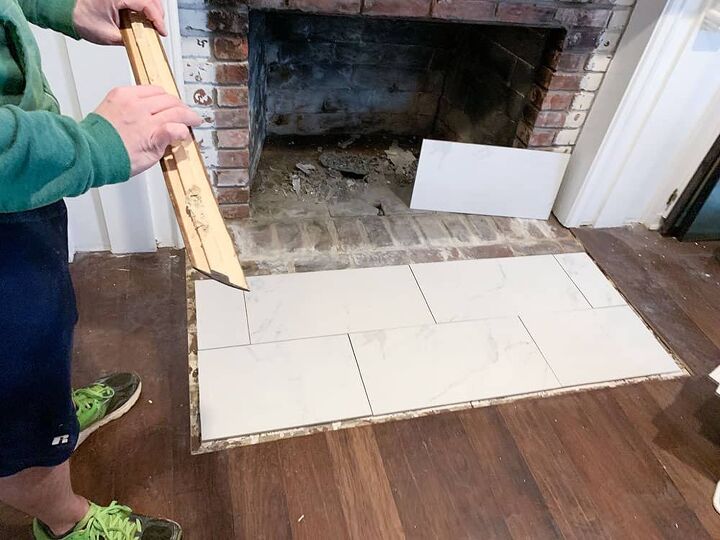
Ted added wood baseboards to the bottom of the new corbel wood pieces and painted them, then secured the tile.
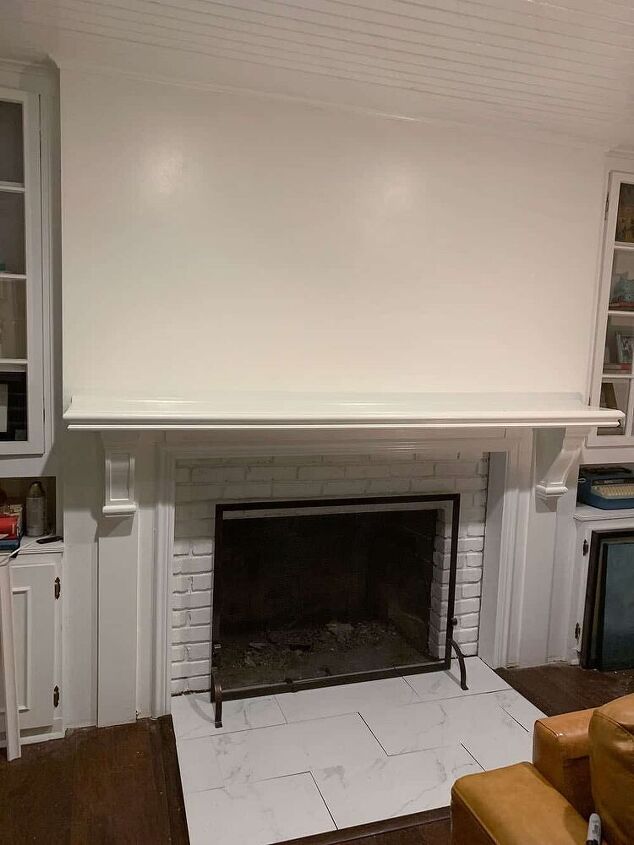
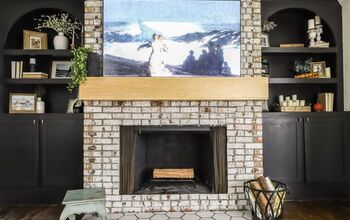
I was so happy to finally see our completed fireplace – such a big difference! And it only cost us about $120. Not too shabby!
I styled it, and added our electric fireplace insert, which has worked really well for us. Our fireplace is wood burning, but needs some repair. We were quoted about $6000-7000 to convert it to gas, which isn’t in or budget right now.
The electric insert is pretty affordable, looks pretty believable, and most importantly, it really warms up our living room! I recommend it if you’re in the market.
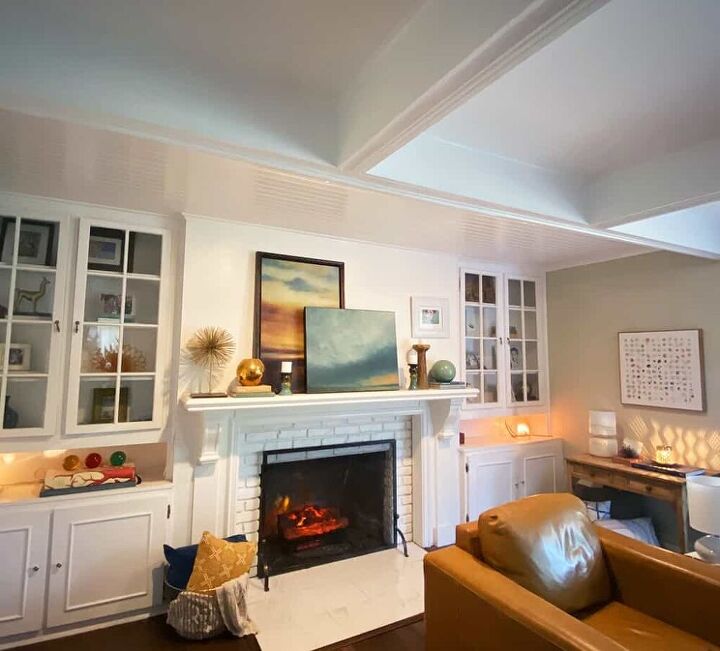
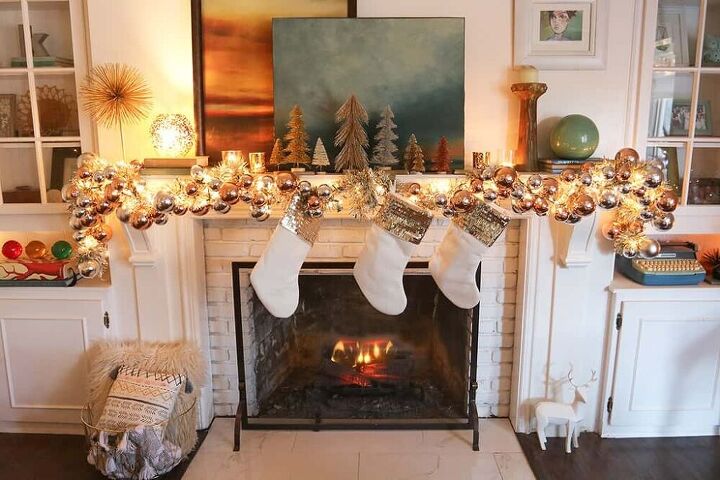
P.S. Here is the fireplace decorated for the holidays. I go a bit overboard, I know. Ha!
The photo below shows a different electric insert that we purchased in 2017. We moved that one to my office in 2021. It also works well.
I hope you enjoyed our DIY fireplace makeover! We’re so happy with it!
Pin for later!


Comments
Join the conversation
-
What a lovely transformation! So much better than before! Great job!
-
Those faces scare me! You did a wonderful job!!!!


Frequently asked questions
Have a question about this project?
my fireplace is just like this one in this project how can I rise it up of the floor
Do you still have the corbells? I would love to buy them.
Both are nice - but why is the chair with its back to the fireplace?