


Fusion Products Easily Create European Age, Elegance And Charm

Years ago I rescued this substantial plant stand with visions of stenciling it like glam fabric to coordinate with our old and crusty column collection. You can see that it got a quick distressed finish and nothing else. So much potential was waiting to happen, right?
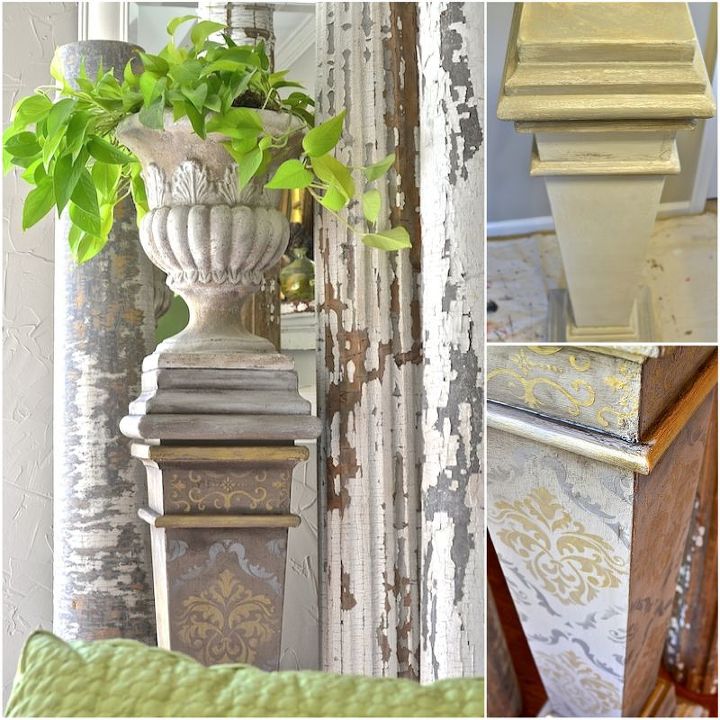
I needed some inspiration to get started. Colors and patterns especially. I was remembering a fabulous painting trip to Florence and and craving some warm, old world personality. Shouldn’t every home have something old, worn, weathered and gold?
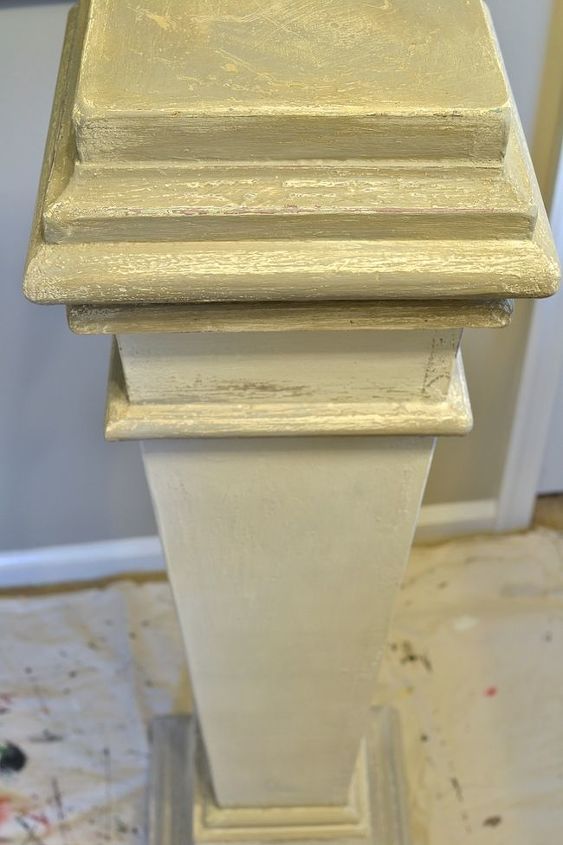
My goal was to get rid of this plain finish.
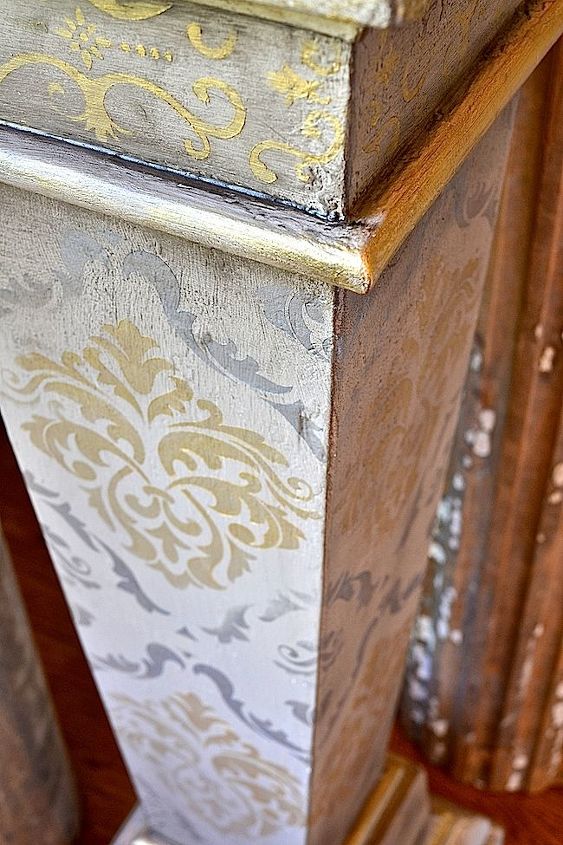
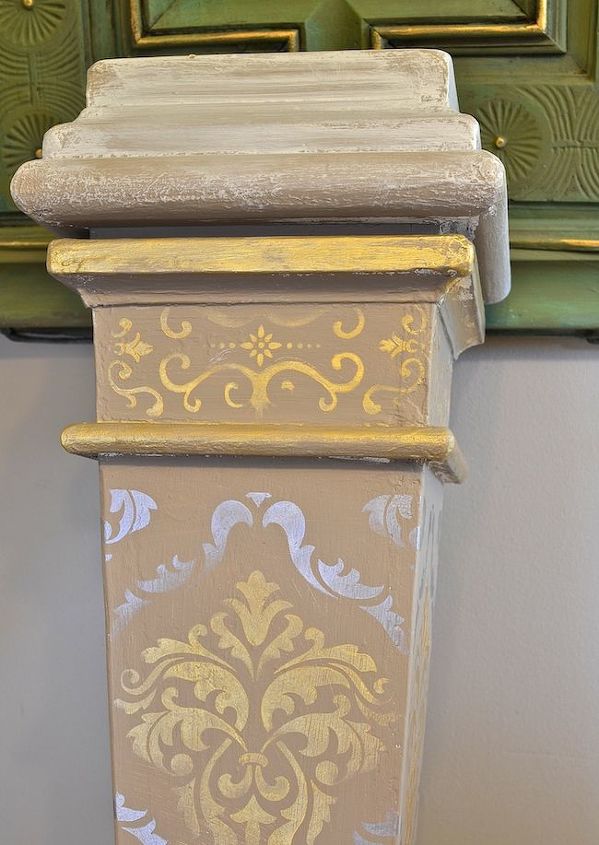
And make it look like this! A bit like treasured old damask fabric found in an attic trunk.
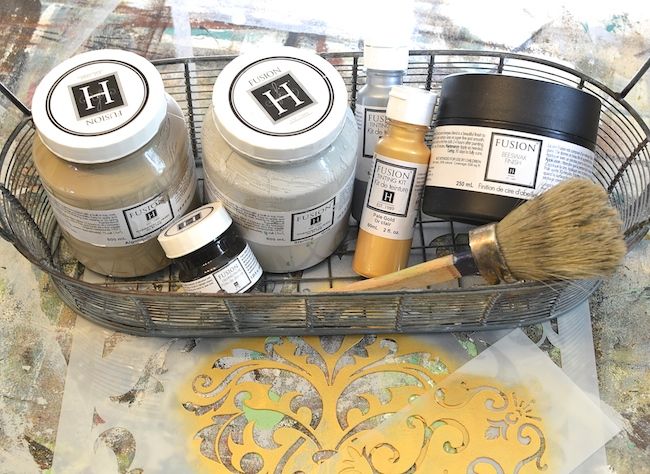
Here's what I used to create this easy furniture finish*
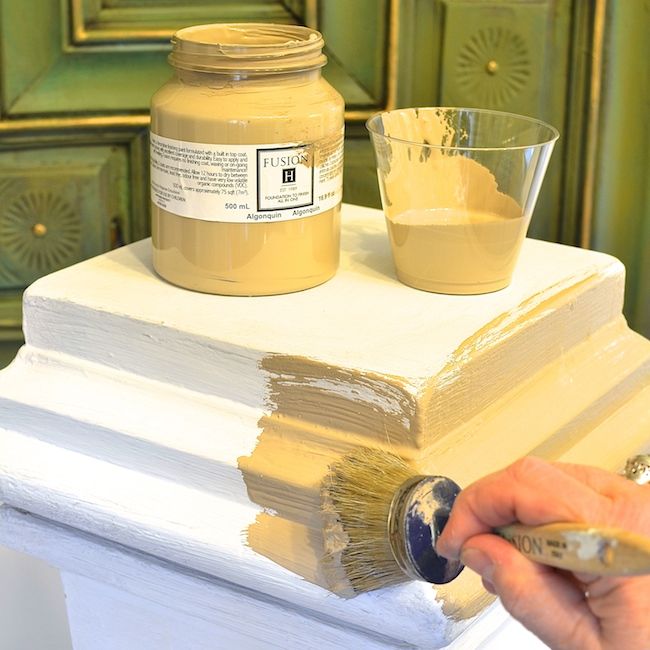
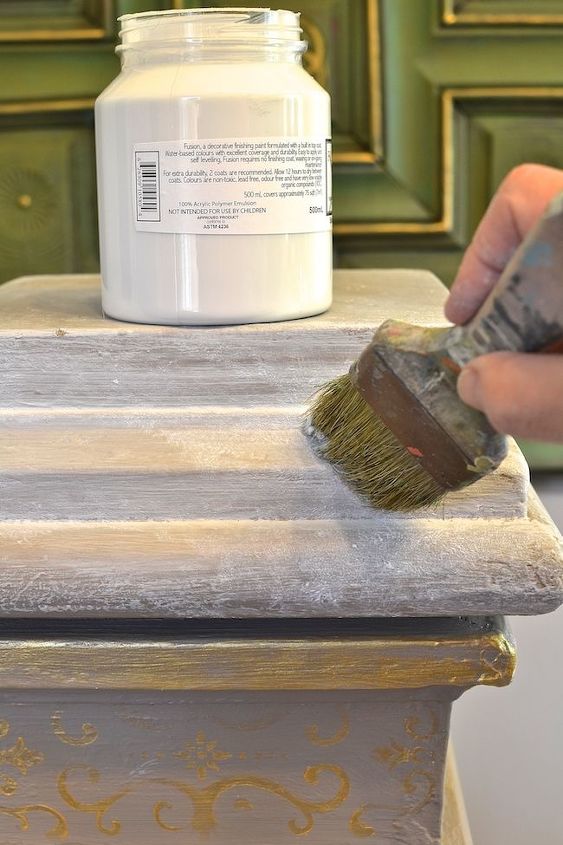
PAINT A BASECOAT & DRY BRUSH
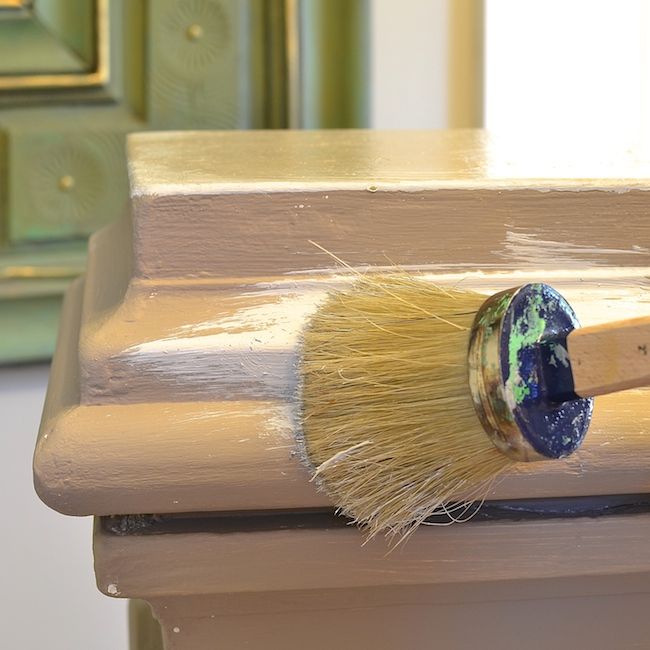
Dry brush some Sterling over select areas. Let dry. If you have never dry-brushed before, just off-load most of the paint on your brush onto paper towels before starting. This will allow you to get an aged look without sanding.
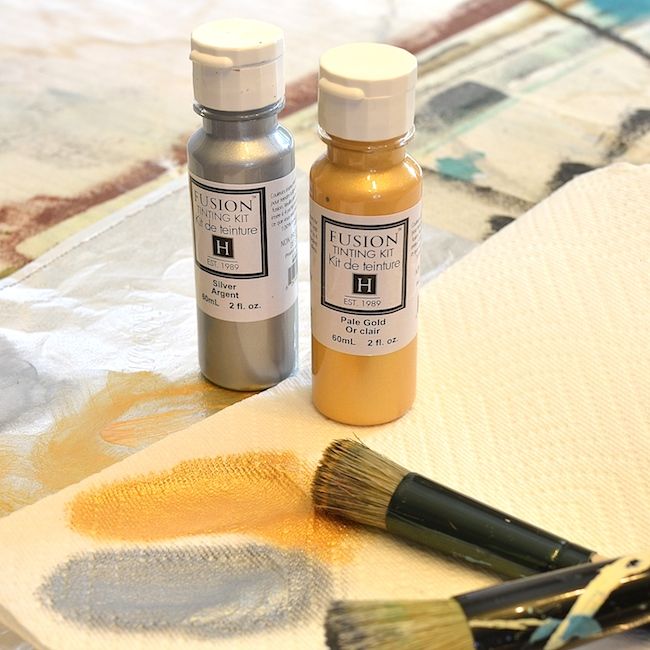
STENCIL USING METALLICS
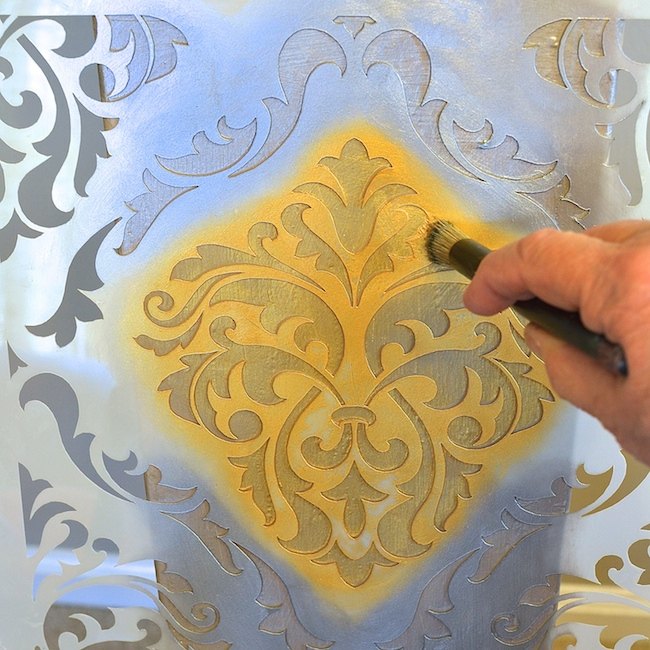
Use silver and gold and be creative with placement of your Fusion stencils.
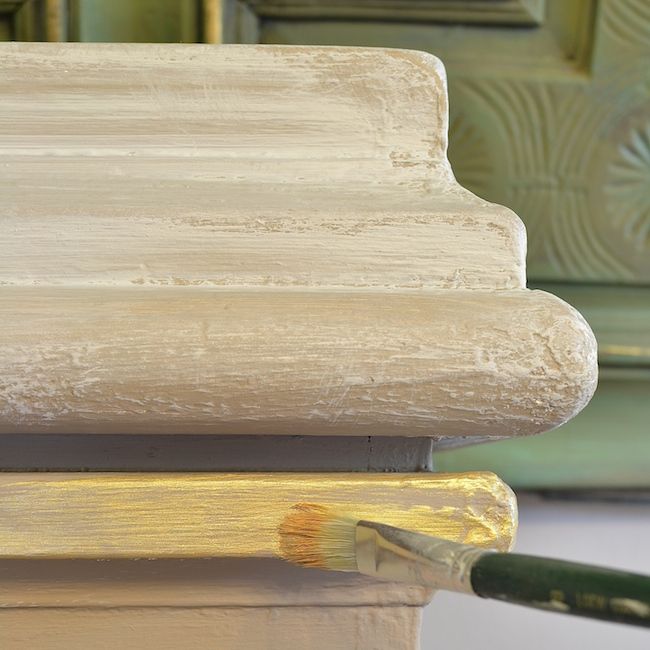
Dry brush some gold.
Now we have a pretty, but very new-looking finish. Let’s add some aging, without having to break out the sandpaper.
ADD LIGHT TEXTURE AND DARK GILDING PASTE TO AGE
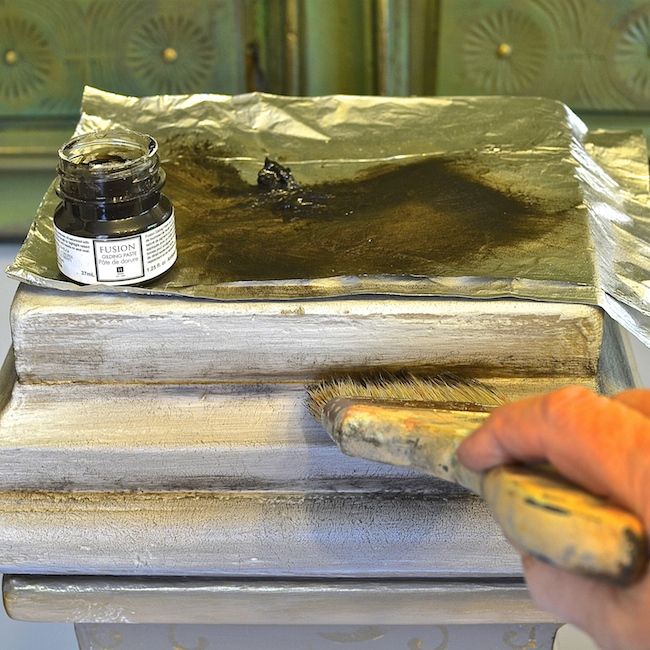
This is the last step, and Gilding Paste is a wax product, so you will not be able to paint over it. Use a throwaway brush to add Bronze Gilding Paste in crevasses to enhance the distressed patina. This step does need some practice. Use a stir stick to put some paste on a palette. I used a wide, stiff brush to dip into the paste, then rubbed a lot off on paper towels.
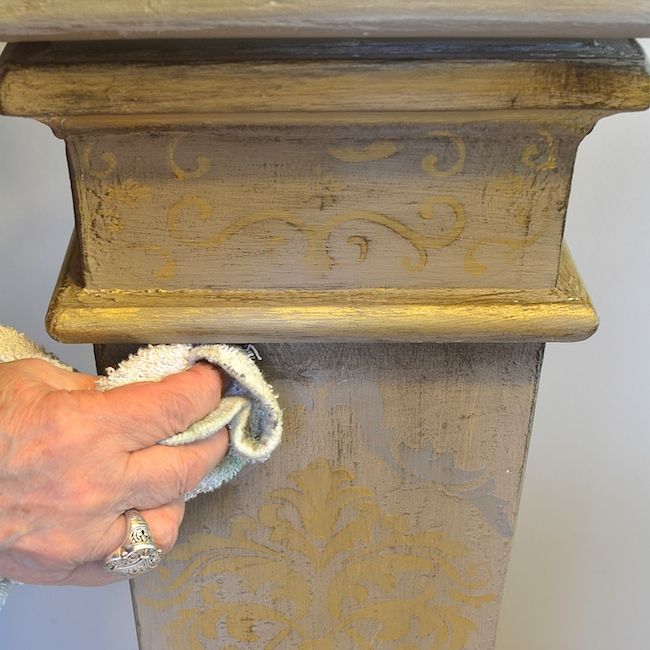
I like to brush the paste on in small areas, then use a lint-free towel to rub it around or off in areas. Very quickly the Gilding Paste is making the fresh coats of paint and stencil designs to a lovely, aged patina. So exciting. So easy.
Comments
Join the conversation
2 of 8 comments
-
What a wonderful job! I like how it turned out :)
-
This is the best project I have seen on DIY! Excellent explanation--gorgeous outcome! Thanks for sharing!!


Frequently asked questions
Have a question about this project?