


How to Organize a Toolbox Like a Pro DIYer

No matter how hard you try to stay organized and clean, it’s likely your toolbox will become a disorganized mess at some point. All that toting it around from project to project makes it subject to lots of grime, too!
When it comes the day you simply can’t stand the sight of your beloved toolbox anymore, then it’s time to get down to business with a deep clean, and organizational overhaul. That way, your tools stay in prime condition and time wasted digging around the toolbox is better spent tackling your next DIY project.
Here’s what you need to know about how to organize a toolbox and how to clean it inside and out.
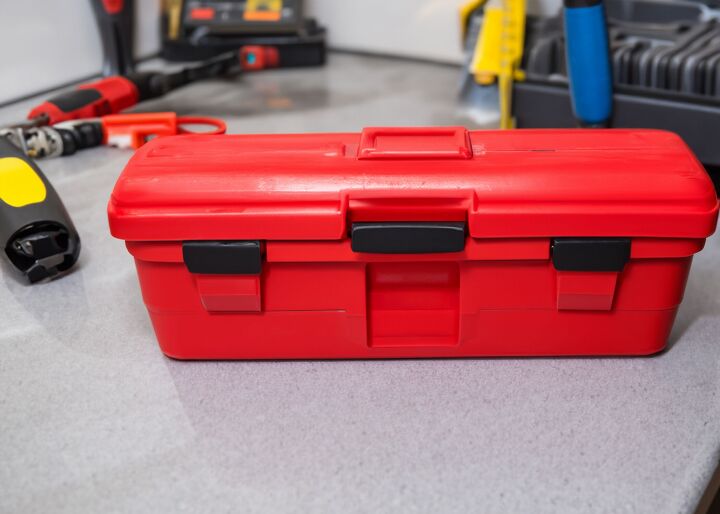
Photo via Shutterstock
How to Clean a Toolbox and Tools
First thing’s first: scrub down that toolbox! It provides you with all the items you need to make and fix a variety of things, but it can get dusty if left unused or untouched over time. And if your tools' home isn’t kept in good shape, their condition may wear down. Here’s how to clean a toolbox to keep your tools and their box in tip-top shape.
Tools and Materials Needed
- Towel
- Clean cloths
- All-purpose cleaner
- White vinegar
- Spray bottle
- Handheld vacuum or crevice tool on regular vacuum
- Cleaning bucket
- Wire brush
1. Empty the Toolbox
Put a clean towel on the floor. Remove all items from the toolbox and place them on the towel.
2. Clean the Outside of the Toolbox
Spray an all-purpose cleaner over the exterior of the toolbox. Wipe with a clean cloth. If the toolbox is made of stainless steel and you notice it’s oxidizing (it will appear hazy or brown), add 1/2 cup of white vinegar to a spray bottle and spray the vinegar on the affected areas. Allow the vinegar to sit for a few minutes, then rub the vinegar in with a cloth.
3. Clean the Inside of the Toolbox
Use a handheld vacuum or a crevice tool attachment on your larger vacuum to suck up dirt from the inside of the toolbox. Dilute white vinegar in a spray bottle with water (three parts water and one part vinegar), and spray the inside of the toolbox.
If there are any stains, you can dab white vinegar directly on the spots and scrub them with a cloth after letting the vinegar sit for a few minutes. Wipe the interior dry with a clean cloth.
4. Toss Out Old Tools
Throw away any rusted screws, bent nails, and items you no longer plan to use.
5. Clean the Tools
Fill a bucket with hot water and a small amount of all-purpose cleaner. Place the tools in the bucket for a few minutes. Then, use a wire brush to scrub down the tools. Rinse them under warm water and then dry them with a clean cloth.
6. Group Like Items
Place tools back on a clean towel, grouping like items. For example, place accessories like bits and sockets together or miscellaneous supplies like sandpaper and duct tape together. How you group is really up to you and what makes sense for your tool supply.
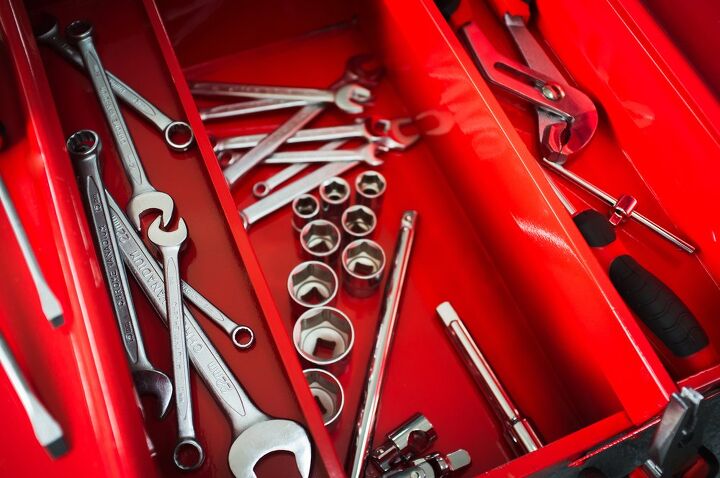
Photo via Shutterstock
How to Organize a Toolbox
Now that your tools and toolbox are clean and like new again, it’s time to organize your toolbox. As we guide you through this, keep in mind that every toolbox and DIYer’s set of tools is different, so feel free to make adjustments to accommodate your personal storage needs. That aside, packing a toolbox is a simple process, just remember to put your most-used items front and center!
1. Sort Tools Into Subcategories
Now that you’ve grouped like items, it’s time to survey what you have. You may want to sort them even further than when they were grouped on the towel after cleaning out the toolbox. Screwdrivers, for instance, can be sorted by sub-category, with Philips screwdrivers grouped together and flathead screwdrivers grouped together in their respective piles.
2. Review Your Sorted Tools
After everything is sub-categorized, further review what you have. Do you have multiples of a tool you only need one of? Is a product shot? Are there any tools you’ve never used and don’t plan on using? Does a tool even work? Prioritize the best tools, then toss or donate the rejects.
3. Place Items Back in Toolbox in Reverse Order
As you place items into your toolbox, start with your least-used items. The tools that are rare choices for your projects should go at the bottom of the box. This way, you have easy access to well-loved items without having to dig through the box, which will ultimately create a mess that you’re trying to avoid. Your most frequently used items should be the last to go in and should be front and center for quick grabbing.
4. Label Where Needed
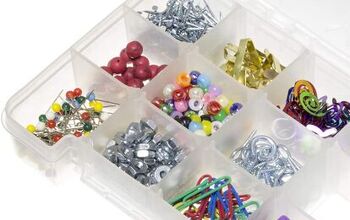
Consider placing little items like nails and screws in small baggies and labeling them using a label maker or permanent marker and masking tape. That way, when you pull a bag out, you’ll know exactly what you’re looking at. If your toolbox has any compartments or pockets within it, place these items there.
5. Take Inventory and Purchase Replacements
Now that you’ve cleaned, sorted, organized, and replaced everything in your toolbox, you’ll have a better idea if there’s anything you’re missing or short on. Immediately take note of this, then head online or to your local hardware store and replace these items. Why? Because when the time comes and you need the tool, you may go digging for it in your toolbox and not realize you’re out of it!
Exploring cost-effective ways to renovate your home?
More Tips for Keeping a Toolbox Organized
Now that your toolbox is clean and organized, here are a few more hacks to keep it in order for the long run:
- Have two toolboxes. One toolbox can be the home of your go-to, most frequently-used items. A second toolbox can be reserved for specialty tools or backups of tools you already have in your primary toolbox. This way, you spend even less time digging around, while keeping the box minimal.
- Prioritize an open tote box. This way, you can bring your toolbox wherever you go. When you have a hefty, hard-to-transport toolbox, you may find yourself pulling out tools and plopping them in your car or a carrying tote. By the time you go to put them back in the toolbox, you may be tempted to just toss them in and not replace them in their respective compartments.
- Repurpose containers. Old coffee canisters and takeout plastic containers are great ways to hold tiny knick-knack-type tools to keep outside of your toolbox like fasteners, clips, washers, and more.
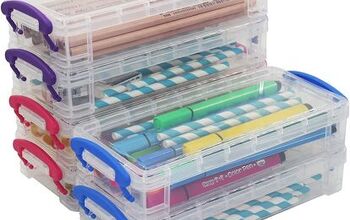
- Utilize liners. If you’re finding dings on your metal tools, it might be worth investing in drawer and compartment liners for your toolbox, which are typically made of plastic or foam. This prevents tools from scraping against each other and any other metals along the toolbox.
Do you have additional tips for how to organize a toolbox? Share below!
Comments
Join the conversation
-
Really lovely
-
Clear plastic organizers for small items such as drill bits, screws, etc. can often be found at lower prices than in the 'tool department' , in other categories such as crafting or stationery.
Here are a couple of examples:


Frequently asked questions
Have a question about this project?