


Reusable Fabric Bowl Covers (EASY)
With this hot but nonetheless beautiful weather we’re having, it would be a shame to not go out on picnics as much as possible! And you can’t have a proper picnic without tasty food!
I don’t like using plastic containers for food, so whenever I pack food, I just put it in a bowl. But I put a fabric cover over that bowl, that’s the secret!
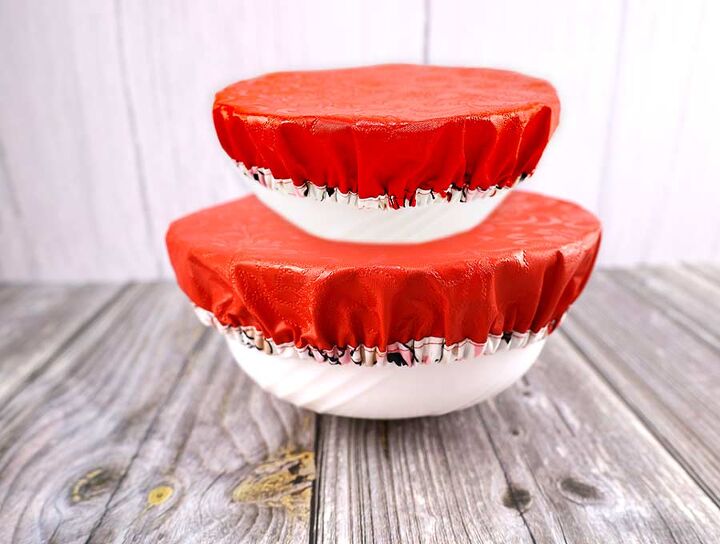
If you like that method and want to try it out yourself, you’ve come to the right place. Because you’re about to learn how to make a DIY fabric bowl cover!
Cut the fabric out
Use a polyurethane fabric because you want the cover to be waterproof.
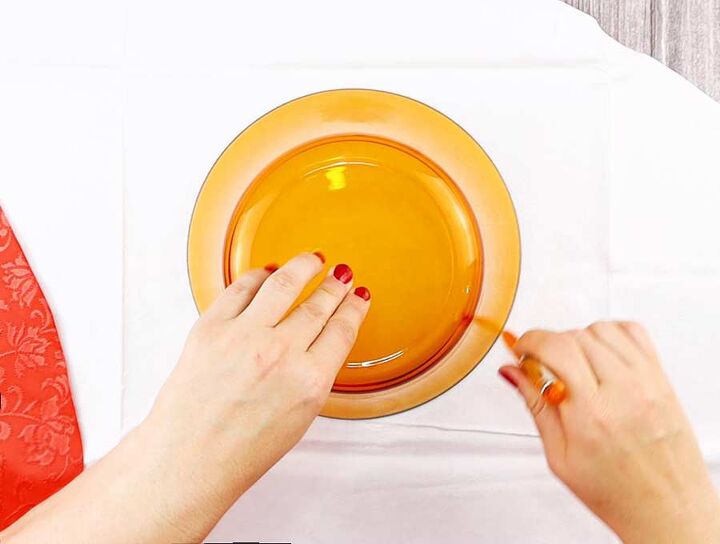
Place the bowl upside-down onto the fabric’s wrong side and trace around it with a fabric pen.
Expand that circle by two inches. Cut it out.
Cut out a piece of elastic five inches shorter than the bowl’s circumference.
The last thing you’ll need is a pre-made bias tape.
 FULL step by step tutorial here: how to make a bowl cover
Sew the bowl cover
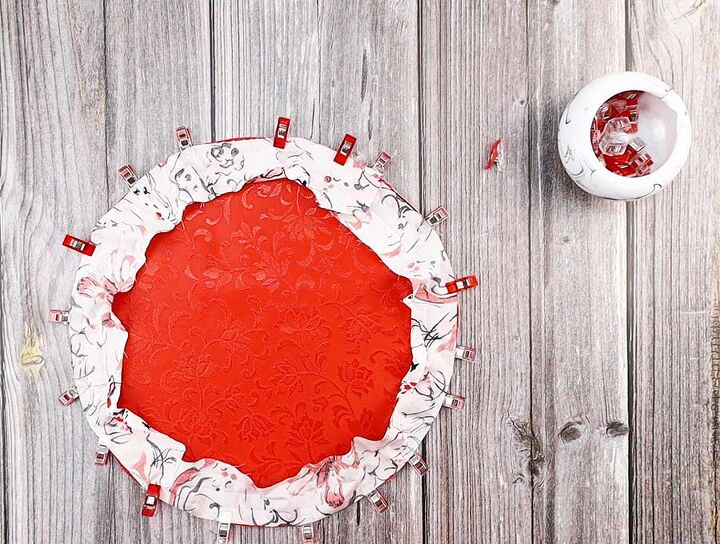
Unfold the bias tape and attach it all around the fabric circle edge. Use clips instead of pins so that the cover remains waterproof.
Overlap the tape edges for about an inch and cut off the excess.
Stitch around the fabric following the first crease on the tape.
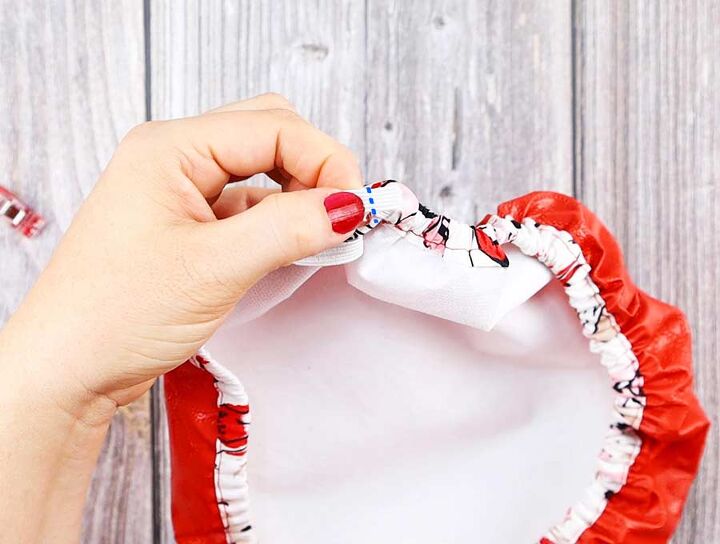
Push the bias tape over to the backside of the fabric and fold it in. Secure it with clips.
Stitch around the tape, leaving a small gap for the elastic.
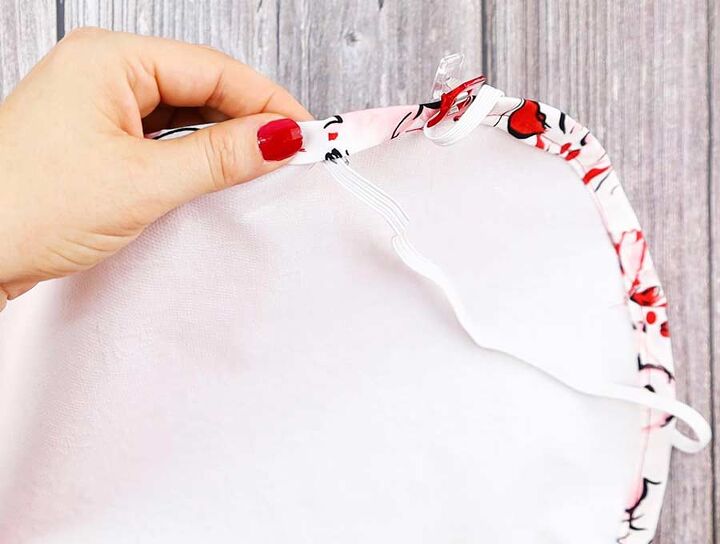
insert elastic
Insert the elastic into the casing around the edge with a safety pin. Be careful not to lose the other end of the elastic in the casing.
Finish the bowl cover
Overlap the elastic ends and stitch them with a zig-zag stitch.
Push the elastic completely inside the casing and sew the opening shut.
FULL step by step tutorial here: how to make a bowl cover
Now you’re ready for that picnic! We hope you had fun reading this article. Check out our other tutorials, they’re all fun and easy!


Comments
Join the conversation
-
Shower cap
-
As far as re-usability is concerned, these covers are better than shower caps.
Most 'motel grade' shower caps are thin plastic with the elastic more glued on to the plastic, rather than being inserted inside a casing, as the ones in this project are. Once the elastic begins to pull away from the plastic, causing ripping, the former are no longer tight enough to go around a container, or stay on a head.
Thus, they become a one-use plastic item.
If the casing stitching rips on these covers, it can be sewn in again.


Frequently asked questions
Have a question about this project?
Isn't polyurathane basically plastic?