


Thrifted Glass Spice Jars Makeover With Spray Paint
I found these glasses at my local thrift store and they were perfect for a custom spray paint makeover.

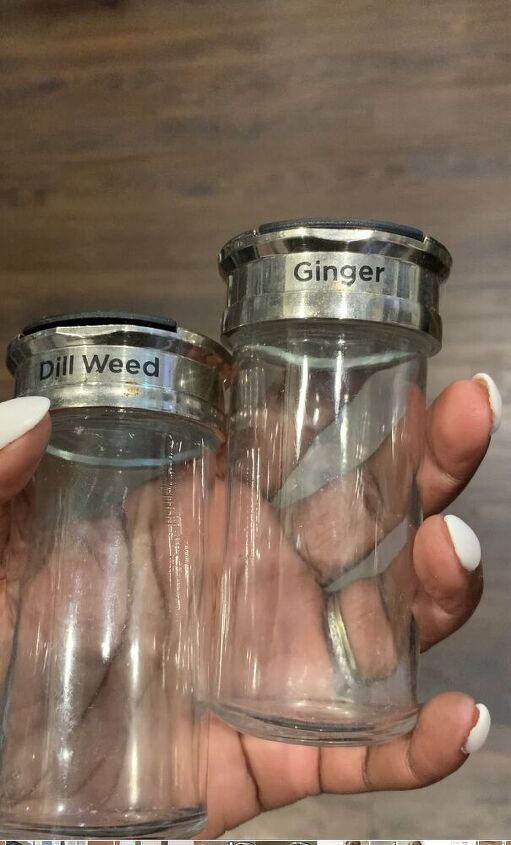
While thrifting a few weeks ago, I came across this glass spice jar set with 20 jars for $4.99. I knew with that price, that I had to have them! I immediately envisioned giving it a custom makeover because glass spice jars can be super expensive!
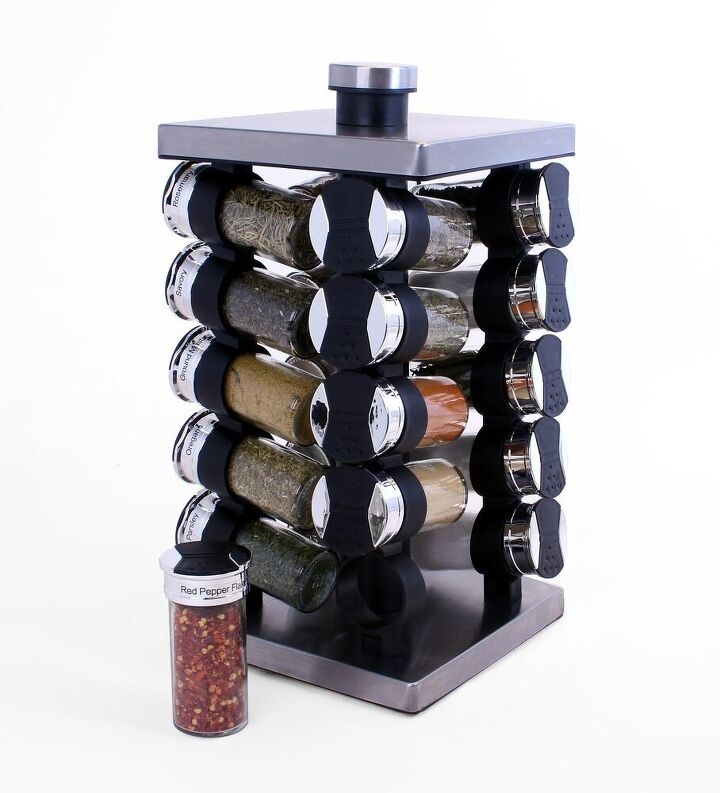
Prior to my makeover, my spice cabinet was super basic. My spices were stored in a lazy Susan, and while that helped keep things in semi-order, I was looking for a change at the right time.
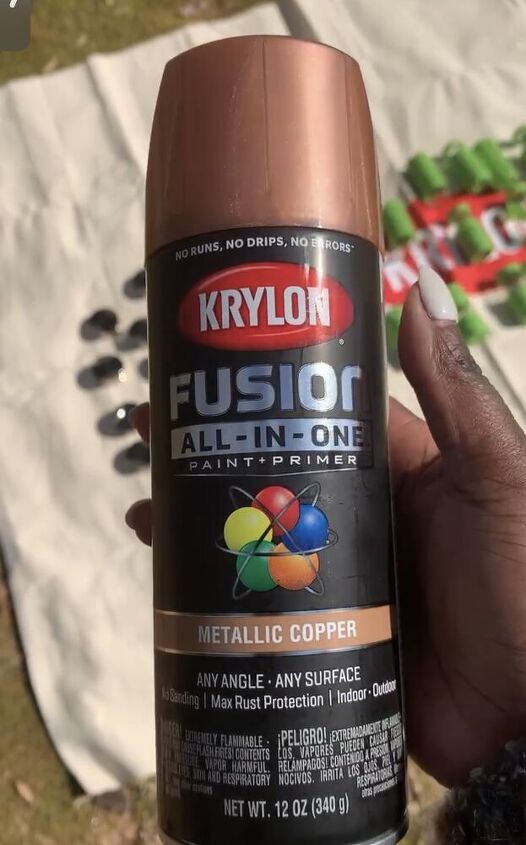
The timing of these glass jars was perfect. I knew that I wanted to do a copper color blocking technique on these jars to really make them pop!
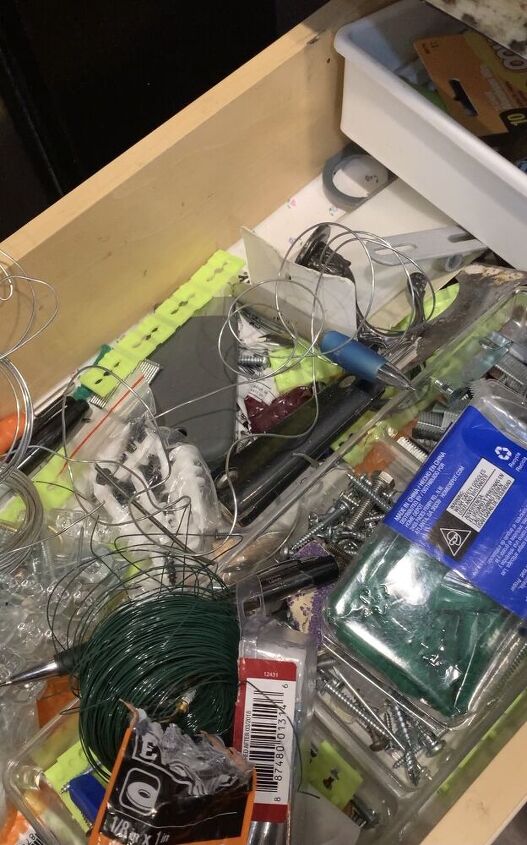
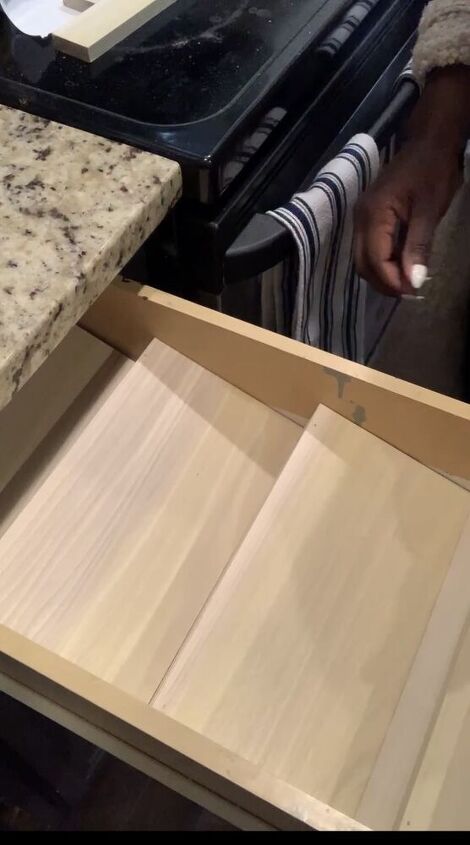
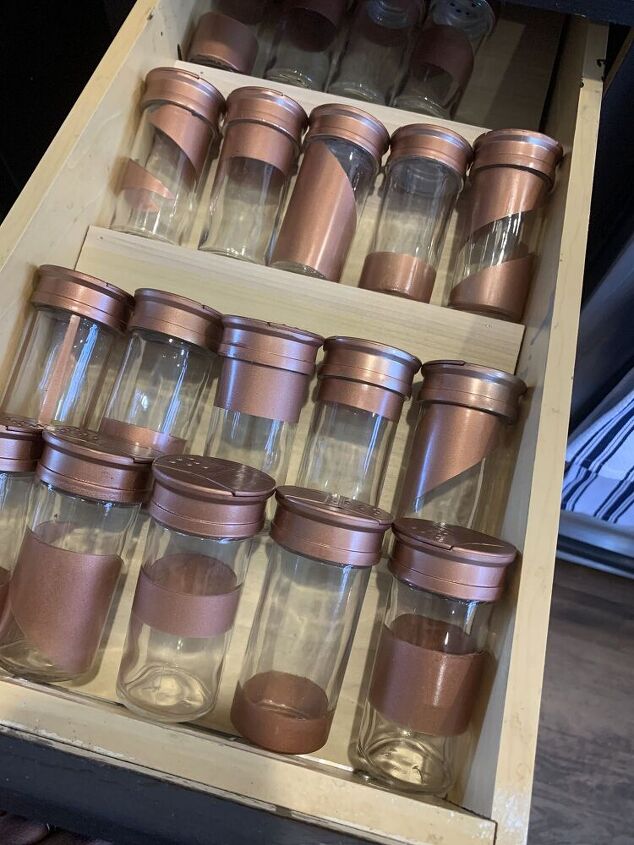
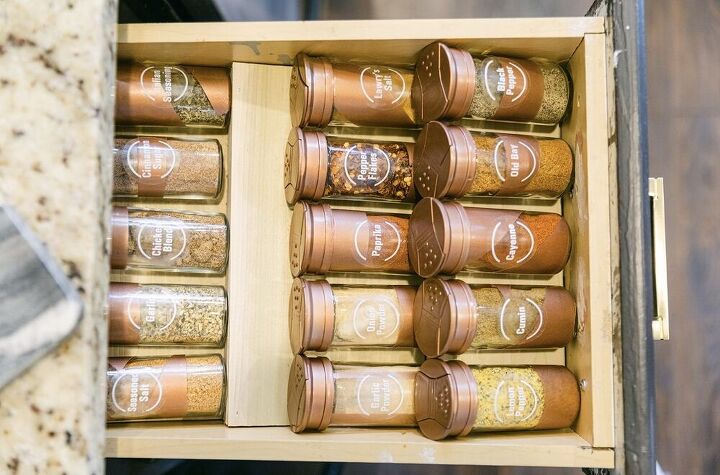
I opted to clean out the junk drawer that sat right next to my stove to use for the new spice location. I decided to build a custom spice drawer insert to accommodate my new spice jars. You can read about the DIY Spice Drawer Insert post here.
Drawer Before:
Drawer with Inserts:
When I got my jars home, I washed each one of them out with soap and water, then let them dry on paper towel overnight. To determine the various color blocking that I wanted on each jar, I just applied painters tape at random locations on the jars to my liking.
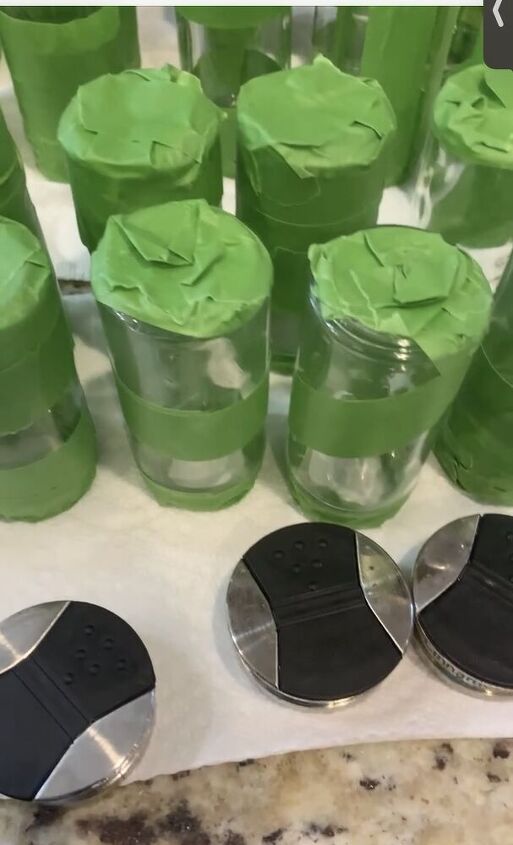
Once they were all taped in various shapes, I took the jars outside to spray paint them.
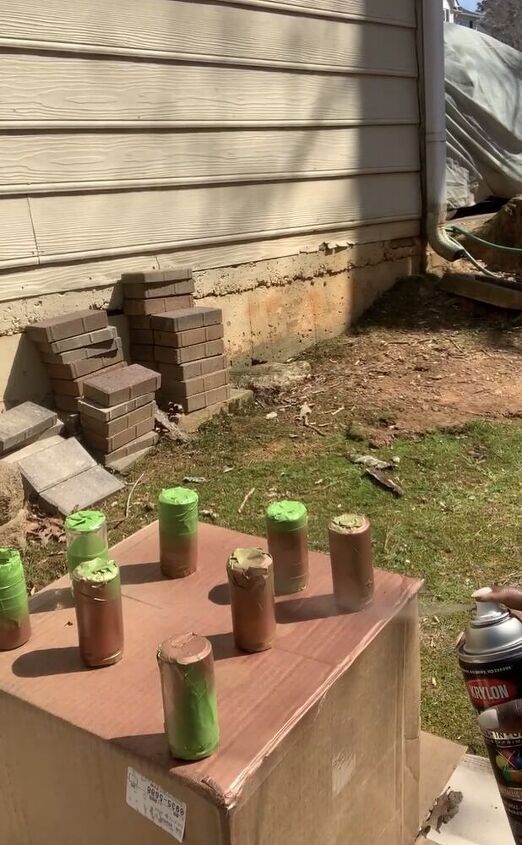
I sprayed them according to the instructions on the can, and the finish came out perfect! The key to the perfect spray paint finish is to make sure to read the directions well and follow them, lol. It’s really that easy! I sprayed each bottle with a light layer of spray paint, allowing each it to dry between each coat, and continued to layer on product until coverage was to my liking.
The product adhered to the glass perfectly, without any sanding or priming, plus with the No Peel Guarantee, I don’t have to worry about any chipping over time.
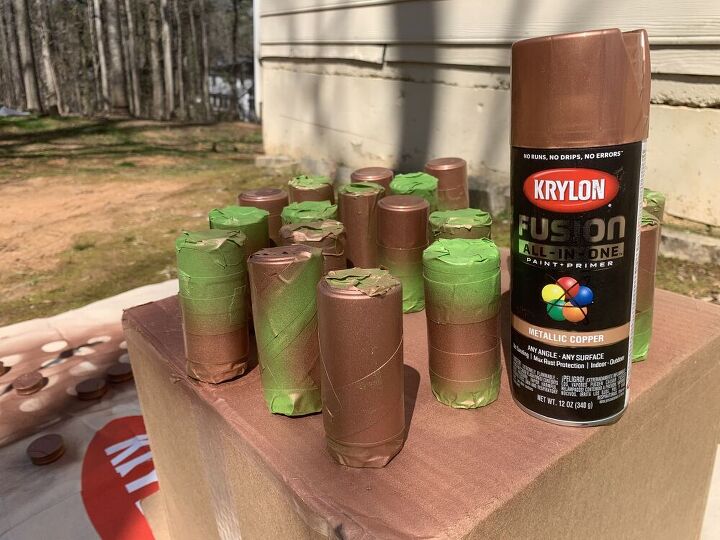
I sprayed two coats on each bottle and exterior portion of the top only.
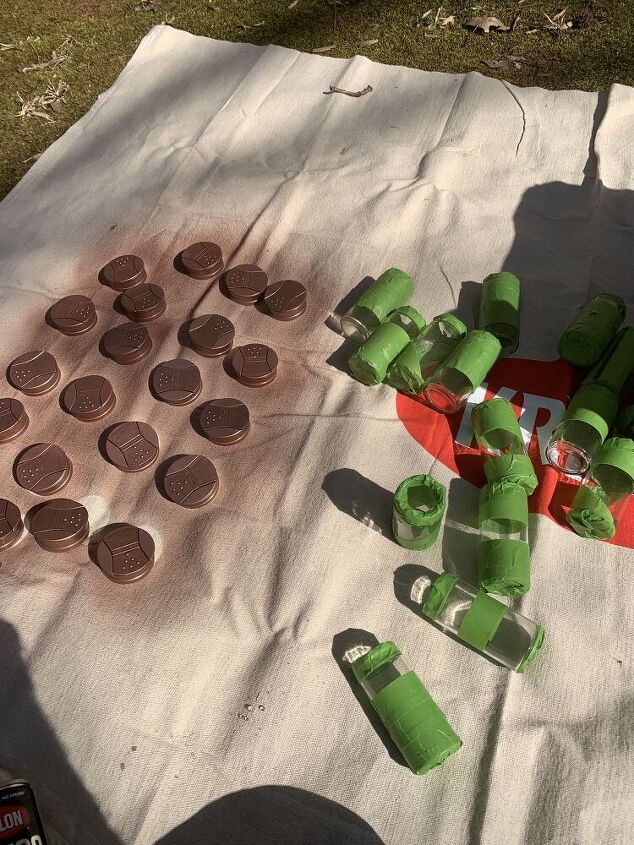
It took me about 2.5 hours to complete this project from start to finish. The jars were dry to the touch after 25 minutes, and that is when I removed the painters tape. According to the directions, the jars were able to be handled after two hours, so I brought them in the house to assemble them and add them to the drawer.
OBSESSED, right? They came out even better than I could have imagined. Time to fill the babies up and get rid of those ugly branded spice jars.
Using the Krylon Fusion All-in-One gave the project a seamless finish, and the product adhesion was perfect. During the spray process, I had no drips, or clogs, so it made the entire process super easy.
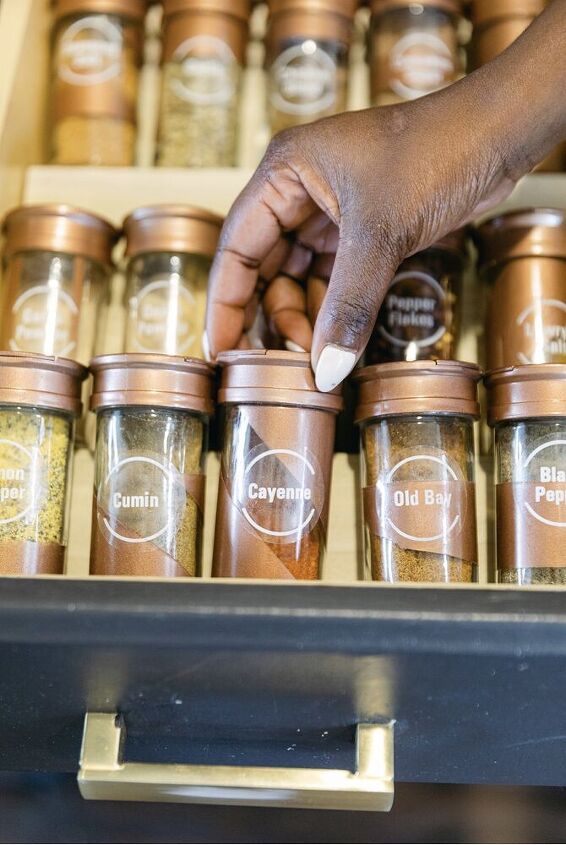
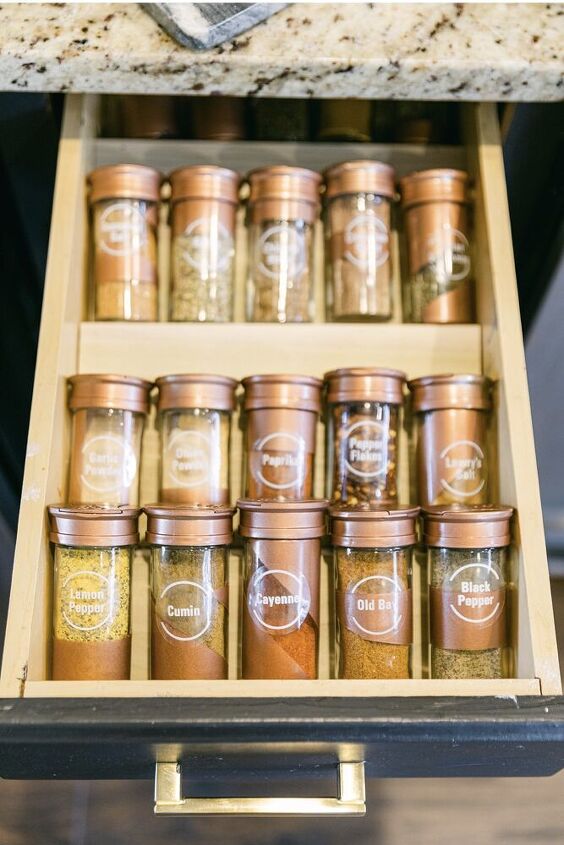
Adding these labels really just pulled it all together!

So what do you guys think? Is this a project you are willing to try? Let me know!


Comments
Join the conversation
-
No, now I have to find a place(s) for the junk!
-
These look great!


Frequently asked questions
Have a question about this project?
Where’d the junk go???? 😂
Where did you get the labels? It's important to finish myth project and thanks
Where did you get the drawer insert that held the jars?