


Tissue Died Towels
Grab some old tea towels and tissue paper for this quick and easy project!
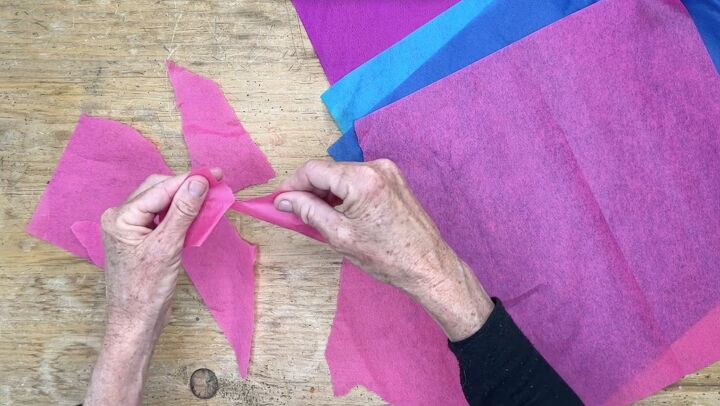
To start this project, tear up some tissue paper. You want to make sure to use bleeding tissue paper. Bleeding tissue will release its color when it comes in contact with water so it is perfect for dying things.
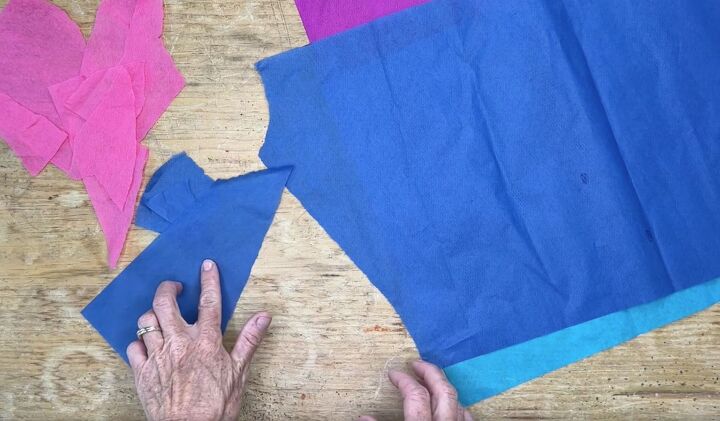
You want to tear up all different colors making piles of each.
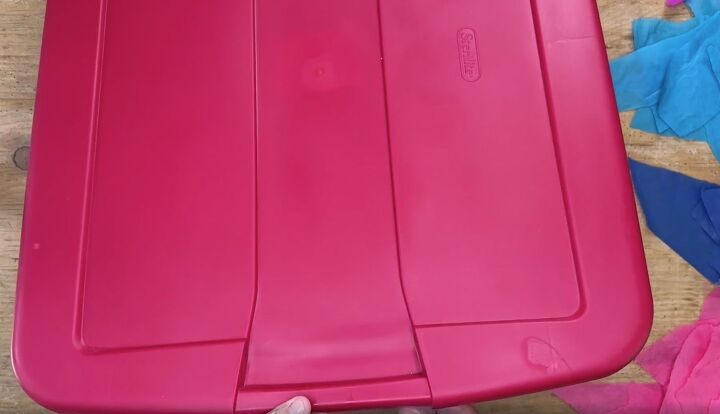
Next, lay down something plastic to protect your work surface.
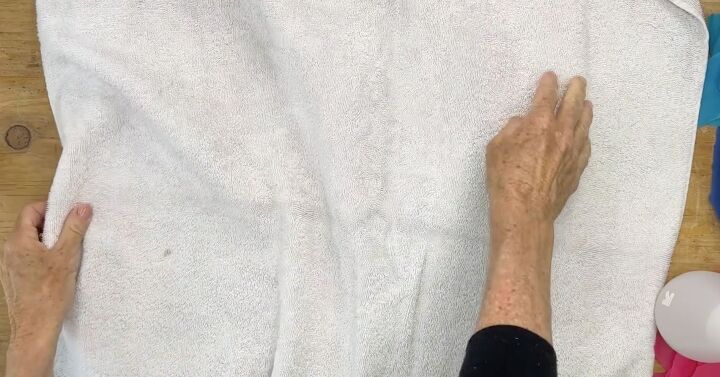
Lay an old towel over the top of your plastic lid or tablecloth.
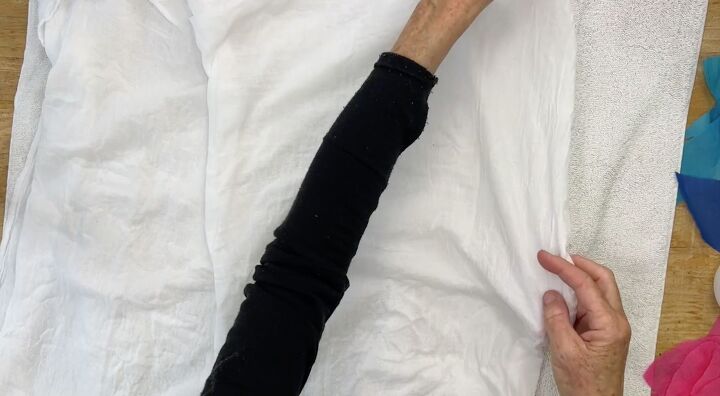
Then lay your wet tea towel or napkin on top of the towel. I wet and rung mine out so that it was just damp.
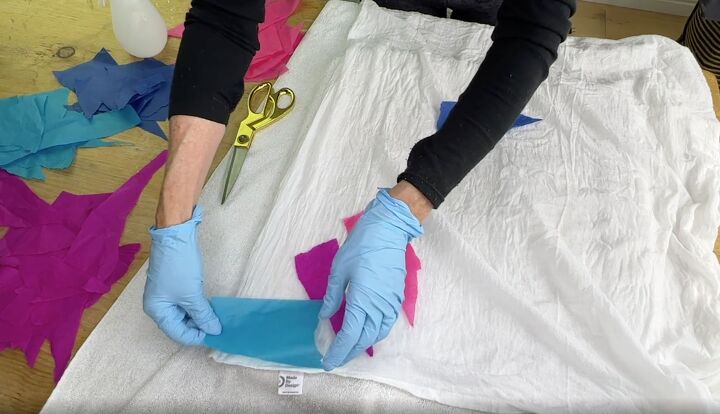
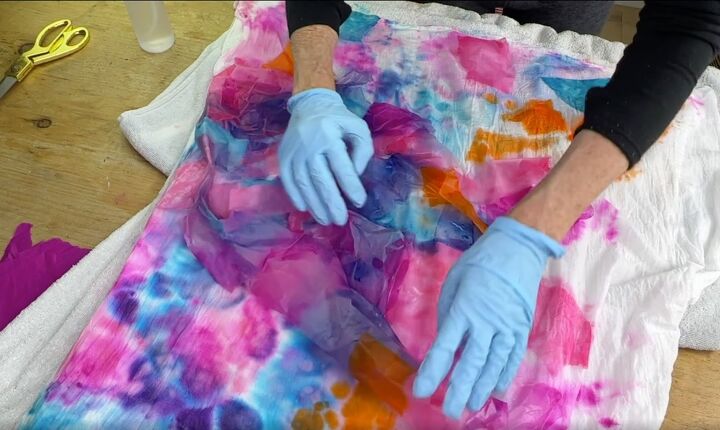
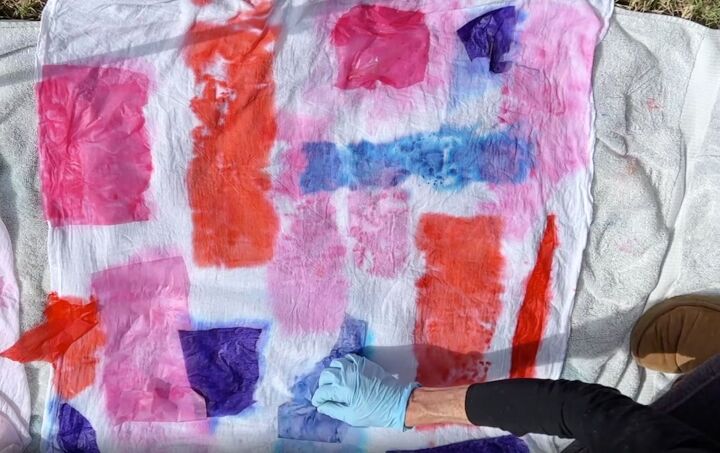
With everything in place, start laying the tissue paper down. You can do it in all different shapes, kind of like a mosaic.
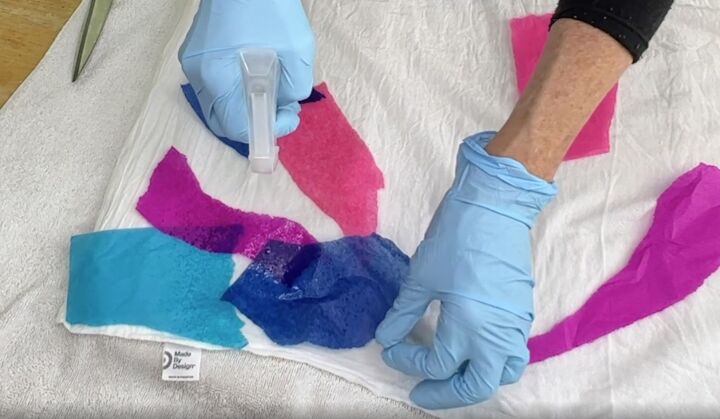
For my first towel, I laid down each piece of tissue and then saturated it fully with water in a spray bottle.
Keep doing that until you fill up your whole napkin or towel the way you like it.
When you're done, you are going to roll off all of the pieces of tissue.
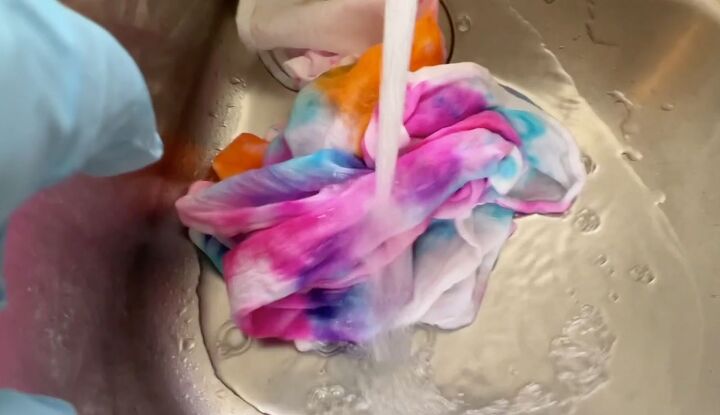
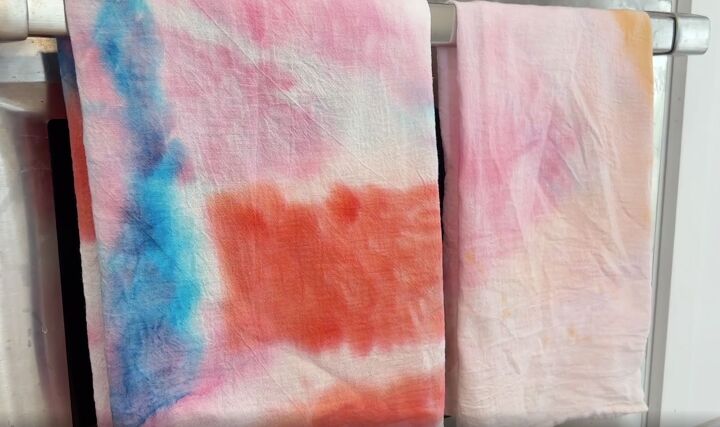
Then, take your napkin and put it in the sink to rinse it out. You can decide how much you want to rinse out. I rinsed my first one a lot and it made the colors look quite faded.
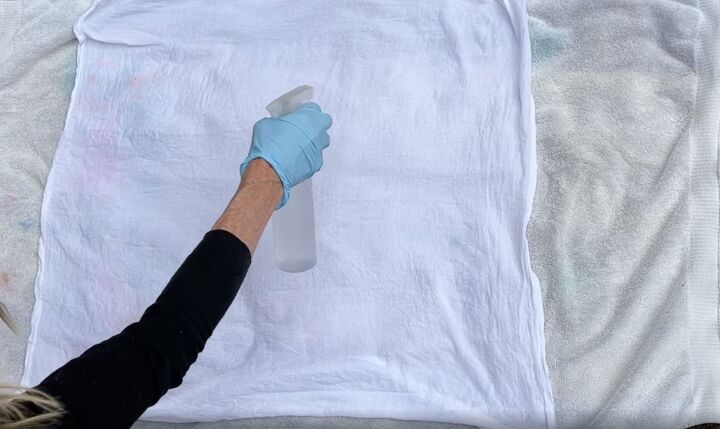
For my second piece, I went outside and used bigger pieces of tissue paper. I started by saturating my fabric again.
Then, I took my big pieces of tissue paper and started laying those out.
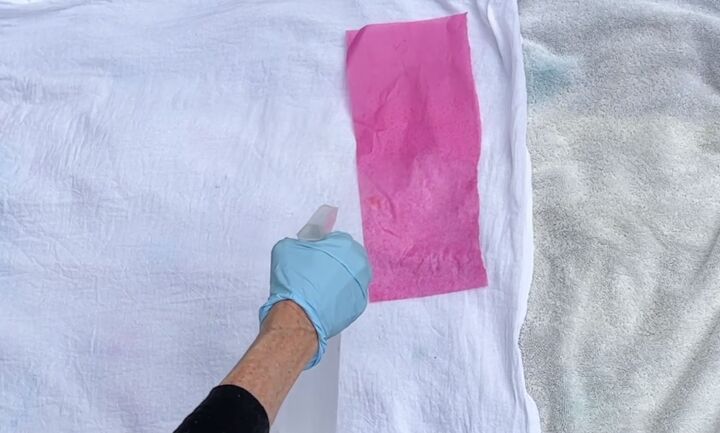
I put one down and then I sprayed it with water.
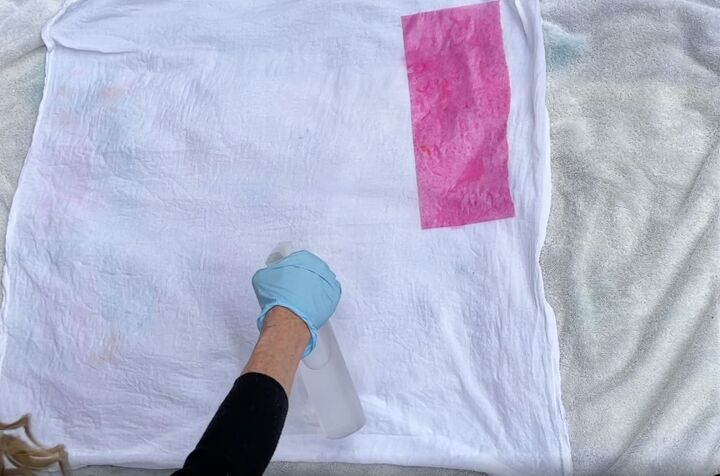
When that one was done, I sprayed another area of the towel.
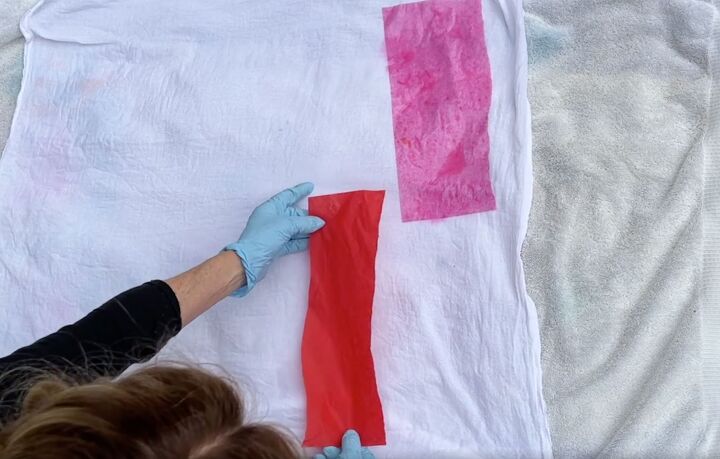
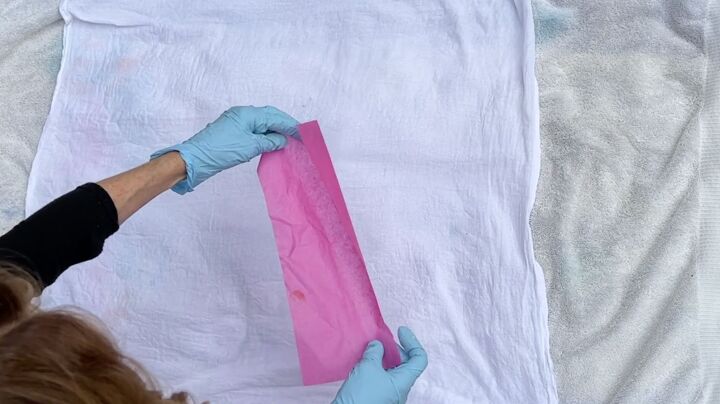
Then, I laid the next piece down.
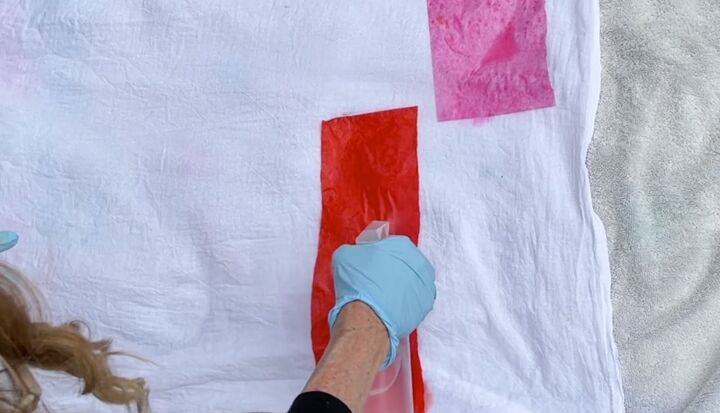
Once it was in place, I totally saturated it with the spray bottle. I think as I was doing this, I liked doing it outside better because the sun was helping the dyes dry quicker.

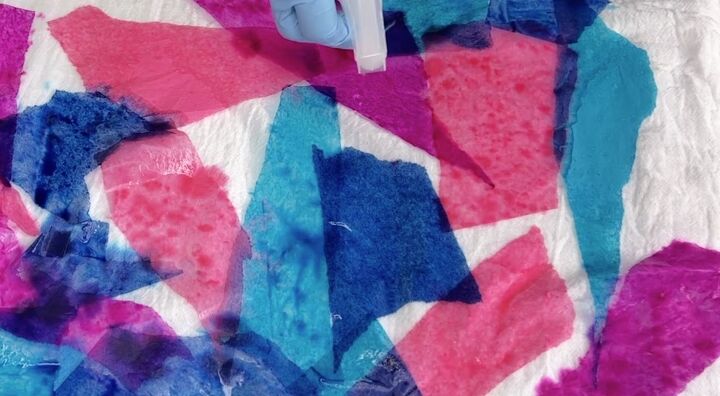
Continue along until you fill up your whole napkin or towel the way you like it.

I even overlapped some of my pieces because then the two colors bleed together and it looked really cool.
When everything is dry, take off all your tissue paper. Simply peel up the tissue paper and then it's going to reveal a beautiful pattern.
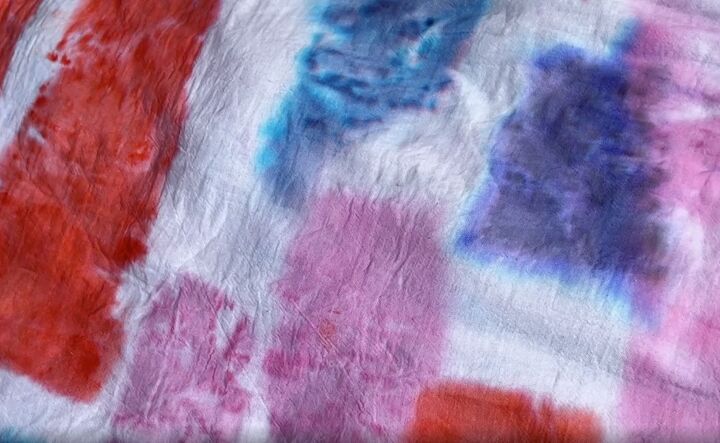
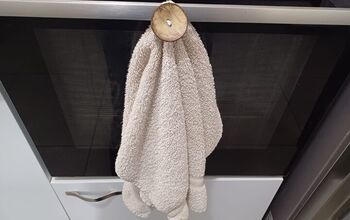
I love the way my second one turned out. I think it's beautiful. I think it really looks like you could put it in a frame or put two pieces of wood at the top and hang it the way you would hang a tapestry.
I put some on display in my kitchen where my oven is and I think it looks so pretty there.
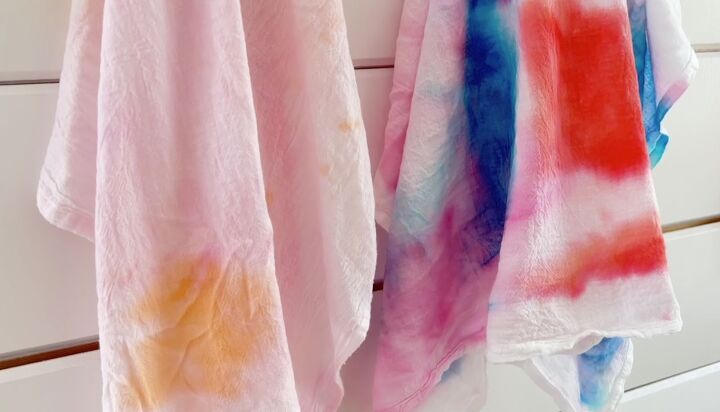
You can see the variations in color from the one I rinsed more than the other. One other thing I would recommend you do is to heat set them when you are done with an iron. This will help to keep the colors from running. I think these turned out fantastic and I hope you guys try this project.
Resources for this project:
See all materials


Comments
Join the conversation
-
You can create some very cute designs or even just cut out shapes like hearts, geometrics, etc. When I was young I had canvas shoes with hearts and the sun for a while. 🙂
-
Interesting idea!


Frequently asked questions
Have a question about this project?
I want to do a white comforter how long do I soak it in vinegar and do I need to rinse it out..?
Have the towels or the tissue died?? Sorry couldn't resist!🥴 Seriously, they turned out cute! I like the rainbow affect.🙂😸🐈️
How do I differentiate bleeding tissue paper from other kinds? Probably a dumb question, but I am very new to DIY... LoL💜☯️✌️✌️🌻🌈