


How to Create Stylish Dollar Tree Bathroom Storage on a Budget
Do you ever find yourself struggling to find extra counter space in your bathroom? If you're looking for an affordable solution, then I have you covered with this gorgeous Dollar Tree bathroom storage idea!
Dollar stores always have these cute little wood storage bins and I thought they would be perfect to create some additional counter space in my bathroom.
This project is perfect for anyone who loves DIY and wants to transform their bathroom without spending a fortune.
This post was transcribed by a member of the Hometalk editorial team from the original HometalkTV episode.
So, whether you're a seasoned crafter or just starting out, keep reading for a fun and creative bathroom counter organization idea.

1. Gather Materials
To start this project I grabbed three of these cute little craft storage bins that you'll find in the craft department of Dollar Tree.
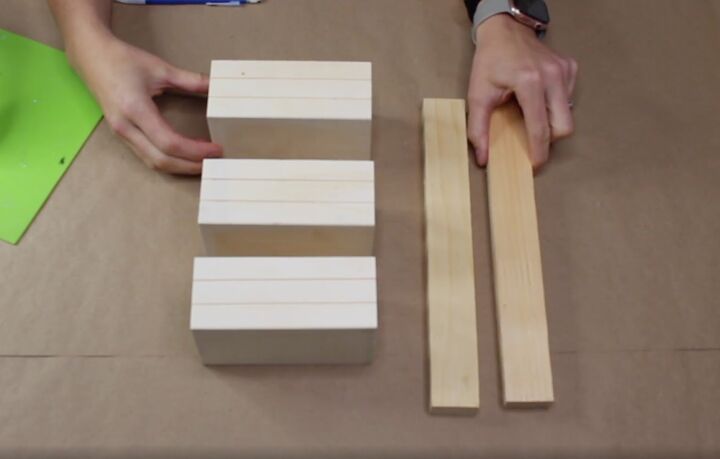
I also picked up two, 12-inch wood slats while I was there.
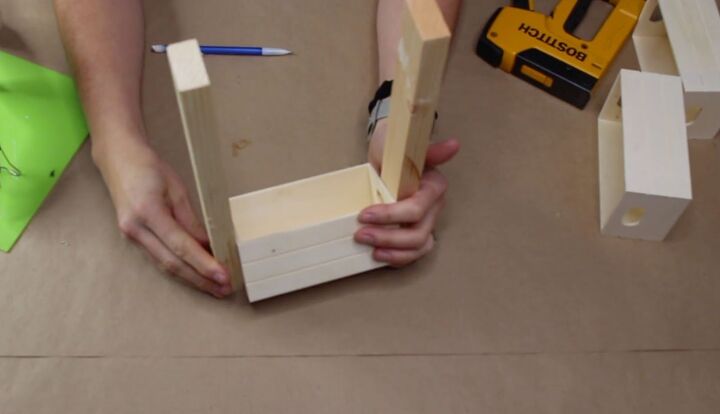
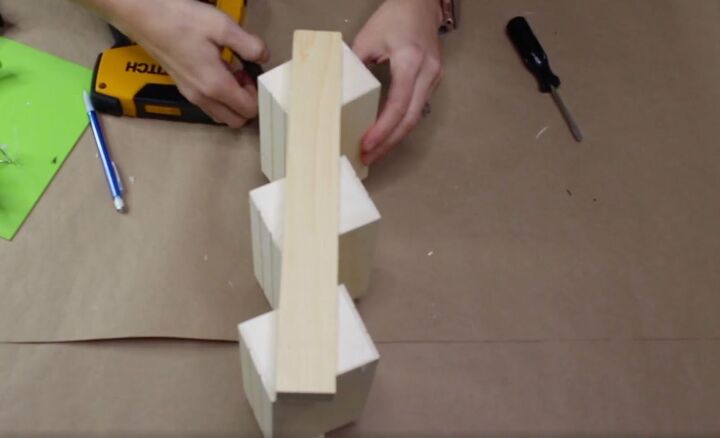
2. Find the Angle
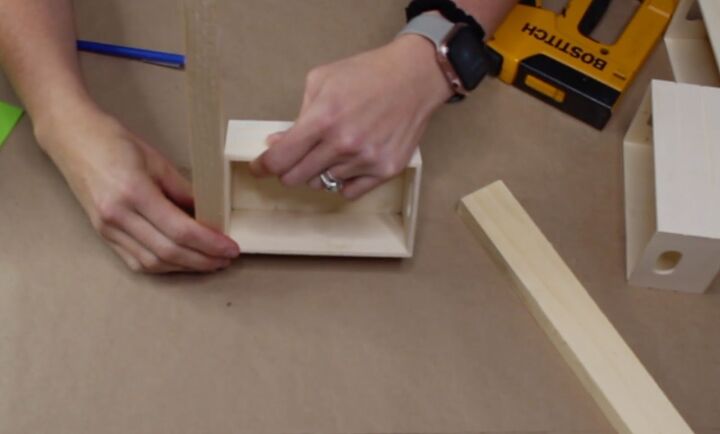
First, I took one of the bins and one of the wood slats and played around with them until I got the bin at an angle I liked. I wanted the bins to be at an angle but I also had to make sure the whole thing still stood right.
Once I found the angle I liked, I used a pencil to mark the edge so that I had the angle right when I went to adhere it.
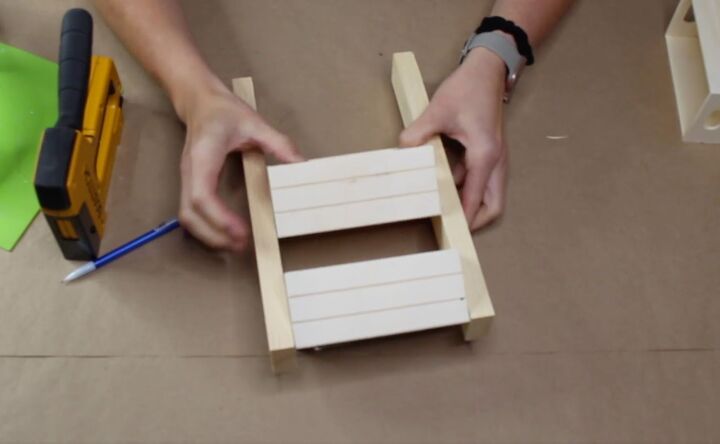
3. Assemble the boxes
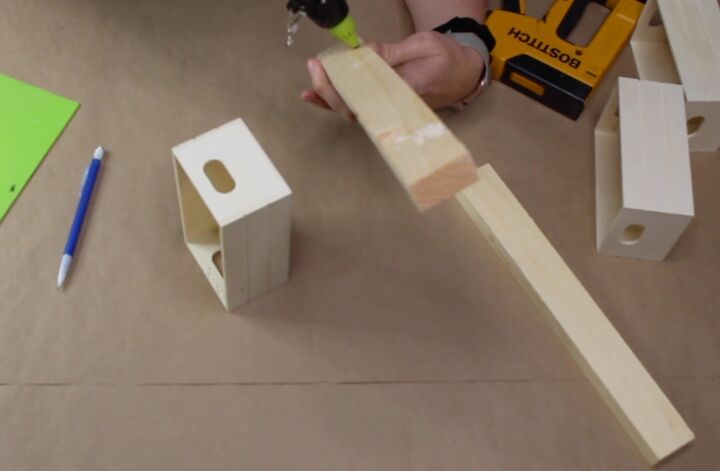
To adhere the first box in place, I added some hot glue to the slats.
Then, I used the guideline I had drawn to stick the box in place.

With the box in place, I used my staple gun to add a few staples on the inside to make sure it was reinforced.
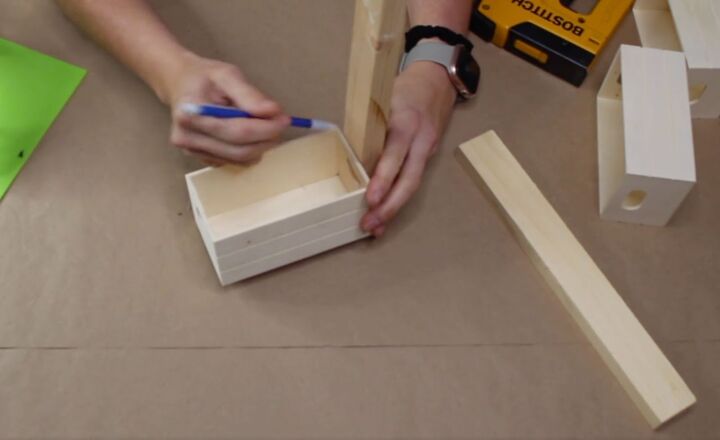
Next, I was ready to add the second box so I followed the same process. I found the angle that I liked and then marked the box.
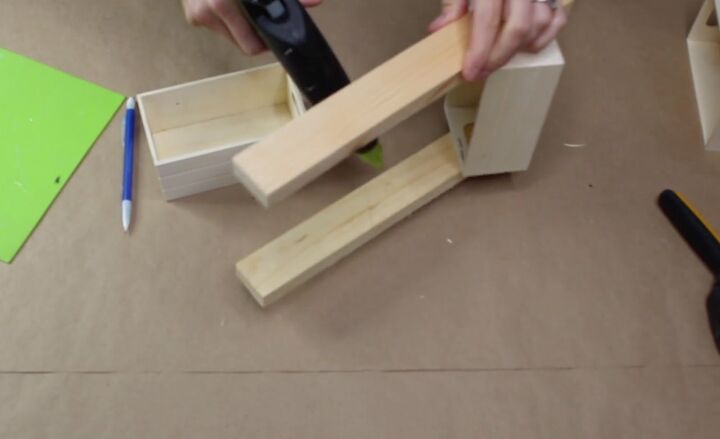
Then, I added the hot glue to stick the box in place.
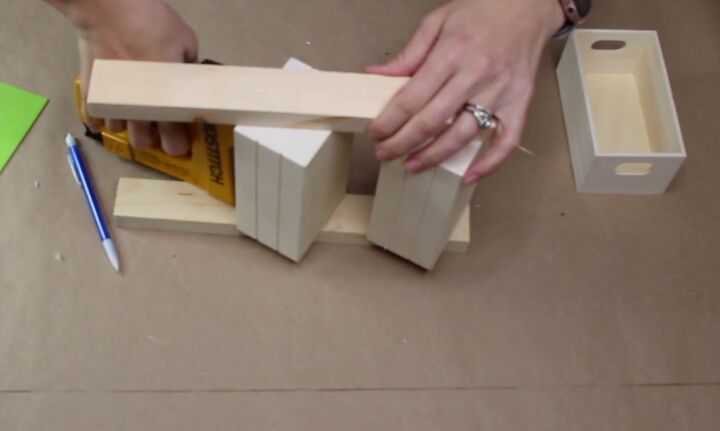
Once the second box was in the right spot I used the staple gun to reinforce it.
I did the same thing to add the third box.
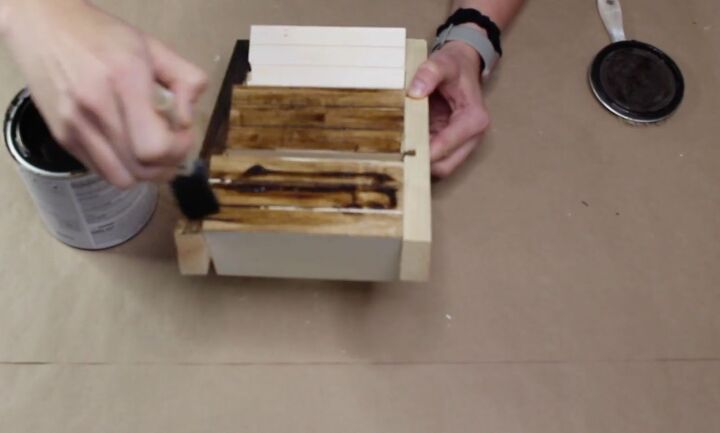
4. Stain
With all three boxes secured, It was time to move on and stain my new storage piece.
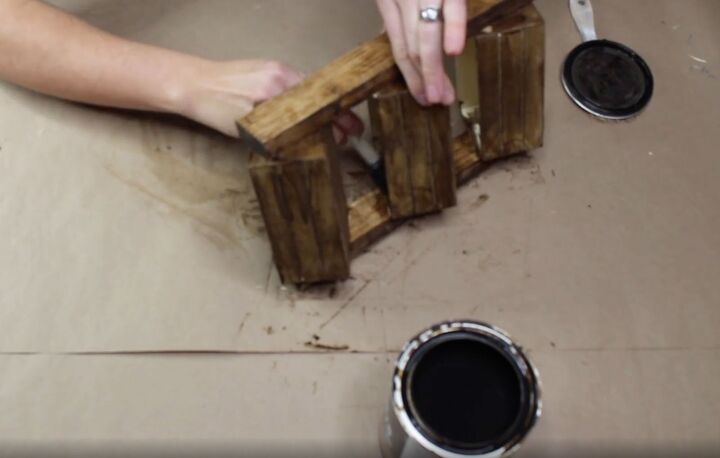
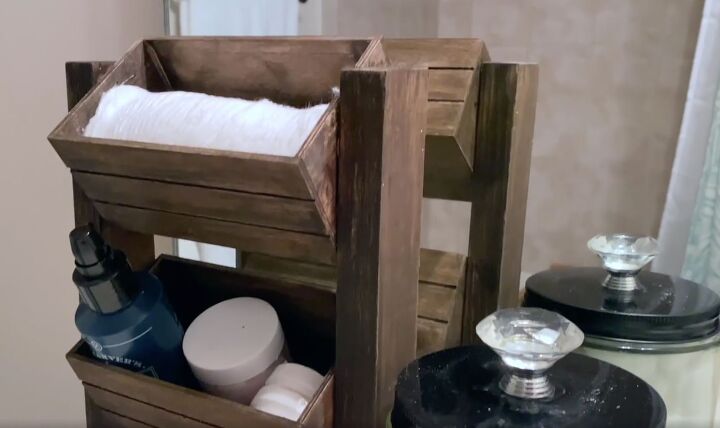
I used a foam brush to apply Rustic Wood Effects stain from Behr to give the whole piece a farmhouse look.
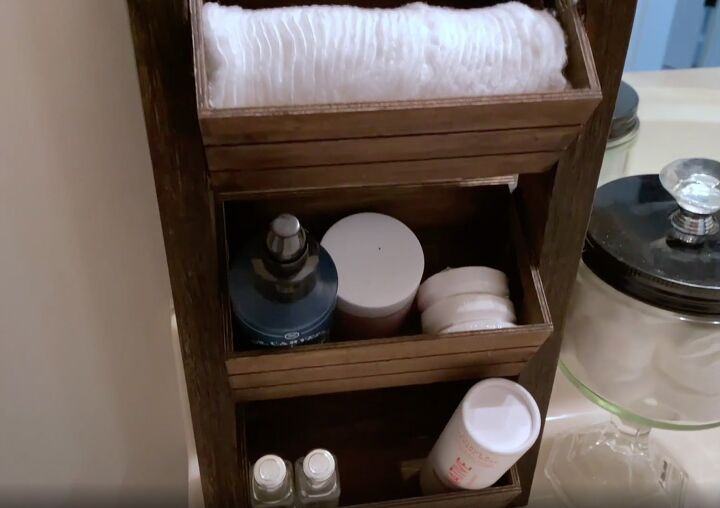
After the stain had time to completely dry, I added my fun new storage piece to the bathroom.
More DIY Bathroom Projects
Bathroom storage tutorial
I'm so happy with how it turned out. It works perfectly for additional counter space and it definitely gives off that Farmhouse vibe I was going for.
I hope you enjoyed this dollar tree bathroom storage idea and are inspired to create your own affordable and functional storage solutions.
Let me know what you thought of this project in the comments!
Resources for this project:
See all materials


Comments
Join the conversation
-
I call it the “Not so Dollar Tree” or nothing for a dollar anymore tree now! Lol
-
This is such a cute and useful idea! The crates on an angle take up less space as opposed to a step design. Adding the staples to reinforce was smart. Staining, painting, decoupage, so many ways to make it your own! Adorable! Thanks for the idea!


Frequently asked questions
Have a question about this project?
Adorable