


How to Make a Birdhouse Slipcover for a Outdoor Security Camera
We recently installed a couple of Ring Outdoor Security Cameras at Steph's house as part of our participation in The Home Depot's smart home campaign.
These cameras are battery operated, meaning we could install them away from a power source. This gave us a lot more flexibility in their placement.
We decided to put them where they could "see" Steph's house rather than "see" out away from it.
Take a look at what we did, and how we gave them a bit of camouflage in the form of a birdhouse "slipcover."
Want to see our latest projects? Sign-up for our weekly newsletter here!
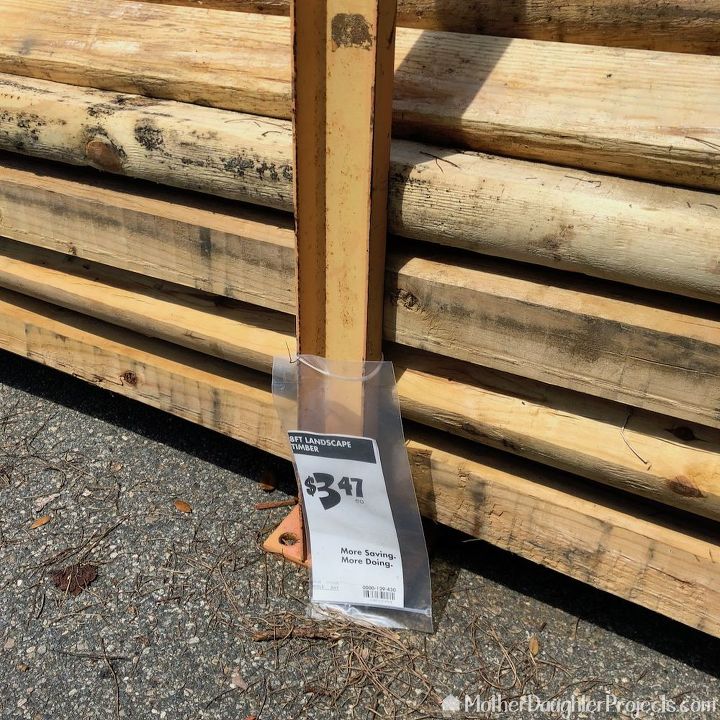
We needed a few supplies for our birdhouse including an outdoor post.
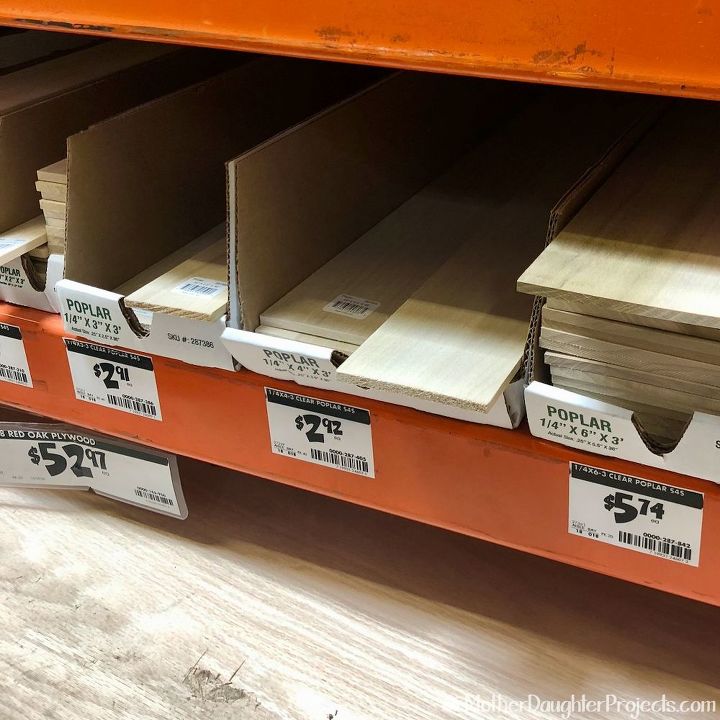
We also picked up some poplar wood for the birdhouse. These smaller pieces of wood are great for many DIY and crafty projects. They are easy to work with and cut to size if you only have a hand saw.
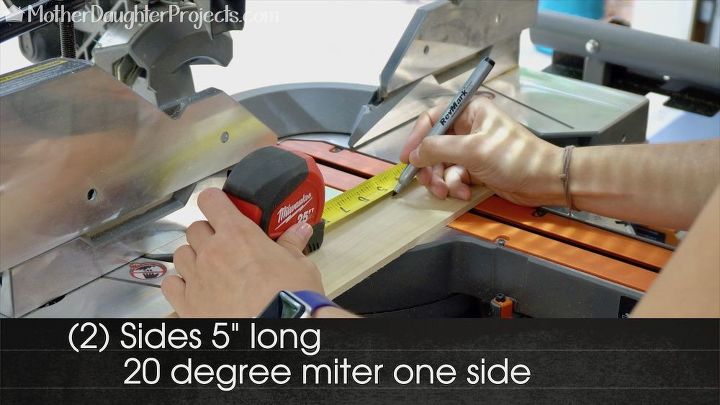
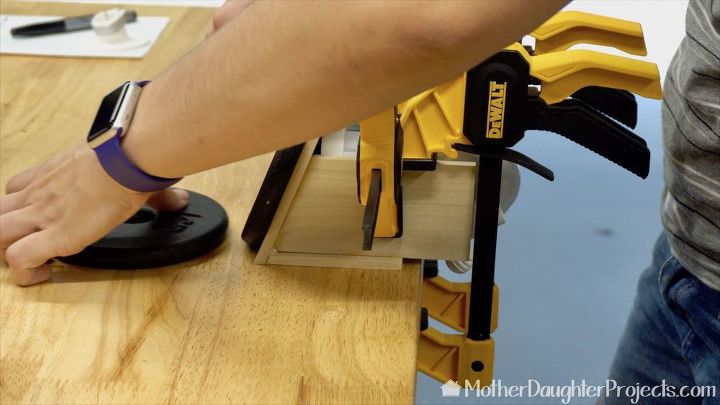
The measurements we used are based on the size of the camera. We marked the measurements and made our cuts on the miter saw (you could also use a hand miter box).
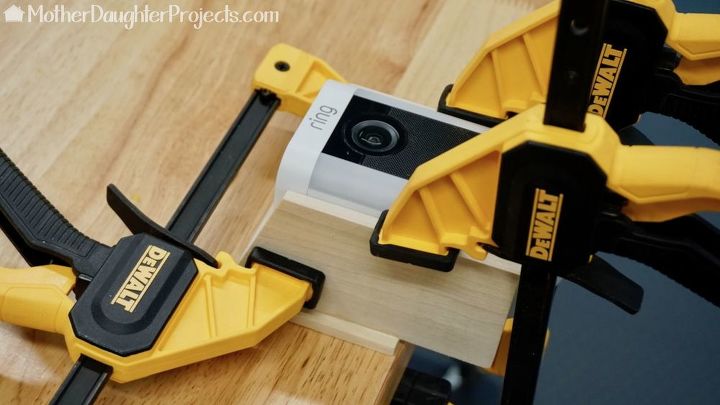
Once all the pieces were cut, we used outdoor wood glue and clamped the sides to the back. We let this dry overnight.
After the sides were dry, we glued the top into place. We could not clamp this so we used weights to keep it in place.
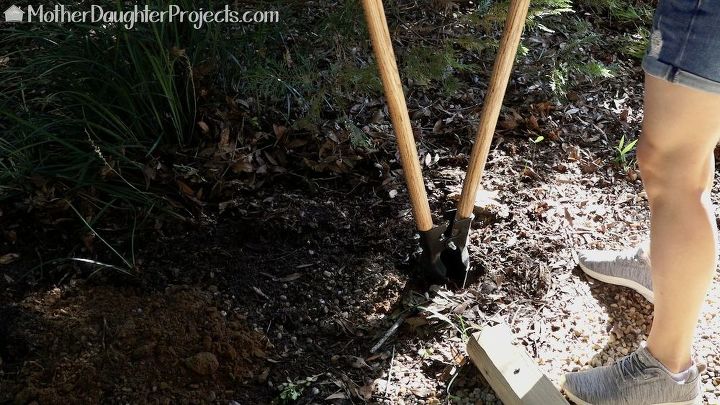
While things were drying, Steph dug a hole for the post placement. She's using a post hole digger. It's a lot of work, but it gets the job done!
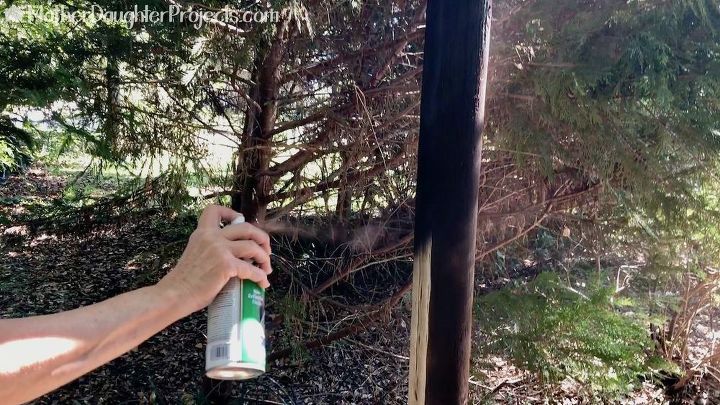
We set the post in place and then sprayed it with an earth brown matte spray paint. We also painted the birdhouse cover with the same paint and sealed it with spar urethane (which is made for outdoors).
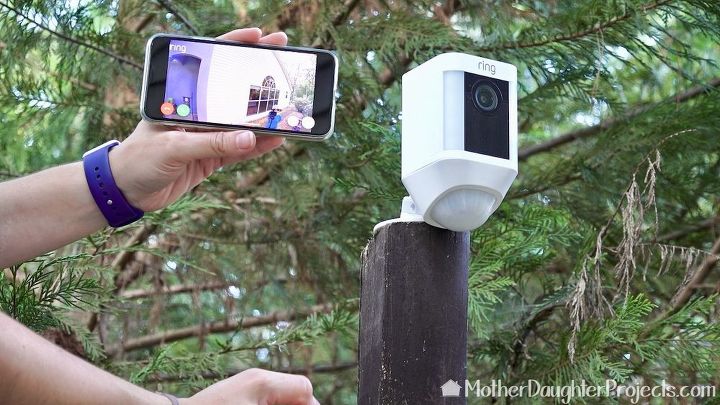
We secured the camera into place. We used the app to "see" the side of the house to adjust the camera into the proper position.
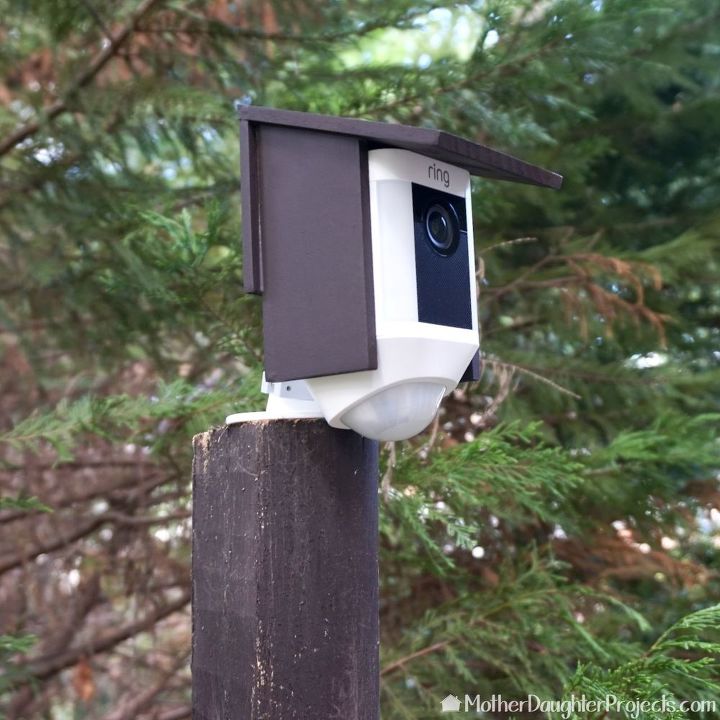
Once we were satisfied with the view of the camera, we added the birdhouse slipcover. Nothing additional is used to keep the cover in place.
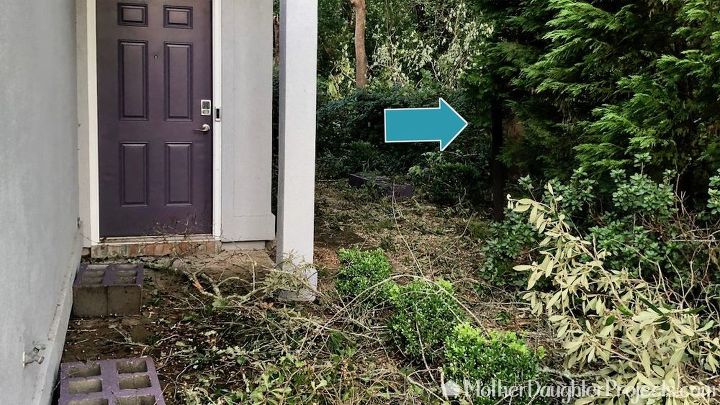
Do you see it? This is the view of the post and camera from the street. It blends in well. Note: that is debris from Hurricane Michael before we cleaned things up.
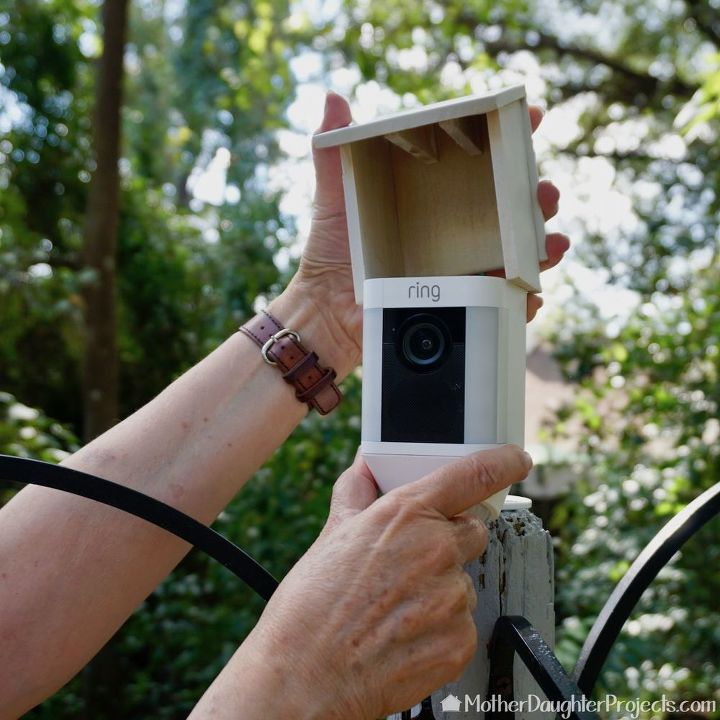
We actually made two "birdhouses." This one is for the camera in the backyard. You can see how it just slips onto the camera.
You may be wondering about the battery life of this camera. It comes with one rechargeable battery, although two can be used. Prior to installing the camera, Steph, monitored the battery life and found that it ran for 50 days without needing to be recharged. That makes this camera a viable option if you need a camera but don't have a wired power source.
Resources for this project:
See all materials


Comments
Join the conversation
-
I ❤️ the birdhouse idea for the camera. Neat and really liked the information on the camera
-
You gals are AMAZING!!!
I will be doing some of your projects. Maybe move next door. LOL
Keep up the good work.


Frequently asked questions
Have a question about this project?
Where can we buy the cameras?
Do these cameras work in areas where there is limited internet signals? I live in 240 acres and this would solve alot of problems.
Can you just do this directly to plywood floor