


How to Upcylce An Old Lantern

Wow, I can't believe May is already slipping into June! Time is flying by and summer is finally here! I've been taking these past few weekends to do some deep spring cleaning and I've inspired my parents to do the same at their house! My mom called me this week and asked if I would come help her upcycle some cool lanterns that were on their last leg! I said of course and we got started! So follow along as we take you through each step we did! But be warned - these lanterns were TRULY on their last leg, so we did the lazy DIY version! But, I'll explain a few additional steps that can be taken and when to achieve better results!
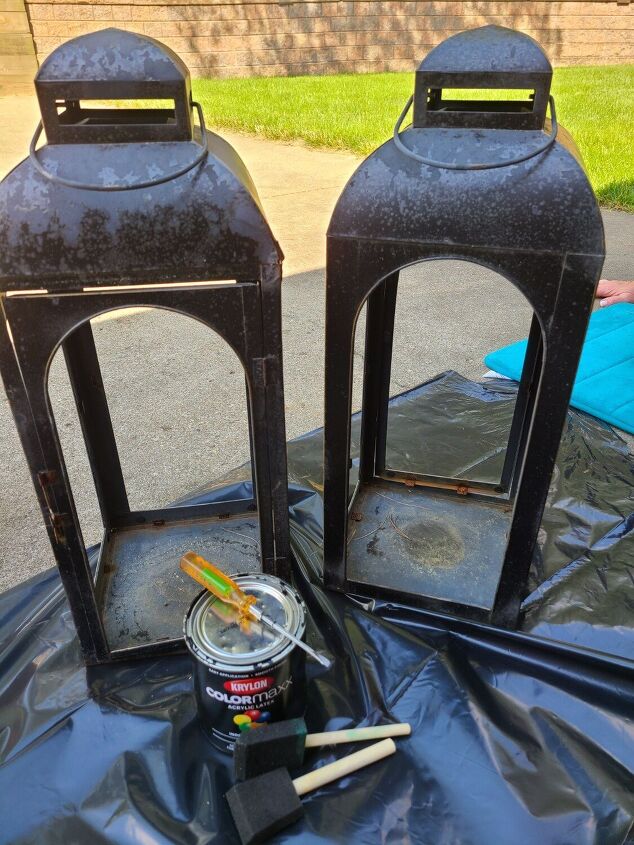
Before you start, get your supplies. My mom's lanterns were old and rusted, so we grabbed some black paint, we used Krylon, paint brushes and got started! We painted in the driveway on this lovely summer day, and laid out a trash bag for our work surface!
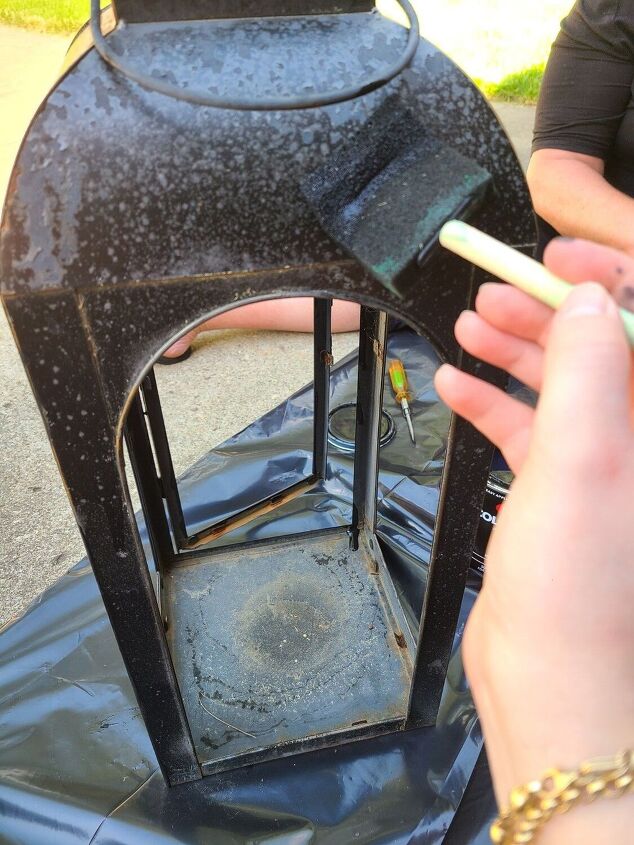
First off, if you wanted to achieve the best possible results, you should sand the lanterns or whatever you're painting/ upcycling! However... I told you, we did a lazy DIY. So, we did not sand these lanterns, we just went right to painting! We did two coats to ensure full coverage.
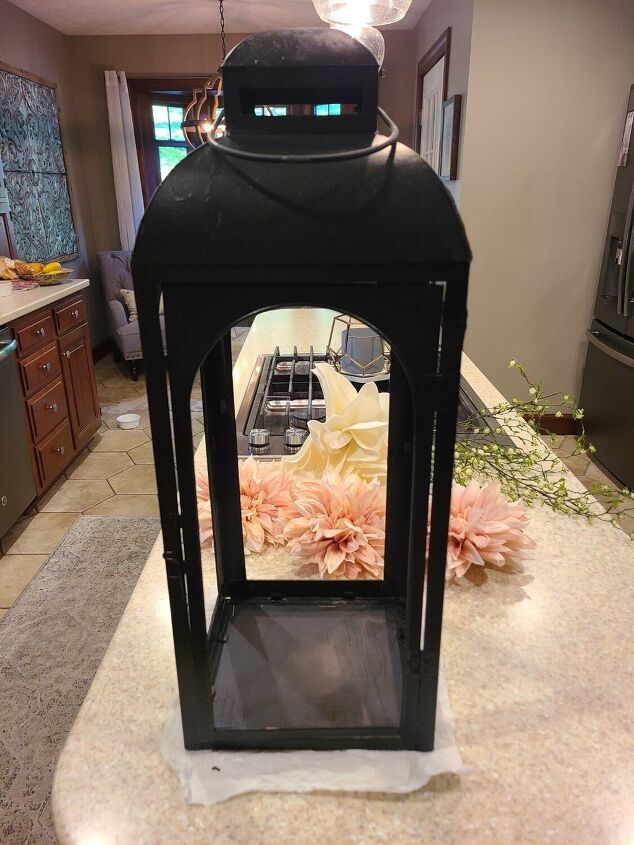
Let your lanterns dry according to the paint's directions. We left them out in the sun for a few hours and they were completely dry. At this point, for best results, I would then apply a sealant. But, this is another example of our DIY - we didn't.
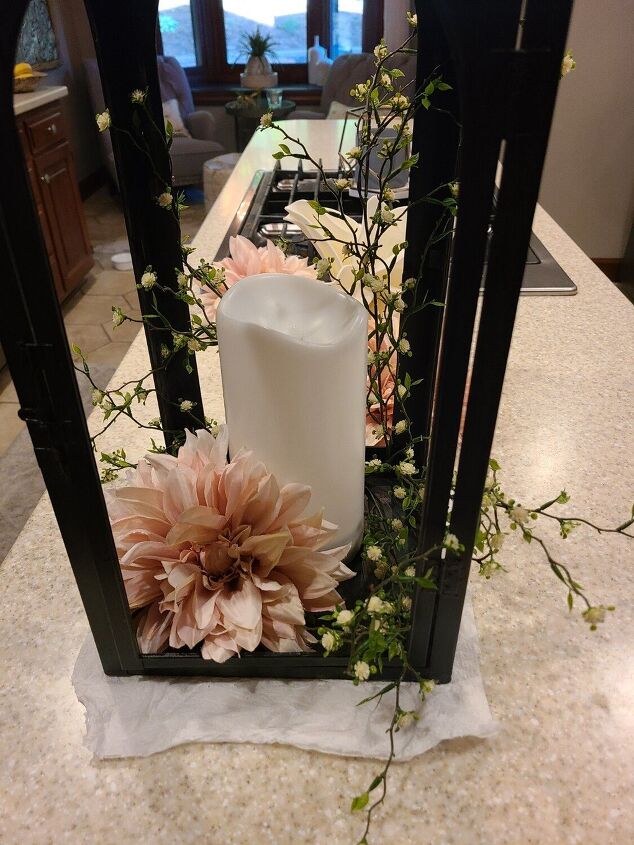
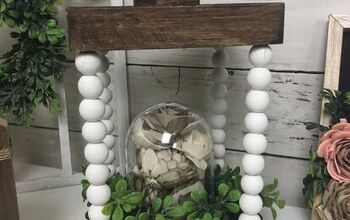
We added some flowers and a solar powdered candle to the lantern. My mom wanted something cute and simple, so we added some fun and funky vine like flowers and one large focal point flower. Arrange your decor however you'd like! We grabbed the flowers and candle at Joann Fabrics.
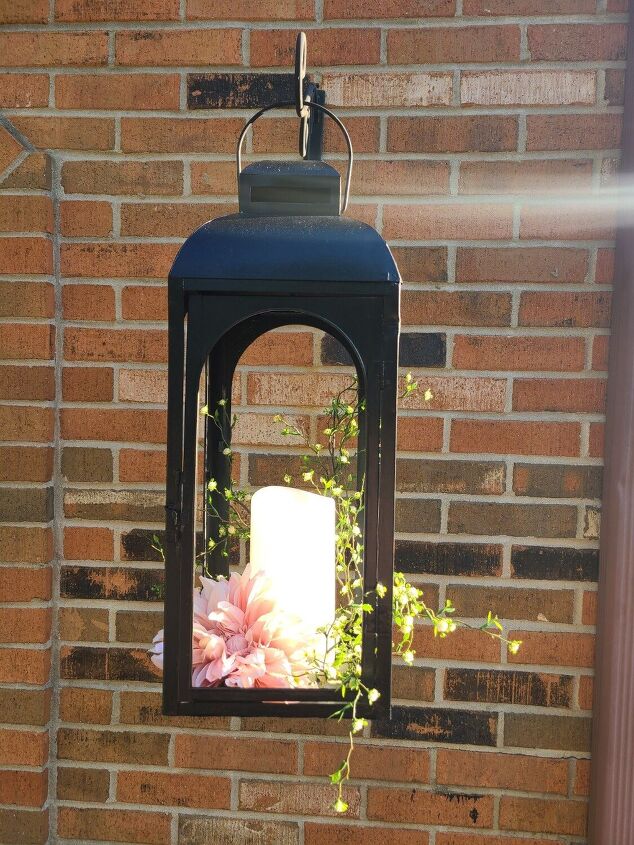
Finally, enjoy! These lanterns might not last all that long, but my mom doesn't mind - she just wanted them to get through one more summer. I'd say they'll do the job, and she's happy with the overall look so I would call today's project a win! It was a dun afternoon turning old junk into stylish decor!
Resources for this project:
See all materials


Comments
Join the conversation
-
That looks so pretty. Well Done! You could probably use solar fairy lights (or dc lights-ie battery) fairy lights instead of candle. I'll be keeping a look out for old lanterns, for sure.
-
Did something similar with our lanterns except used remote control candles.


Frequently asked questions
Have a question about this project?
Wondering how you added the solar light to the lantern.
What grade of sand paper should you use?
Cute! How did you attach the lantern hanger to the brick?