


An Easy Guide to Properly Lay a Paver Patio

We needed a proper entryway to our home, so I decided to put in a brand new paver stone patio myself. I knew that by doing the labor, I would save myself thousands of dollars. It didn’t take me a long time to complete the project and it wasn’t a difficult task. If you’re thinking about doing the same, check out my easy guide on how to properly lay a paver patio. I’ve documented it, step by step, so you can tackle this DIY and put down one of your own!
Tools and Materials
- Pavers
- Edge blocks
- Measuring tap
- Dirt
- Underlayment
- Gravel
- Paver sand
- Tile saw
- Hand compactor
- Metal rake
- Push broom
- Hammer
- Spade
- Level
- Gloves
- Eye protection
- Mask

I started this project by making a plan. I needed to know exactly what size patio I was going to lay down so I could buy the proper number of pavers, edging blocks, gravel, dirt and sand. None of these supplies are inexpensive, so I didn’t want to overbuy. I also didn’t want to underestimate and have to go back to the store for supplies midway into the project. I measured out my space very carefully and decided on a 10x10’ patio with a tiered block edge.
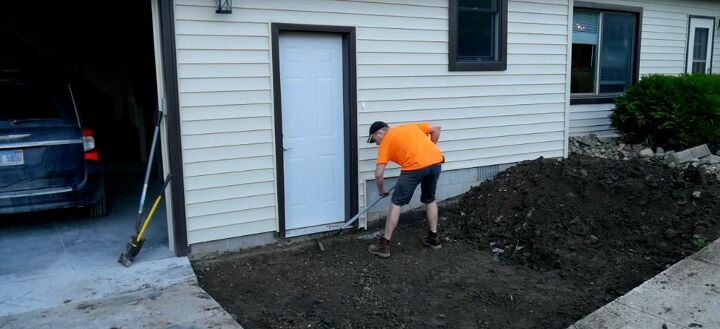
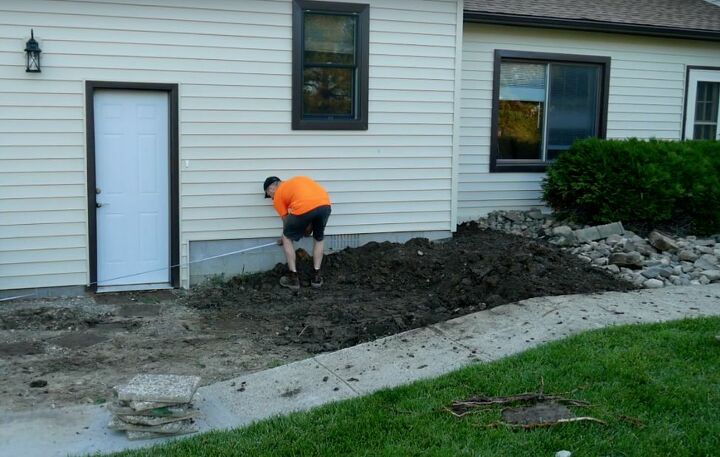
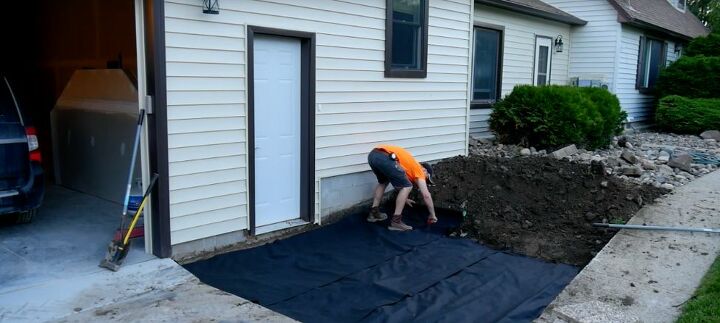
The next step was to create a level area to place the pavers, using soil. I had some that needed to be added to the tiered garden area, but most of the dirt was used to build up the base of the patio. I raked it until it was smooth and level and graded away from the foundation. This would prevent water from running toward the house, creating a potential problem. When the soil was level, I added sheets of underlayment to prevent any weeds from making their way up through the pavers.
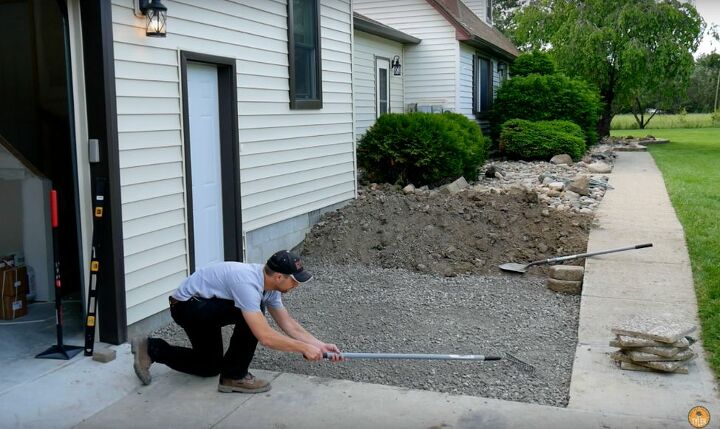
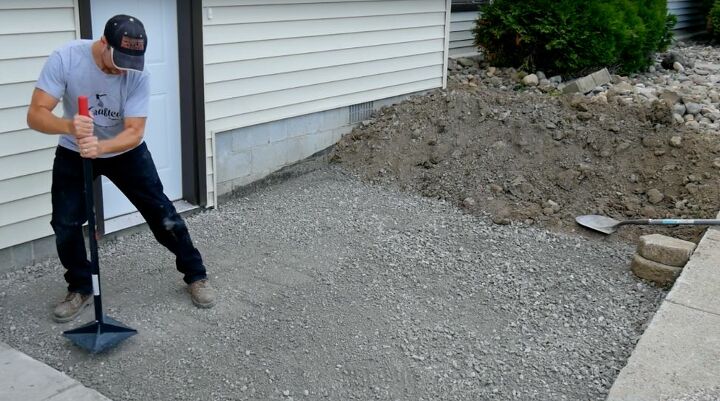
The rest of the base was created by laying down gravel. I raked it out, as I did with the dirt, spreading it evenly across the entire surface. Once I was happy with the grade, I took out my hand compactor and tamped the gravel down. The gravel provides a sturdy surface to support the pavers and good drainage for water that seeps through the cracks between them.
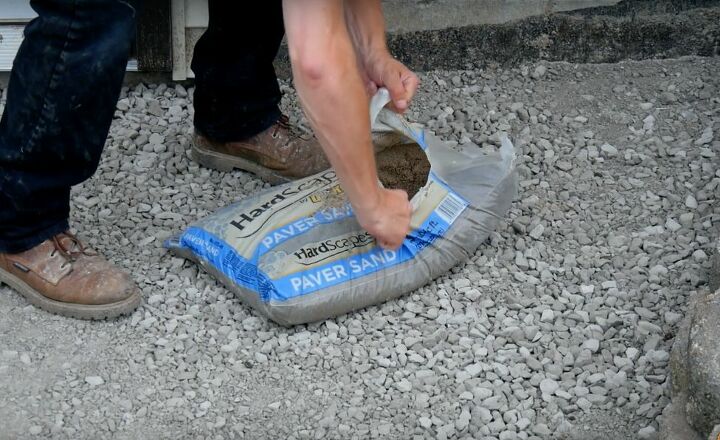
I dumped some paver sand on top of the gravel and raked it out, as well. Then I went over the sand with the hand compactor to tamp the surface down. Again, I wanted it to be as level as possible. I did stop occasionally to give the sand a good watering, to set it. Rain is awesome for this job, but if it isn’t in your forecast, you can use a hose or a sprinkler.
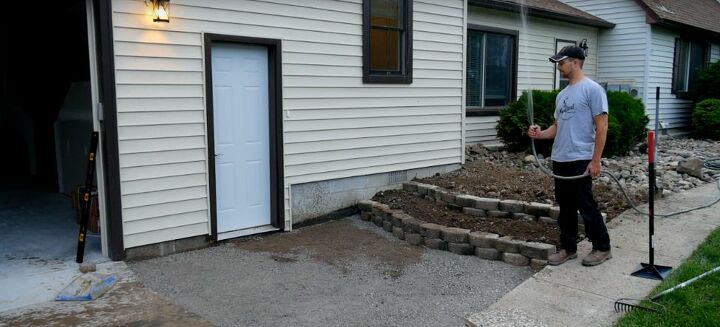
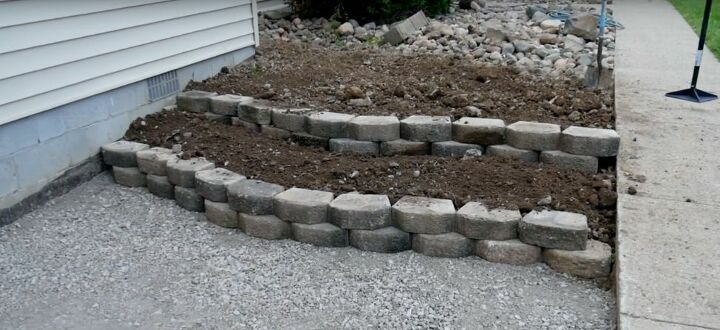
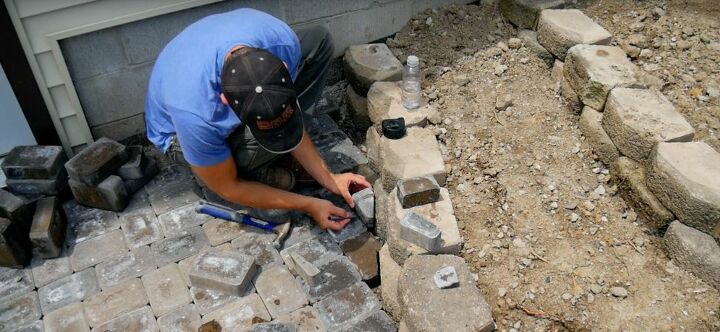
Before I started laying down my pavers, I needed to create the edge for the tiered bed. I put down a few border paver blocks to define that one side of the patio. I simply stacked them on top of one another and used the hand compactor to set them firmly in place. Then I added dirt to backfill the bed and added another layer of border blocks.
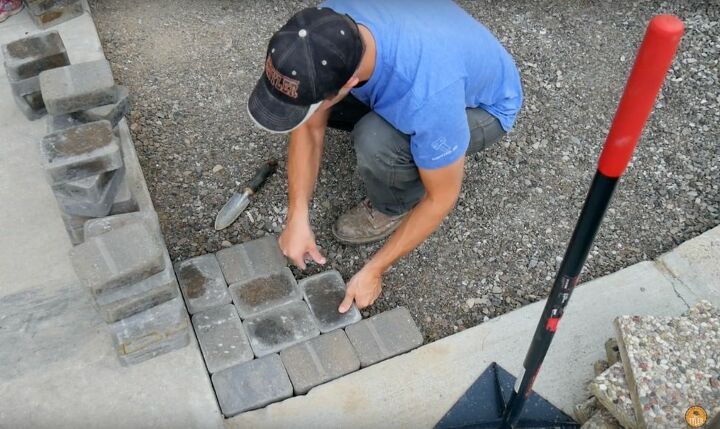
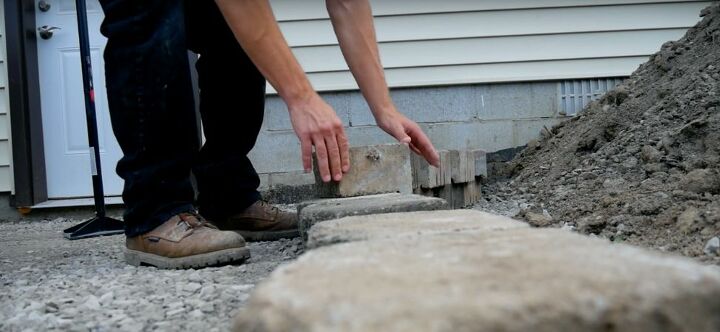
I started putting down pavers in the corner, where I knew the angles were square and straight, installing full blocks, in my chosen pattern. I worked my way across the patio with a small spade that I used to dig out any uneven spots. As I laid each block down, I hit it gently with the handle of my spade, knocking it tightly in place. Every few rows, I brought out my level to confirm that my lines were straight. I continued along in this manner until the only pavers left to be laid, needed to be cut.
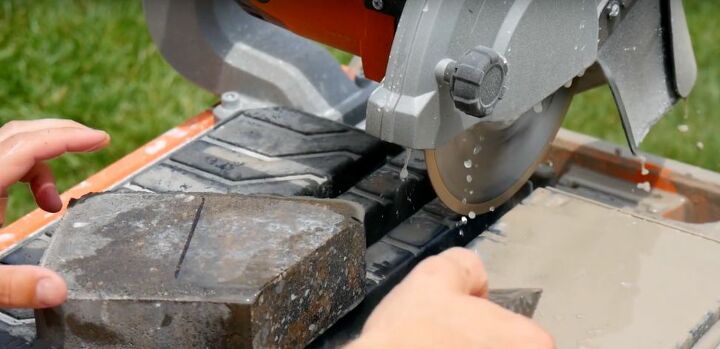
Many of the pavers around the perimeter needed to be down in order to fit properly and create a neat edge. I measured each paver, marked it and then cut it down to size with my tile saw. When I couldn’t cut the paver with the saw, I used my hammer to knock it and chip away at it with the claw before I tucked it into its spot. Make sure to use safety equipment when using the saw.
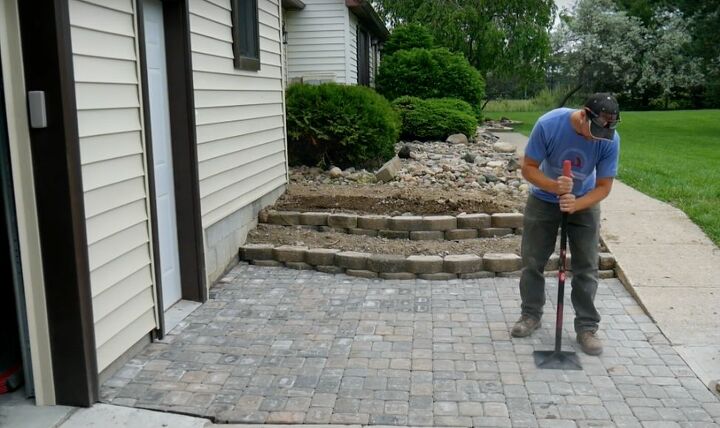
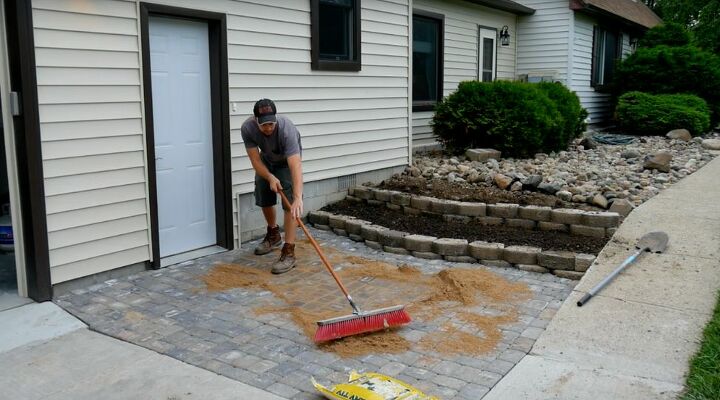
Before I put the second coat of sand down, to lock the pavers in, I carefully went over the entire surface with the hand compactor again. Then I used a push broom to work the sand into the bricks, tamping intermittently so the sand would sink fully into the cracks. When I was totally satisfied that all the spaces had been sufficiently filled, I swept the patio off.
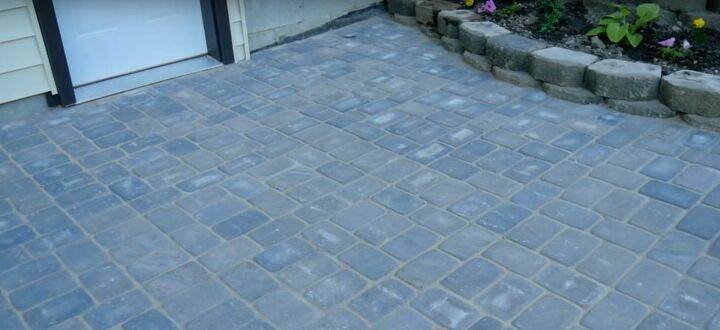
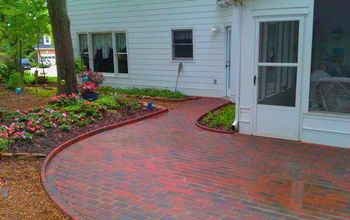
In about 2 days’ time, I was able to totally transform this space from a dirt entryway to a beautiful patio that looks like it was professionally installed. I did have to make a few cuts, but you can create a rectangular or square design to mitigate that step or maybe even eliminate the need for it completely. I hope that my easy guide to properly laying a paver patio has given you the confidence to try this DIY on your own.
If you do, I hope you’ll let me know how it goes in the comments!


Comments
Join the conversation
-
Just a side note..what a good dad you are!I Love that they could be with you while you were working..Spending time with dad and learning to work.Beautiful job and family 🥰👏🏼
-
It really transformed the area - well done and your hard work paid off, The only thing I might have done differently was to either build the retaining walls using cement in between to secure the bricks and then plaster behind the retaining wall bricks to prevent sand from seeping through. The backfill could also have been an inch or so below the retaining wall (you can still do this though) - to prevent the dirt from spilling over when you water or due to excessive rainss


Frequently asked questions
Have a question about this project?
does the dirt from the garden wash onto the pavers when it rains?
We would like to do this at our back door, but there is a very slight slant from the yard to the door. I suppose that we could bring in some dirt to level that area before we tried your project. Do you think that this would work?
Thanks for sharing. The finished project is beautiful. I am saving this tutorial as I will be doing this in my yard hopefully soon. But, I have one question. How deep do you determine to shell out the area to be worked and to end up lying flush to say in my case, the driveway? And by the way, I have had my eye on very similar bricks at Home Depot.