


7 Tips for Your Next Outdoor Caulk Project
8 Materials
$5
1 Hour
Easy
Tackling home maintenance is necessary, although not very glamorous undertaking. Often there is nothing to "see" once you are finished so it's not quite as satisfying as painting a piece of furniture or creating some kind of really cool upcycle decor piece.
But taking care of small problems around your home means you are preventing larger, perhaps more costly problems in the future.
Steph and I recently did walkabouts of our homes to check for some of those cracks and leaks. We actually found quite a few. I was dismayed to find that when my house was remodeled six years ago, the outside of the garage was NEVER caulked!
Here's a few tips we learned along the way!
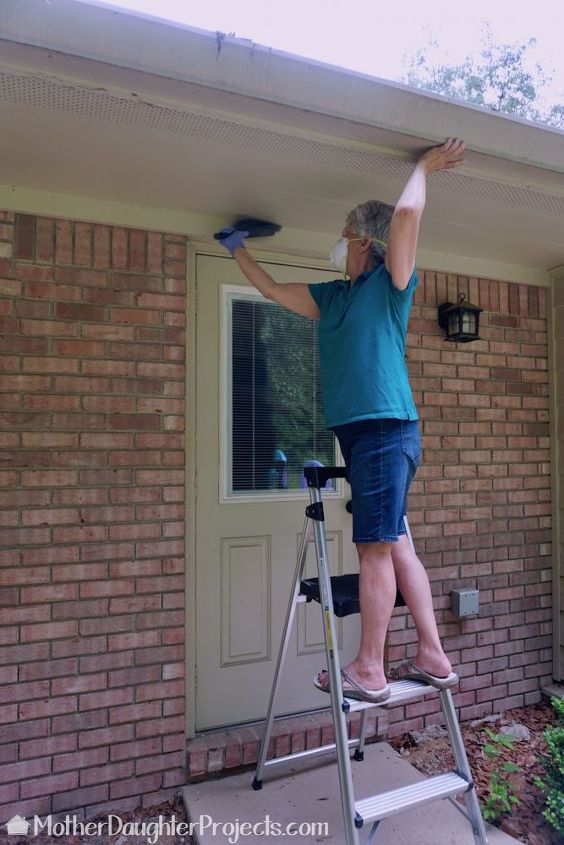
Most of the caulking needs were found on the backside of my house. Here I'm cleaning, not just the area to be caulked but since I was already on the ladder, I decided to clean under here as well!
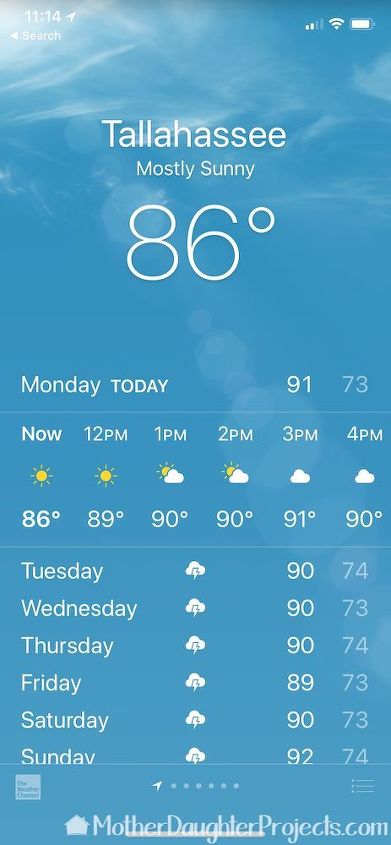
Tip 1: Check the weather. Caulk outside only if there is no rain in the forecast as caulk needs time to dry. The caulk we used was ready to be painted in an hour.
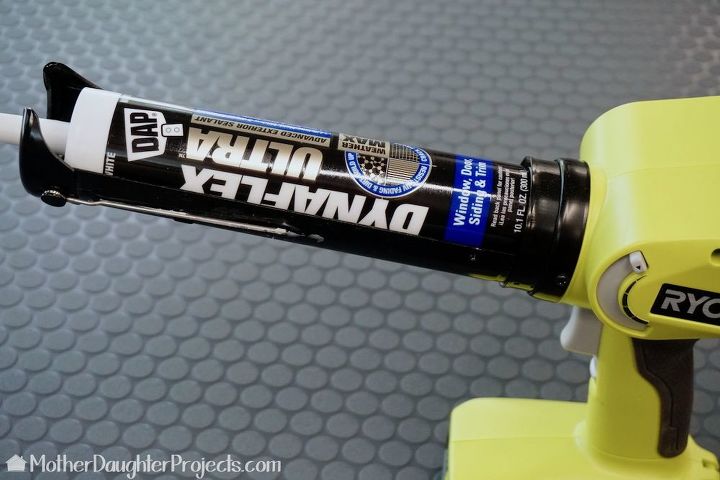
Tip 2: Choose a quality caulk to match what you're repairing. For example, use a exterior caulk for outside. Also, if you want to paint after applying caulk, make sure to get one that is paintable. a exterior caulk for outside. Also, if you want to paint after applying caulk, make sure to get one that is paintable.
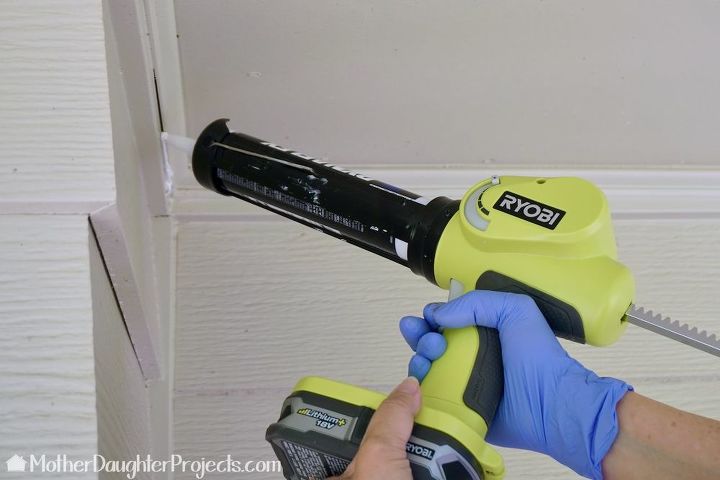
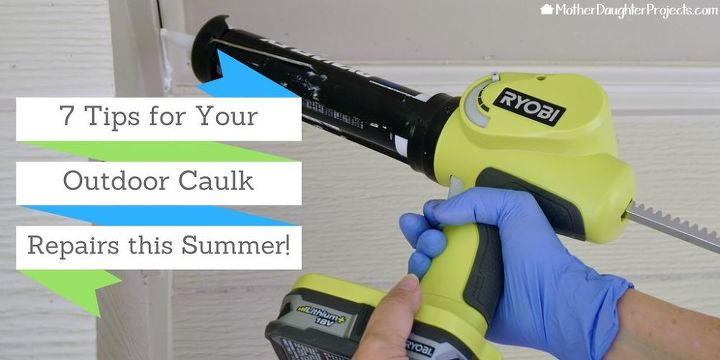
Tip 3: Consider a battery powered caulk gun. We have used this on many occasions now and it makes the job of caulking so much faster and efficient. It's worth the investment if you're going to be doing a lot of caulking.
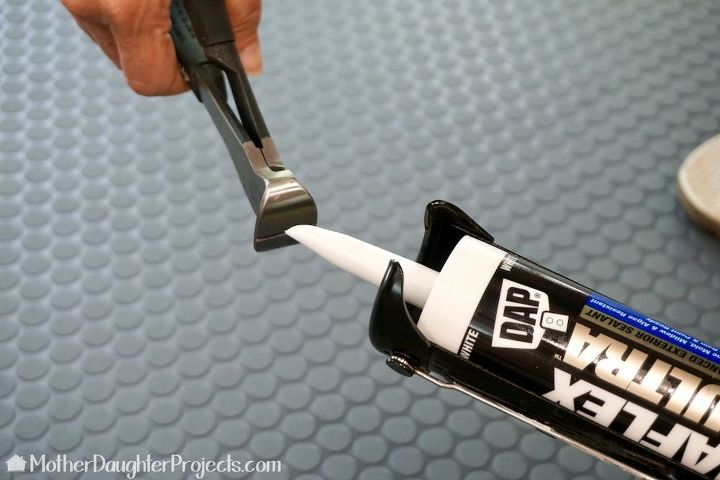
Tip 4: End nippers. There are many tools that can cut cleaning through the tip of the caulk, but we found these Husky End Nippers really did a great job. Bonus, you can cut small nails flush to the surface with this tool.
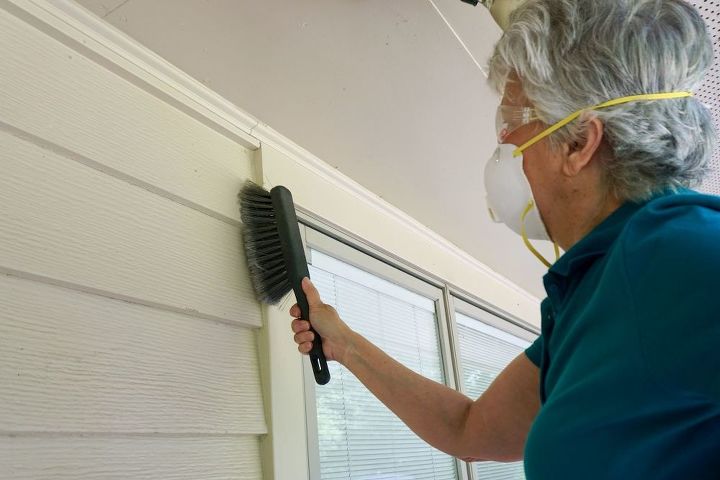
Tip 5: Use a bench brush. We found this soft bristle bench brush to be the perfect tool for cleaning away dirt and spider webs from the surface to be caulked. It is VERY important the surface be clean, otherwise the caulk will not stick. The eyewear and mask are to protect against flying debris and breathing in all that dust.
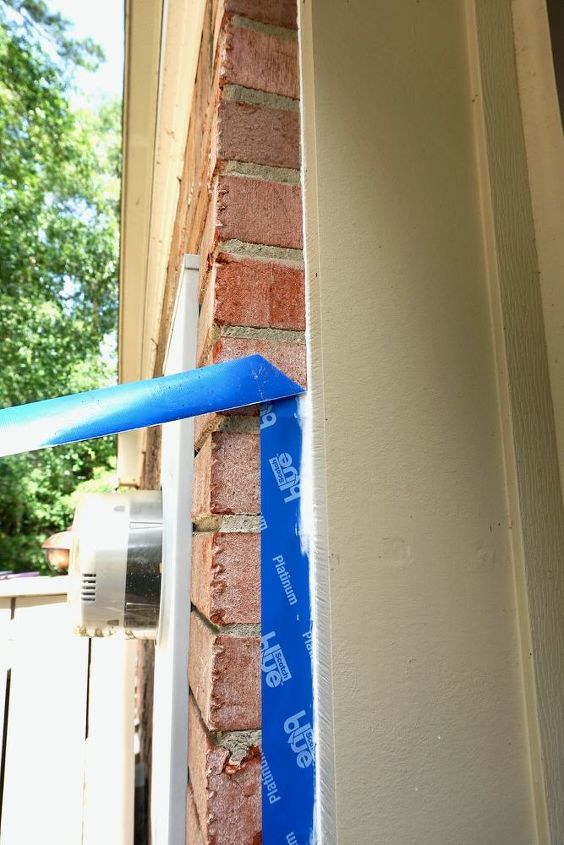
Tip 6: Make use of painter's tape. It is difficult to get a clean, even bead of caulk along a rough surface. We easily achieved a nice clean line by first laying down a strip of tape, caulking the area, and then removing the tape before it dried. This saves a lot of clean up time. Work fast because the tape really doesn't stick well to the brick for any length of time.
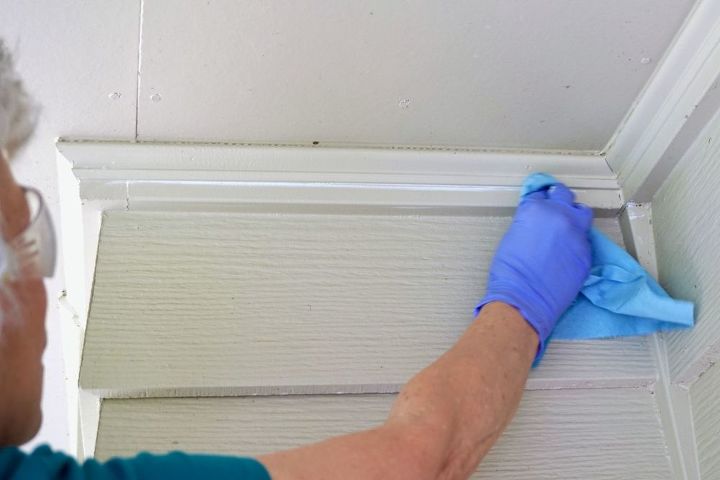
Tip 7: Wet your finger or rag to smooth the caulk. You'll need to smooth out the caulk after applying. The best thing really is your wet finger. We like to use these gloves when working with caulk. A wet shop towel can take care of any mistakes.
There you have it. A few tips for taking care of your outdoor caulking maintenance. What would you add to the list? Add your suggestions in the comments below.
Resources for this project:
See all materials


Any price and availability information displayed on [relevant Amazon Site(s), as applicable] at the time of purchase will apply to the purchase of this product.
Hometalk may collect a small share of sales from the links on this page.More info

Want more details about this and other DIY projects? Check out my blog post!


Frequently asked questions
Have a question about this project?
I love your work. I haven’t once seen a battery powered caulk gun does it move caulk too fast or is it pretty steady or controllable ?