


Bi-fold Doors Turned Corner Shelf
6 Materials
2 Days
Medium
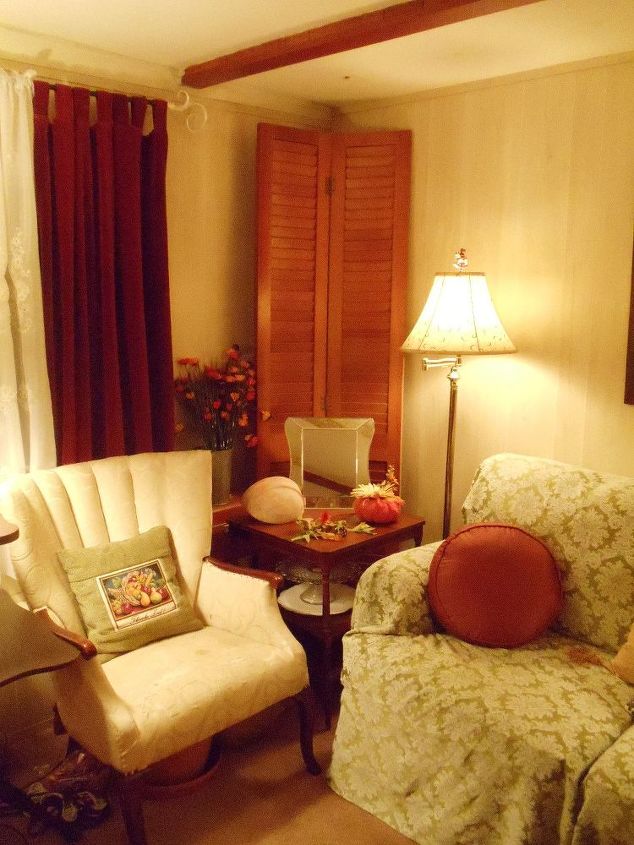
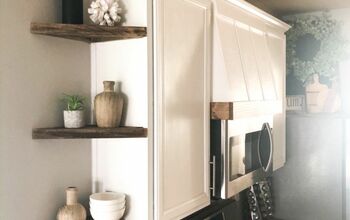
After moving from a house with an overloaded built-in corner china cabinet to an apartment with blank walls, and not enough of them, I needed more space for my glassware. Enter the unserviceable bi-fold doors!
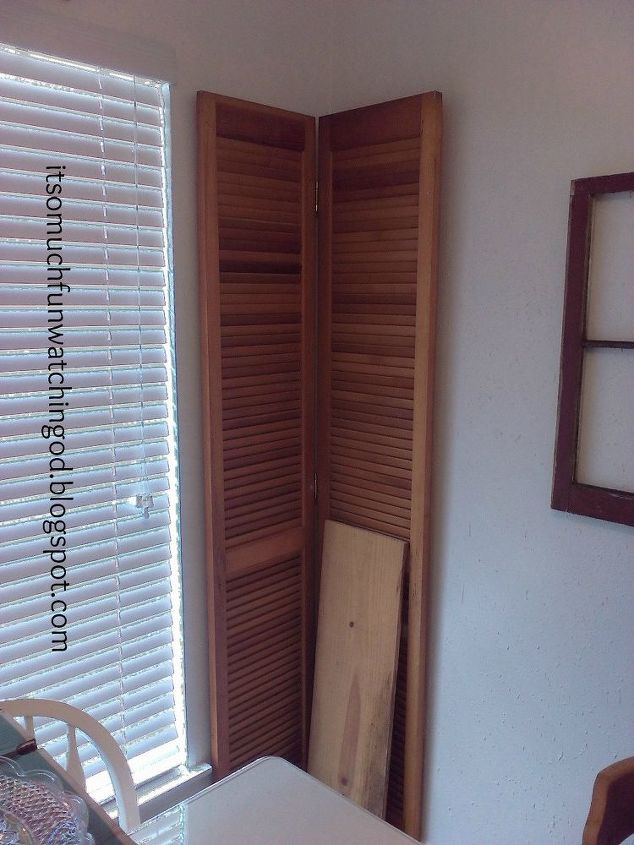
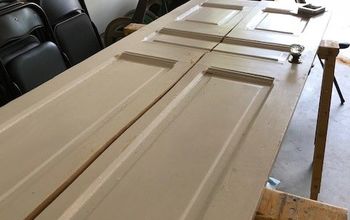
A friend gave me this bi-fold door because the two slats under the center piece were broken, as was one of the top corners where the peg thingys go. But I had a vision. . . or two. The first one was to simply prop it in a corner and hang foliage down the center, especially at Christmas.
A friend gave me this bi-fold door because the two slats under the center piece were broken, as was one of the top corners where the peg thingys go. But I had a vision. . . or two. The first one was to simply prop it in a corner and hang foliage down the center, especially at Christmas.

(Tell 'em what you're gonna tell 'em. Or show them, I suppose, in this case.)
Sorry, can't find the picture of the Christmas swag with lights running down the center of this other set of doors, which is a shame because it was beautiful.
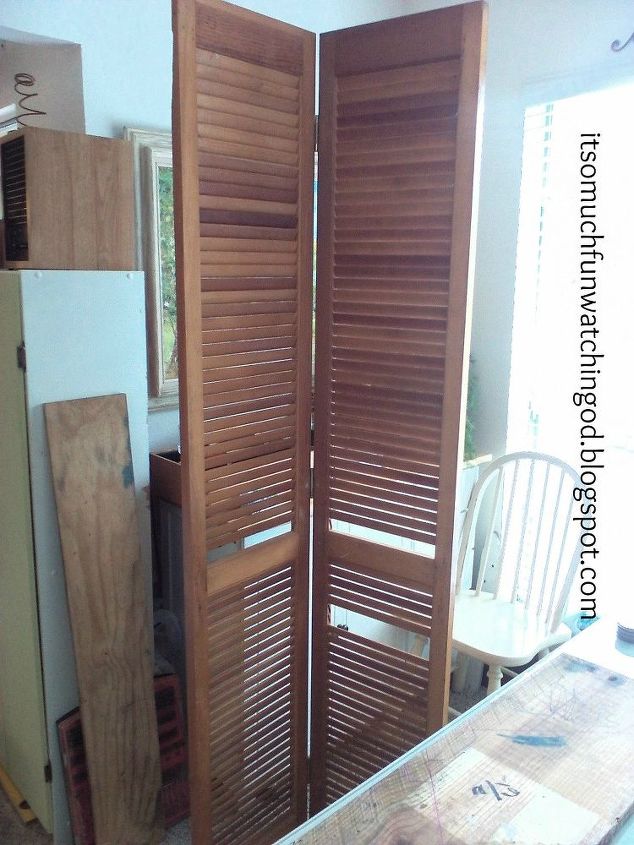
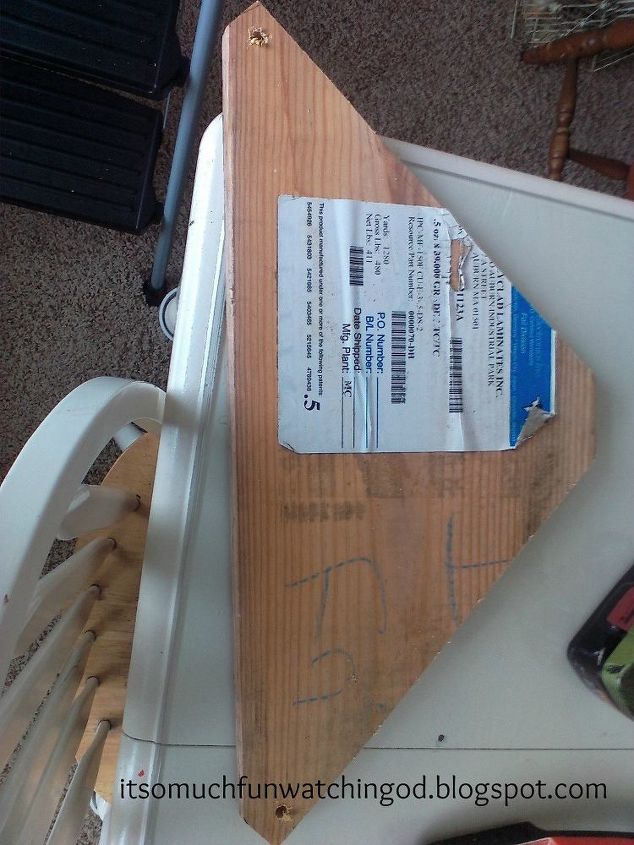
Okay. I have the doors. Now, what about shelf material? This whole project needed to cost me nothing. Moving, you know.
Next, determine how far apart the shelves would be and knock out the slats. I couldn't break them very easily so I cut them with tin snips. (Sorry, no picture. Use your imagination. We're good at that on here.)
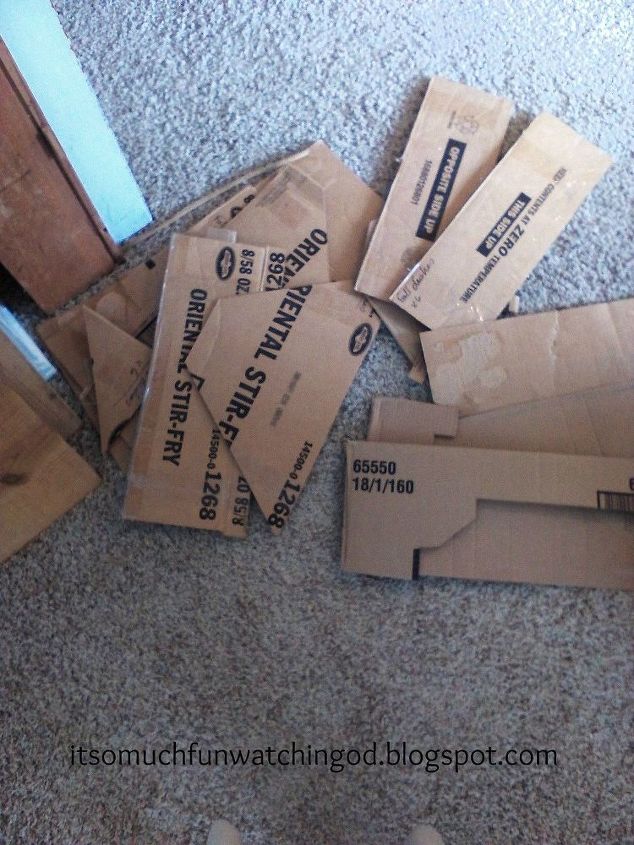
Time to make a template. Rescue a box. A few boxes, to be honest, because I had to make more than one template to get it right. Notice the trapezoid in the center, and the short end? Not going to work. Then notice the piece in the bottom right corner. That's what the back side needed to look like.
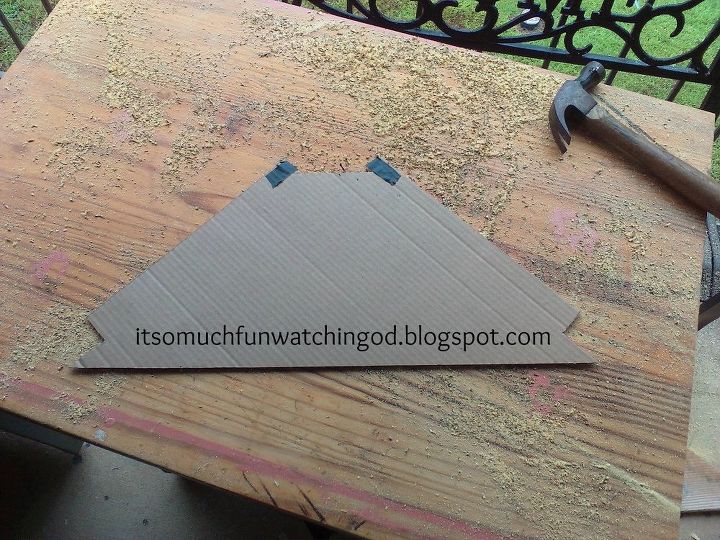
As you can see by the black tape, I had to do a little revamping. I was running out of large enough pieces of cardboard, so a little black tape had to work.
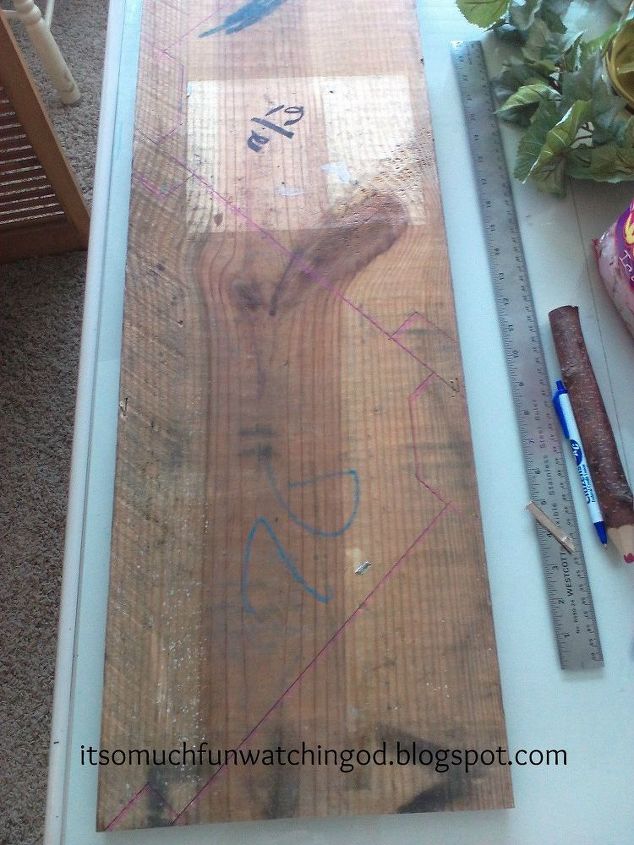
Once I got the template to fit on the shelf, I drew two of them on the board.
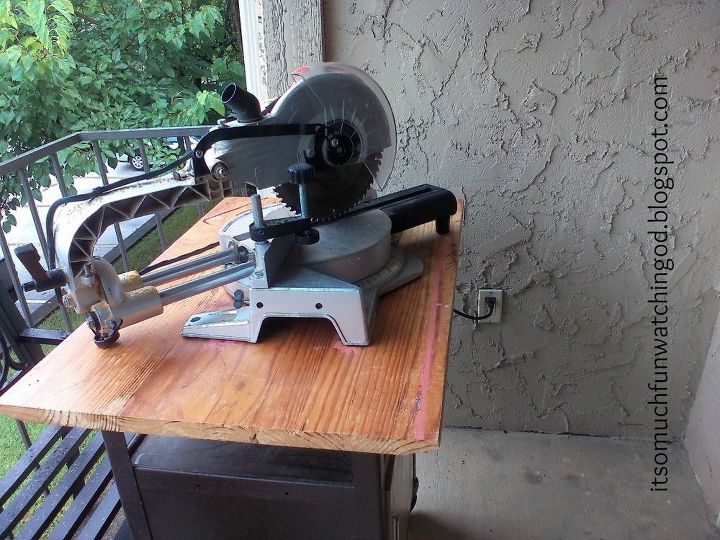
Nice $30 saw yes? This project is the first time I used it, and it was a bit intimidating.
Looking good! Now to make a top shelf.
Hey, the paper will never been seen, and even if it was, its 'character', right??
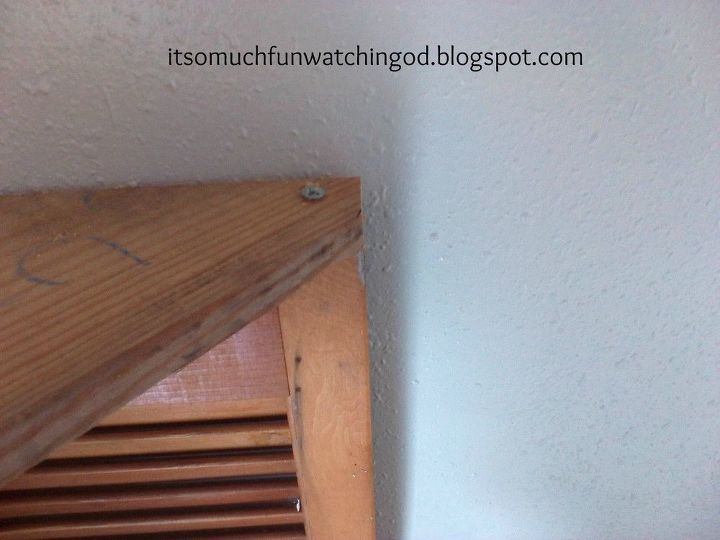
I wanted the shelf to be collapsible, so the shelves are only sitting in the slots. The top is held in place by some leftover screws that are dropped through a hole in the shelf. You know those holes at the top of the doors where the pegs go in to slide on the track? Well, I got lucky and drilled the holes in the front corners of the shelf exactly there!
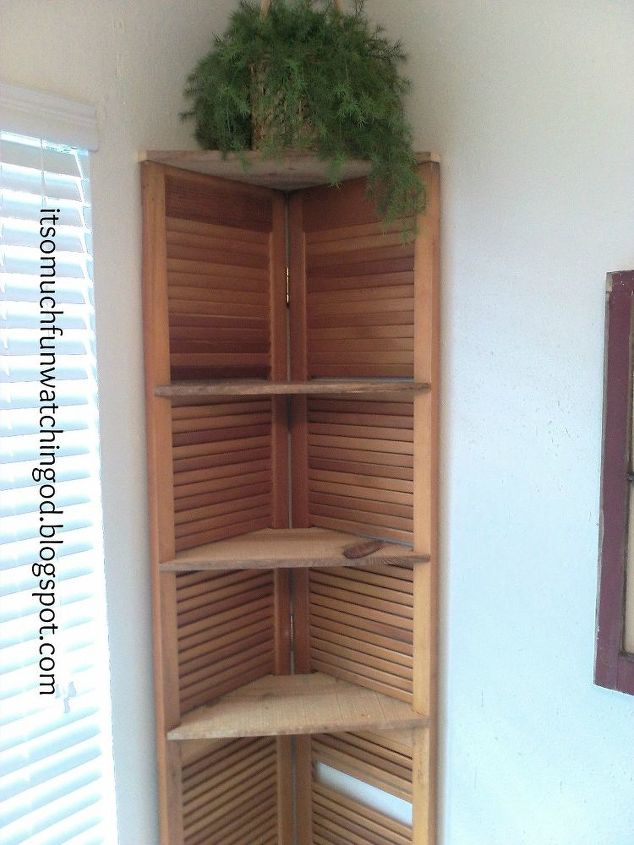
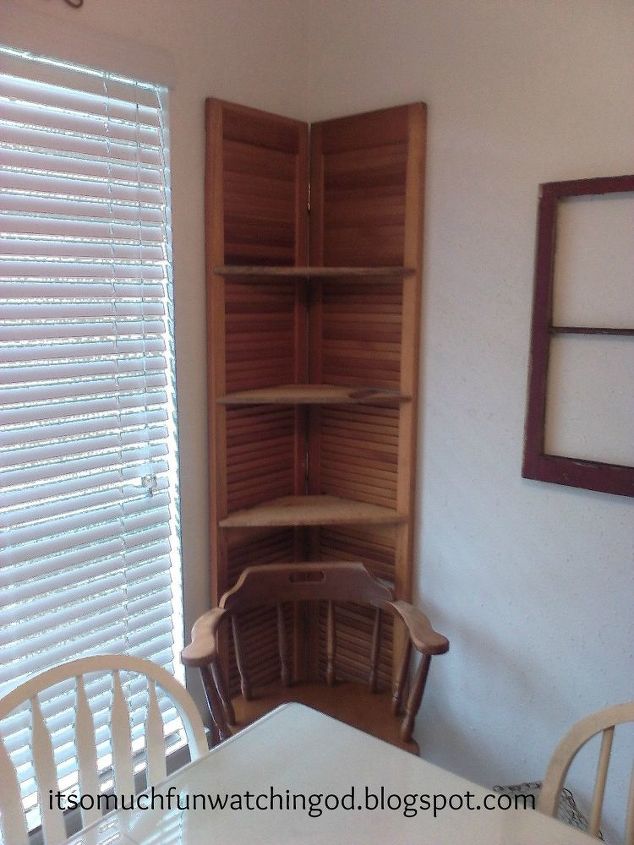
The pieces broken out below the center will be hidden by a chair.
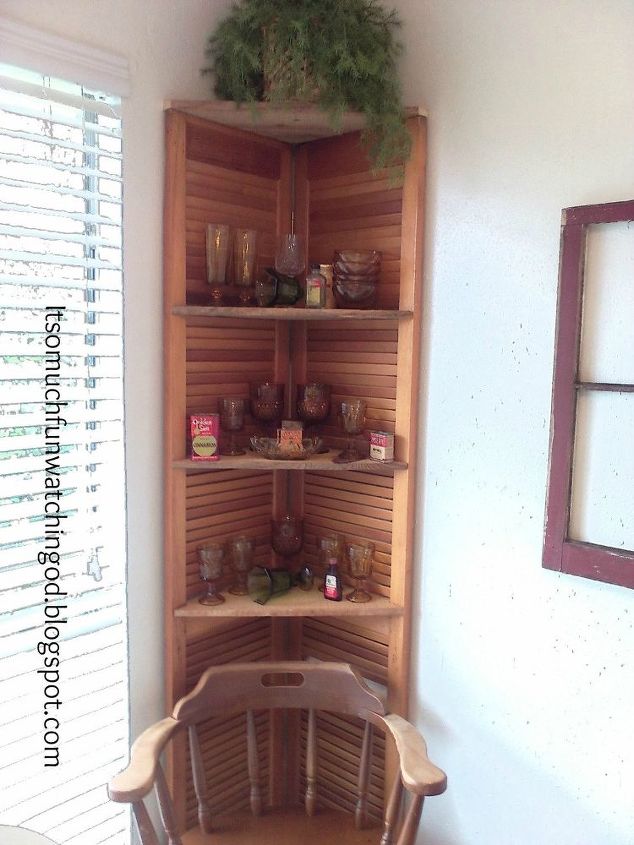
And there you have it! A free shelf. Not anywhere near enough space for all my amber glassware, but every little bit helps.

Want more details about this and other DIY projects? Check out my blog post!
Comments
Join the conversation
3 of 60 comments
-
What a great idea. Thank you for sharing.
-
I saved two sets of old bifold doors. Wasn't sure what to do with them, I know now.


Frequently asked questions
Have a question about this project?