


Create a Distressed French Vintage Look With Chalky Finish Paint
$35
3 Hours
Found a steal on some frames at a yard sale, or have old frames around your house that are taking up dust?
A couple of months ago I was out at a couple of garage sales, and I came across this beautiful carved wood frame, for only 10 bucks.
A couple of months ago I was out at a couple of garage sales, and I came across this beautiful carved wood frame, for only 10 bucks.
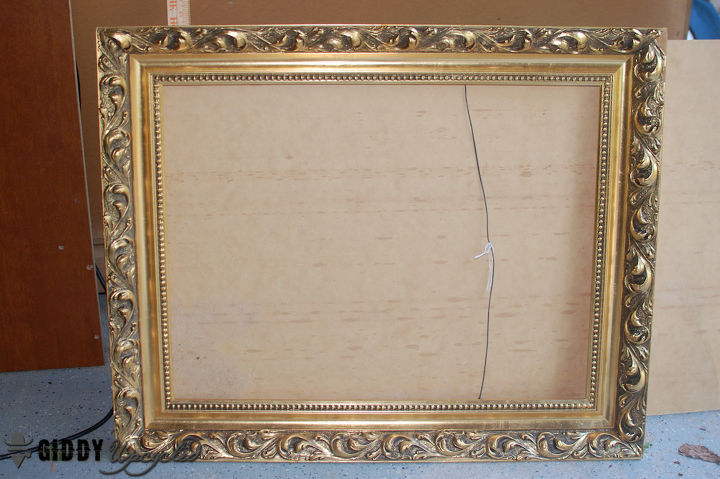
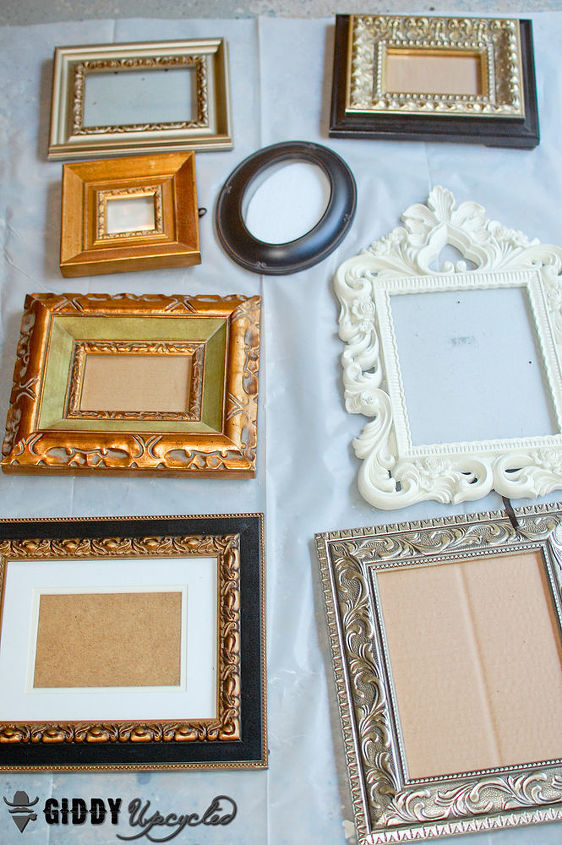
A couple of days later, I came across a HUGE box of bulk 25 gorgeous but gently used frames at a garage sale, for only $25!! And these were no dollar store frames, either. They were all in the 5×7 – 8×10 size, with thick ornate frames. They weren’t actual antiques, but they could certainly be made to look like antiques.
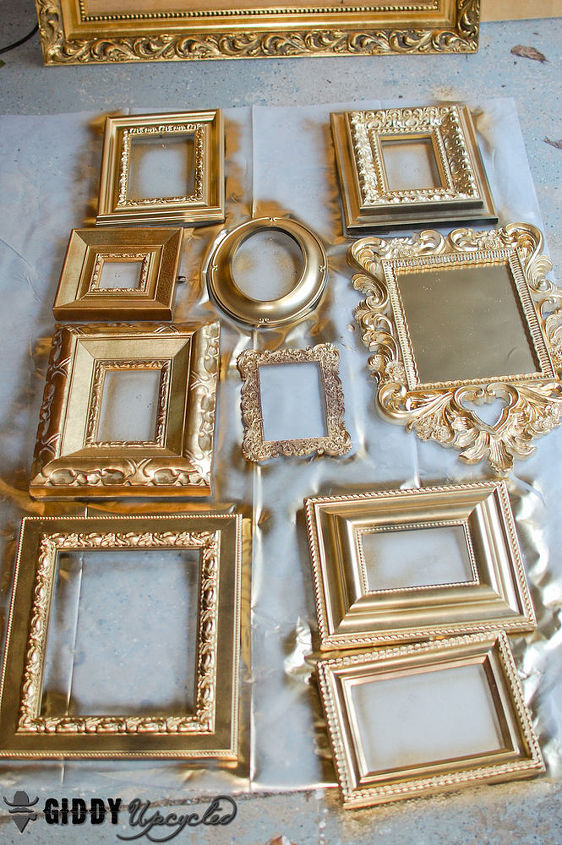
Step 1: Gilding or Spraying the Frames
Step 2: Paint the Frames With Chalk Paint
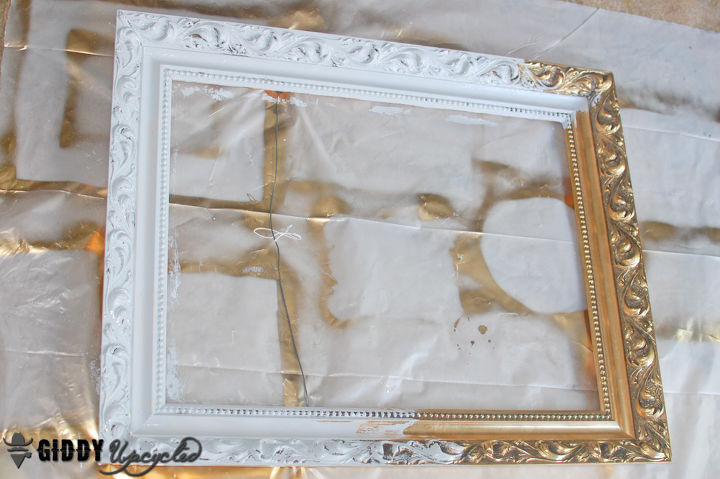
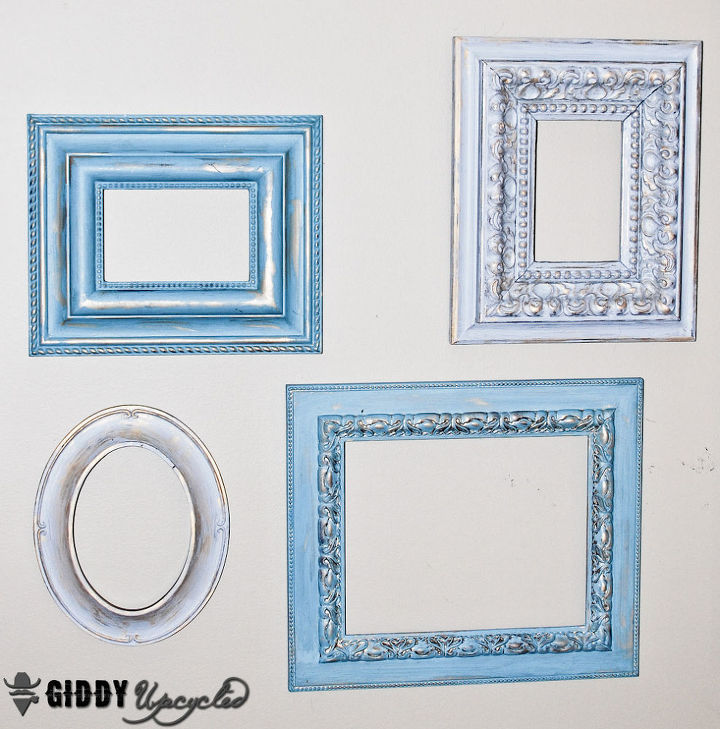
Step 3: Sanding – VERY IMPORTANT PART OF THE TUTORIAL HERE !!
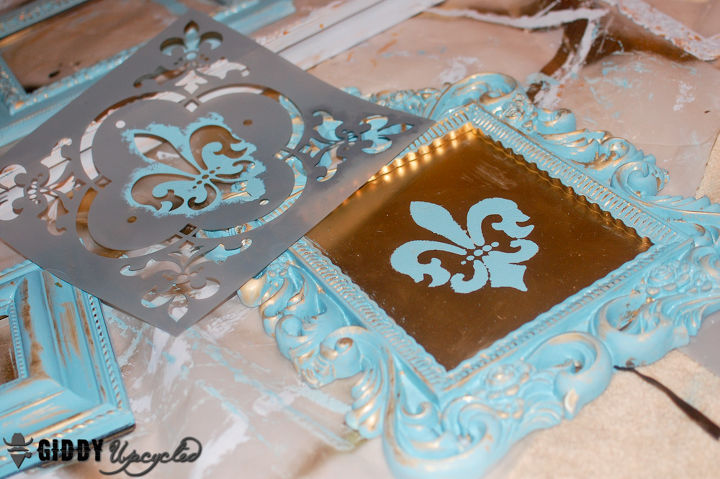
Step 4: (Optional) Stenciling
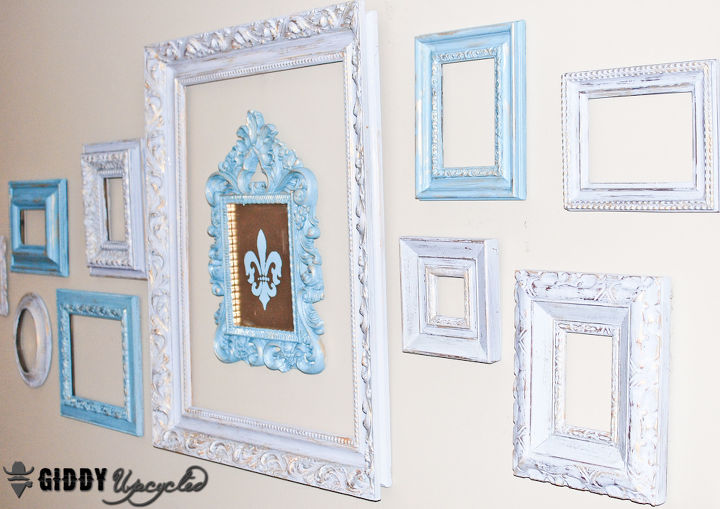
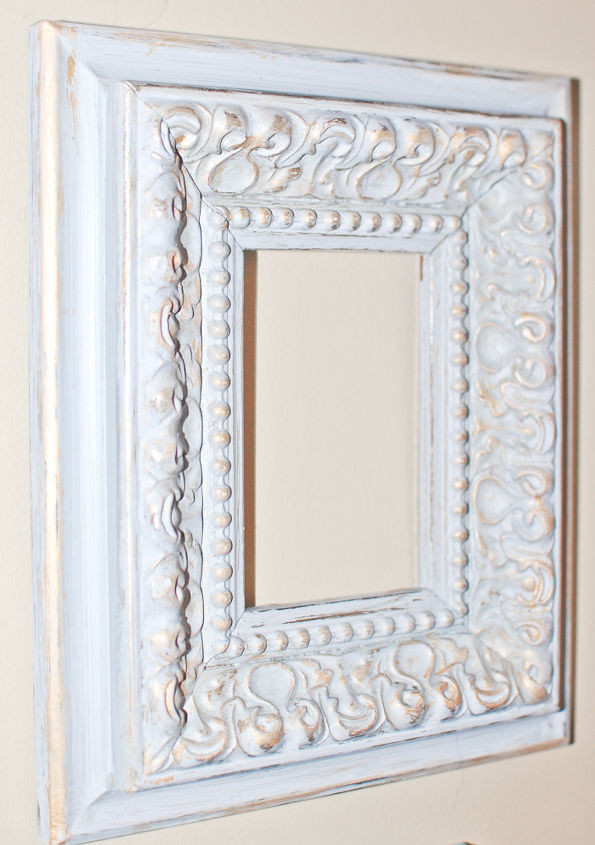
And wha-la!! Beautiful, french inspired vintage frames used as wall art - this display covers my entire living room wall and cost me about $40 in total!
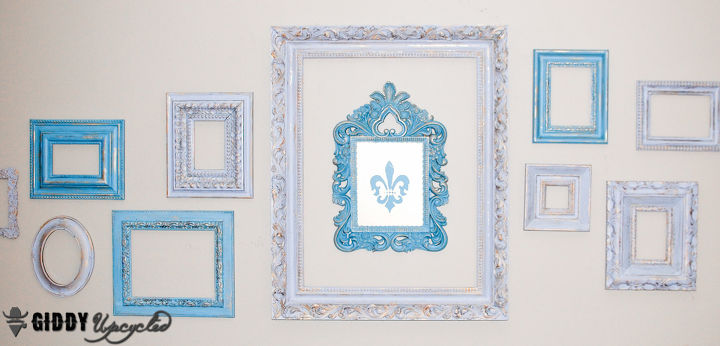
I tried to capture how they look, but the photos don't quite do them or the coloring justice - the wet sanding created just the perfect amount of distressing, allowing the gold to peak through.

Want more details about this and other DIY projects? Check out my blog post!
Comments
Join the conversation
2 of 46 comments
-
Very nice! Thanks for the tip on wet sanding.
-
Love it! Thankyou for this tutorial, it is exactly what I was looking for, so many other techniques get complicated with wax or glaze, but you make it simple with the wet sanding technique! Excited to make my "baroque" inspired frames with gold underneath and then painting black over and I guess to get the look I'm wanting I will wet sand it off. Thanks!


Frequently asked questions
Have a question about this project?
I liked mostly the gold color spray. What spray did you used. Crylon?
What gold spray paint did you use?