


Stylish Kitchen Backsplash for Under $60
Here's how to create a splash-proof, grease-fighting backsplash to protect the wall behind a stove cooktop. It looks great, it's easy to clean, and it's relatively easy to install. ideas

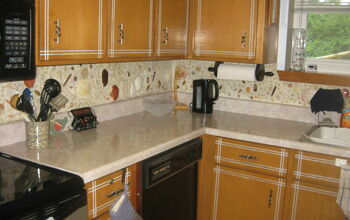
HouseLogic.com contributor John Riha needed an easy-to-clean surface without the hassle and expense of adding tile. Here's the stove wall before the backsplash:

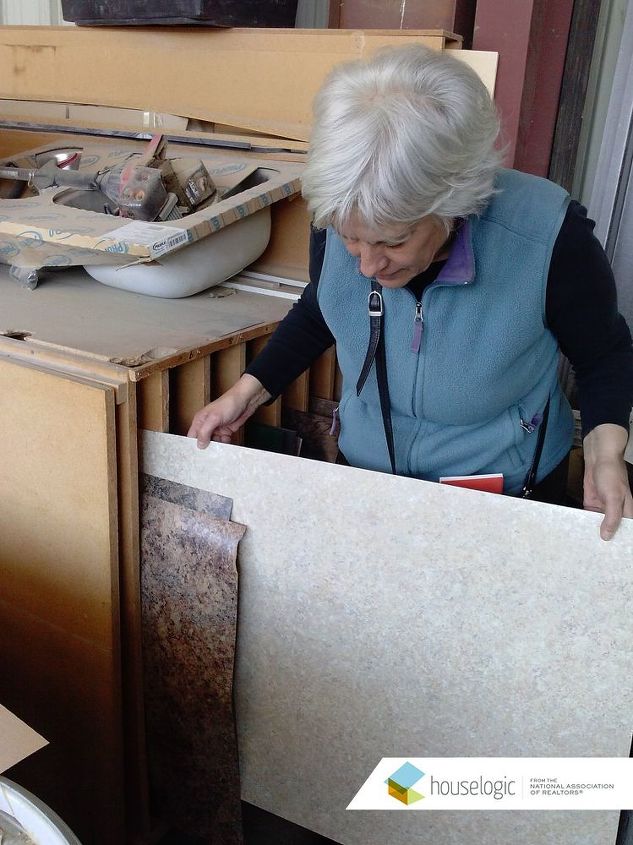
He decided to add a piece of plastic laminate. It's extremely tough and cleans easily. Since he didn't need much, he went to a local countertop fabricator to search for a leftover piece. Luckily they had something he liked -- a 3-foot-by-8-foot remnant for only $20!
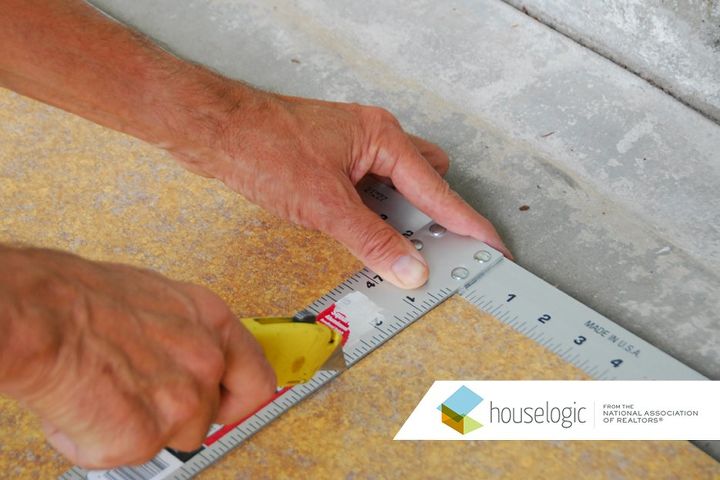
He carefully cut the piece to fit between the countertop backsplash and the vent hood. A utility knife does the job, but you'll need a steady hand, a knife with a fresh blade, and a straightedge. Make several passes to cut the laminate all the way through, he says. You can use power tools, but a utility knife gives a precise, chip-free cut.
He used a drywall square as a cutting guide for the knife. It's big, steady, and spanned our 36-inch-wide piece of laminate.
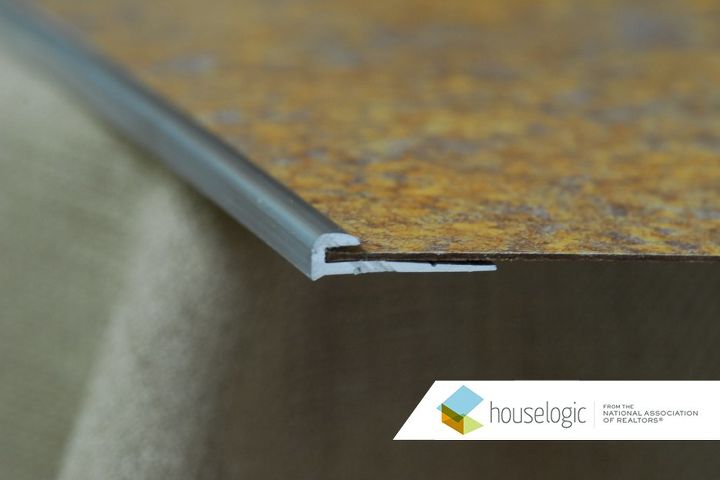
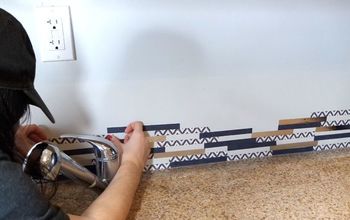
For the exposed edges, he used thin metal laminate edging -- only $10 for 8 feet -- the fabricator suggested. It slides over the edge of the laminate to give it a clean edge. Only a small bead showed when it was done, and the hint of metal fit right in with the kitchen's chrome and stainless appliances.
Oops! John found nail pops above the backsplash. Nail pops occur when framing lumber flexes slightly with changes in humidity. Over the years, that can cause nails to work loose and push up through drywall and paint surfaces.
He would be gluing the laminate to the wall using contact cement, so he didn't want any bumps that could show through. He pounded these nails back in with a big nail set and pinned them in with a second nail. No need to fill the holes -- the sheet laminate will easily span those.
Other prep:
To remove any grease and dirt, he washed the wall with a solution of cup of TSP dissolved in a gallon of warm water.
Roughed up painted wall surfaces with 80-grit sandpaper to ensure good adhesion.
Taped off the walls and covered the counters to catch any drips.
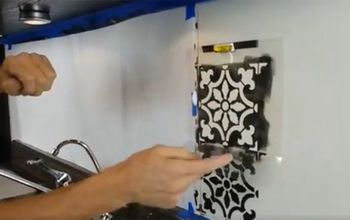
Before gluing, he did a dry run to make sure the backsplash fit just right -- contact cement bonds instantly and is very unforgiving!
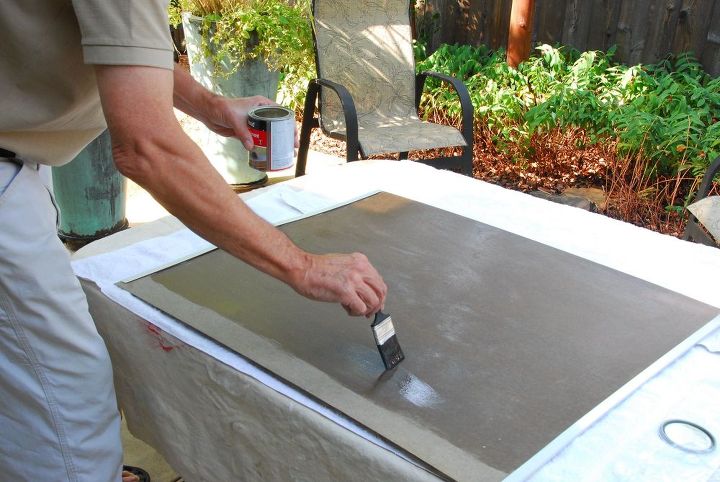
With contact cement, you paint both surfaces (laminate and wall) with the cement and let them dry about 15 minutes before pressing them together. John left about a 3-inch unglued strip at the top of the laminate to position the piece without it sticking. The metal edgings are already on and temporarily taped in place on the front of the laminate.
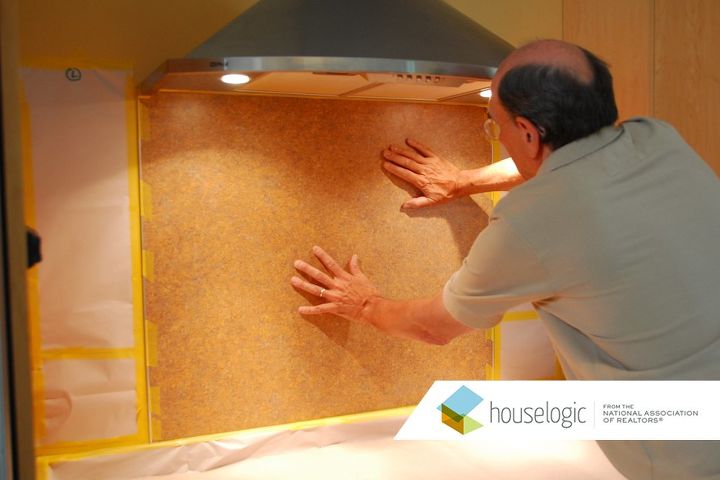
After pressing the laminate onto the wall, you'll want to apply plenty of pressure all over, starting at the center of the piece and working toward the edges. A light pounding with the back of your fist helps make a good bond.
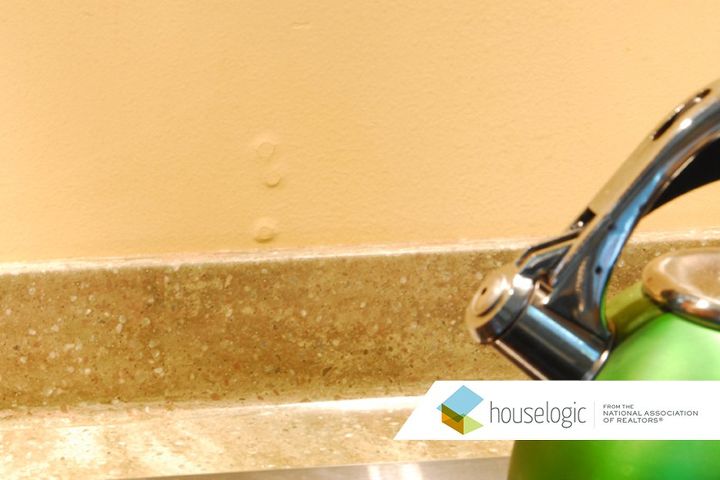
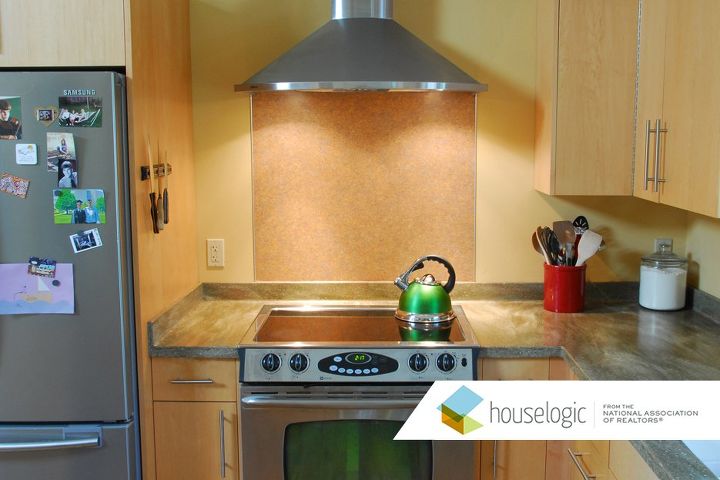
The backsplash fits the low key look of the kitchen without being a visual target, John says. That puts the emphasis on a few showy jewels, like his green teapot and sleek range hood. He's ready to cook marinara!
Materials and cost:
Laminate remnant: $20
Contact cement: $11.99, one-quart can
2-inch nylon brush $2.55
Metal edging: $10 for 8 linear feet
Painter's tape: $7.88 for a 1.4-inch-by-185-foot roll
Total: $52.42
Time to complete project (excluding the visit to the countertop shop): About 4 hours
Get more cool kitchen backsplash ideas

Comments
Join the conversation
-
I thought the whole thing about backsplashes was to a) protect the wall and make grease easier to clean off, and more importantly b) safety in the event of a fire. The appraiser for my house said " Oh, you have tile back spash" and it added to my home's value. There is paint to cover tile - it just "recolors" the tile and/or grout to what you want - Sherwin Williams.
-
Not so much...


Frequently asked questions
Have a question about this project?
I have s brick look backsplash around my kitchen counter & nothing around the stove. With the new gas stove heat has scorched the wall( no backsplash) the larger burner next to the wall on this stove.
What do I use to complement the stone that’s fire resistant for around the stove without it looking awful & breaking tha bank? Can’t find the same tile