


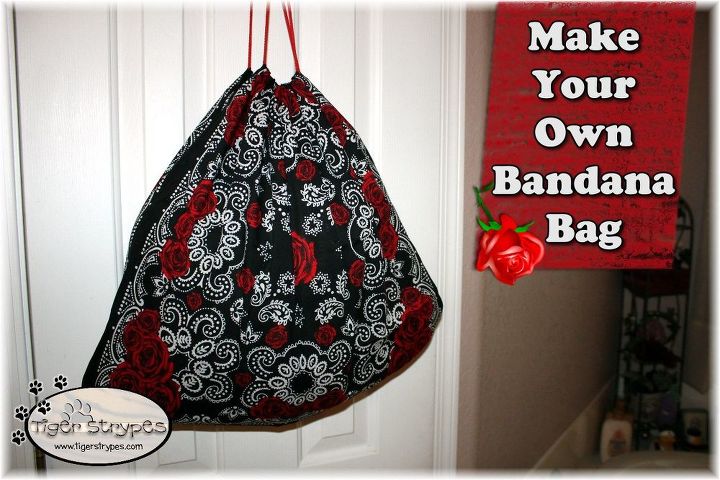
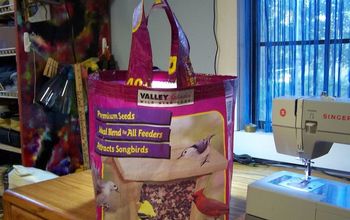
Learn To Make Your Own Bandana Bag
$5.00
30 Minutes
Easy
I saw this project on the Martha Stewart website, and thought that it would be so fun to make. Who doesn’t need another bag to carry things sometimes, right? This one could be used for shopping, a picnic, or even for trick-or-treating next month. It was very easy to make, and from start to finish, didn’t very long at all. You could make it any color, with any drawstring style, etc. I’m even thinking of making one for my son, and using an iron-on piece to add even more dimension to it.
I just used my regular sewing machine, but even if you didn’t have one, you could even do the stitching by hand. There weren’t any special stitches, so have fun with it!! I’m even thinking of using this one as a wrapper for a gift for Christmas!! What do you think of it – do you think that it’s something that you could use and enjoy?
I just used my regular sewing machine, but even if you didn’t have one, you could even do the stitching by hand. There weren’t any special stitches, so have fun with it!! I’m even thinking of using this one as a wrapper for a gift for Christmas!! What do you think of it – do you think that it’s something that you could use and enjoy?
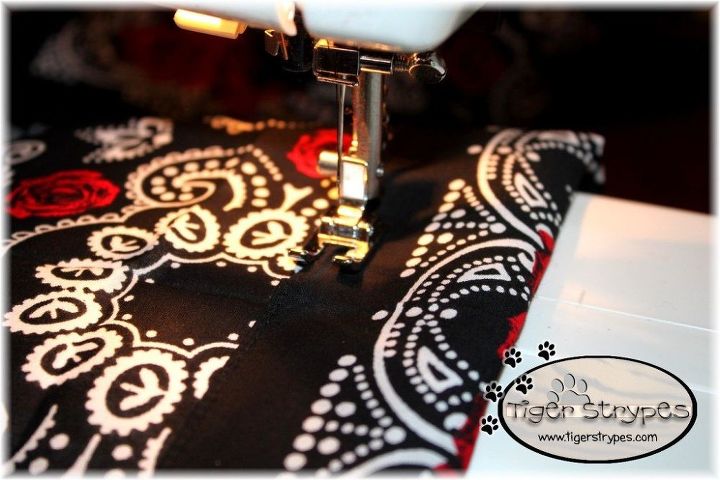
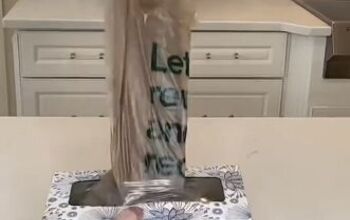
I started by pinning a 1.5″ fold at the top of the bandana on the “wrong” side of the fabric. This will be where the cord goes through, to close up the bag. It is sewn inside out, so be sure that this fold is on the inside. I did this for both of the bandanas.
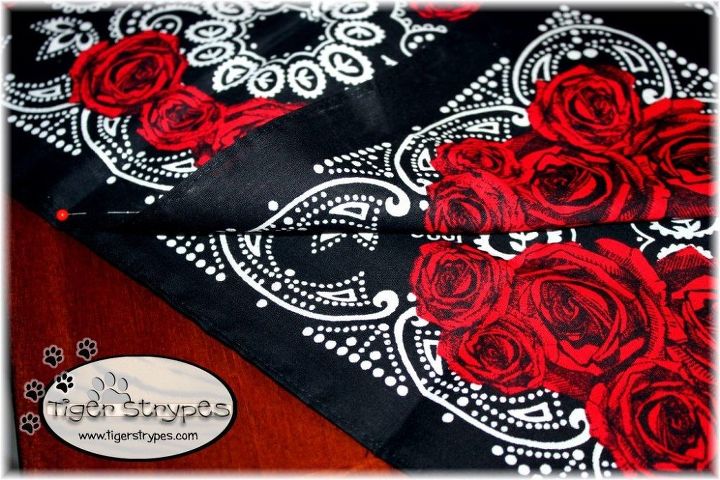
After that, I pinned the two (2) bandanas together (right sides together), so the part that isn’t as bright is on the outside. Again, this is because you will be folding it out, once it’s finished being sewn together.
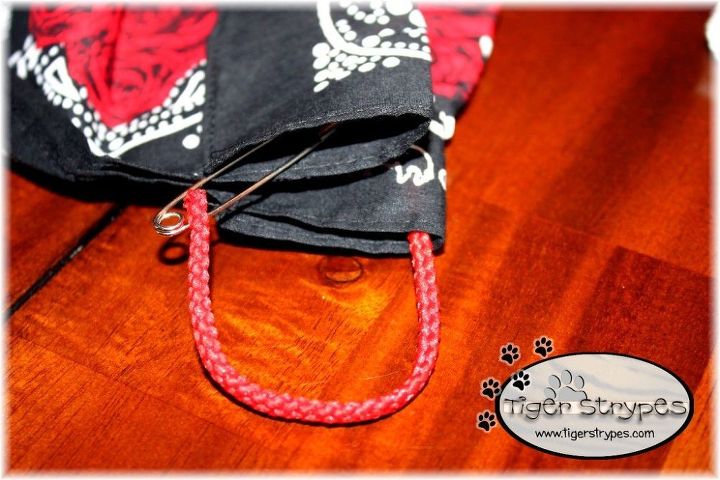
Next, I measured the cord that I was using across and back over the top, with just a little overhang. Once the bag is scrunched up and closed, this cord will be a lot longer, so don’t make it very long. Also, a note, be sure to only have one piece, don’t cut it into two.
I then pushed the knot inside of one of the folds, to hide that knotted end portion. After that, I “un”folded the bag out to the correct side.

Want more details about this and other DIY projects? Check out my blog post!
Comments
Join the conversation
2 of 6 comments
-
Love the way you tied in the pops of red with the contrast tie...really elevates it!
-
I love this!


Frequently asked questions
Have a question about this project?