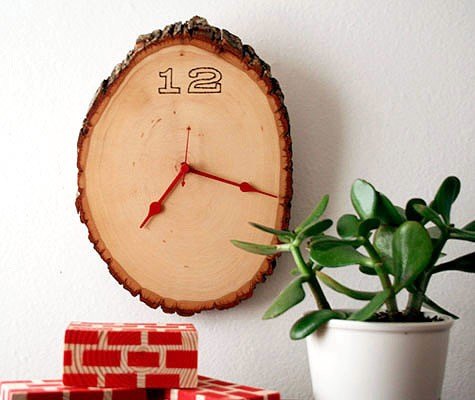
DIY Wood Clock Project

DiySpecial
by DiySpecial
$10
45 Minutes
Easy
Wooden disk and the steel clock arms with your sandpaper.
You will need:


Small wood disk


Pencil


Scissors or x-acto blade


Clock mechanism and AA battery


Larger sized clock hands (optional, depending on the size of your wood disk)


Wood burning tool


Red enamel paint


Small foam brushes


Polyurethane


Power drill and drill bits


Paintbrush


220 grit sandpaper
1. Flippantly sand the surface of the wooden disk and the steel clock arms with your sandpaper.
2. Apply two coats of enamel to the hands with a foam brush, enabling them to dry utterly between coats.


3. Decide upon a favourite font and print out numbers from your laptop that measure roughly 1. We made up our minds to maintain it simple and simply use the quantity 12 on our clock.


4. Cut out the numbers and use as templates to trace onto your timber plaque with a pencil.


5. Utilising the best tip for your wooden burning instrument, burn the define of the quantity onto your plaque, taking care not to burn your fingers!
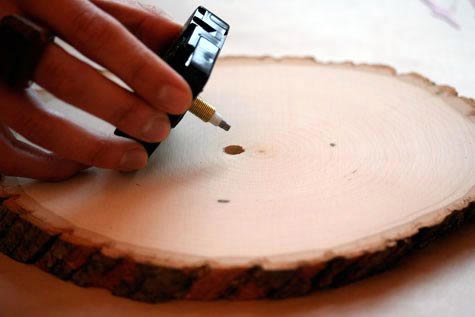
6. Drill a gap in the middle of the plaque utilising the suitable sized drill bit.


7. In a well-ventilated subject, apply two coats of polyurethane to the wood, permitting it to dry completely between coats.


8. Flip the disk over and insert the clock mechanism into your pre-drilled gap.
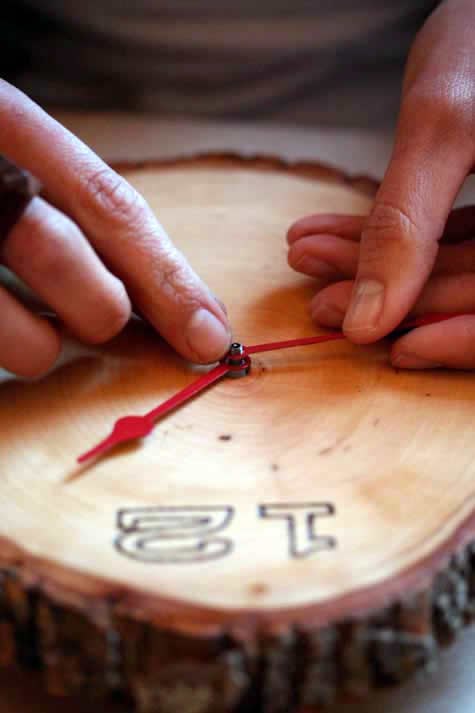
9. Following the guidelines within the package, connect the hour, minute and second hands to the clock mechanism.


Check out tutorial here :
Frequently asked questions
Have a question about this project?
Comments
Join the conversation
Next